

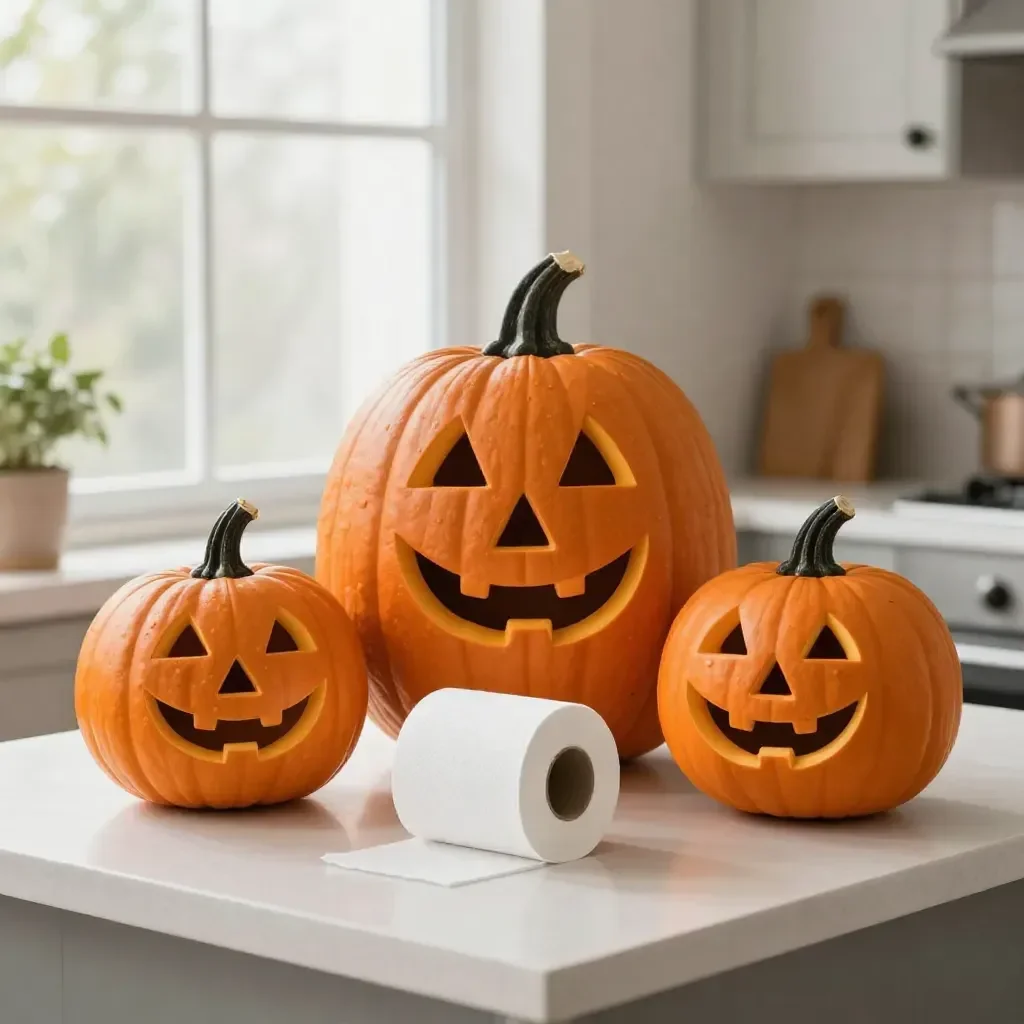
Unleash Your Creativity with Toilet Paper Roll Pumpkins You may also find How To Make A Suncatcher With Glass Beads useful.
It’s a busy afternoon, and your kids are eager to dive into a creative project. Something simple and quick is needed, one that can keep their hands busy while smiling faces emerge with just a few materials. This is where the "Unleash Your Creativity with Toilet Paper Roll Pumpkins" project comes in. It’s a delightful activity that helps you tap into your kids’ imagination while using items you probably have lying around the house. Not only will they enjoy the process, but you’ll also appreciate how easily it can fit into your hectic schedule. Along the way, you might find inspiration to explore other creative crafts, such as making pretty wax paper sun catchers.
Why You’ll Love Making Unleash Your Creativity with Toilet Paper Roll Pumpkins
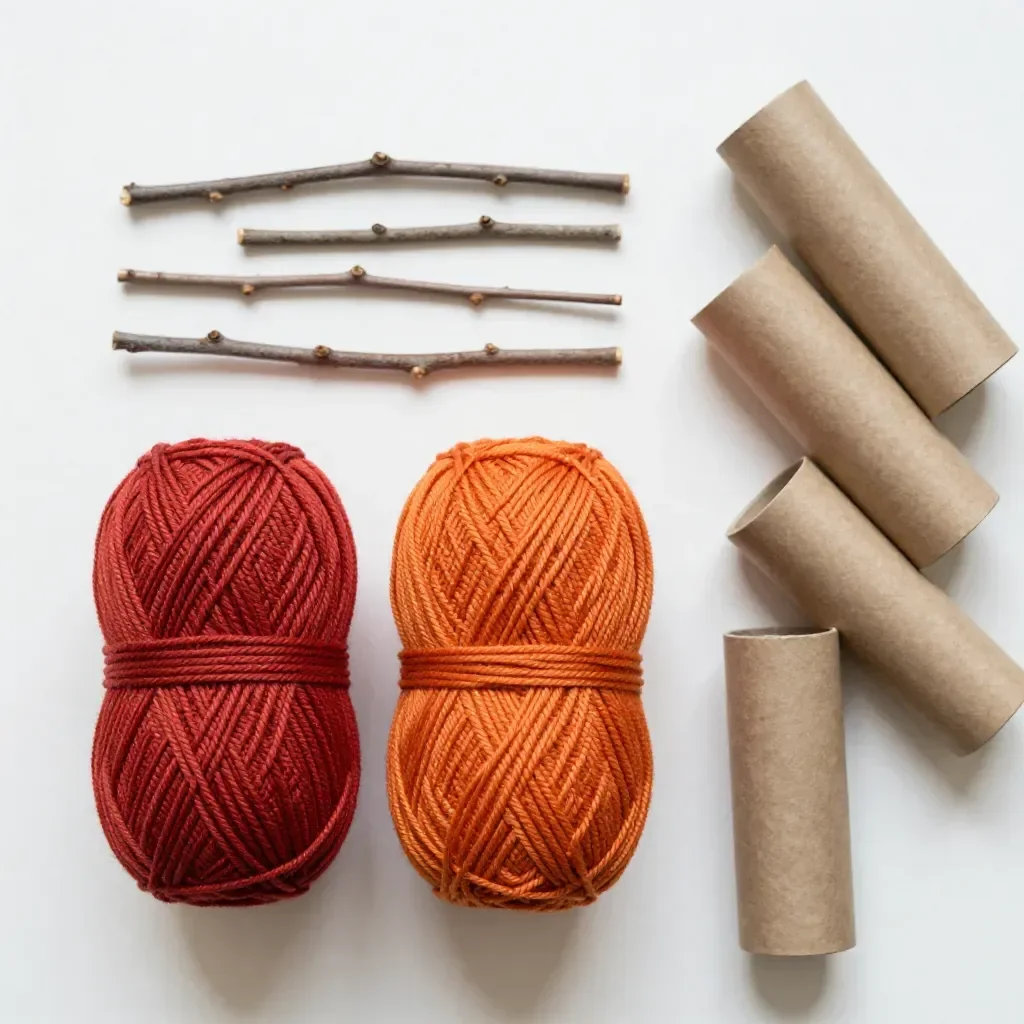
This project is perfect for families bustling with daily life since it is incredibly low-prep. You don’t need to hunt for special craft supplies; everything you require is likely already at home. Toilet paper rolls, paints, and scissors are all standard items that many people have on hand. Additionally, the steps are straightforward, making it an approachable activity, even for those who don’t feel crafty. Whether it’s a spontaneous weekend or a lazy rainy day, this fun and engaging project is ready to go when you are.
The Flow of Making Unleash Your Creativity with Toilet Paper Roll Pumpkins
Starting this DIY is quick and easy. You need about 30 minutes to set up, paint, and let the creations dry. The whole family can join in, from the youngest to the most experienced crafters. The mess level is minimal, and adult involvement is only necessary for cutting and handling materials. You’ll find that your kids can easily take the lead, allowing for a relaxing phase of creation without the need for constant supervision.
Materials You’ll Need
To make these vibrant pumpkins, gather the following materials:
- Toilet paper rolls
- Orange and green paint (common household items)
- Black markers or crayons (easy substitutes)
- Scissors (adult supervision needed)
- Glue or tape (for securing parts)
This simple list makes it clear that creating cute pumpkins is budget-friendly and perfect for a family craft day.
Step-by-Step Directions
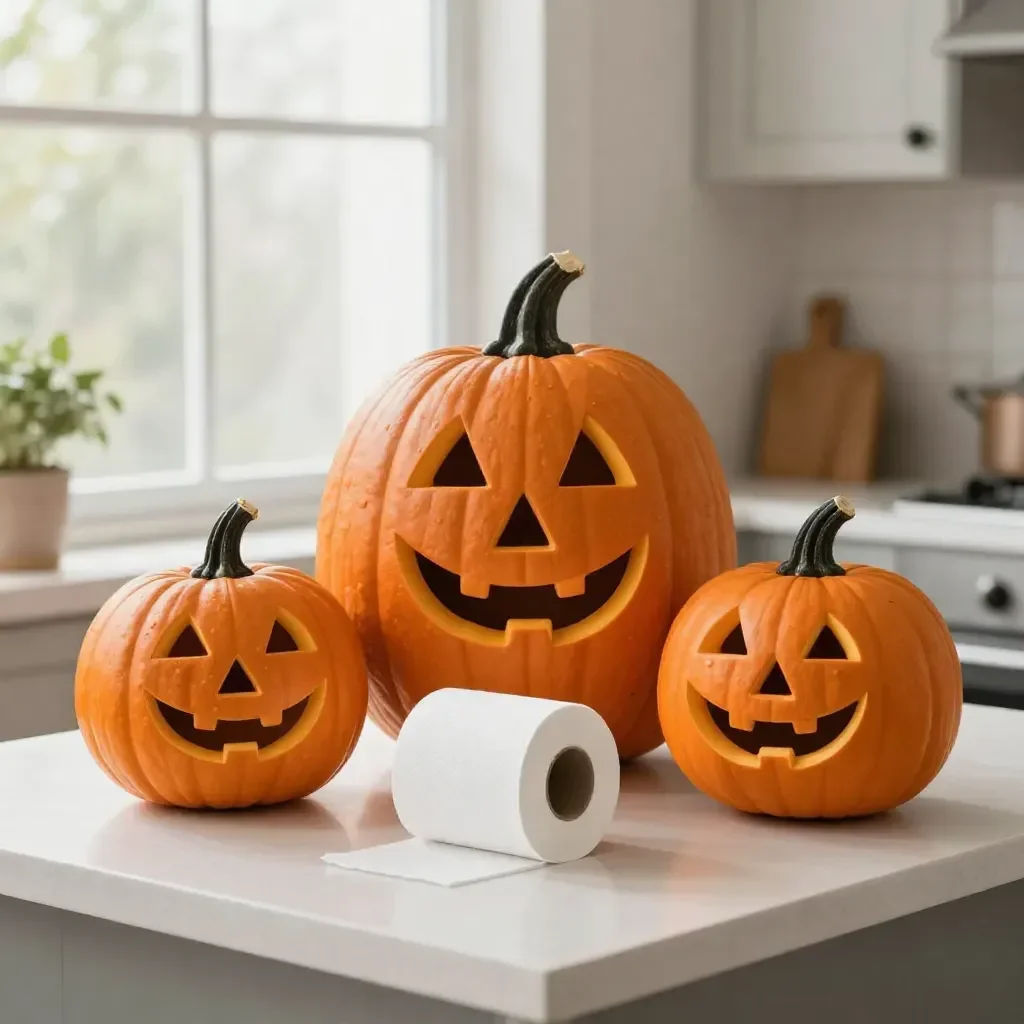
Prepare the Toilet Paper Rolls: Start by soaking the toilet paper rolls in water for a minute. Gently squeeze out the excess water. This will soften them and allow for easier painting.
Paint the Rolls: Using orange paint, cover the entire outside of each roll. Be sure to paint even strokes for a uniform finish. Let dry.
Add Details: Once the orange paint is dry, use black markers or crayons to draw faces on the pumpkins. Encourage your kids to get creative with their expressions.
Create the Pumpkin Tops: Cut out small green leaves and stems from paper or cardboard. You can also paint additional pieces of cardboard in green.
Attach the Stems: Utilize glue or tape to secure your pumpkin tops to the painted rolls. You might assist if they require extra stability.
Final Touches: Allow everything to dry for a while. Once completed, display your pumpkin creations around the house or use them for festive decorations.
The Simple Science or Skills at Work

While making these adorable toilet paper roll pumpkins, your kids will practice essential skills. For one, they’ll hone their fine motor skills as they paint and attach the pumpkin tops. This project also incorporates aspects of art, such as color mixing and design. Watching the paint bubble and dry offers an interactive approach to science. The cause and effect are clear as they see their strokes transform a simple roll into a cheerful decoration.
Troubleshooting Common Issues
If something doesn’t go as planned, don’t fret! Sometimes the paint may run or clump. If this happens, a quick fix is to add a bit of water to the paint for a smoother application. If the pumpkin top doesn’t stick firmly, try using stronger adhesive or a little extra patience with the drying process.
Easy Variations to Try
You can try several fun variations to add a twist to your toilet paper roll pumpkins:
- Use Glitter: Add a touch of glamour by sprinkling glitter on the paint before it dries.
- Different Shapes: Instead of just pumpkins, create ghost figures using white paper for a fun Halloween theme.
- Seasonal Colors: Change colors based on the season—red and gold for Thanksgiving, or even pastel colors for springtime.
These variations can provide endless opportunities for little hands to experiment.
Storing or Reusing This Project
Once your pumpkins are completed, consider how best to store or reuse them. If they are well-made, they can be saved for the next Halloween season. Otherwise, you can easily recycle the materials or disassemble them for a different project.
FAQs About Unleash Your Creativity with Toilet Paper Roll Pumpkins
What if the kids make a mess while painting?
This is a common concern, but with a few simple precautions, it can be managed. Set up a designated crafting area with old newspapers or a plastic tablecloth to catch any spills. Having wipes or paper towels at hand makes cleanup easy and keeps the focus on fun!
Is this project safe for younger children?
Yes! However, adult supervision is essential, especially with scissors or any cutting tools. You can assist them in managing the more challenging aspects, ensuring they enjoy the creative parts safely.
Can I substitute the paint with something else?
Absolutely! If you don’t have paint, consider using markers or crayons. Both options work well, but they provide different textures and finishes that might offer unique results.
A Final Helpful Note
Before you start, remember that the goal of this activity is creativity and fun. Don’t stress about perfection. Embrace the mess and allow your children’s imaginations to run wild. You’ll find it’s more about the time spent together than the finished product. Enjoy making your toilet paper roll pumpkins and happy crafting!
Conclusion
Finding enjoyable, easy projects can be thrilling, especially when they involve a bit of creativity and mess. Toilet paper roll pumpkins are a fantastic way to bond with your kids while engaging their artistic side. If you want more inspiration for crafting, check out Toilet Paper Roll Crafts for All Skill Levels – Country Design Style or explore fun alternatives like Book Character Pumpkins – 23 No Carve Ideas – Sew Woodsy. You’ll never run out of crafting ideas!
PrintToilet Paper Roll Pumpkins
A fun and engaging craft project for kids using common household materials to create adorable pumpkin decorations.
- Prep Time: 10 minutes
- Cook Time: 20 minutes
- Total Time: 30 minutes
- Yield: Varies depending on the number of toilet paper rolls used
- Category: Crafts
- Method: Crafting
- Cuisine: N/A
- Diet: N/A
Ingredients
- Toilet paper rolls
- Orange paint
- Green paint
- Black markers or crayons
- Scissors
- Glue or tape
Instructions
- Prepare the Toilet Paper Rolls: Soak the rolls in water for a minute, then squeeze out excess water.
- Paint the Rolls: Cover the outside of each roll with orange paint and let it dry.
- Add Details: Use black markers or crayons to draw faces on the dried pumpkins.
- Create the Pumpkin Tops: Cut out small green leaves and stems from paper or cardboard.
- Attach the Stems: Use glue or tape to secure your pumpkin tops to the painted rolls.
- Final Touches: Let everything dry and then display your pumpkin creations.
Notes
Adult supervision is required when using scissors. Set up a crafting area to manage any mess.
Nutrition
- Serving Size: 1 pumpkin
- Calories: 0
- Sugar: 0g
- Sodium: 0mg
- Fat: 0g
- Saturated Fat: 0g
- Unsaturated Fat: 0g
- Trans Fat: 0g
- Carbohydrates: 0g
- Fiber: 0g
- Protein: 0g
- Cholesterol: 0mg