

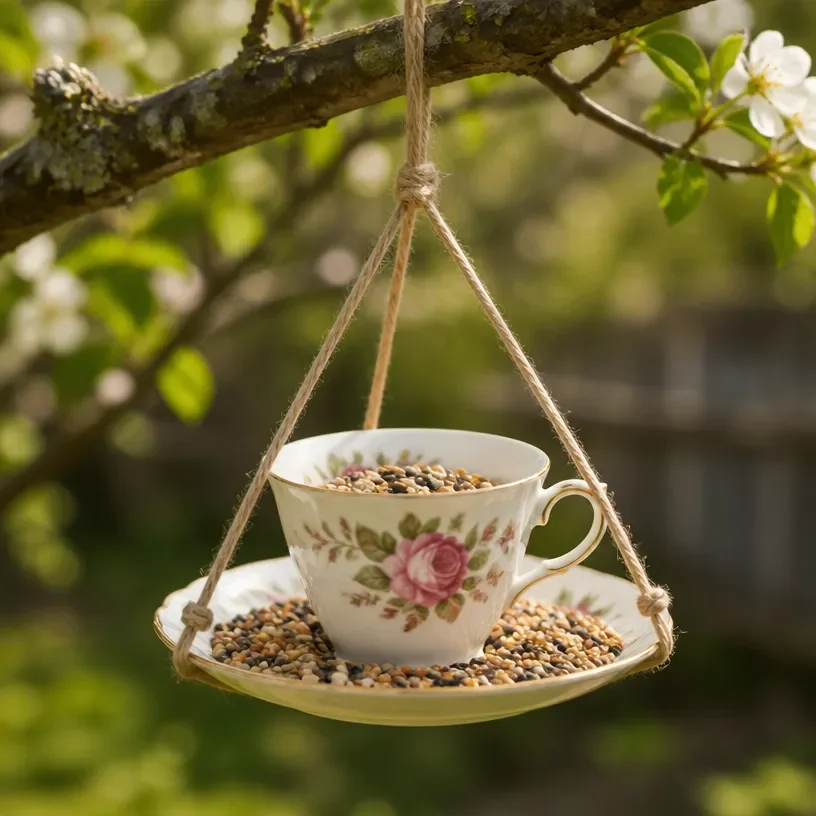
Creating a cozy afternoon craft with the kids can become a delightful experience, especially when they’re eager to make something right away. Perhaps they saw a beautiful bird in the garden and want to attract more to visit; this is the perfect moment to jump into a hands-on project. You might find that making a thrifted teacup bird feeder not only satisfies their curiosity but also taps into creativity. There’s something uniquely charming about transforming a simple teacup into a beautiful haven for our feathered friends. You may also find How To Make Pool Noodle Butterfly Feeder useful.
Why This How to Make a Thrifted Teacup Bird Feeder Works So Well
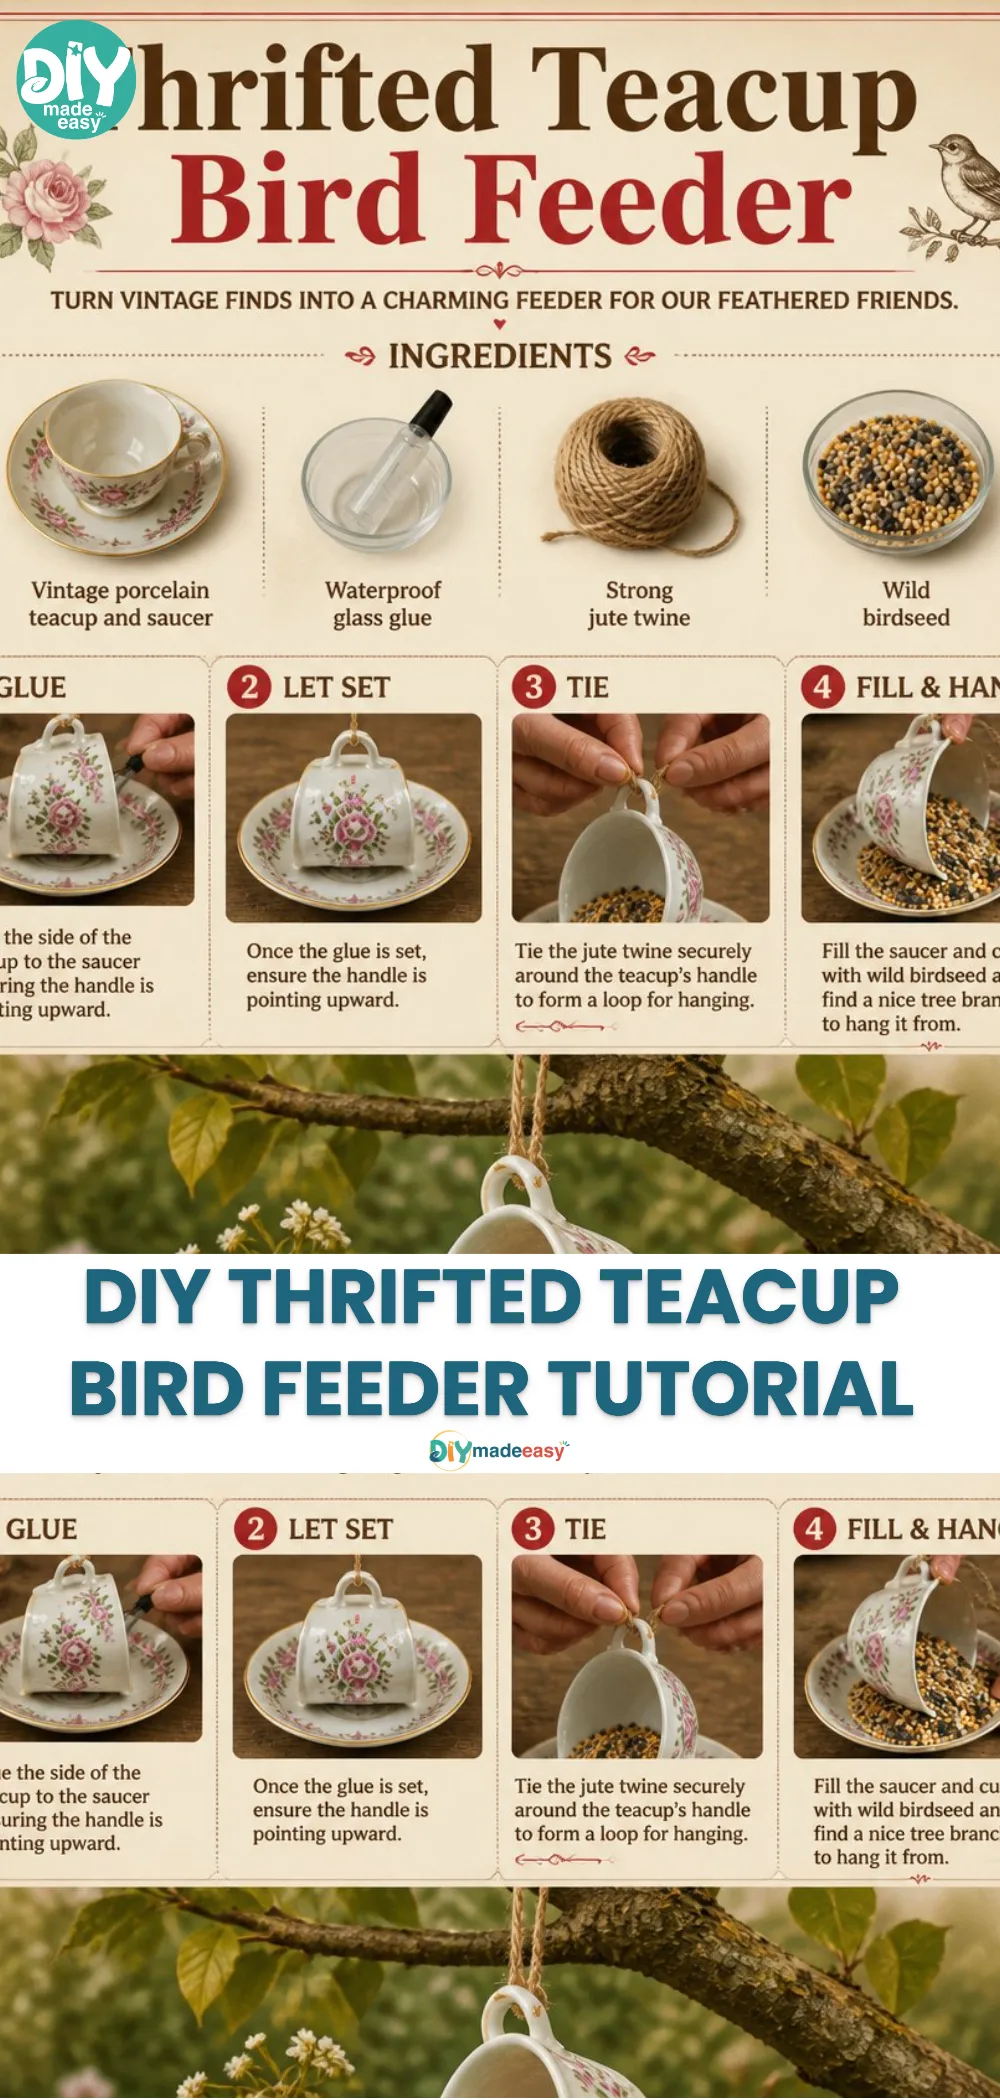
This project shines as a low-prep activity that embraces accessibility. You might already have many of the materials at home or find them at a local thrift store without spending much. The beauty of this DIY project lies in its simplicity. It welcomes anyone, regardless of crafting expertise, making it an excellent fit for busy schedules. Plus, it provides a reliable way to create something functional and appealing while also allowing for some exploration of nature. You may also find How To Make A Butterfly Craft From Paper Plates useful.
A Quick Look Before You Begin
This crafty endeavor will take around an hour, including setup and drying times. Gather the necessary materials beforehand to create a smooth process. The anticipated mess level is minimal, mostly concentrated on glue and tier setup, and older kids can manage most of the assembly independently. You may want to supervise when they’re handling glue or any potential hazards like sharp edges from broken teacups. You may also find How To Make A Rainbow Ocean Jar At Home useful.
Materials You’ll Need
Here’s a straightforward list of supplies for your teacup bird feeder: You may also find How To Make A Suncatcher With Glass Beads useful.
- Thrifted teacup – common household item
- Thrifted saucer – optional, for added support
- Strong glue (like E6000) – easy substitute for less toxic craft glue
- Twine or ribbon – budget-friendly hanging solution
- Birdseed – a great way to attract local birds
- Paint or decorative elements (optional) – to personalize your feeder
Step-by-Step Directions
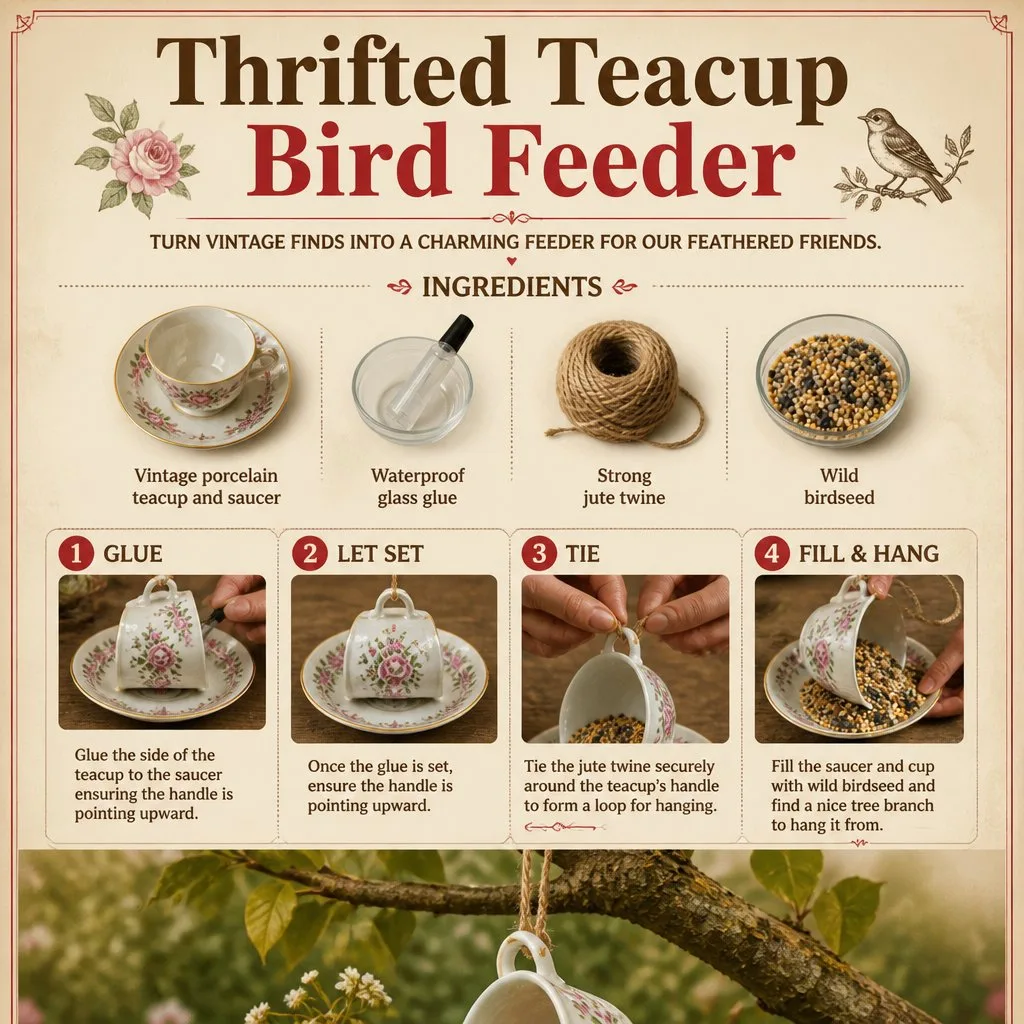
Choose Your Teacup and Saucer
Select a teacup that mesmerizes you with its design. If you have a saucer, pair them together for added charm during the assembly.Clean and Prepare the Teacup
Wipe down the teacup and saucer to ensure dust and residues are cleared. Allow it to dry completely.Glue the Teacup
Apply a generous amount of strong glue to the bottom of the teacup. Press it firmly to the center of the saucer, ensuring it adheres well.Add a String for Hanging
Cut a length of twine or ribbon and thread it through the handle of the teacup. Tie a secure knot, allowing enough length to hang freely.Fill with Birdseed
Pour birdseed into the teacup, filling it near the brim. You want it to be visually appealing while also encouraging birds to nibble from it.Let it Dry
Allow the glue to dry according to the manufacturer’s instructions. This usually takes about 24 hours to ensure everything is secure.Hanging the Feeder
Once dry, choose a suitable location to hang your teacup bird feeder where you can easily observe the birds.Frequent Refills
Pay attention to the birdseed levels and refill as necessary to ensure a constant feeding station for your local birds.
What Kids Practice While Making This
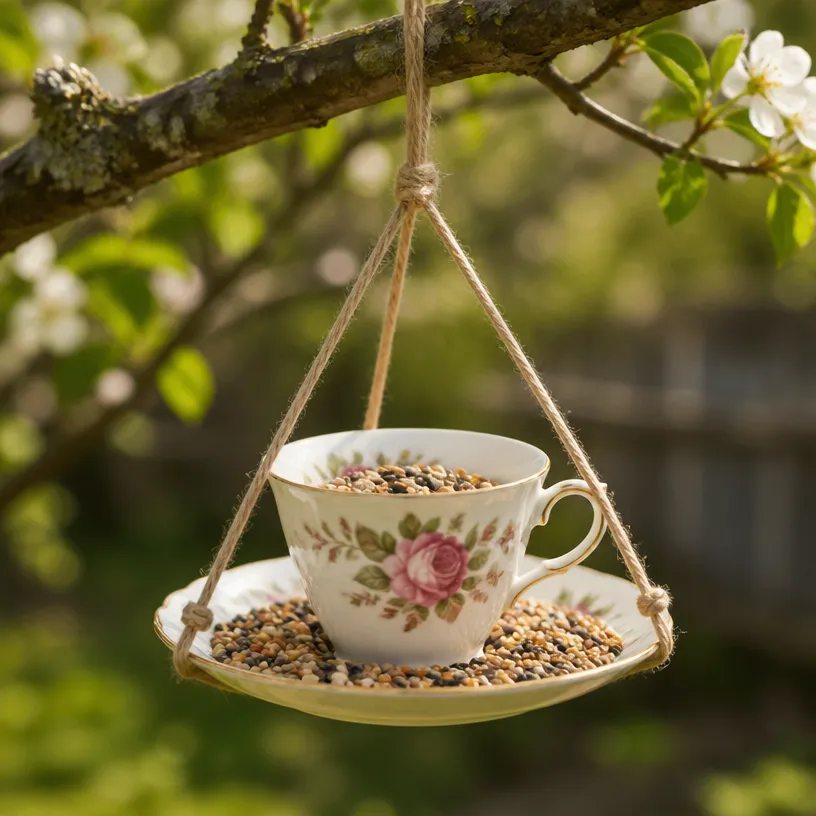
Making a teacup bird feeder engages several developmental areas. From fine motor skills while gluing and handling the materials to coordination when tying knots or pouring birdseed, this project covers many bases. Kids can experience cause and effect, understanding how their actions like the type of seed they put in affect which birds visit. All while learning patience as they wait for the birds to arrive is a rewarding experience.
Troubleshooting Common Issues
If your teacup doesn’t feel stable upon completion, ensure that the glue is appropriately cured. If you notice any loose parts, simply apply more glue and let it dry again. If birds don’t seem to flock to your feeder right away, don’t be disheartened. Try repositioning your feeder to a more visible area in your yard or changing the type of birdseed you use to attract different species.
Easy Variations to Try
Consider these fun twists to make your project stand out:
- Paint the exterior of the teacup with vibrant colors to attract both birds and compliments.
- Add glitter or other decorative elements for a whimsical touch.
- Use a larger cup to make a bigger feeder that can host more seeds for multiple visits.
- Make seasonal decorations by switching the teacup designs for holidays.
- Incorporate natural elements by using twigs or flowers to embellish around the edges.
Storing or Reusing This Project
After its functional life, consider reusing the materials from your teacup bird feeder. The cup can have a new life as a planter or decorative holder for smaller kitchen essentials. Ensure that all materials are cleaned properly if placed back into storage for any future use.
FAQs About How to Make a Thrifted Teacup Bird Feeder
What if the glue doesn’t hold?
If you notice any separation, reapply your glue and allow more time to cure. Sometimes patience is key to a strong bond.
Is it safe to use recycled items?
Yes, as long as you ensure that the items are free from sharp edges and thoroughly cleaned, using thrifted materials makes this project not only fun but also eco-friendly.
How long should I wait before refilling the feeder?
Observe your feeder. If the seed is almost gone and birds have visited frequently, refill it promptly to keep them coming back.
Conclusion
In creating a thrifted teacup bird feeder, you embark on a simple yet rewarding project that beautifies your outdoor space and meshes with nature. This craft can also inspire future DIY ventures, encouraging creativity beyond the initial project. For more innovative ideas, check out this Teacup Bird Feeder DIY Tutorial or learn how to create a stylish Hanging Teacup Bird Feeder to further enjoy nature’s visitors. The simple joy found in crafting brings families together, reminding us to appreciate life’s little moments.
PrintThrifted Teacup Bird Feeder
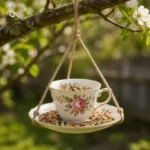
Create a charming bird feeder from thrifted teacups to attract local birds while engaging in a fun craft with kids.
- Prep Time: 15 minutes
- Cook Time: 0 minutes
- Total Time: 60 minutes
- Yield: 1 bird feeder
- Category: DIY Craft
- Method: Crafting
- Cuisine: N/A
- Diet: N/A
Ingredients
- Thrifted teacup
- Thrifted saucer (optional)
- Strong glue (like E6000)
- Twine or ribbon
- Birdseed
- Paint or decorative elements (optional)
Instructions
- Choose Your Teacup and Saucer
- Clean and Prepare the Teacup
- Glue the Teacup
- Add a String for Hanging
- Fill with Birdseed
- Let it Dry
- Hanging the Feeder
- Frequent Refills
Notes
Supervise younger kids when handling glue or sharp edges. It’s normal for younger kids to create a bit of mess!
Nutrition
- Serving Size: 1 feeder
- Calories: 0
- Sugar: 0g
- Sodium: 0mg
- Fat: 0g
- Saturated Fat: 0g
- Unsaturated Fat: 0g
- Trans Fat: 0g
- Carbohydrates: 0g
- Fiber: 0g
- Protein: 0g
- Cholesterol: 0mg