

Creating DIY suncatchers can turn a busy afternoon into a delightful creative experience for you and your family. Picture this: the kids are bustling around, looking for something to do right now, and you have just the activity in mind. With an assortment of colorful tissue paper and a few simple materials, you can guide them in making beautiful suncatchers that will brighten up your home. These projects are not only fun but also a fantastic way to engage everyone in a hands-on activity that results in something tangible to display.
Why This DIY Suncatchers Works So Well

One of the best things about making DIY suncatchers is how low-prep it is. You don’t need to gather a long list of materials or set aside a full day for preparation. Most likely, you already have what you need lying around your home, especially if you have kids who love to craft.
This project is approachable for all ages; kids can get creative while adults can support them without feeling overwhelmed. The results are reliable, encouraging even the youngest of crafters to enjoy the process. Plus, suncatchers are easy to make in varying shapes and colors, allowing for personal expression without pressure. You can create an afternoon of smiles and laughter with just a few simple steps.
Explore Visual Creative Crafts
Get inspired by eye-catching projects. Browse our Visual DIY Creative Crafts and bring your creative ideas to life with simple, visual guides.
A Quick Look Before You Begin
You’ll need about 30–60 minutes to complete suncatchers, depending on how detailed everyone wants to get. Set up a workspace on your kitchen table or a craft area where spills won’t be a concern. It’s best to have some old newspaper or a plastic tablecloth underneath to catch any glue drips or scraps.
While this project is mostly straightforward, a little adult supervision may be helpful, especially when it comes to using scissors or glue. You know your kids best, so feel free to step in when necessary. Prepare for some excitement, as there will be a bit of mess colorful bits of tissue paper make for lively cleanup, but that’s just part of the fun.
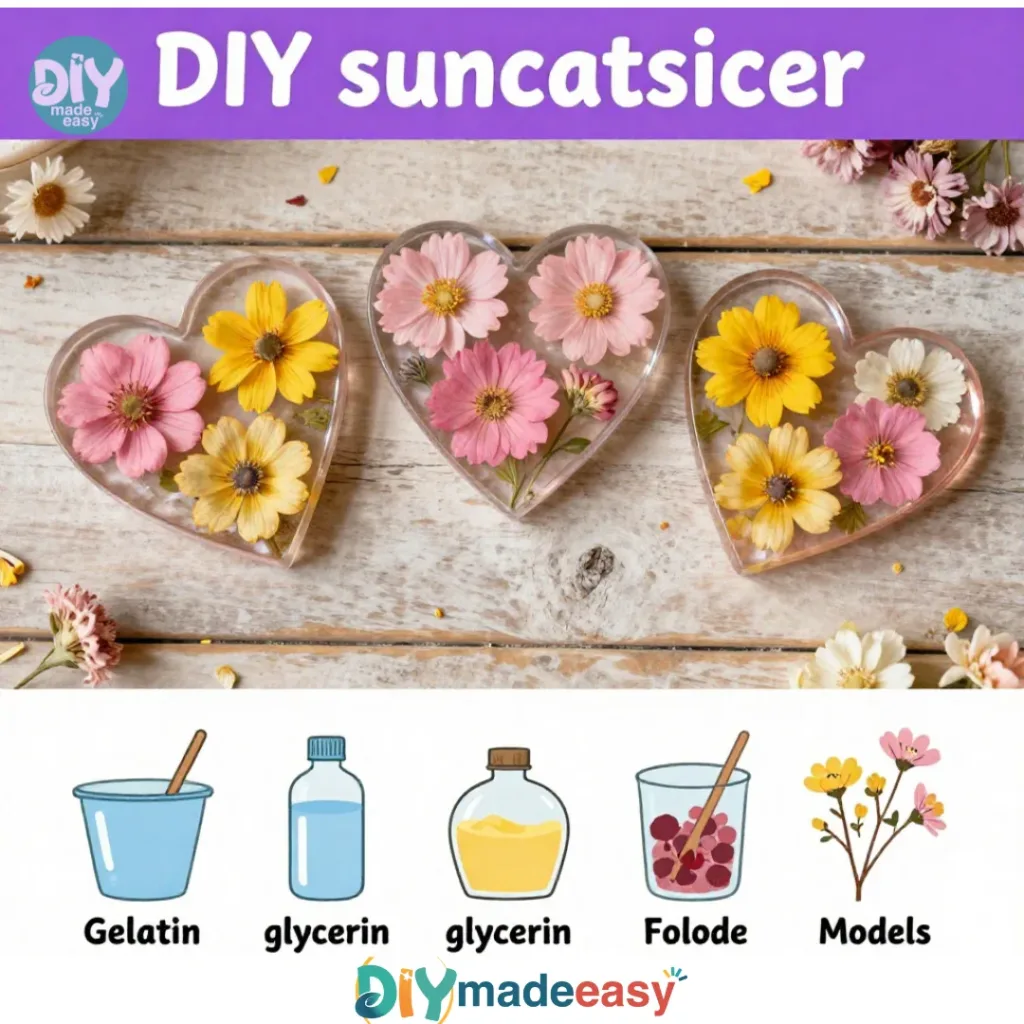
Materials You’ll Need
- Clear acrylic sheets or plastic from clear containers
- Colored tissue paper or cellophane
- Scissors (blunt-tipped for safety)
- Craft glue or double-sided tape
- Optional: markers for drawing designs
- Optional: a hole punch for hanging
- String or wire to hang your suncatcher
Each item is either inexpensive or might already be a common household item in your craft supplies. If you don’t have one of the materials, there are easy substitutes available, such as using cardboard if you can’t find acrylic sheets.
Step-by-Step Directions

- Begin by selecting your base material and cut it into your desired shapes. You can make stars, circles, or even hearts. Let your imagination flow. Using scissors, move slowly to ensure clean edges.
- Cut the colored tissue paper or cellophane into small pieces. They can be squares, rectangles, or even irregular shapes, depending on the look you want to create. This part can get a little messy, but that’s the fun of crafting!
- Lay out your cut shapes on the clear base and arrange them as desired. Think about color combinations and how they will look when the light shines through. Don’t hesitate to mix and match until it feels just right.
- Attach the paper pieces with craft glue. Apply a thin layer of glue and gently press the paper down. Keep an eye on any pieces that may want to lift; you might need to hold them in place for a moment.
- Draw designs with markers if desired. This is a great opportunity for kids to showcase their artistic talents. Simple lines and dots can transform your suncatcher into something truly unique.
- After everything is dry, punch a hole at the top and thread your string or wire through it. This step adds a practical touch, allowing your suncatcher to hang easily in a sunny spot.
- Hang your suncatcher in a sunny spot and enjoy the colors created by the light. It is rewarding to see how all your efforts and creativity come together.
The Learning Behind This DIY

Creating suncatchers helps children practice various skills. Cutting the tissue paper and assembling designs enhance fine motor skills and hand-eye coordination, which are essential for their development.
Additionally, kids learn about cause and effect when they hang their creations in sunlight. They see how colors change and dance as the light filters through, sparking curiosity about light and color blending. This basic yet necessary science contributes to their understanding of the world around them.
Troubleshooting Common Issues
Making suncatchers is mostly straightforward, but like any creative project, some challenges may occur. If your colored paper doesn’t seem to stick well, make sure to apply enough glue without soaking the paper. A little tackiness goes a long way.
If the paper curls or bends after drying, it might be due to moisture in the glue. Ensure each piece is adequately adhered and use a lightweight object to help press them down as they dry.
Don’t fret if things don’t come out perfect; crafting is about enjoying the process rather than the end result.
Easy Variations to Try
To keep the fun going, consider these variations on your suncatchers:
- Create themed suncatchers for different seasons or holidays, such as leaves for fall or hearts for Valentine’s Day.
- Try layering the colored tissue paper to mix different colors for a tie-dye effect.
- Use different shapes animals, geometric forms, or flowers to create a diverse collection.
- Integrate natural elements, like pressed flowers or leaves, for a unique touch.
- Shuffle in some textured materials, like lace or glitter, to add visual interest.
Storing or Reusing This Project
Once the suncatchers are made, they can stay up for as long as you like. If you decide to rotate your decorations, store them carefully in a flat box or container separated by sheets of tissue paper to avoid scratches.
You can reuse the clear base materials by stripping off the tissue paper and starting anew, minimizing waste. This approach not only encourages creativity but also instills environmental consciousness in the kids.
FAQs About DIY Suncatchers
Are the materials safe for young kids?
Yes, they are generally safe to work with, but always supervise when using scissors or glue. If your kids have allergies, check the glue and tissue paper materials first.
What if there’s too much mess?
Expect a little color fluff around! Use a plastic tablecloth or old newspapers to cover your workspace. Clean up spills with a damp cloth immediately to prevent any stickiness.
Can we use colored paper instead of tissue or cellophane?
Absolutely! Just keep in mind that heavier paper may not allow light to pass through as effectively as thinner options.
How do I store our suncatchers after making them?
Store them in a flat, safe place, using wax paper in between to prevent any sticking or scratches.
Will suncatchers last through the seasons?
Depending on the weather, suncatchers can fade over time especially if they are exposed to sun and rain. Consider bringing them inside during harsh weather or placing them in covered areas.
Conclusion
Making DIY suncatchers is a simple yet rewarding project that can brighten your home while providing a fun family activity. The steps are clear and the materials are easy to gather, making this a perfect option for busy days when you need a creative outlet. By following these straightforward directions, you’ll encourage creativity and hands-on learning without feeling overwhelmed.
For more ideas and inspiration, check out these resources: a great selection of suncatcher supplies and easy handmade DIY suncatchers to generate your next crafting adventure.
PrintDIY Suncatchers

A fun and engaging project to create beautiful suncatchers with colorful tissue paper, perfect for a family afternoon.
- Prep Time: 30 minutes
- Cook Time: 0 minutes
- Total Time: 60 minutes
- Yield: 1 suncatcher
- Category: Craft
- Method: Crafting
- Cuisine: N/A
- Diet: N/A
Ingredients
- Clear acrylic sheets or plastic from clear containers
- Colored tissue paper or cellophane
- Scissors (blunt-tipped for safety)
- Craft glue or double-sided tape
- Optional: markers for drawing designs
- Optional: a hole punch for hanging
- String or wire to hang your suncatcher
Instructions
- Begin by selecting your base material and cut it into your desired shapes.
- Cut the colored tissue paper or cellophane into small pieces.
- Lay out your cut shapes on the clear base and arrange them as desired.
- Attach the paper pieces with craft glue.
- Draw designs with markers if desired.
- After everything is dry, punch a hole at the top and thread your string or wire through it.
- Hang your suncatcher in a sunny spot and enjoy the colors created by the light.
Notes
Ensure adult supervision, especially when using scissors or glue. Expect a bit of a mess during the crafting process.
Nutrition
- Serving Size: 1 suncatcher
- Calories: 0
- Sugar: 0g
- Sodium: 0mg
- Fat: 0g
- Saturated Fat: 0g
- Unsaturated Fat: 0g
- Trans Fat: 0g
- Carbohydrates: 0g
- Fiber: 0g
- Protein: 0g
- Cholesterol: 0mg