

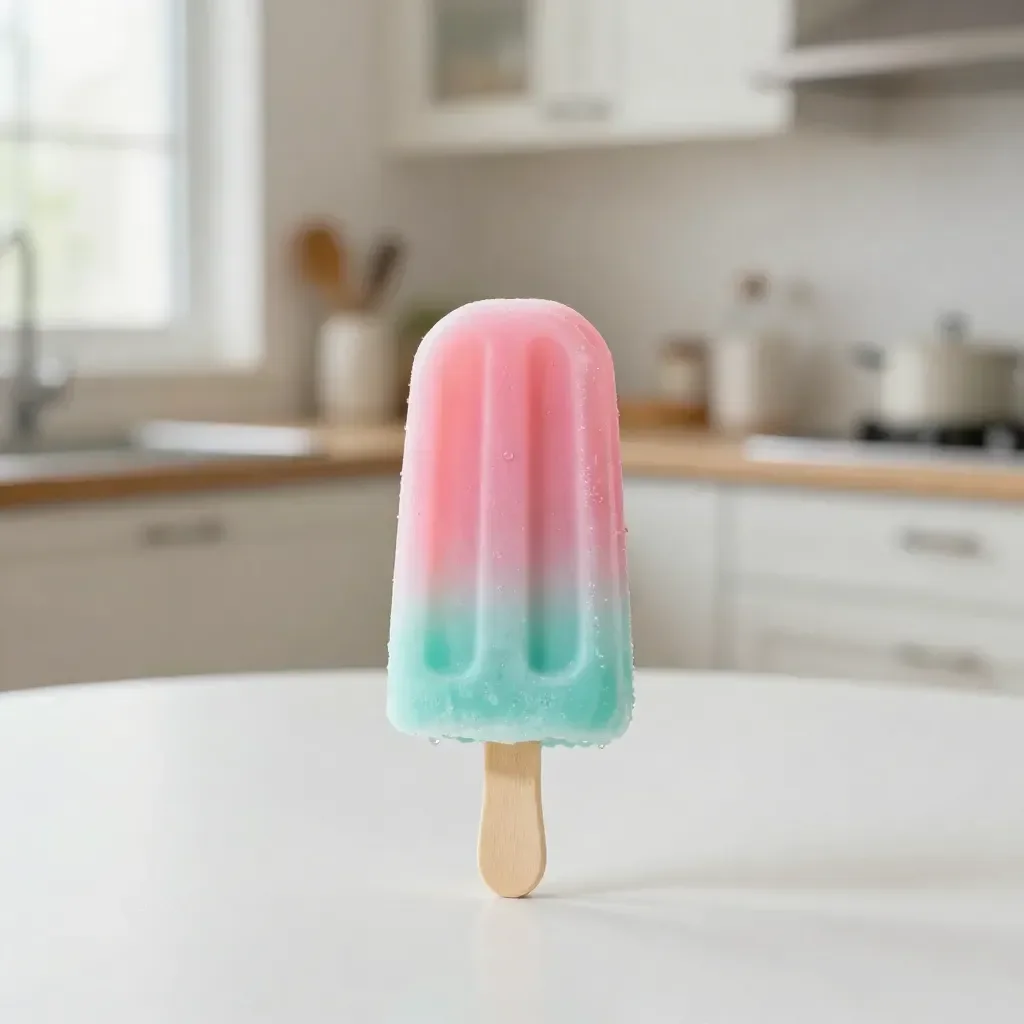
Creating fun activities for kids can sometimes feel like a last-minute scramble, especially during busy afternoons when they suddenly want to craft something special. If you find yourself in need of a quick and enjoyable project, the Summer Popsicle Tissue Paper Craft for Kids can be the perfect solution. This delightful craft is simple to set up, uses materials you likely already have at home, and allows children to express their creativity while having fun. You may also find Baking Soda Rainbow Crystal Forest useful.
Why This Summer Popsicle Tissue Paper Craft For Kids Works So Well
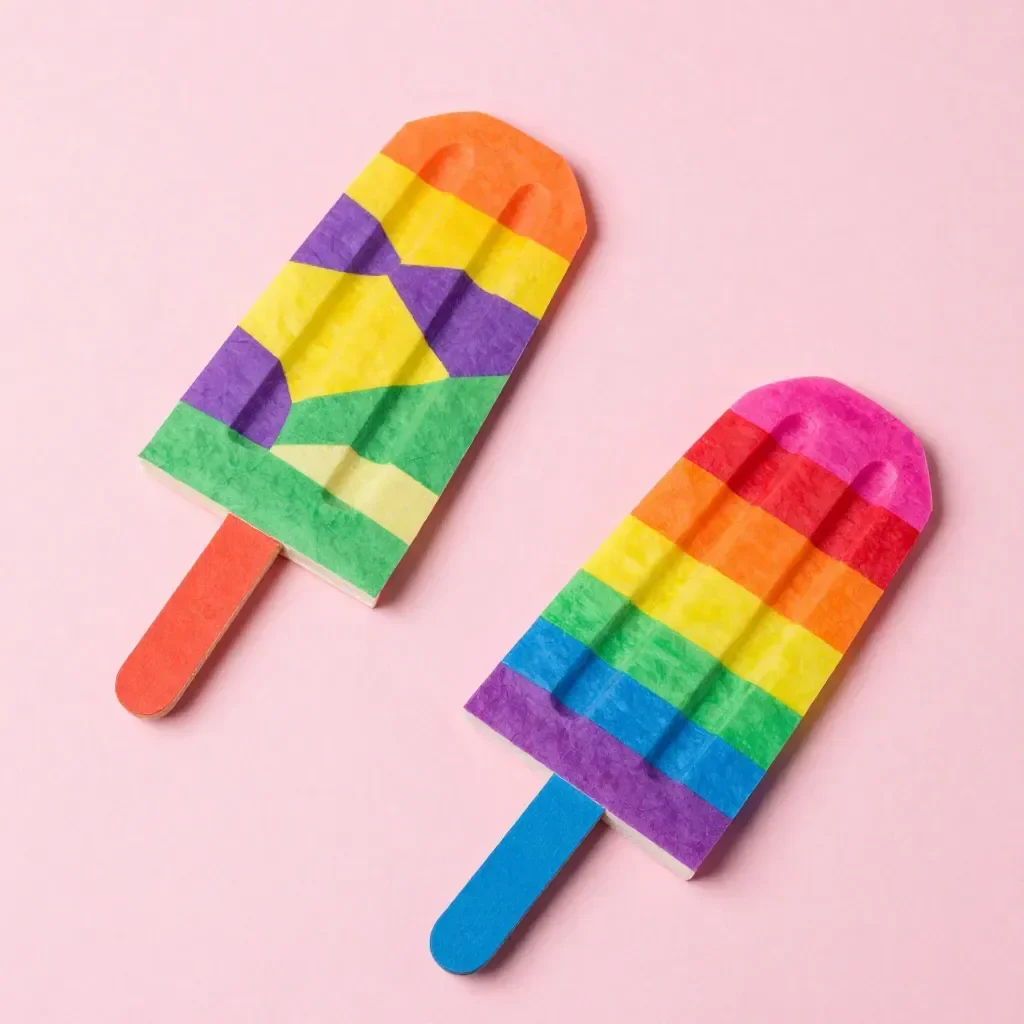
This project is a hit among parents and kids alike due to its simplicity and low-prep nature. It requires minimal materials and short setup time, making it easy to dive into even on hectic days. Kids love the hands-on experience of tearing tissue paper and layering colors, which fosters fine motor skills and creativity. Plus, parents appreciate that it’s a clean and manageable activity, allowing for a stress-free crafting session. Engaging in such creative projects not only entertains kids but also encourages them to explore their artistic side without overwhelming their schedules. If you’re looking for more fun ideas, check out other creative projects that cater to various interests.
A Quick Look Before You Begin
Making the Summer Popsicle Tissue Paper Craft is a breeze. The activity usually takes about 30-45 minutes, making it a quick option for a sunny afternoon. Setup requires just a few tables, scissors, and the craft supplies, which can easily be organized before crafting time begins. The mess level is quite low; most of the materials can be contained with just a few sheets of newspaper or a plastic mat underneath. Although adult supervision is beneficial, children can largely manage this craft independently. This empowers them to express their ideas and creativity, while also ensuring that they feel a sense of accomplishment afterward.
Materials You’ll Need
To make the Summer Popsicle Tissue Paper Craft, gather the following materials:
- Tissue paper (assorted colors) – vibrant colors add to the fun
- Cardstock or construction paper – a sturdy base for your popsicles
- Scissors – for cutting tissue paper into pieces
- Glue stick or liquid glue – to secure the tissue paper to the base
- Optional: popsicle stick – for an added real popsicle effect
- Optional: markers or crayons – for decorating the popsicles
These supplies are common household items, making them easy to gather and prepare. Most of them can be found in your art supplies or pantry, and all work hand-in-hand to create something special.
Step-by-Step Directions
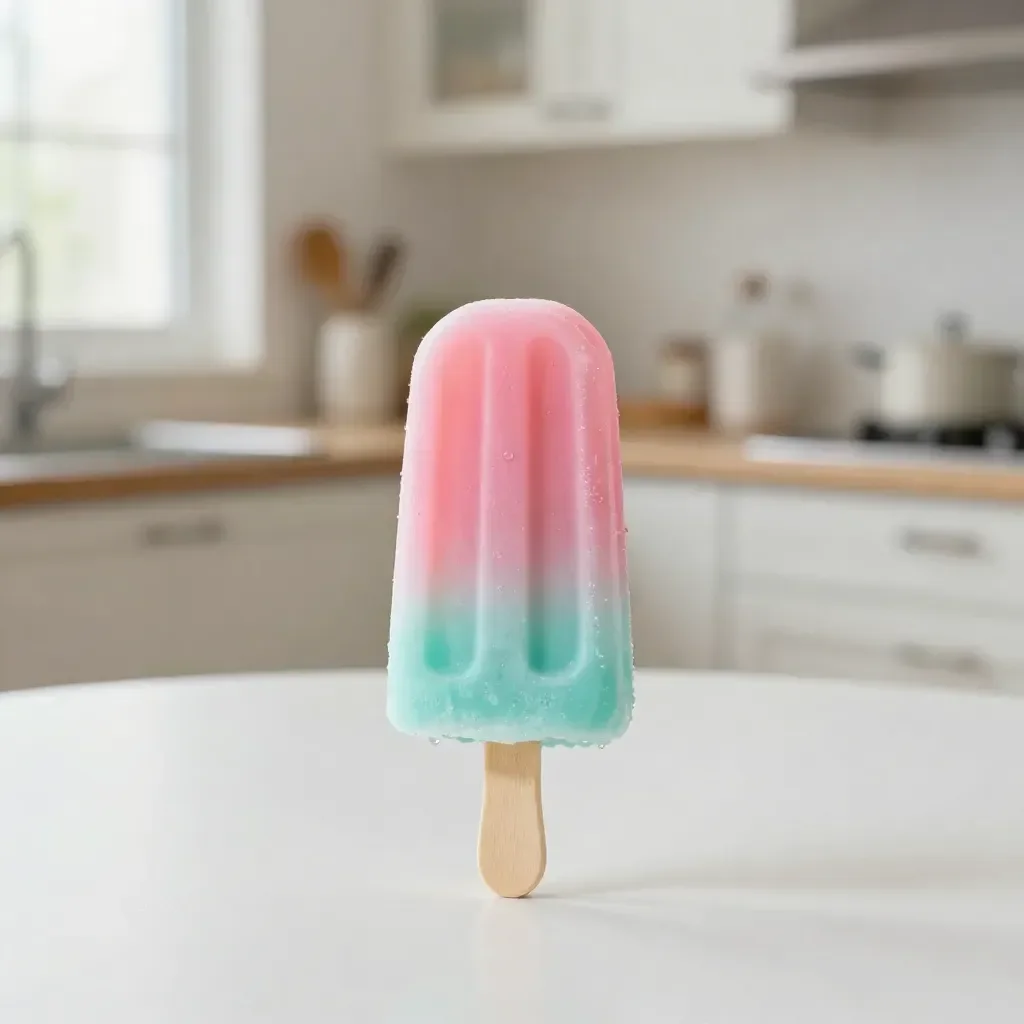
- Start by cutting the cardstock into the shape of a popsicle. You can make it rectangular or slightly rounded at the top, depending on your child’s preference. This will be the base of your craft.
- Choose several colors of tissue paper and tear them into small squares. Kids love this part! Small pieces make it easier to layer and create the popsicle’s texture.
- Apply glue to the cardstock popsicle shape. Be generous, but watch out for clumps that might cause bubbling.
- Begin placing the torn tissue paper squares onto the glue. Encourage your little ones to overlap the pieces to create a colorful and vibrant layering effect.
- Once they’ve covered the popsicle completely, add a layer of glue over the top of the tissue papers to keep them secure.
- If desired, let the popsicle dry for a bit. You can also glue a popsicle stick to the bottom for an even more realistic finish!
- Finally, have fun decorating the popsicle! Kids can use markers or crayons to add faces, sprinkles, or any other embellishments they find appealing.
This step-by-step approach provides not just a craft but also a chance to engage creatively with children, fostering bonding and learning through art.
The Learning Behind This DIY

The Summer Popsicle Tissue Paper Craft is more than just a creative activity. It serves as a fantastic introduction to fine motor skills, requiring children to manipulate small pieces of paper and use scissors with precision. As they tear and apply tissue paper, they practice coordination and hand-eye synchronization. This project also encourages discussions about color mixing, as different colors come together to form vibrant shades, stimulating their cognitive skills. Moreover, children learn about cause and effect as they see how their choices impact the final product.
Troubleshooting Common Issues
If your crafting session doesn’t go as planned, don’t worry; it happens to all of us! Here are a few common issues and their fixes:
- Tissue paper tearing improperly: If the tissue paper tears too jaggedly, encourage kids to gently pull instead of tearing forcefully to create cleaner edges.
- Glue clumps: If too much glue is applied, it might cause the tissue paper to bubble. Teach children to use a even application and to smooth out the paper as they go.
- Drying issues: If the popsicle isn’t drying well, ensure it’s placed in a dry, flat area away from humidity, and remind them to wait patiently until it’s completely dry.
These small adjustments can help improve the crafting experience and also teach children resilience and adaptation to unexpected outcomes.
Easy Variations to Try
To keep the creativity flowing, you might consider these variations to the Summer Popsicle Tissue Paper Craft:
- Seasonal Themes: Change the colors to match various holidays, such as red and green for Christmas, or pastels for Easter.
- Different Shapes: Instead of a classic popsicle, try making other frozen treats like ice cream cones or snow cones.
- Mixed Media: Incorporate materials like glitter or stickers for added texture and interest.
- Nature-Inspired Popsicles: Use leaf cutouts from green tissue paper instead of solid colors to create “green popsicles” or “vegetable-themed” treats, which can be a fun way to discuss healthy eating.
These variations can engage kids at different ages and skill levels, making it a versatile craft project.
Storing or Reusing This Project
After crafting, consider how to store or display the popsicle masterpieces. If your kids want to keep their creations, find a sturdy spot for them to dry completely. It can be an excellent way to showcase their artwork. Alternatively, if you plan to dispose of them, consider recycling the paper components to minimize waste. Crafting can be a great opportunity to teach kids about reusing materials or cleaning up effectively. Encourage them to participate in the cleanup by sorting materials back into their respective spaces.
FAQs About Summer Popsicle Tissue Paper Craft For Kids
One common concern is, "How messy is this craft?" Thankfully, this activity is quite low mess, especially if setup is done on a surface that can be easily cleaned or has protective layering like newspaper.
Parents often worry, "Is this safe for younger children?" As long as scissors are used with supervision, this project offers an excellent opportunity for children of varying ages to engage creatively.
Another frequently asked question is, "Can we substitute materials?" Absolutely! If tissue paper isn’t available, consider using old magazines or wrapping paper for a unique texture and appearance.
Some parents ask, "What should I do if the popsicles don’t look perfect?" It’s important to remind children that crafting is about the experience more than the final product; encourage them to embrace their creativity, and they’ll learn to love their unique outcomes.
Lastly, a common concern is about the storage of craft supplies. Storing materials in labeled containers will help keep everything organized and make future crafting sessions more enjoyable.
A Final Helpful Note
Creating with your children doesn’t have to feel overwhelming. Embrace the mess, the fun, and the laughter that emerges from crafting together. This Summer Popsicle Tissue Paper Craft can open the door for countless memories and conversations while nurturing creativity. Remember, the aim is to enjoy the process and celebrate the results, however imperfect they may be. Inspire your kids and feel free to explore other creative ideas, like science crafts or holiday-themed crafts, to keep the fun going!
Conclusion
Delving into crafts like the Summer Popsicle Tissue Paper Craft for Kids can provide a joyful break from routine and unleash creativity in a fun way. If you’re looking for more inspiration for summer crafting, check out this wonderful resource. There’s also a great way to integrate fine motor skills and creative thinking into play with a popsicle fine motor craft. Happy crafting!
PrintSummer Popsicle Tissue Paper Craft for Kids
A fun and simple DIY project that allows kids to create colorful popsicles using tissue paper, promoting creativity and fine motor skills.
- Prep Time: 10 minutes
- Cook Time: 30 minutes
- Total Time: 40 minutes
- Yield: 1 popsicle craft per child
- Category: Crafts
- Method: DIY Crafting
- Cuisine: N/A
- Diet: N/A
Ingredients
- Tissue paper (assorted colors)
- Cardstock or construction paper
- Scissors
- Glue stick or liquid glue
- Optional: popsicle stick
- Optional: markers or crayons
Instructions
- Start by cutting the cardstock into the shape of a popsicle.
- Choose several colors of tissue paper and tear them into small squares.
- Apply glue to the cardstock popsicle shape.
- Begin placing the torn tissue paper squares onto the glue.
- Once covered, add another layer of glue over the top to keep tissue papers secure.
- Let the popsicle dry.
- Decorate the popsicle with markers or crayons.
Notes
Encourage children to embrace their unique creations and enjoy the crafting process.
Nutrition
- Serving Size: 1 craft
- Calories: 0
- Sugar: 0g
- Sodium: 0mg
- Fat: 0g
- Saturated Fat: 0g
- Unsaturated Fat: 0g
- Trans Fat: 0g
- Carbohydrates: 0g
- Fiber: 0g
- Protein: 0g
- Cholesterol: 0mg