

Making art with kids often requires a balance between creativity and simple materials. Imagine a busy afternoon when the kids ask for a fun activity to fill the time. You want something they can dive into without needing to run out for special supplies. That’s where DIY Stained Glass Art comes in. With just a few easy materials and a little guidance, the kids can create beautiful artwork that brightens up your sunny windows.
Why You’ll Love Making DIY Stained Glass Art

DIY Stained Glass Art stands out because it is low-prep and approachable. You’re not looking at a lengthy setup or complicated instructions. Instead, it’s quick and rewarding. The nature of the project allows for flexibility; whether it’s a sunny day or a calm indoor afternoon, you’re set for a creative burst.
This project is reliable and works even for those who may not consider themselves particularly artsy. Kids love the satisfaction of watching their creations come to life. As they squeeze colorful mixtures of glue onto their parchment paper, they engage in the process, observing the way colors blend and form unique shapes. This is art that encourages exploration without overwhelming anyone, making it ideal for real-life family schedules.
Explore Visual Creative Crafts
Get inspired by eye-catching projects. Browse our Visual DIY Creative Crafts and bring your creative ideas to life with simple, visual guides.
How This DIY Comes Together
Creating DIY Stained Glass Art is straightforward. You can expect to spend about an hour, depending on the detail level of your designs. Set aside a few hours to let your pieces dry completely.
Mess levels tend to stay low with this activity, especially with careful preparation. You lay down a protective covering, and handling glue can be made easier with squeeze bottles, leaving less room for spills. Adult involvement is very relaxed. You can be by their side for encouragement, while kids handle most of the project themselves.
Materials You’ll Need
To make your DIY Stained Glass Art, gather these simple materials:
- Clear glue (that dries clear)
- Food coloring or liquid watercolors
- Parchment paper or plastic sheet
- Squeeze bottles or piping bags
- Toothpicks or paintbrushes (optional)
These materials are common and typically easy to find around the house. You might already have clear glue or food coloring in your kitchen, making this project budget-friendly. The optional brushes or toothpicks add detail but aren’t necessary for beautiful results.
Step-by-Step Directions

Now, let’s break down the process of making your DIY Stained Glass Art into clear steps:
- Prepare your workspace by laying down parchment paper or a plastic sheet.
This will allow you to create without worrying about making a mess. Choose a flat surface that’s easy to clean. - In a small cup, mix desired colors with clear glue, starting with one drop of color and adding more until pleased with the hue.
This is your chance to experiment with colors. Let the kids choose their favorites, and don’t be surprised if they mix unexpected shades. - Transfer the mixture into your squeeze bottle or piping bag for easier application.
This step makes it easier to control where the glue goes. If you don’t have either tool, a simple plastic bag with a corner snipped off works just as well. - Begin designing on parchment paper by squeezing the glue to form shapes.
Encourage your kids to get creative. They can make flowers, hearts, or abstract designs. The shapes they create will look lovely when they catch the light. - Use toothpicks or brushes for detail work if desired.
This is optional but can add a fun level of detail. Kids can swirl colors or add fine lines if they wish, encouraging fine motor skills. - Allow the piece to dry completely for several hours.
Patience is key. Make sure it is placed flat and placed somewhere safe. - Once dry, peel your artwork away from the parchment carefully.
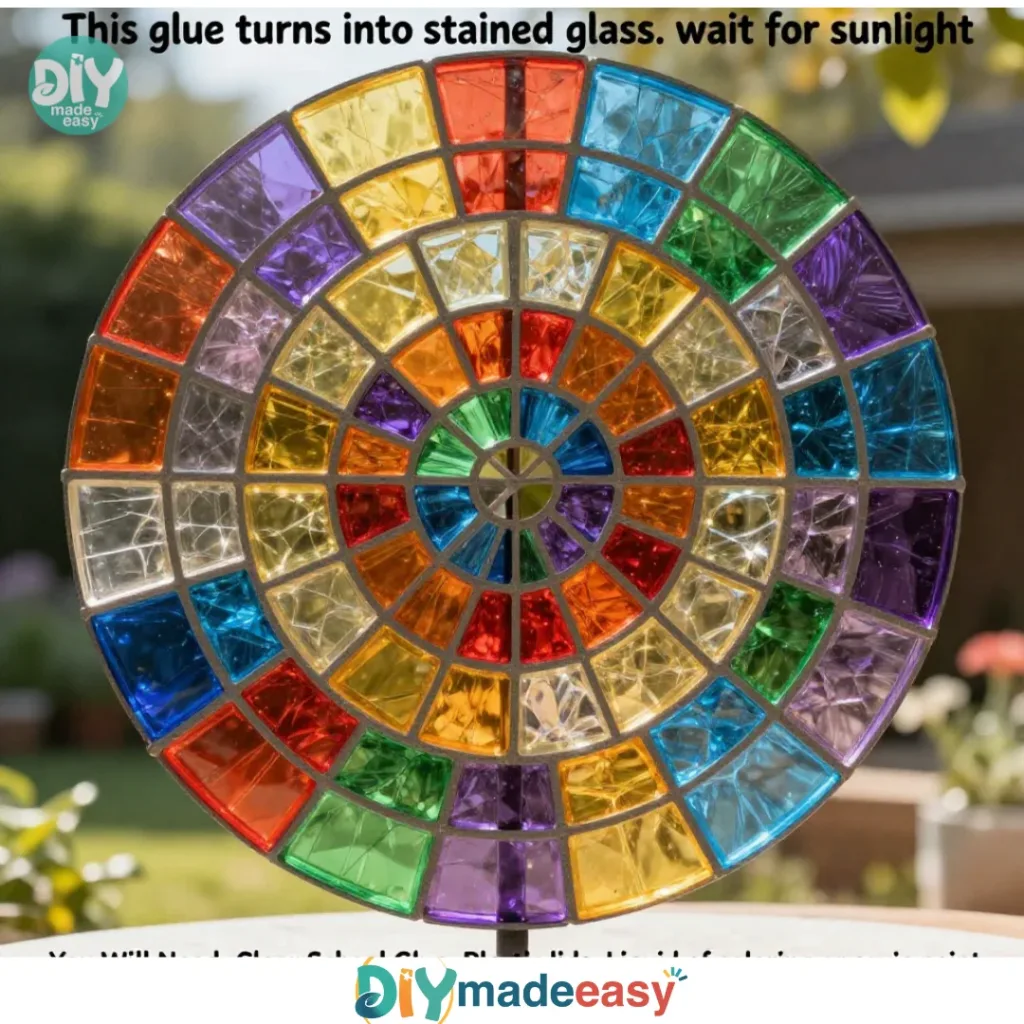
This can be a thrilling moment! Celebrate their hard work as they reveal their masterpiece. - Place your finished creation in sunlight to see it glow.
The colors will pop beautifully. It’s the perfect end to a creative project.
The Simple Science or Skills at Work

Engaging in DIY Stained Glass Art isn’t just about creativity; it also involves science concepts and skill development. Mixing colors introduces kids to basic color theory, giving them exposure to how primary colors can create new shades when combined. This exploration builds their understanding of cause and effect as they observe changes in texture and color during the mixing process.
As for fine motor skills, squeezing bottles and managing a glue mixture encourage hand-eye coordination. The activity emphasizes control and precision, which can benefit younger children as they develop these important skills.
Troubleshooting Common Issues
If something doesn’t go as planned, it’s crucial to stay calm and focused. Some common challenges might include:
- Glue not drying clear: This can happen if the glue is too thick. Encourage even squeezing, and suggest spreading out the glue in thin shapes.
- Colors not mixing as expected: If they aren’t blending well, it’s okay to start over with fresh glue. Ease is the goal here, allowing for learning through trial and error.
- Pieces sticking too much: If the glue adheres stubbornly to the parchment, it might be helpful to recheck drying times. Waiting a bit longer can help loosen them.
These minor mishaps are part of the process. Celebrate creative problem-solving, redirecting the focus back to the joy of making art.
Easy Variations to Try
This project is versatile, so consider these options to mix things up:
- Seasonal Themes: Encourage kids to make holiday-specific designs, like snowflakes for winter or flowers for spring.
- Nature-Inspired Designs: Gather leaves or petals and place them under clear glue, making organic shapes.
- Layered Effects: Repeat the process, allowing children to create layered effects by adding more designs on top of dried layers.
These variations can cater to different ages and skill levels, making it easy for families to join in the fun.
Storing or Reusing This Project
After making your DIY Stained Glass Art, think about what to do with it next. Pieces can be displayed in windows or given away as gifts, bringing joy to others. Remember, they’re delicate, so handle them carefully during storage.
To reduce waste, consider reusing materials whenever possible. Store leftover colored glue in a sealed container, or save parchment paper for future projects. This keeps your supplies ready for the next round of creativity.
FAQs About DIY Stained Glass Art
What’s the cleanup situation like with this project?
Usually, it’s minimal if you prepare your workspace. Most spills can be wiped up easily while glue remains wet. Just ensure kids know to keep the area tidy.
Is this activity safe for younger kids?
Yes, as long as they are supervised. The materials used are generally non-toxic, but always check your labels for individual ingredients.
How can I adapt this for older kids?
For older children, encourage them to plan more intricate designs with larger pieces or even collaborate on a bigger artwork, promoting teamwork.
What if we don’t have the exact materials?
Feel free to substitute. Clear glue is essential, but any non-toxic glue can work for color mixing. Just experiment and keep it fun.
Conclusion
Making DIY Stained Glass Art is not just a delightful way to spend an afternoon; it also promotes creativity, learning, and fun. Remember, the process of creating with clear glue and colors is about the joy of making, not perfection. With a few supplies and a bit of guidance, you’ll have everything you need to enjoy this rewarding project.
If you want to explore more about similar DIY projects, check out how to create stunning faux stained glass with paints and glue at this helpful guide or delve into the art of making beautiful faux stained glass by visiting this inspiring resource. Happy crafting!
PrintDIY Stained Glass Art

A fun and easy project for kids to create colorful stained glass art using simple materials.
- Prep Time: 15 minutes
- Cook Time: 0 minutes
- Total Time: 60 minutes
- Yield: 1 artwork
- Category: Craft
- Method: Crafting
- Cuisine: N/A
- Diet: N/A
Ingredients
- Clear glue (that dries clear)
- Food coloring or liquid watercolors
- Parchment paper or plastic sheet
- Squeeze bottles or piping bags
- Toothpicks or paintbrushes (optional)
Instructions
- Prepare your workspace by laying down parchment paper or a plastic sheet.
- Mix desired colors with clear glue, starting with one drop of color and adding more until pleased with the hue.
- Transfer the mixture into your squeeze bottle or piping bag for easier application.
- Begin designing on parchment paper by squeezing the glue to form shapes.
- Use toothpicks or brushes for detail work if desired.
- Allow the piece to dry completely for several hours.
- Once dry, peel your artwork away from the parchment carefully.
- Place your finished creation in sunlight to see it glow.
Notes
Encourage creativity and experimentation with colors while creating art.
Nutrition
- Serving Size: 1 artwork
- Calories: 0
- Sugar: 0g
- Sodium: 0mg
- Fat: 0g
- Saturated Fat: 0g
- Unsaturated Fat: 0g
- Trans Fat: 0g
- Carbohydrates: 0g
- Fiber: 0g
- Protein: 0g
- Cholesterol: 0mg