

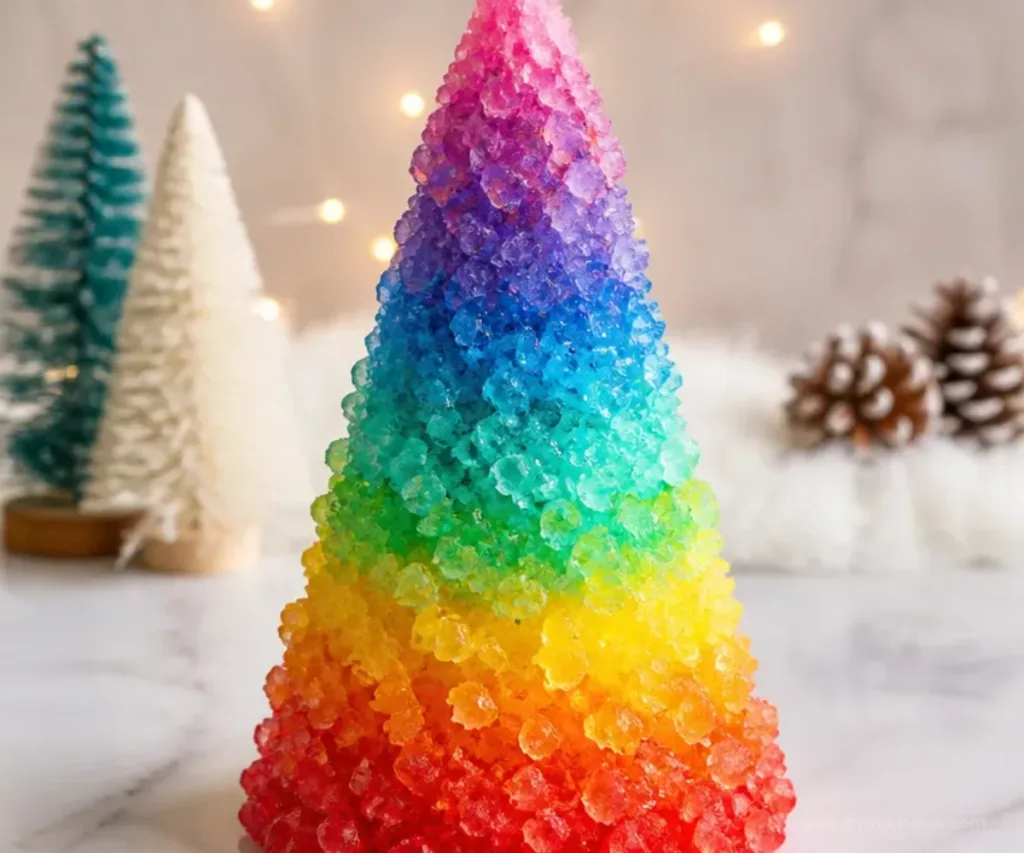
There’s that moment in the busy afternoons leading up to Christmas when the kids start asking for activities to fill their time, all while you’re trying to get the holiday decorations sorted. Perhaps the need for a last-minute craft arises, especially one that leaves room for creativity. DIY Christmas decorations with salt provide a perfect opportunity to engage your children while creating delightful crafts for school or simply for the home. These projects not only keep the kids occupied but also result in beautiful keepsakes that can decorate your house or serve as thoughtful gifts. You may also find Diy Pool Noodle Ocean Creature Crafts For Kids useful.
Why You’ll Love Making DIY Christmas Decorations with Salt
You may also find Crafts For Kids Fun Projects useful.
DIY Christmas decorations crafted with salt are especially appealing because they’re low-prep and utilize common household items. This means you won’t need to make an extra trip to the store or prepare complex ingredients. Plus, the simplicity allows kids to take the lead, ensuring they feel a sense of accomplishment when they create their decorations. These projects are reliable, meaning your kids can successfully replicate them without constant adult intervention. You may also find Top 10 Summer Crafts Diy Ideas For Kids useful.
A Quick Look Before You Begin
It’s important to find time in your day to involve your children in these crafts. The setup is quite speedy; you can gather your materials in under 10 minutes. While there may be some mess from working with salt and craft supplies, it’s manageable with a few newspapers or an old tablecloth. You might want to join in as an adult, providing guidance and reassurance while enhancing the experience with your presence. By encouraging your kids to express their individuality, you remind them that crafting is as much about the journey as it is about the outcome. You may also find Colorful Pencil Suncatcher Back To School Crafts useful.
Materials You’ll Need
Here’s a simple list of what you need to create these fun decorations with salt:
- Salt – a common household item that provides texture.
- Flour – helps form the dough for shaping.
- Water – to mix into the salt dough.
- Food coloring – optional, for adding color to your decorations.
- Cookie cutters – ideal for creating fun shapes.
- Baking sheet – for drying your decorations in the oven.
Using these inexpensive materials ensures affordability, and you may already have them on hand.
Step-by-Step Directions
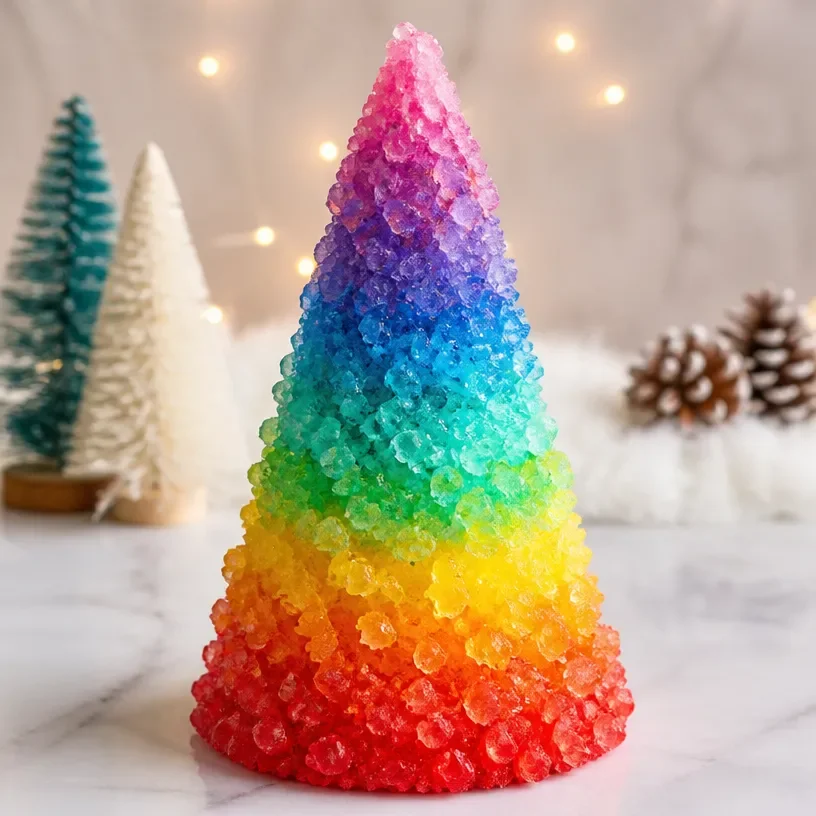
- Prepare the Salt Dough: In a bowl, mix 1 cup of salt with 2 cups of flour and 1 cup of water. If you’re using food coloring, add a few drops to the water before mixing.
- Knead the Dough: Once the mixture comes together, knead it on a clean surface until smooth. This should take about 5 minutes.
- Roll Out the Dough: Sprinkle a little flour on your surface and roll the dough to about 1/4 inch thickness.
- Cut Out Shapes: Use cookie cutters to create shapes. Transfer them to a baking sheet lined with parchment paper.
- Bake the Decorations: Preheat your oven to 200°F (93°C) and bake for about 2 hours. Check occasionally to ensure they don’t burn.
- Cool Down: Once dried, allow your decorations to cool completely before painting or decorating further.
- Decorate: Use acrylic paints or markers to add color and details to your creations. Let each layer dry before adding more.
- Seal and Display: If desired, seal your decorations with a clear spray sealant to preserve them before hanging them up or giving them as gifts.
The Learning Behind This DIY

While crafting, children are not just having fun; they’re also engaging in valuable learning experiences. The process of mixing and kneading the dough helps develop fine motor skills and hand-eye coordination. Watching the changes that occur as they bake the dough introduces them to basic scientific concepts such as transformation and cause-and-effect. Emphasizing these learning moments, while keeping the mood light and fun, helps reinforce their creativity.
Troubleshooting Common Issues
It’s not uncommon to run into a few hiccups when crafting, and it’s great to plan for them. If the dough is too sticky, simply add more flour gradually until you reach a workable consistency. On the other hand, if it turns out too dry, a splash of water can soften it. Should your creations buckle while baking, you might have rolled them too thin; next time, aim for a thicker cut to ensure they hold shape.
Easy Variations to Try
If you’re looking to mix things up a bit, why not try these variations? You could experiment with different shapes related to holiday themes. Additionally, consider using glitter while the paint is still wet to add sparkle. For older kids, you can introduce textures using natural items like leaves or twigs for imprints in the dough.
Storing or Reusing This Project
After the excitement of crafting, what happens next? If you want to display your creations, ensure they are stored in a cool, dry place to prevent moisture damage. Alternatively, you can encourage your kids to gift their projects to family and friends, spreading the holiday cheer. If the decorations are in good shape after the holiday, consider reusing them next year with a fresh coat of paint or new embellishments.
FAQs About DIY Christmas Decorations with Salt
How messy is this project?
While children might create some mess, it’s mostly contained within the area where they work. You can easily prevent spills by laying down old newspapers or tablecloths.
Is this safe for younger kids?
Yes! The ingredients in salt dough are non-toxic. However, younger children may need some supervision with sharp tools like cookie cutters.
Can I substitute the ingredients?
Absolutely! You can substitute flour with gluten-free options or use other types of dough if necessary.
What if my decorations don’t turn out perfectly?
It’s alright for decorations to be imperfect. The charm of crafting comes from the individuality of each piece, so embrace the quirks!
How should I store the excess dough?
Seal any leftover dough in an airtight container. It can often be stored in the refrigerator for a week or two.
Conclusion
Incorporating simple DIY projects like Christmas decorations made with salt not only enhances creativity but also brings families together during the festive season. For more ideas on creative projects, consider exploring Christmas presents children can make or browse through Christmas crafts for kids. Engaging in these activities can create cherished holiday memories that your family will look back on fondly for years to come.
PrintDIY Christmas Decorations with Salt

Engage your children with these fun and easy DIY Christmas decorations made with salt dough, perfect for holiday keepsakes and gifts.
- Prep Time: 10 minutes
- Cook Time: 120 minutes
- Total Time: 130 minutes
- Yield: Varies by shapes
- Category: Crafts
- Method: Baking
- Cuisine: N/A
- Diet: N/A
Ingredients
- 1 cup salt
- 2 cups flour
- 1 cup water
- Food coloring (optional)
- Cookie cutters
- Baking sheet
Instructions
- Prepare the salt dough: In a bowl, mix 1 cup of salt with 2 cups of flour and 1 cup of water. If using food coloring, add a few drops to the water before mixing.
- Knead the dough: Once the mixture comes together, knead it on a clean surface until smooth (about 5 minutes).
- Roll out the dough: Sprinkle a little flour on your surface and roll the dough to about 1/4 inch thickness.
- Cut out shapes: Use cookie cutters to create shapes and transfer them to a baking sheet lined with parchment paper.
- Bake the decorations: Preheat your oven to 200°F (93°C) and bake for about 2 hours, checking occasionally.
- Cool down: Allow decorations to cool completely before further decorating.
- Decorate: Use acrylic paints or markers to add color and details, letting each layer dry before adding more.
- Seal and display: If desired, seal the decorations with a clear spray sealant before hanging or gifting.
Notes
If the dough is too sticky, add more flour gradually. If dry, add a splash of water. Use thicker cuts for better shapes.
Nutrition
- Serving Size: N/A
- Calories: N/A
- Sugar: N/A
- Sodium: N/A
- Fat: N/A
- Saturated Fat: N/A
- Unsaturated Fat: N/A
- Trans Fat: N/A
- Carbohydrates: N/A
- Fiber: N/A
- Protein: N/A
- Cholesterol: N/A