

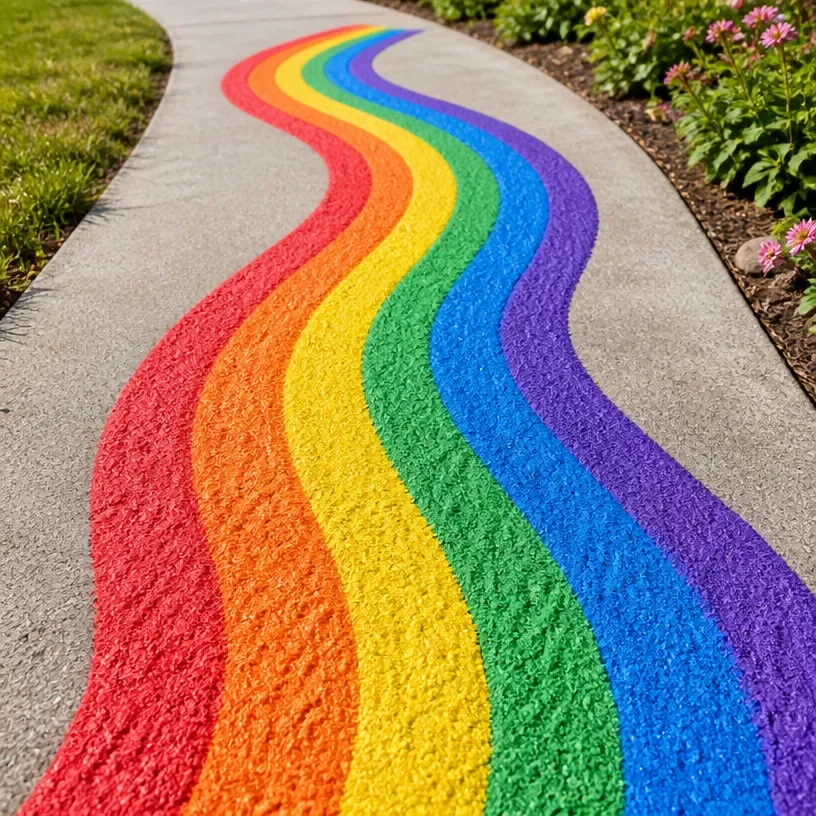
Creating fun and engaging activities for kids can sometimes feel overwhelming, especially when you’re juggling a busy afternoon or a last-minute request. If your little ones are itching to create something colorful and exciting, a DIY Rainbow-Colored Puffy Paint for Sidewalk Art could be the perfect solution. It’s not only a delightful way to express creativity, but it’s also straightforward and doesn’t require elaborate preparations. Let’s explore why this activity is a fantastic choice for both children and parents alike. You may also find Diy Pool Noodle Rainbow Stamp Painting Activity For Kids useful.
Why This DIY Rainbow-Colored Puffy Paint for Sidewalk Art Works So Well
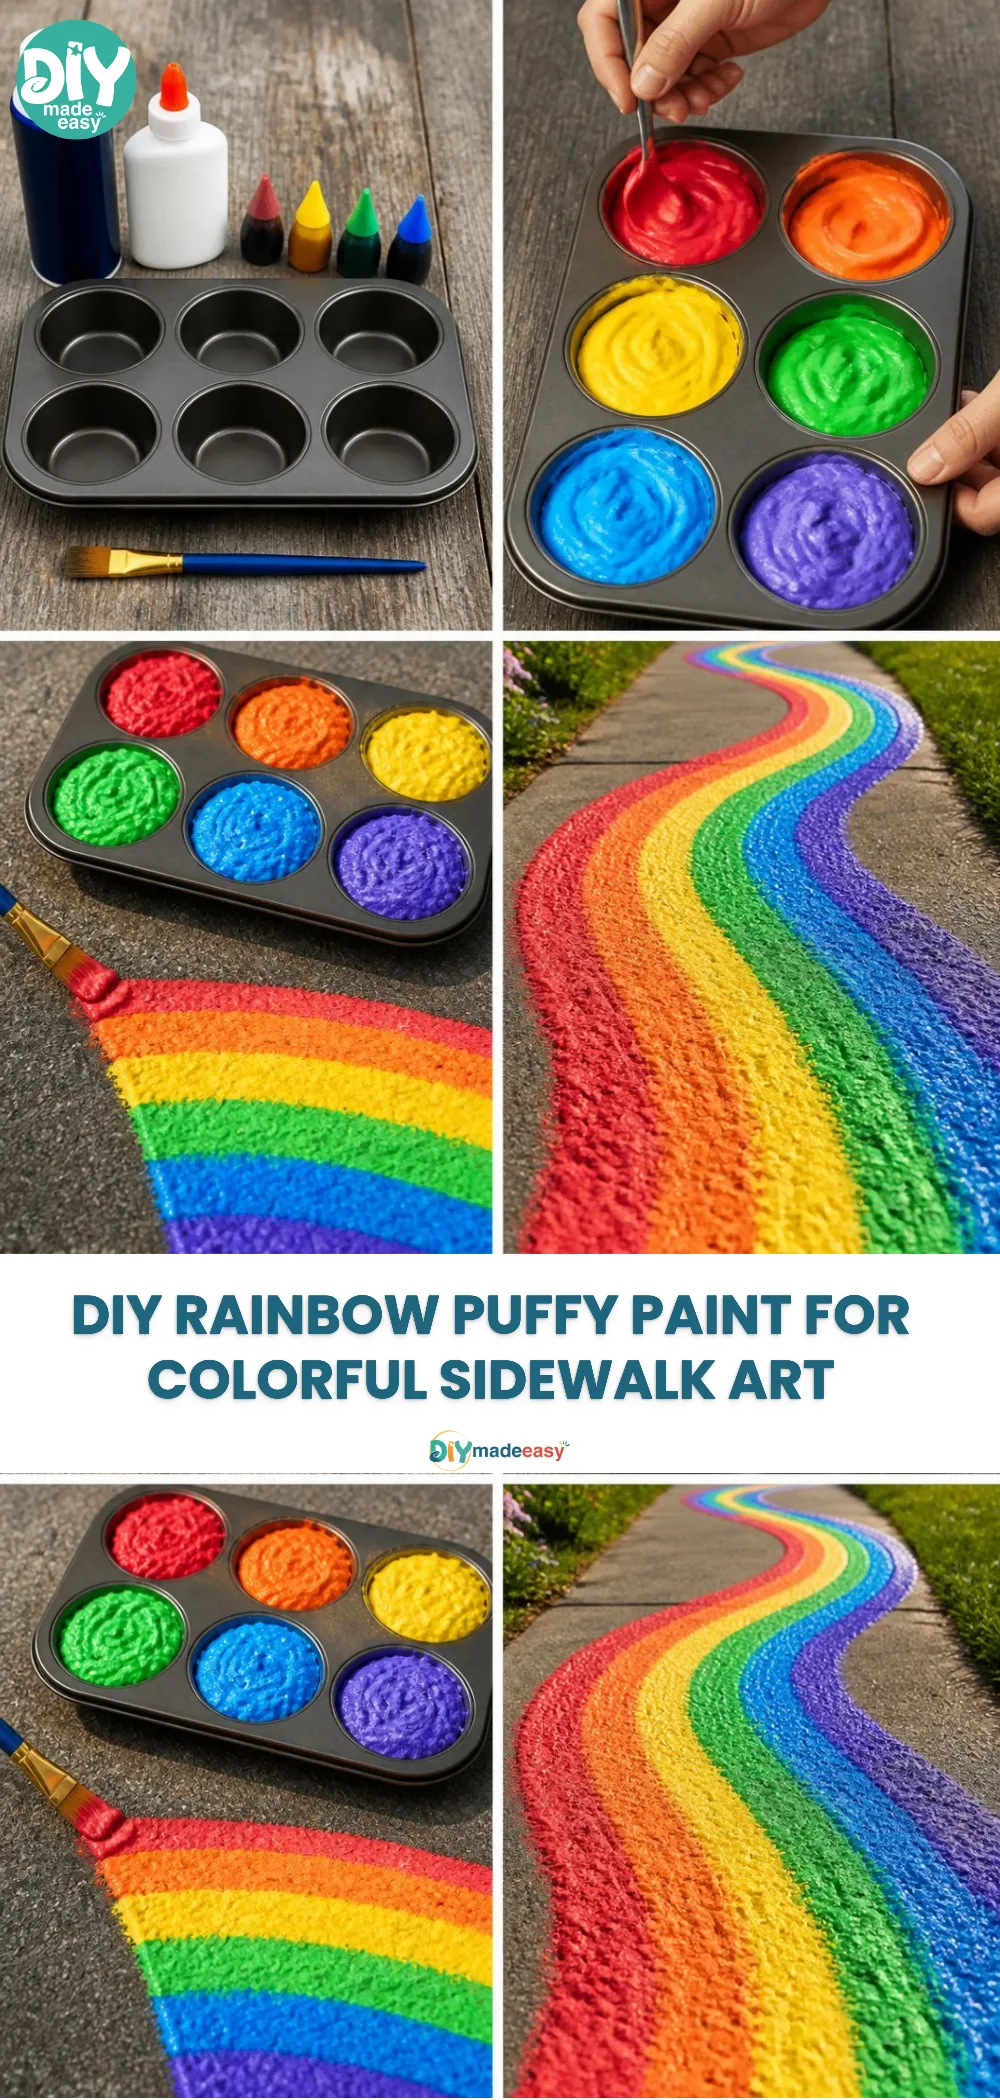
You may also find Diy Puffy Ghost Halloween Craft For Kids useful.
This DIY project stands out for its simplicity and the joy it brings. First of all, it’s low-prep, so you won’t spend the entire day gathering supplies. Most of what you need is probably lying around your house, making it a budget-friendly choice too. The vibrant colors and puffy texture will captivate your kids’ attention, providing an excellent outlet for their creativity. The fun part? It’s reliable and safe, meaning you can feel confident letting your child experiment without worrying about complicated steps or potential messes. You may also find Diy Sidewalk Chalk Paint At Home useful.
A Quick Look Before You Begin
Before diving into making your puffy paint, it helps to know what you’re getting into. The setup is quick and requires minimal adult involvement. Plan for about 30 minutes of active time for mixing the colors and painting, along with some extra time for cleanup afterward. This project typically generates a manageable amount of mess think slight spills that are easily cleaned. You’ll find the excitement of seeing the puffy paint come alive on the sidewalk is well worth the little bit of mess. You may also find Galaxy Inspired Pebble Art Painting Stones Diy Guide useful.
Materials You’ll Need
Gather the following materials to get started with your DIY Rainbow-Colored Puffy Paint:
- 1 cup flour (common household item)
- 1 cup water (easy substitute)
- 1 tablespoon salt (common)
- 1 tablespoon baking powder (optional)
- Food coloring (various colors)
- Plastic cups or bowls (to hold the paint)
- Paintbrushes or sponges (for application)
These items are both accessible and inexpensive, making them easy to prepare for this fun activity.
Step-by-Step Directions
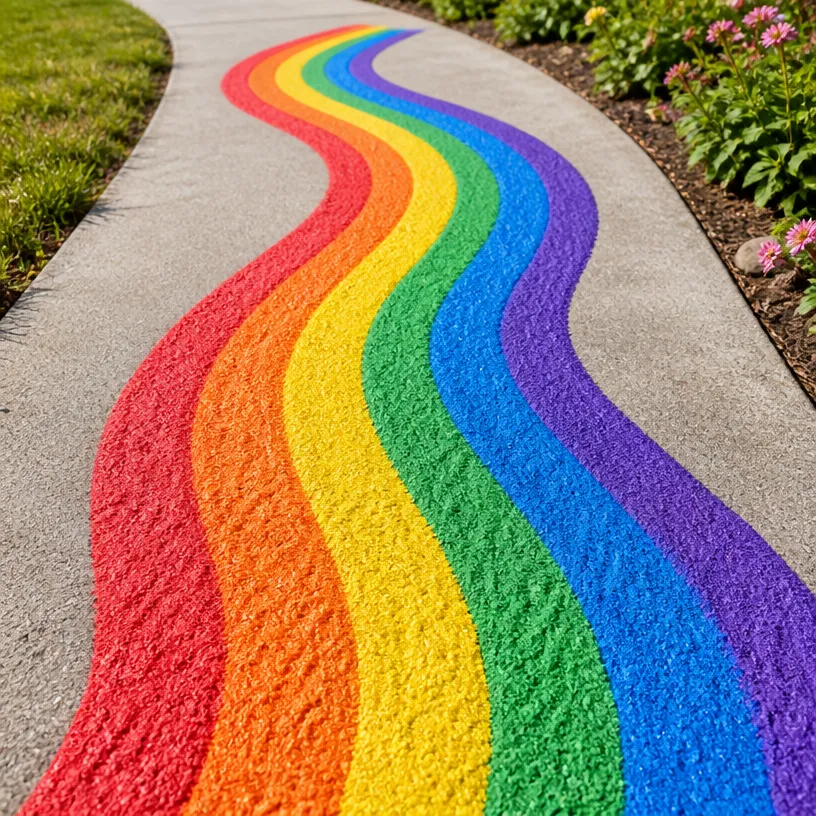
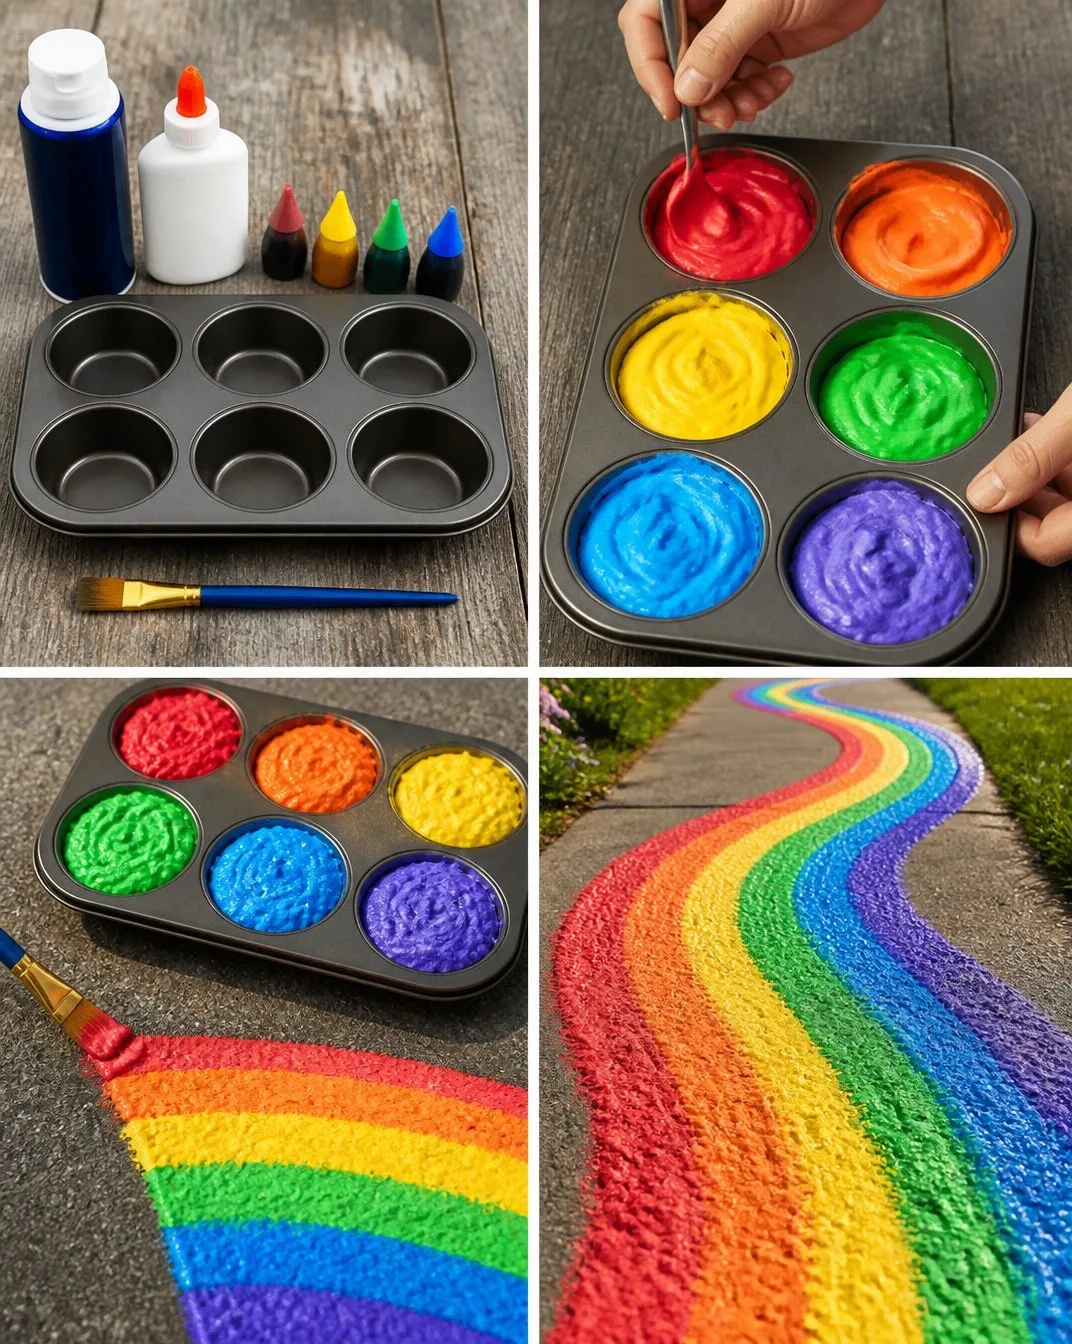
Creating your puffy paint is an exciting process! Follow these simple steps:
- Start by mixing the flour, salt, and baking powder (if using) in a bowl.
- Gradually add the water while stirring until the mixture is smooth and free of lumps.
- Divide the mixture into different plastic cups or bowls depending on how many colors you want to create.
- Add a few drops of food coloring to each cup. Adjust the color by adding more food coloring until you’re satisfied with the vibrancy.
- After mixing the colors thoroughly, grab your paintbrushes or sponges.
- Take the paint outdoors and let your kids create beautiful artworks on the sidewalk. Encourage them to layer colors for a puffier effect.
- Once they’re finished, let the artwork dry for about 30 minutes to see the puffiness develop.
The Learning Behind This DIY
While your kids are having fun, they’re also learning through this creative process. Paint mixing teaches them about color theory, helping them understand how different colors interact. They practice fine motor skills as they grip brushes and handles, improving their coordination with each stroke. Moreover, this project demonstrates cause and effect how the texture and shape change as they apply the paint on different surfaces.
Troubleshooting Common Issues
If something doesn’t go as planned, worry not! One common issue might be the paint not puffing as expected. This could be due to not adding enough baking powder. If the colors seem too pale, try adding a bit more food coloring to enhance the vibrancy. Also, if the paint doesn’t stick to the sidewalk, ensuring the surface is clean and dry before application can help.
Easy Variations to Try
Looking to spice up your puffy paint experience? Here are a few fun variations:
- Add glitter to the paint for an extra sparkle.
- Use different tools like toothbrushes or old sponges to create textured effects.
- Create seasonal artwork inspired by holidays, such as pumpkins for Halloween or flowers for spring.
- Experiment with applying the paint on different surfaces, like cardboard or paper.
- Encourage collaborative projects where kids work together to create a large mural.
Storing or Reusing This Project
After a day of splashing color, you might wonder what to do with the leftover paint or the artistic creations. Leftover paint can typically be stored in an airtight container for a week or so, although the quality may diminish. The artwork can be sprayed with a clear sealant if you wish to preserve it. Don’t forget to encourage your kids to clean up immediately by filling a bowl with warm soapy water to rinse their brushes and sponges!
FAQs About DIY Rainbow-Colored Puffy Paint for Sidewalk Art
“Will this be too messy for my child?
” While some mess is expected, this project is actually quite manageable. Just be sure to choose an outdoor area where spills can be wiped away easily.
“Is it safe for younger kids?
” Yes! The materials are non-toxic, but always supervise small children to prevent them from ingesting anything.
“What if I don’t have food coloring?
” If food coloring is unavailable, you can substitute it with natural dyes from fruits or vegetables, though results may vary.
“How do I store leftover paint?
” Keep any unused paint in airtight containers in the fridge for a few days, but expect it to vary in texture.
“Can I use this paint on surfaces other than sidewalks?
” Absolutely! It works well on paper, canvas, or even cardboard just be aware of drying times and surface suitability.
A Final Helpful Note
Engaging in the DIY Rainbow-Colored Puffy Paint project is meant to be a joyful and constructive experience. Embrace the mess and imperfections, as they are part of the creative process! Enjoy the colorful time spent with your little ones, and allow yourself the flexibility to adapt the activity to what suits your family best.
Conclusion
Whether you're looking to brighten a rainy day or seeking a unique weekend activity, making DIY Rainbow-Colored Puffy Paint for Sidewalk Art is a fantastic option. As you explore creativity with your kids, remember that resources like
How to Make Puffy Paint – One Little Projectcan offer more great tips on similar crafts. If you're eager to expand into other creative painting techniques, check out
Puffy Sidewalk Paint – The Soccer Mom Blogfor additional inspiration. Happy crafting!
PrintDIY Rainbow-Colored Puffy Paint for Sidewalk Art
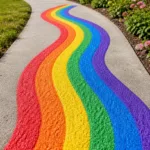
A fun and low-prep DIY project for kids to create vibrant sidewalk art using homemade puffy paint.
- Prep Time: 10 minutes
- Cook Time: 30 minutes
- Total Time: 40 minutes
- Yield: Varies based on usage
- Category: Art Activity
- Method: DIY
- Cuisine: N/A
- Diet: Non-Dietary
Ingredients
- 1 cup flour
- 1 cup water
- 1 tablespoon salt
- 1 tablespoon baking powder (optional)
- Food coloring (various colors)
- Plastic cups or bowls
- Paintbrushes or sponges
Instructions
- Start by mixing the flour, salt, and baking powder (if using) in a bowl.
- Gradually add the water while stirring until the mixture is smooth and free of lumps.
- Divide the mixture into different plastic cups or bowls depending on how many colors you want to create.
- Add a few drops of food coloring to each cup and adjust for vibrancy.
- After mixing the colors thoroughly, grab your paintbrushes or sponges.
- Take the paint outdoors and let your kids create beautiful artworks on the sidewalk.
- Encourage them to layer colors for a puffier effect.
- Once they’re finished, let the artwork dry for about 30 minutes to see the puffiness develop.
Notes
Store any leftover paint in an airtight container for up to a week. Ensure surfaces are clean and dry before application.
Nutrition
- Serving Size: Varied
- Calories: varies (non-dietary project)
- Sugar: 0g
- Sodium: 0mg
- Fat: 0g
- Saturated Fat: 0g
- Unsaturated Fat: 0g
- Trans Fat: 0g
- Carbohydrates: 0g
- Fiber: 0g
- Protein: 0g
- Cholesterol: 0mg