

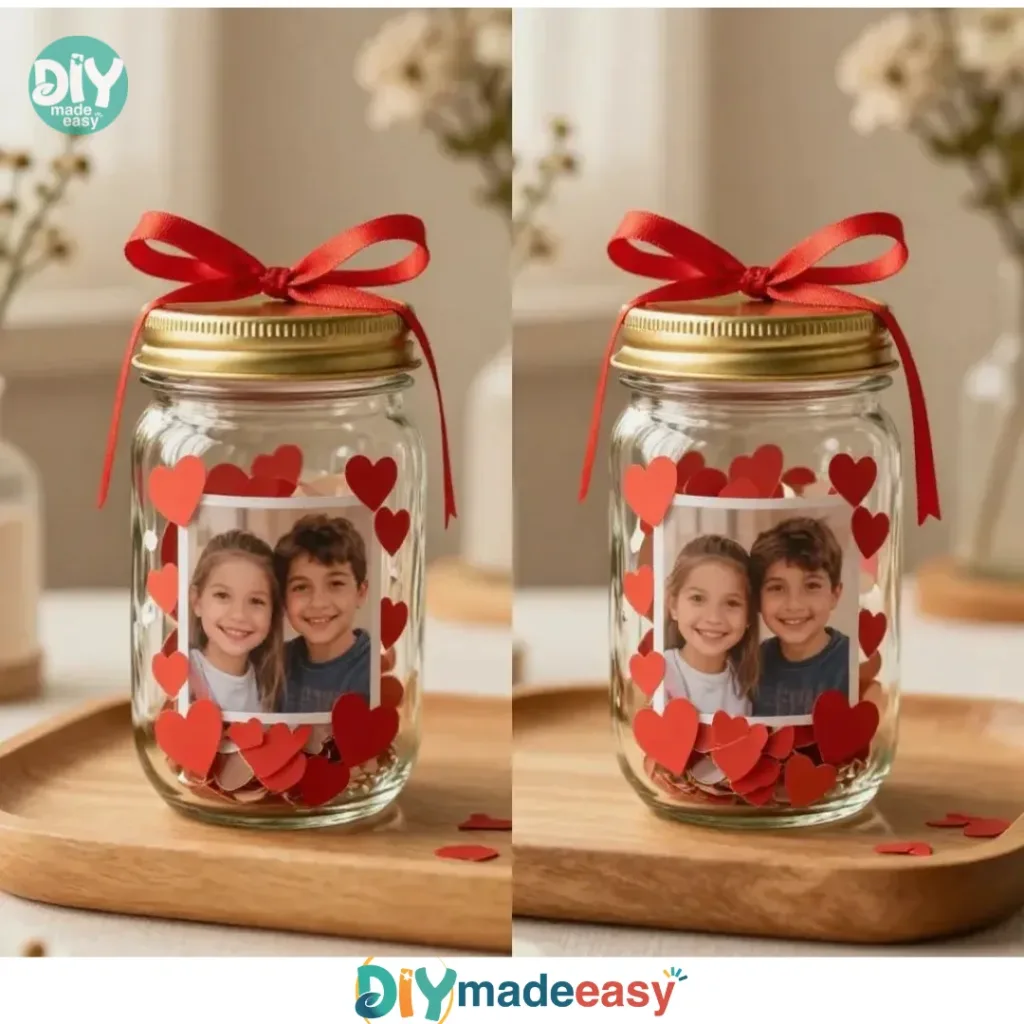
A busy afternoon can lead to some of the best creative moments. Perhaps your kids are asking for a fun project to do right now, or maybe you need a last-minute gift. Either way, making a DIY Photo Glitter Snow Globe Jar combines simple materials and clear steps to create something truly special. This engaging craft can easily bring memories alive in a stunning display of glitter and personalized photos, creating a beautiful keepsake for you or a loved one. You may also find Magical Snowstorm In A Jar Diy Winter Craft useful.
Why You’ll Love Making DIY Photo Glitter Snow Globe Jar
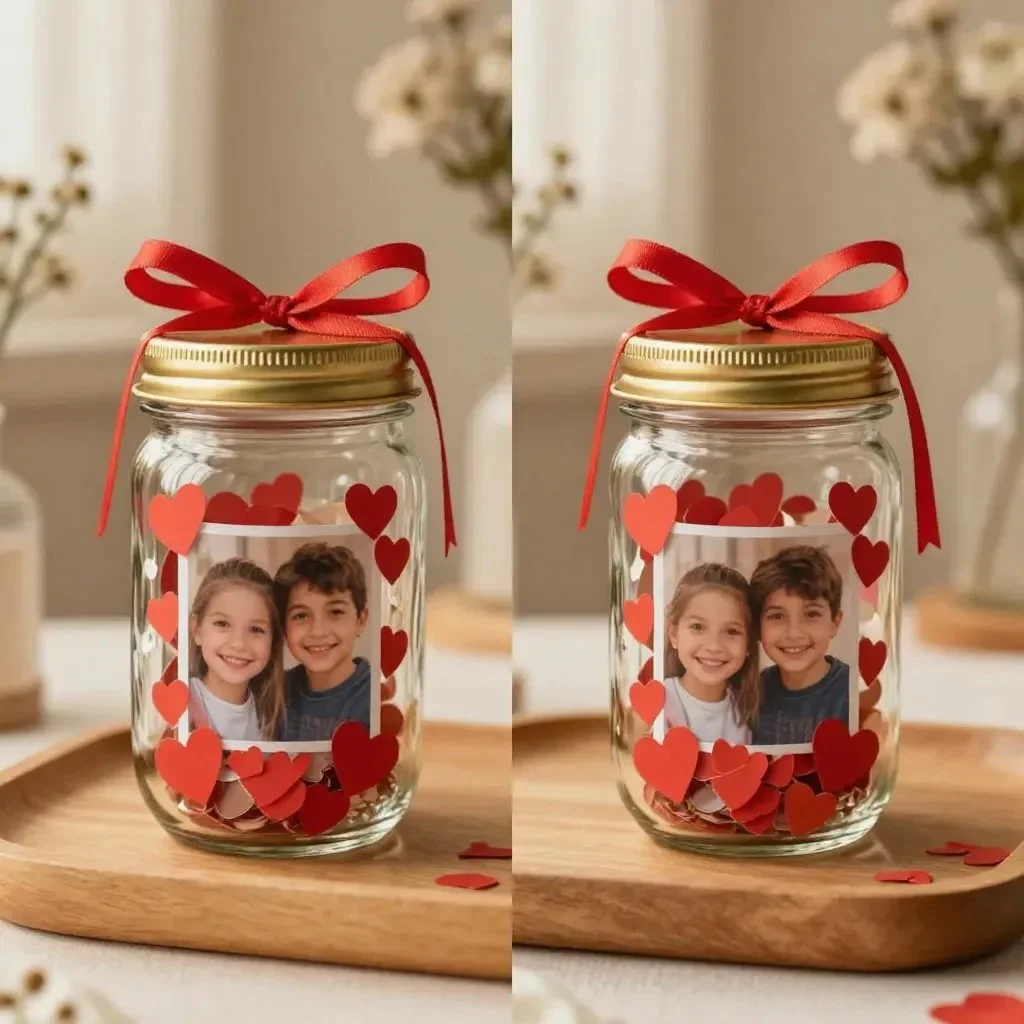
This DIY Photo Glitter Snow Globe Jar works so well because it blends creativity with easy-to-follow instructions. It’s a low-prep activity that requires minimal materials, which makes it approachable for anyone, even if you’re pressed for time. With just a mason jar and a few household items, you can produce a magical effect that’s both fun to make and delightful to behold. The reliable results inspire confidence, making this a great choice for families with diverse schedules and skill levels. You may also find Diy Lightning Storm In A Jar useful.
A Quick Look Before You Begin
Making this project is a breeze if you have a clear overview. All you need is to set aside around 30-45 minutes, depending on how much time you spend decorating and personalizing your jar. The setup is straightforward: gather your materials, clear some workspace, and prepare for a bit of fun. Be assured that the mess level is quite manageable; a few stray glitter pieces are expected, but nothing that a quick cleanup can’t handle. While you may supervise younger children during the hot glue application, older kids will likely feel confident taking the lead. You may also find Magic Glitter Jar useful.
Materials You’ll Need
1 clean mason jar or similar clear container
Photographs printed on water-resistant paper (or laminated)
Fine glitter (your choice of color)
Distilled water
Glycerin (optional, for a lovely slow fall of the glitter)
Decorative items (like faux snow, small ornaments, or pinecones)
Hot glue gun
Paint or markers for decorating the lid (optional)
Each of these materials is either an easy-to-find household item or something simple to grab without a major shopping trip, so you can dive right into the crafting.
Step-by-Step Directions
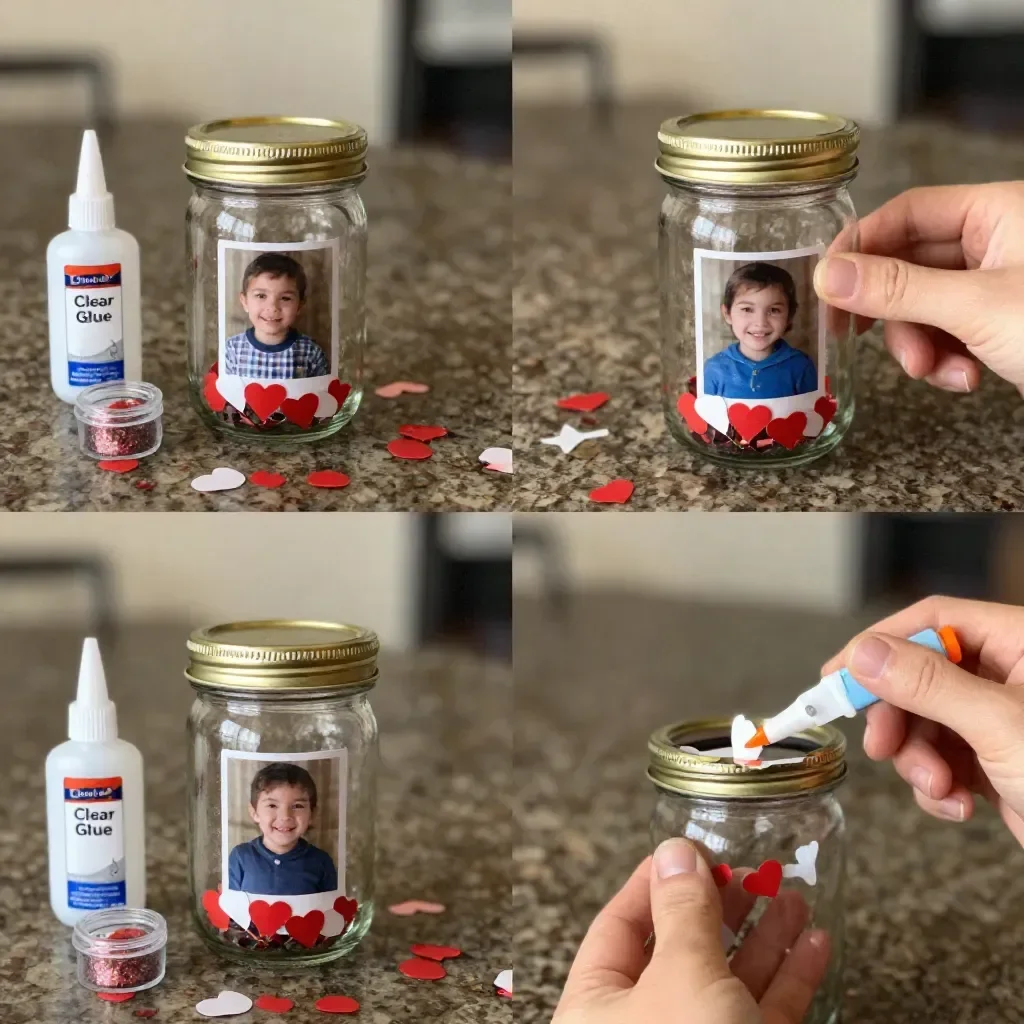
Select and trim your photograph. Choose a special photo that fits the width of your mason jar. Trim it neatly, leaving a bit of space for aesthetics. This ensures it looks lovely within your glittery creation.
Secure the photograph to the lid. Use a hot glue gun to attach the trimmed photo to the inside of the jar lid. Make sure it adheres well so it doesn’t come loose later.
Pour glitter into the jar. Start by adding a small amount of fine glitter into the jar. You can always add more later, but starting small keeps the look balanced.
Add decorative elements. Next, add tiny pinecones, faux snow, or any other small decorations around the photograph. This adds depth and makes your snow globe even more unique.
Pour in distilled water. Slowly pour distilled water into the jar, filling it without overflowing. If you’d like a more controlled glitter descent, consider adding a teaspoon of glycerin at this stage.
Seal the jar tightly. Once everything is in place, attach the lid securely. If you wish, personalize the lid with paint or markers to see an added touch of creativity.
Shake gently and enjoy! The final step is to give your jar a gentle shake. Watch how the glitter swirls beautifully around the photograph, creating a magical visual.
The Learning Behind This DIY
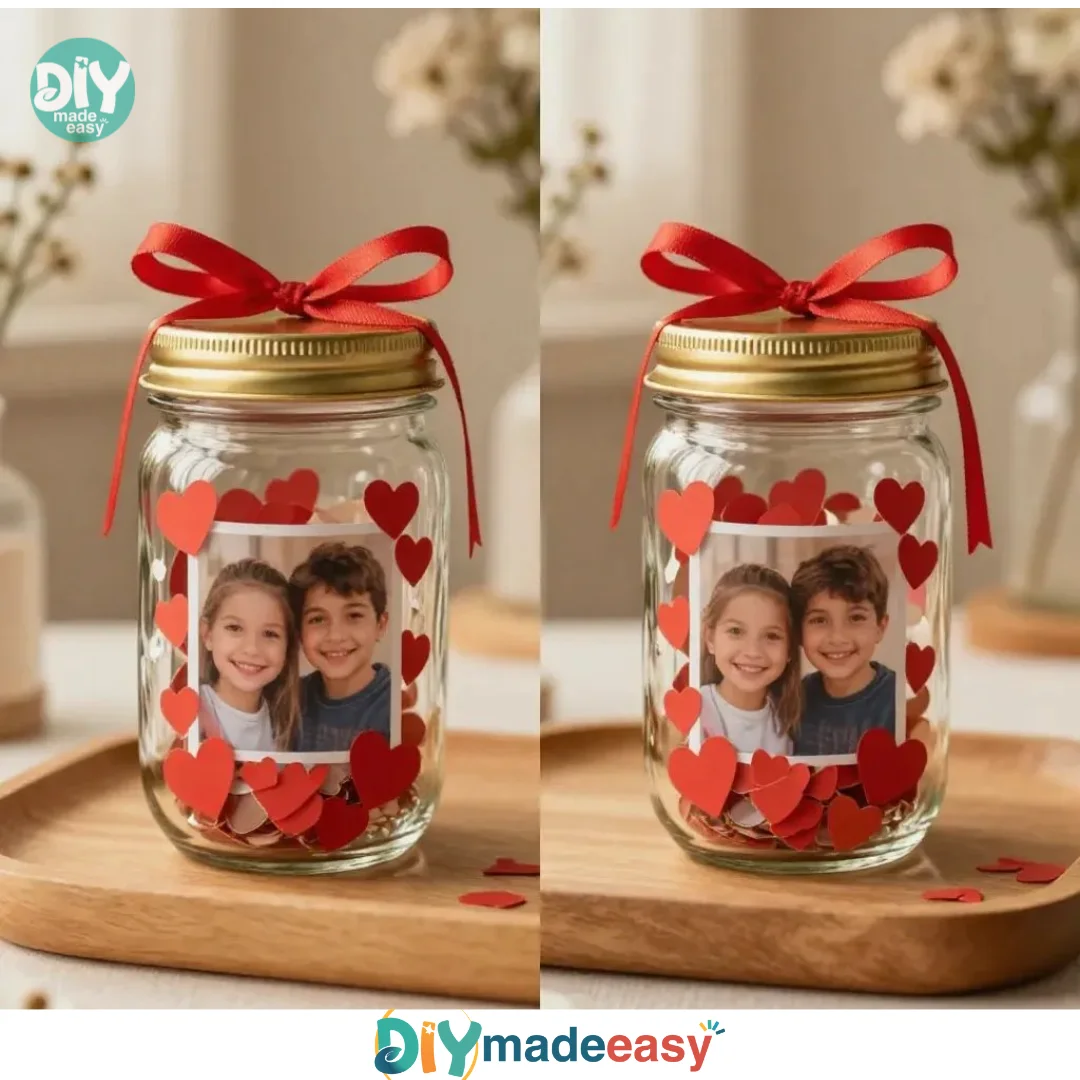
Making a DIY Photo Glitter Snow Globe Jar encourages fine motor skills and coordination as children trim, glue, and pour with precision. Kids also engage in critical thinking when deciding how to arrange their decorative elements and when adjusting components for the best visual effect. The enticing swirls of glitter can lead to discussions about cause and effect—why does the glitter fall differently with or without glycerin? Beyond the craft itself, there are simple science concepts at play, making this an educational experience wrapped in fun.
Troubleshooting Common Issues
Sometimes, things don’t go as planned. If you find that your glitter is clumping together or not floating as you hoped, it could be due to too much or too little glycerin in the mix. Adjusting the glycerin amount can help achieve that enchanting, slow-falling effect. Additionally, if the photo doesn’t stay stuck, it may require a touch more hot glue. As with all crafts, embrace the opportunity to fix small errors; each project is uniquely yours.
Easy Variations to Try
Here are some fun variations to add your own twist to the project:
- Experiment with different colors of glitter for seasonal themes, like red and green for the holidays.
- Use small figurines or trinkets that match the occasion instead of just pinecones or faux snow.
- Create a glow-in-the-dark version by using glowing glitter for night-time magic!
- Make themed jars based on hobbies or interests—think sports memorabilia or travel souvenirs.
Storing or Reusing This Project
When you’re done admiring your snow globe jar, consider how to care for it. Keep it in a place where it won’t break easily. If you want to swap out the contents, you can carefully disassemble the jar and start fresh. Clean up excess glitter with a damp cloth, but be prepared for some stubborn sparkles that may want to cling to whatever surface they land on!
FAQs About DIY Photo Glitter Snow Globe Jar
What should I do if my kids make a mess with the glitter?
It’s natural for crafting to get a little messy, especially with glitter. To make cleanup easier, try containing the glitter with a large piece of paper or cardboard underneath while working. This way, you can fold it up and pour the excess back into the glitter jar.
Is the hot glue safe for kids?
While using a hot glue gun, it’s best for younger children to be supervised by an adult, especially during the glue application step. Older kids can handle it, but always ensure they’re cautious around the hot tip.
What if I can’t find distilled water?
If distilled water is unavailable, filtered or tap water works well, though using distilled can help reduce any cloudiness in the jar. Just make sure whatever you use is clean.
Can we use any photo for this project?
You can use any photo! It’s best to choose images printed on water-resistant paper or laminated to prevent them from getting soggy. Digital prints work well since they often have a finish that’s more water-friendly.
What’s the best way to store the jar once we’re done enjoying it?
To preserve your snow globe jar’s magic, store it in a safe spot away from direct sunlight and high traffic areas to reduce the risk of breaking.
Conclusion
Conclusion
Creating your own DIY Photo Glitter Snow Globe Jar is not only a delightful craft but also an excellent way to preserve memories. As you see your children become engaged and creative, you’ll cherish the time spent together. For more inspiration, explore this DIY Photo Snow Globe project, or check out this resource on DIY snow globes for another fun twist.
PrintDIY Photo Glitter Snow Globe Jar
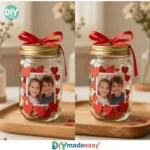
Create a magical DIY Photo Glitter Snow Globe Jar with simple materials and easy-to-follow instructions. Perfect for a fun family project or as a personalized gift.
- Prep Time: 15 minutes
- Cook Time: 30 minutes
- Total Time: 45 minutes
- Yield: 1 jar 1x
- Category: Craft
- Method: Crafting
- Cuisine: N/A
- Diet: N/A
Ingredients
- 1 clean mason jar or similar clear container
- Photographs printed on water-resistant paper (or laminated)
- Fine glitter (your choice of color)
- Distilled water
- Glycerin (optional, for a lovely slow fall of the glitter)
- Decorative items (like faux snow, small ornaments, or pinecones)
- Hot glue gun
- Paint or markers for decorating the lid (optional)
Instructions
- Select and trim your photograph.
- Secure the photograph to the lid.
- Pour glitter into the jar.
- Add decorative elements.
- Pour in distilled water.
- Seal the jar tightly.
- Shake gently and enjoy!
Notes
Encourages fine motor skills and coordination for children. Supervise younger kids during hot glue usage.
Nutrition
- Serving Size: 1 jar
- Calories: 0
- Sugar: 0g
- Sodium: 0mg
- Fat: 0g
- Saturated Fat: 0g
- Unsaturated Fat: 0g
- Trans Fat: 0g
- Carbohydrates: 0g
- Fiber: 0g
- Protein: 0g
- Cholesterol: 0mg