

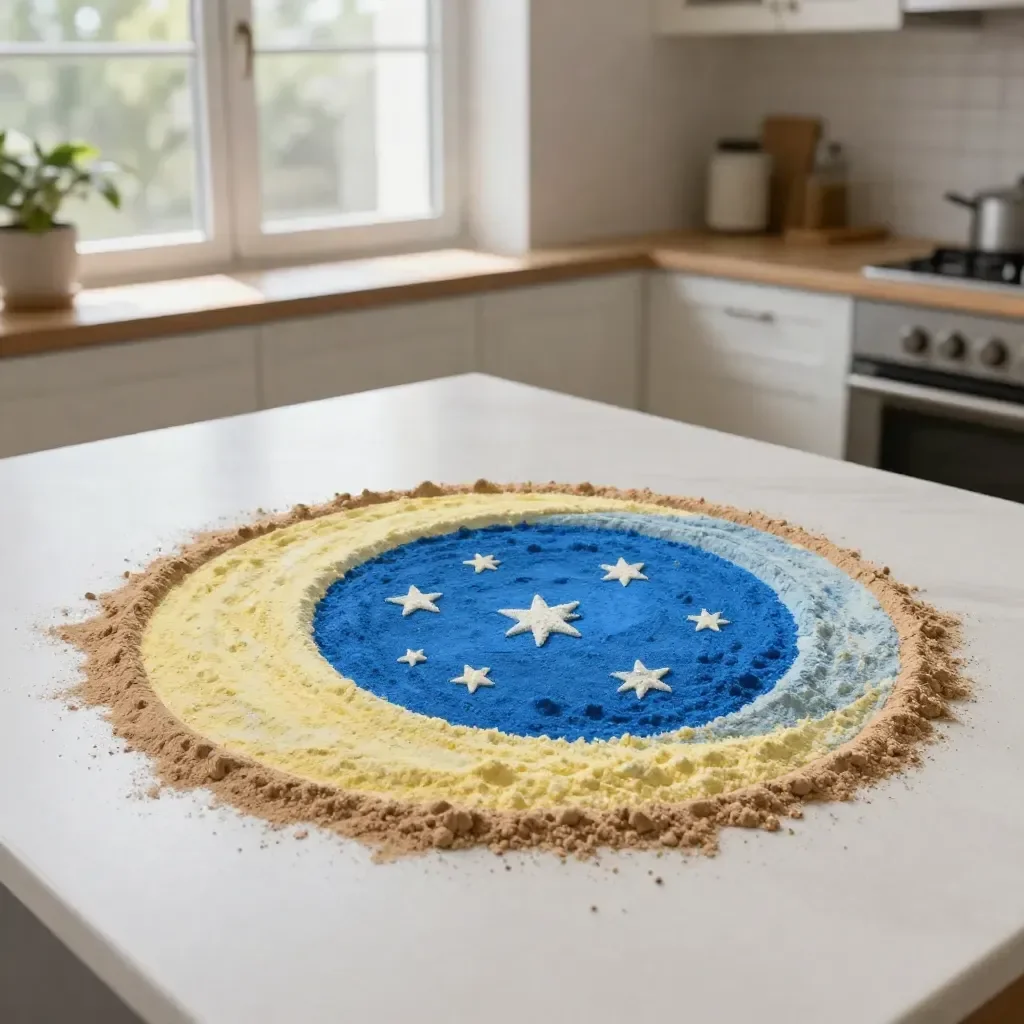
How often do your kids come to you, bursting with energy and asking for something fun to make? It can feel just like a whirlwind, especially on busy afternoons. Imagine their excitement when you say you’re going to make moon sand! It’s a simple project that only takes a few minutes but provides hours of creative playtime. In this guide on how to make moon sand, we’ll walk through everything you need to turn a regular day into a delightful DIY experience. It’s the kind of project that’s not only entertaining but also boosts creativity and imaginative play. You may also find How To Make Diy Dragon Eggs useful.
Why This How to Make Moon Sand Works So Well
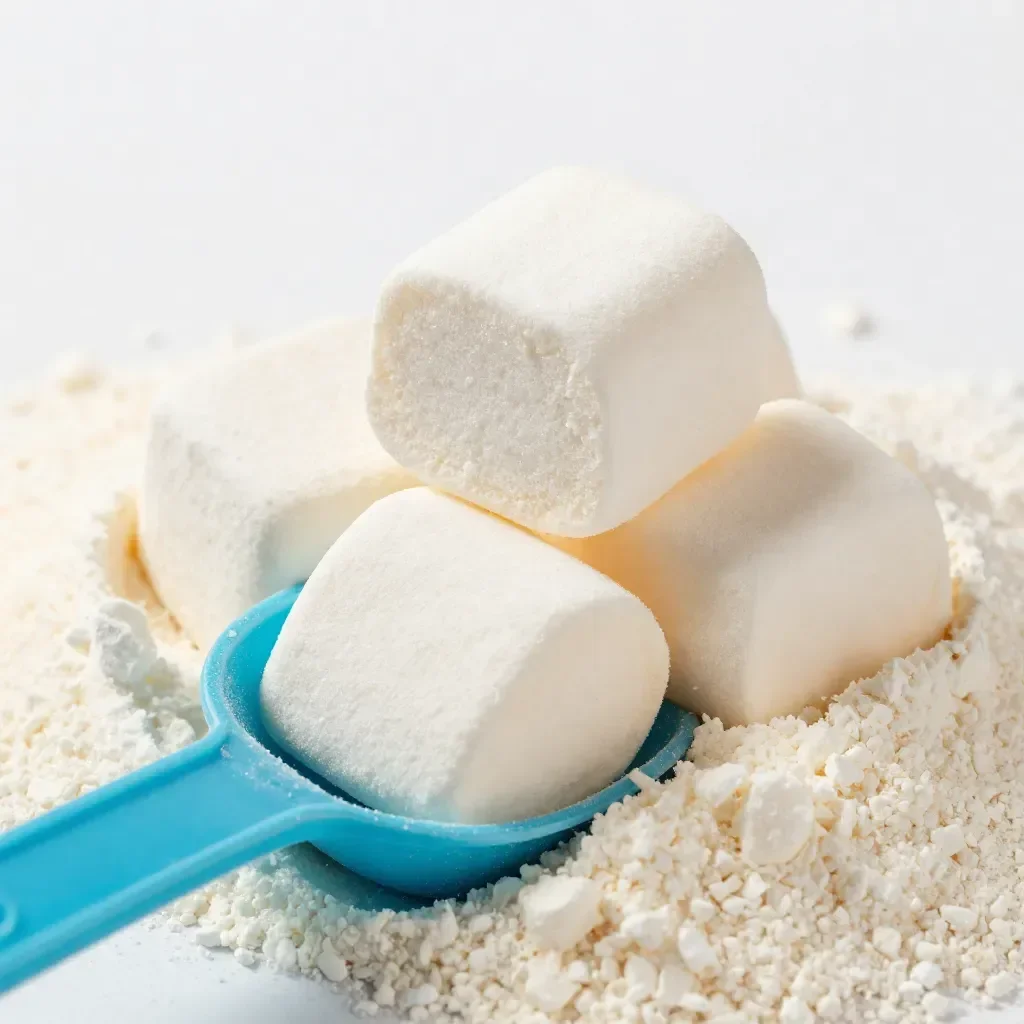
Making moon sand is incredibly appealing for a variety of reasons. First and foremost, the preparation is minimal. You only need a couple of ingredients, and you likely already have them in your pantry. This makes it perfect for spontaneous crafting sessions. Plus, the texture of moon sand—soft, moldable, and slightly crumbly—invites endless possibilities for creative play without feeling overwhelming.
Another reason you’ll love this project is its adaptability to various age groups. Younger kids can enjoy the sensory experience while older kids can engage in more complex play, such as building structures or creating shapes. Unlike some other activities that can lead to frustration, moon sand offers a satisfying hands-on experience that keeps kids engaged. If you’re interested in other creative projects, consider exploring how to make beautiful suncatchers with glass beads or even frozen bubbles during the colder months.
A Quick Look Before You Begin
Creating moon sand is not just easy, it’s also very straightforward. Set aside about 15 to 20 minutes for preparation, and you’ll want to keep mess to a minimum. Working in an area that’s easy to clean up will help you feel relaxed as you engage in this project with your kids. It’s helpful if an adult can be involved for supervision, especially with the younger ones, but it’s surprisingly manageable without heavy adult guidance.
You’ll notice the anticipation in kids—there’s something magical about creating a tactile substance they can squish and mold. If you’re looking for ways to expand on this tactile experience, you might enjoy making crystal eggshell geodes afterward for an engaging follow-up activity.
Materials You’ll Need
To successfully make moon sand, gather the following materials:
- 4 cups of all-purpose flour – common household item
- 1/2 cup of vegetable oil – easy to find in any kitchen
- Optional: food coloring – for those who want to add a splash of color
- Optional: sand molds or small containers – budget-friendly and can be found around the home
This list ensures that you have everything at hand for your moon sand adventure, making it easy to dive right into the fun.
Step-by-Step Directions
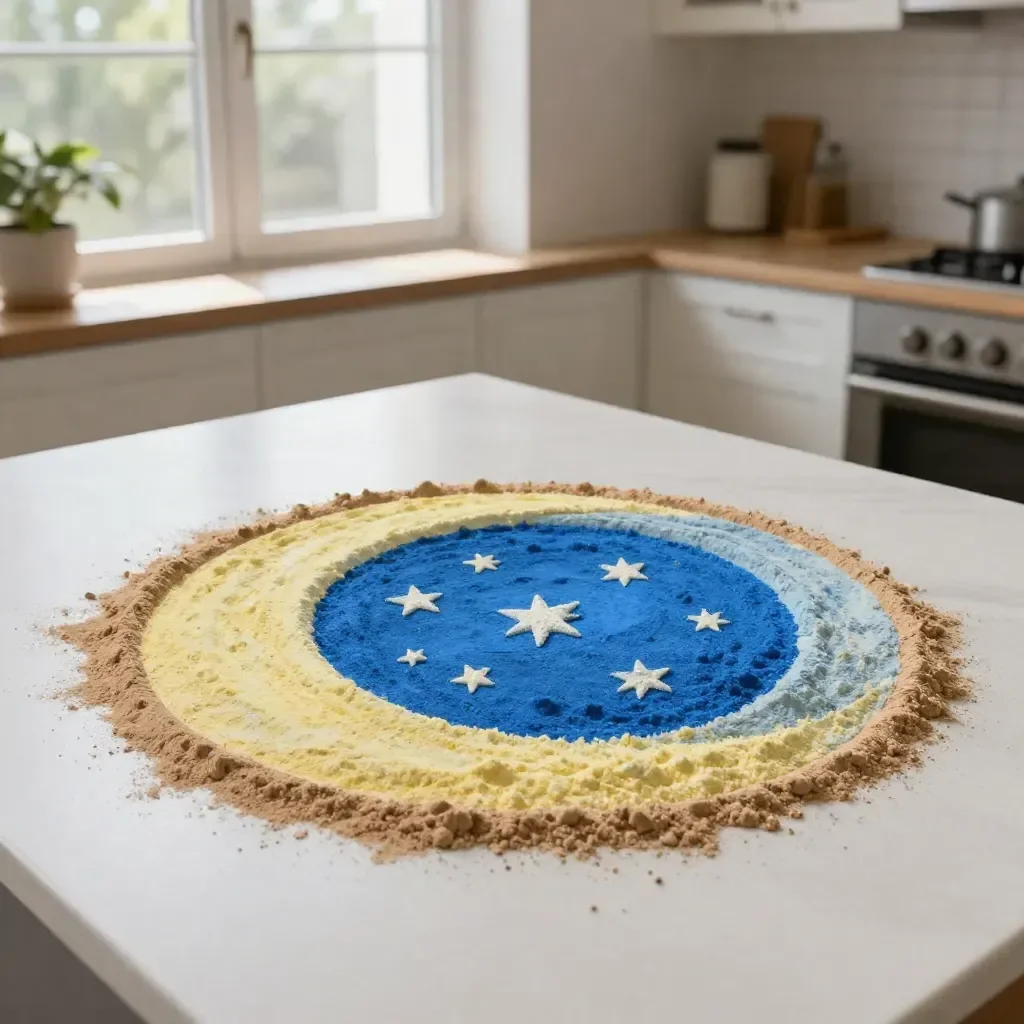
Measure the Flour: Begin by measuring out 4 cups of all-purpose flour. It’s satisfying to see the flour pile up in one big bowl.
Add the Vegetable Oil: Pour in 1/2 cup of vegetable oil. As you mix, the flour will start to take on a new texture.
Mix Thoroughly: Using your hands or a spoon, combine the flour and oil until they are fully blended. It might feel crumbly at first, but keep mixing until it resembles wet sand.
Adjust for Consistency: If the moon sand feels too dry, add a little more oil gradually until it reaches a moldable consistency.
Add Color (Optional): If you want to include food coloring, now is the time! Add a few drops and mix until you achieve your desired hue.
Playtime!: Once you have the perfect texture, let the kids dive in! They can mold, shape, and create whatever their imaginations inspire.
The transformation from dry flour to moon sand is almost magical. The sensory experience will keep kids engaged and offer opportunities for cooperative play.
The Learning Behind This DIY

Making moon sand is not only fun, it supports valuable skills. As kids mix flour and oil, they’re practicing fine motor skills and hand-eye coordination. This DIY project involves sensory exploration, as they feel the texture change and manipulate the material, which can lead to rich conversations about physical changes in materials.
Additionally, engaging in this kind of play encourages creativity and problem-solving. When children build a sandcastle or create forms, they experiment with balance and structure. These foundational skills can be useful later in subjects like science and engineering.
Troubleshooting Common Issues
If you find that your moon sand doesn’t hold together well or feels too dry, it’s often a simple fix. When this happens, add a bit more vegetable oil, a teaspoon at a time, mixing it in thoroughly. Be careful not to overdo it, as too much oil can make it too greasy. If you accidentally add too much, you can counteract it by adding a little more flour.
If your moon sand ends up too wet, just let it sit out for a short period. This will help absorb excess moisture. Remember, moon sand is forgiving; it encourages play and experimentation without the worry of making mistakes.
Easy Variations to Try
Get creative with your moon sand experience by trying these fun variations:
- Add Scents: Mix in some vanilla or cinnamon to make the moon sand smell delightful.
- Theme It: Create seasonal variations, such as adding glitter for a winter theme or using cookie cutters in holiday shapes.
- Color Combination: Instead of one color, try mixing different shades together, letting kids create swirls of color.
These variations allow for personalized play and make the project feel fresh each time.
Storing or Reusing This Project
Moon sand is surprisingly easy to store, which is great for parents looking to minimize waste. Once playtime is over, keep the moon sand in a sealed container or a zip-lock bag. This keeps it fresh and ready for future playdates.
If you notice it becoming too dry after a while, you can revive it by sprinkling a few drops of oil and mixing it again. This reusable aspect makes it a great, low-waste activity.
FAQs About How to Make Moon Sand
One common question is about how messy this project can get. The good news is that when contained in a bin or box, the mess is very manageable. Most parents find cleanup is quick with a damp cloth or a vacuum.
Another frequent concern is safety, particularly with younger kids. All the ingredients are non-toxic and safe for children, meaning you can feel at ease during play.
If you worry about storage or reuse, know that moon sand often lasts over a month in an airtight container. Just be certain to keep it sealed tightly to retain its texture.
A Final Helpful Note
Making moon sand is a creative, engaging way to spend time with your children that encourages exploration and imagination. Remember, the play doesn’t have to be perfect—what matters most is the joy of creating together and the experiences you share. Embrace flexibility: whether it’s adjusting the recipe or allowing for free exploration, your kids will appreciate and learn from the process.
Conclusion
If you’re excited to indulge in more delightful hands-on activities, you might find additional ideas in resources like this moon sand recipe from One Little Project or discover further tips through the BBC Good Food guide on how to make moon sand. These can enhance your creative repertoire and keep the fun rolling long after today’s project is over. Enjoy making memories with your little ones!
PrintHow to Make Moon Sand
A fun and creative DIY project for kids to make moon sand using common household ingredients.
- Prep Time: 15 minutes
- Cook Time: 0 minutes
- Total Time: 15 minutes
- Yield: 4 servings 1x
- Category: Craft
- Method: Mixing
- Cuisine: Unknown
- Diet: Non-Dietary
Ingredients
- 4 cups of all-purpose flour
- 1/2 cup of vegetable oil
- Optional: food coloring
- Optional: sand molds or small containers
Instructions
- Measure the flour into a large bowl.
- Add the vegetable oil.
- Mix thoroughly until the texture resembles wet sand.
- Adjust the consistency by adding more oil if necessary.
- Add food coloring if desired and mix.
- Playtime! Allow kids to mold and shape the moon sand.
Notes
Moon sand is easy to store in a sealed container and can be reused. If it becomes too dry, sprinkle with oil and mix.
Nutrition
- Serving Size: 1 batch
- Calories: 200
- Sugar: 0g
- Sodium: 0mg
- Fat: 14g
- Saturated Fat: 1g
- Unsaturated Fat: 13g
- Trans Fat: 0g
- Carbohydrates: 28g
- Fiber: 2g
- Protein: 4g
- Cholesterol: 0mg