

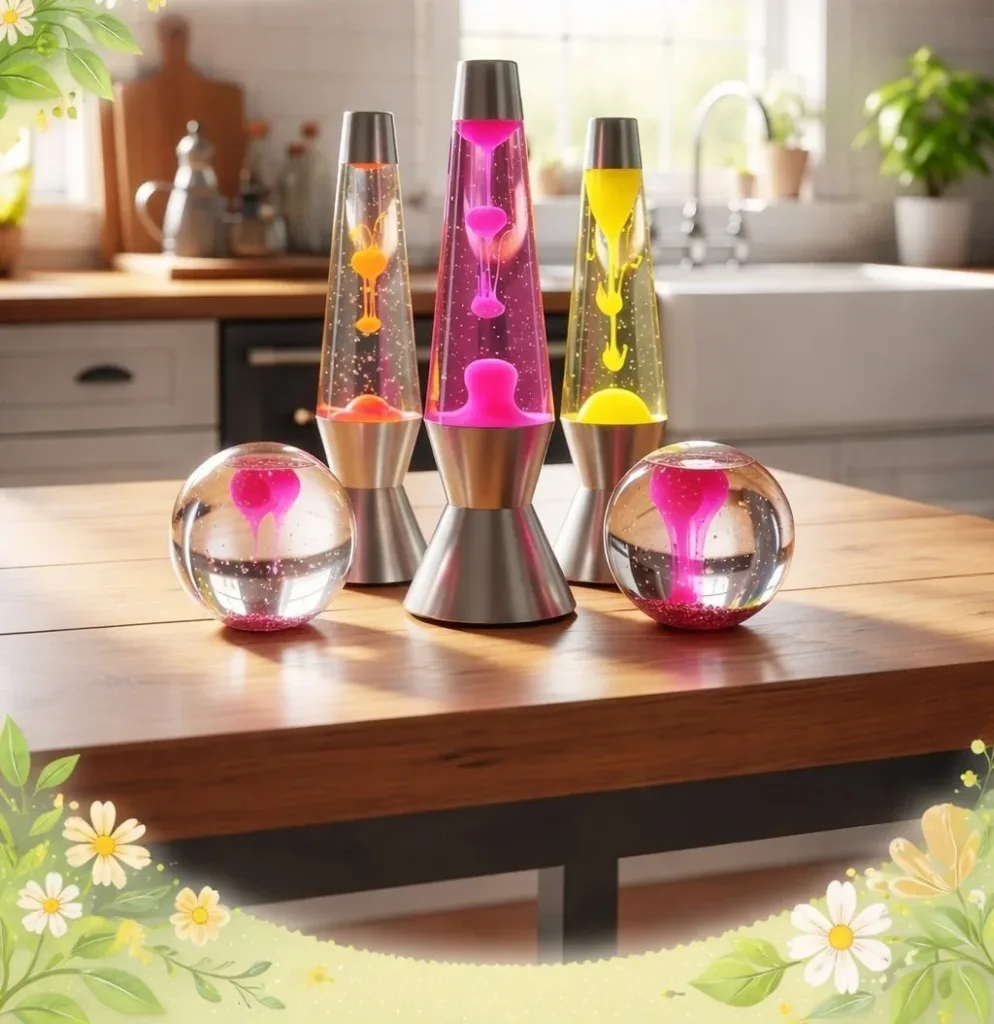
It was a busy afternoon. The kids wanted something quick to make, and I needed a calm, low-prep activity that would actually hold their attention. The DIY Lava Lamp Suncatcher fit the bill perfectly: a two-person kitchen table project that uses a few household items, gives immediate wow, and cleans up fast. I keep a stack of clear laminating pouches and a bottle of baby oil for small projects like this, and we often pair it with a snack break while the suncatcher hangs and sparkles. If you like simple suncatcher ideas, you might also enjoy this easy bioplastic suncatchers recipe we made last month for another sunny afternoon activity.
Why This DIY Lava Lamp Suncatcher Works So Well

This project shows quick results with almost no special tools. You only need a clear pouch, oil, colored water, and a few tiny embellishments. That makes setup quick and limits trips to the store.
The materials all come from around the house. Vegetable oil and food coloring are familiar, the pouch is sturdy, and tape works fine for sealing if you do not want to iron. That low bar keeps the project approachable for parents and good for tight schedules.
It is reliable because the science inside is simple and visible. Oil and water do not mix, so they form clean layers and moving droplets. The effect works every time if you leave a small air pocket and a careful seal. That makes success likely even with young helpers.
The project fits real life. You can make one suncatcher during short screen breaks. You can make a batch for a weekend craft party. It uses a little adult help up front and then becomes a visual treat that keeps the kids engaged.
A Quick Look Before You Begin
This craft takes about 15 to 30 minutes of hands-on time plus a few minutes to trim and hang. Most of that is gentle, careful work rather than fast cutting or measuring.
Setup stays tidy as long as you prepare a small tray and paper towels. Prepare a towel under your work area and keep the oil bottle away from edges. Accidental drips happen, but they wipe up quickly.
Kids can do most steps with supervision. An adult should handle sealing if you use an iron or pressing the laminating pouch edges firmly. For younger kids, assign the coloring, pipetting, and gentle placement of glitter or beads.
Expect a little trial and error the first time you try a new sealing method. That is okay. The goal is a pretty suncatcher that catches sunlight, not a lab-perfect piece.
Materials You’ll Need
Clear laminating pouch or two sheets of clear vinyl or heavy clear contact paper
Vegetable oil or baby oil
Small measuring cup or disposable cup
Food coloring or liquid watercolor
Pipette, straw, or small funnel
Scissors
Clear packing tape or an iron and parchment paper for sealing
Hole punch (optional)
Thin ribbon, twine, or fishing line for hanging
Optional: a pinch of fine glitter, tiny sequins, or a few small translucent beads
Paper towels and a small tray for cleanup
Notes:
The laminating pouch is the easiest container because it already has two layers fused on one side. Clear contact paper works too but needs careful sealing.
Baby oil feels smoother for little hands and looks clear; either oil will create the same separation from water.
A pipette or small funnel helps you place tiny drops without making a mess.
If you want more suncatcher ideas for different looks and techniques, check out this other simple collection of suncatchers that use different materials and finishes.
STEP-BY-STEP DIRECTIONS

- Prepare a clean surface and lay a towel to catch small spills.
Keep paper towels and a small tray nearby.
This step saves time and stress later. - Open a laminating pouch or prepare two clear vinyl sheets.
Place the pouch flat and centered on your towel.
If using contact paper, overlap two sheets with the sticky sides in. - Add a small amount of water to a cup and mix in a few drops of food coloring.
Stir gently until the color looks even.
Use stronger color for bolder drops and lighter color for soft glows. - Use a pipette or small funnel to add a thin layer of colored water into the center of the pouch.
Drop the colored water in small blobs, not one large puddle.
Aim for a centered cluster that will sit under the oil. - Add oil slowly into the pouch around the colored water.
Pour the oil gently to avoid mixing with the water.
You want the oil to surround the colored droplets and leave room for movement. - If desired, tuck a few tiny beads or a whisper of glitter into the oil layer.
Use tweezers or fingers to place beads carefully.
A little sparkle catches the sun without weighing the piece down. - Leave a small air pocket for movement, then seal the pouch carefully.
Seal the pouch with tape or use an iron with parchment paper over the edges.
A small air pocket lets bubbles move and gives the lava effect. - Smooth the sealed edges by running your finger along them with light pressure.
Press firmly but evenly to make a clean edge.
If tape is visible, fold it neatly for a tidy border. - Trim any excess plastic, leaving a neat border around the sealed area.
Cut slowly and leave a small margin to keep the seal intact.
A neat border helps the suncatcher look finished. - Punch a hole near the top and thread ribbon or fishing line.
Use a hole punch or carefully cut a small hole with scissors.
Tie your ribbon or fishing line securely for hanging. - Hang the suncatcher in a spot that receives gentle sunlight.
Choose a window with soft sun for a steady glow.
Avoid direct heat that could warp the plastic. - Watch and touch the piece gently when needed.
Gently tilt it to encourage movement if the droplets refuse to move right away.
Do not squeeze or press hard; the seal should stay intact. - Enjoy and refill the tray for cleanup.
Wipe up drips right away with paper towels.
Store leftover supplies for your next quick craft.
The Simple Science or Skills at Work

This suncatcher highlights a clear and satisfying piece of kitchen science: oil and water do not mix. The oil floats on top of the colored water because oil is lighter and less dense. Those separate layers create the little lava lamp blobs you see when the piece moves.
Fine motor skills grow during precise actions like using a pipette or threading a tiny ribbon. Kids practice steady hands when they add beads or smooth the seal. Those small skills build confidence in other crafts.
The project also teaches cause and effect. When you tilt the pouch gently, droplets move and then settle. When you seal too tightly or add too much water, movement slows. Those outcomes give immediate feedback and help kids learn adjustments.
Finally, the visual payoff reinforces patience. Waiting a minute for movement, or trimming the edge neatly, gives kids an easy reward for careful work.
Troubleshooting Common Issues
If droplets refuse to move, check the seal and the air pocket. Too little air can make everything stick in place. Gently tilt the suncatcher to coax movement, or open a small corner to release and re-seal with extra tape.
If oil and water mix a little, the colored water probably had too many drops or your pouring was too forceful. In that case, open the pouch and dab excess color out with a paper towel, then add fresh oil around the remaining water.
If a pouch leaks, do not panic. Lay it flat on a towel and blot the oil. Cut the pouch open, transfer contents into a fresh pouch or new contact paper, and seal again. Consider using clear packing tape around the seam for extra insurance.
If sealing creates bubbles or wrinkling, smooth from center to edge with your finger, then add tape along the edges to flatten. If you use an iron, keep it on low heat and move it slowly under parchment paper to avoid warping.
If glitter or sequins cloud the view, use less next time. A whisper of glitter looks better than a handful. Translucent beads or tiny sequins work best because they catch light without blocking the lava motion.
Easy Variations to Try
Make a color gradient by dropping two or three colors of water close together. They will sit separately and make soft blends when the droplets move.
Try a night-time glow by using neon or highlighter ink diluted in water under a desk lamp with warm light for a different mood.
Cut the sealed piece into a simple shape like a circle or heart before trimming the border to make a custom ornament.
Use translucent buttons or small craft gems instead of glitter for a more jewel-like look that still lets the blobs move.
For seasonal flair, tuck tiny plastic leaves or small paper shapes into the oil layer for autumn or spring themes; keep them very small so they do not block movement.
If you want a similar suncatcher with a waxy finish and different textures, this blue crayon technique shows another fun route you can try for variety: blue crayon suncatchers.
Storing or Reusing This Project
Store finished suncatchers flat in a drawer or hanging spot away from direct heat. Avoid folding or pressing; the seal can weaken if you stack heavy objects on top.
Leftover oil and colored water can go back into labeled small cups for reuse in the next project. Keep the oil in a sealed container in your craft area.
Clean up with a small tray and paper towels. Wipe any oil spills from the table right away with dish soap and warm water to remove residue.
If a suncatcher loses its sparkle after time, open it, add a few fresh drops of color or a pinch more glitter, and re-seal. For another use, carefully cut open the sealed edge and reuse the beads or clean the plastic for new projects.
For ideas on storing and repurposing suncatcher materials across seasons, this spark collection of suncatcher projects gives more ways to extend supplies: firework suncatcher.
FAQs About DIY Lava Lamp Suncatcher
Will this craft be too messy for my small kitchen?
It can get a little messy, but not badly. Lay down a towel and keep paper towels and a tray handy. I usually let the kids pipette the color while I pour the oil. Spills wipe up with a soapy cloth quickly, and most messes stay on the towel.
Is this safe for preschoolers?
For the most part yes, with supervision. The pipette, beads, and small sequins pose a choking risk, so stay close with preschool kids. Let them do the coloring and pipetting while an adult handles sealing with an iron or trimming edges.
Can I use any kind of oil or food coloring?
Vegetable oil, canola, or baby oil all work. Baby oil looks particularly clear and feels nice to handle, but vegetable oil is cheaper. Use liquid food coloring or liquid watercolors for the brightest color; gel food coloring is harder to dissolve and may clump.
How long will a suncatcher last?
A well-sealed suncatcher can hang for months. Over time the edges might loosen or the oil can pick up dust. If that happens, re-seal or replace with fresh sheets. Do not expect it to last forever, but it usually gives several good weeks of sun-catching joy.
What if my results do not look like the photos?
That is normal. Every pouch holds a different mix of air, oil, and water. Some pieces show big blobs, some show gentle drops. Focus on the fun of making and the way sunlight brings each piece to life. Small imperfections only make each piece unique.
A Final Helpful Note
This project rewards calm and small adjustments. If a step takes a minute longer than you planned, that is fine. The slow parts careful pipetting, smoothing the seal, trimming the edge make the piece look cared for and last longer.
Trust the simple materials. The oil and water will separate and make the effect as long as you keep the layers distinct and leave that tiny air pocket for movement.
Make a few extras; they make thoughtful little gifts, classroom window decorations, or a rotating set of sunlight art for different rooms.
Have fun, keep it simple, and enjoy the quiet magic of a tiny moving world in the window.
Conclusion
If you want a quick video refresher on the lava lamp motion and ideas for using household items, this short segment walks through a similar craft and shows the movement up close: Crafts for Kids | DIY Lava Lamp | Season 1 | Episode 103 – PBS.
For a printable pattern and some different stained-glass style ideas that pair well with this project, you can use this downloadable pattern to plan shape and color layouts: Lava Lamp Stained Glass Pattern PDF – Etsy.
DIY Lava Lamp Suncatcher

Create a mesmerizing lava lamp suncatcher using simple household items for a fun craft activity with kids.
- Prep Time: 15 minutes
- Cook Time: 30 minutes
- Total Time: 45 minutes
- Yield: 2 suncatchers
- Category: Craft
- Method: Crafting
- Cuisine: N/A
- Diet: N/A
Ingredients
- Clear laminating pouch or clear vinyl sheets
- Vegetable oil or baby oil
- Small measuring cup
- Food coloring or liquid watercolor
- Pipette, straw, or small funnel
- Scissors
- Clear packing tape or iron and parchment paper
- Hole punch (optional)
- Thin ribbon, twine, or fishing line
- Optional: Glitter, sequins, or small beads
- Paper towels and a small tray
Instructions
- Prepare a clean surface and lay a towel to catch small spills.
- Open a laminating pouch or prepare two clear vinyl sheets.
- Add a small amount of water to a cup and mix in drops of food coloring.
- Use a pipette or small funnel to add a thin layer of colored water into the pouch.
- Add oil slowly into the pouch around the colored water.
- If desired, tuck tiny beads or glitter into the oil layer.
- Leave a small air pocket and seal the pouch carefully.
- Smooth the sealed edges by running your finger along them.
- Trim any excess plastic, leaving a neat border.
- Punch a hole near the top and thread ribbon or fishing line.
- Hang the suncatcher in a spot that receives gentle sunlight.
- Watch and touch the piece gently when needed.
- Enjoy and refill the tray for cleanup.
Notes
Adult supervision is recommended for young children, especially during sealing. Use a towel and paper towels for easier cleanup.
Nutrition
- Serving Size: 1 suncatcher
- Calories: 0
- Sugar: 0g
- Sodium: 0mg
- Fat: 0g
- Saturated Fat: 0g
- Unsaturated Fat: 0g
- Trans Fat: 0g
- Carbohydrates: 0g
- Fiber: 0g
- Protein: 0g
- Cholesterol: 0mg