

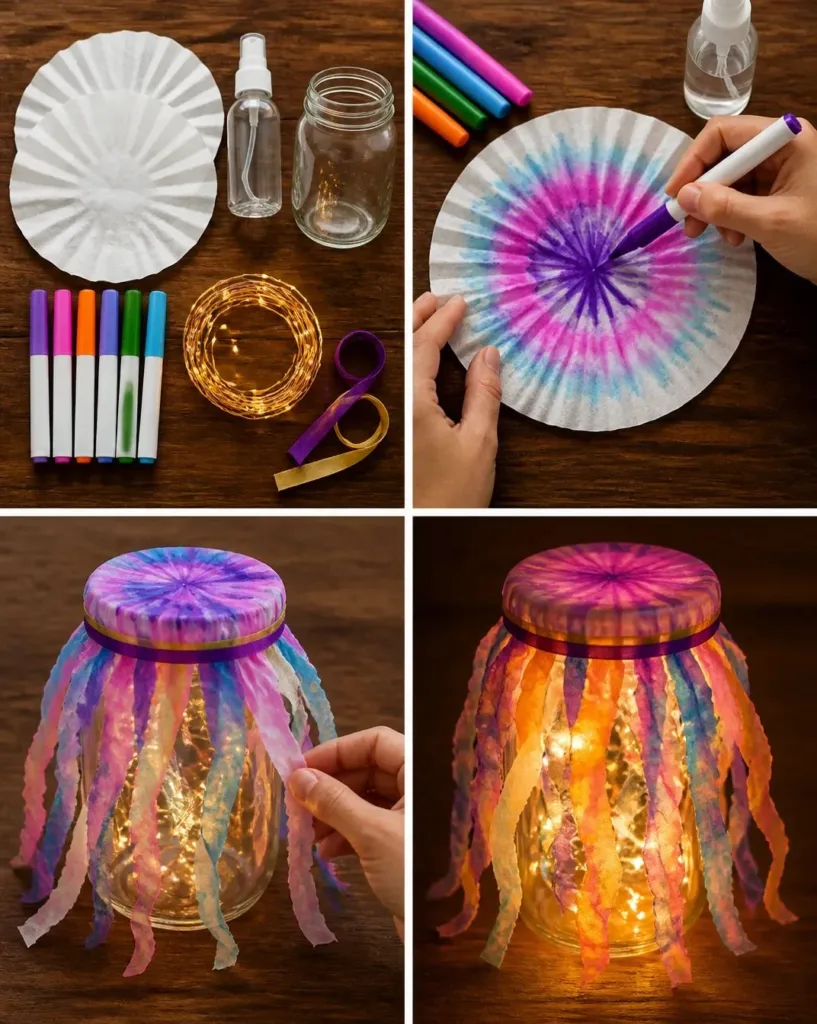
Making crafts with kids often happens on busy afternoons when you’re looking to keep them engaged. Whether it’s the anticipation of a rainy day inside or a last-minute request for a fun activity, you can find yourself scrambling for something simple yet exciting. One delightful project that can bring smiles and creativity into your home is learning how to make a jellyfish lantern with coffee filters. This easy and colorful craft not only brightens up your space but is also a fantastic way for kids to express their artistic flair. Plus, if you’re interested in other coffee filter projects, check out this coffee filter jellyfish craft for more inspiration.
Why You’ll Love Making How to Make a Jellyfish Lantern with Coffee Filters
You may also find How To Create Rainbow Apple Bouquet Coffee Filters useful.
This jellyfish lantern project is perfect for creating together as a family. It’s low-prep and uses everyday items, making it accessible for all skill levels. You won’t need to spend long hours gathering materials or worrying about complicated steps. This activity is designed for real-life schedules, allowing parents to join in the fun without stress. Crafting this jellyfish lantern gives children the satisfaction of creating something beautiful while enhancing their fine motor skills. It’s repeatable fun for various occasions, from birthday parties to simple afternoon activities. You may also find How To Make Rainbow Roses Coffee Filters Guide useful.
A Quick Look Before You Begin
Taking a moment to overview the jellyfish lantern-making process can help set the tone for a relaxed crafting session. Overall, the project should take about 30 to 45 minutes, depending on how detailed your kids want to be. Set up is quick: gather your supplies and find a clean, flat workspace. The mess level is minimal, so you won’t be left with too many spills or splashes. You might want to have a few paper towels handy just in case. Younger children may need a little assistance with the cutting and assembly, but they can do most of the coloring independently. You may also find How To Make A Suncatcher With Glass Beads useful.
Materials You’ll Need
Gather these simple materials for your jellyfish lantern project:
- 2 white coffee filters
- Washable markers
- Spray bottle with water
- 1 mason jar
- Battery fairy lights
- Ribbon
These items are mostly common household materials, ensuring that the project remains budget-friendly. You might already have the coffee filters and markers at home, allowing you to dive into this creative task without much preparation.
Step-by-Step Directions
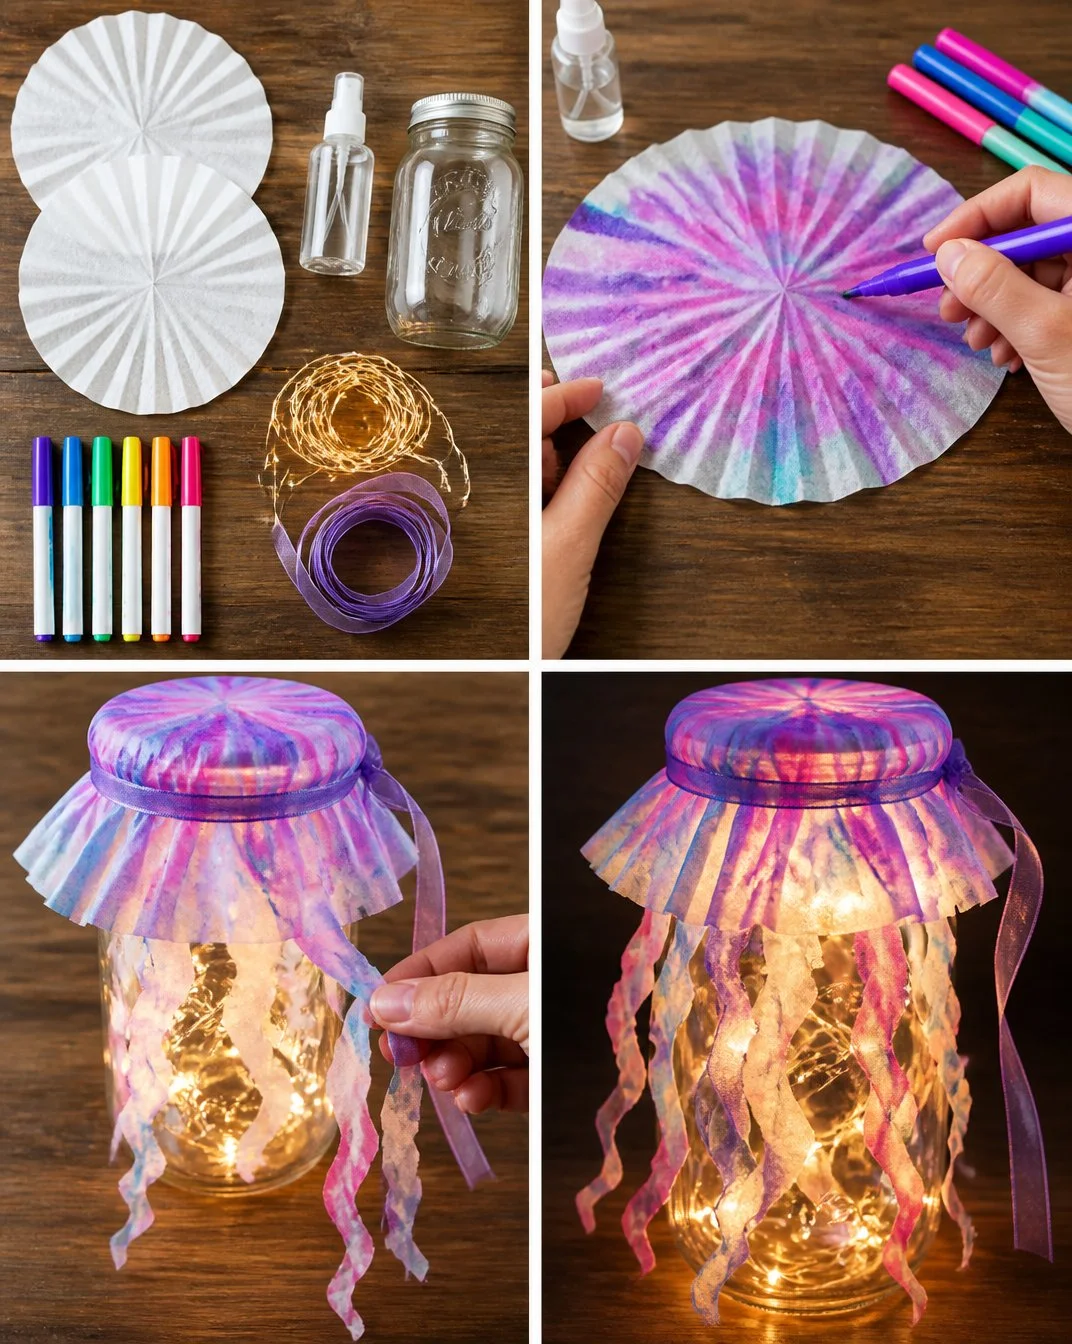
Follow these straightforward steps to make your own jellyfish lantern:
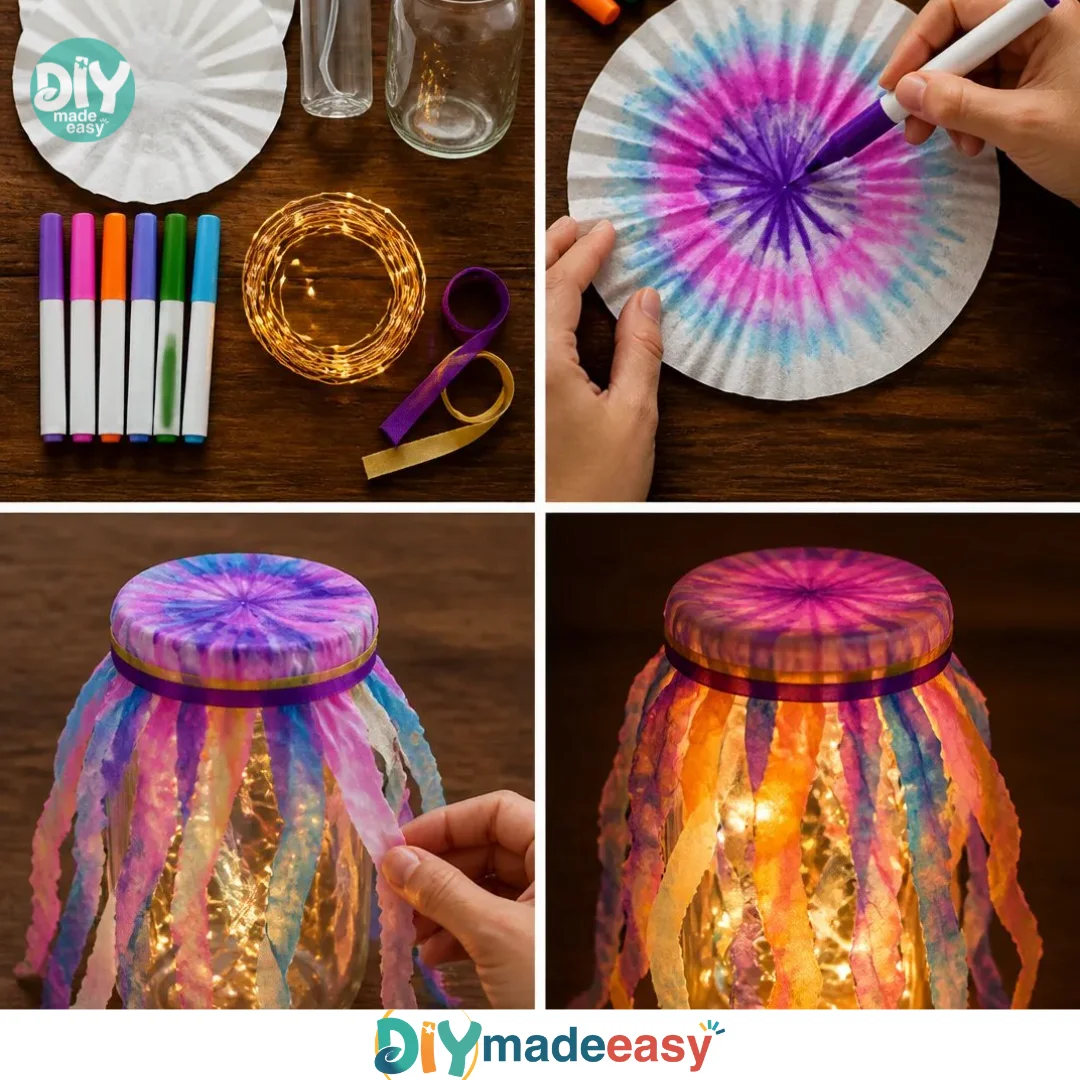
Color and Mist the Filters: Start by coloring both coffee filters with washable markers. Encourage your kids to explore their creativity with different colors. After coloring, gently mist each filter with water from the spray bottle. This will help the colors bleed and blend beautifully. Allow them to dry flat for about 15 minutes.
Fold and Cut: Once dry, take one filter and fold it in half to create the jellyfish cap. Cut around the edge of the filter to give it a wavy appearance this forms the bell of the jellyfish. With the second filter, cut it into strips to create the tentacles. Don’t be too precise; the irregular edges will add to the whimsical look!
Assemble the Lantern: Place the fairy lights inside the mason jar, arranging them so they are evenly spread. Take the jellyfish cap and carefully attach it around the rim of the jar using the strips from the second filter as tentacles dangling down. You can use a ribbon to tie it together for a secure hold and an added decorative touch.
This simple process results in a charming jellyfish lantern that shines brightly and showcases your kids’ creativity.
The Learning Behind This DIY
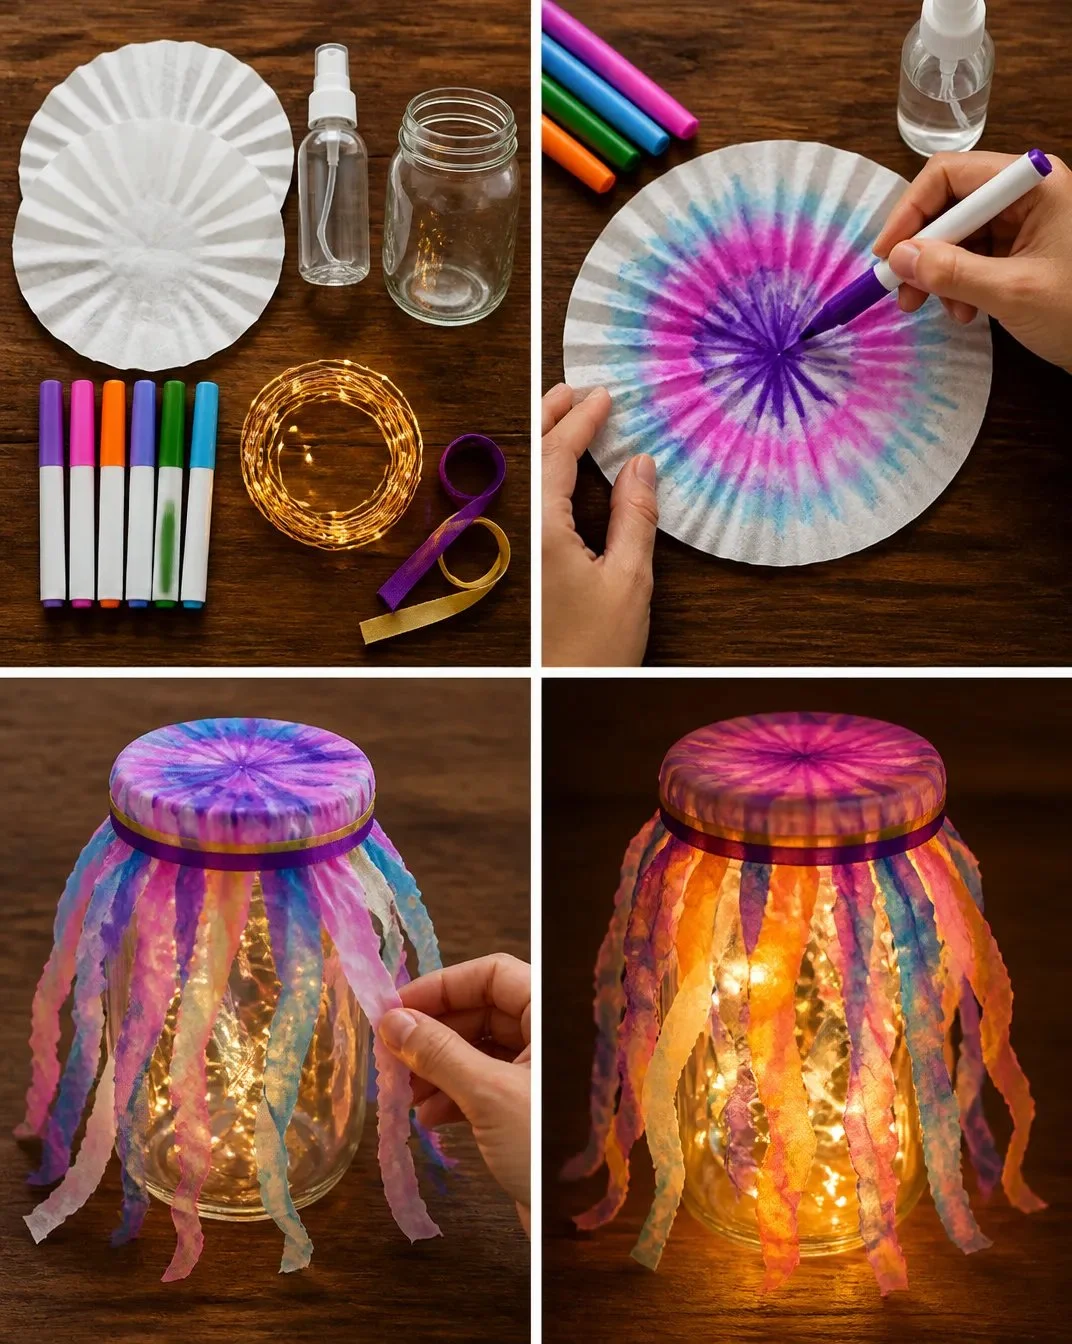
Creating a jellyfish lantern involves not just artistic flair but also some simple science concepts. Kids can learn about color mixing as they blend different marker shades on the filters. They practice fine motor skills while cutting and manipulating the filters, enhancing their hand-eye coordination. Observing how the colors change when misted with water introduces them to cause-and-effect relationships.
Through this engaging activity, children also learn the beauty of light and shadow as they see how the battery fairy lights illuminate their artwork. It’s educational without feeling like a lesson!
Troubleshooting Common Issues
If something doesn’t go as planned, don’t worry crafting is all about experimentation. Here are some common issues and simple solutions:
- Colors Not Blending Well: If the colors didn’t spread as expected, try adding a little more water during the misting step. Letting it soak for a few extra moments can achieve better results.
- Tentacles Too Short or Uneven: If some tentacles look uneven, encourage kids to embrace that uniqueness! Alternatively, you can easily trim them afterward to make them match better.
- Lantern Not Staying Secure: If the jellyfish isn’t sitting properly on the jar, using a stronger adhesive like glue or tape can help secure it in place.
Easy Variations to Try
Crafting is all about creativity, and here are some variations to enhance the jellyfish lantern project:
- Add Glitter: If your kids enjoy shimmer, consider sprinkling some glitter on the wet colored filters to give them a magical touch.
- Use Different Shapes: Instead of a jellyfish, try using the same method to create other sea creatures like fish or octopuses using different cuts and colors.
- Seasonal Themes: You can adapt this project for different seasons. Consider using warm colors for fall or pastel shades for spring.
Storing or Reusing This Project
After your time crafting, storing or reusing materials can help reduce waste. Make sure to keep your jellyfish lantern in a safe place where it won’t be squished or damaged. Depending on the battery life, this lantern can be used multiple times, adding cheer to your home decor. If the project shows wear, consider taking it apart and using the filters for new creations, such as a colorful gift wrapping or another craft.
FAQs About How to Make a Jellyfish Lantern with Coffee Filters
Will this project make a big mess?
The mess is minimal, but it’s great to have some paper towels handy. The washable markers clean up easily if accidents occur.
Is it safe for younger children?
Absolutely! However, younger kids may need some assistance with cutting, so be nearby to help. The materials are also non-toxic, making them a safe choice for kids.
Can we use other types of filters?
While it’s best to use coffee filters for their unique texture, you can experiment with other paper types to see how they work just keep in mind that results may vary.
How should we store the finished lantern?
To keep your jellyfish lantern in good condition, store it in a box or a high shelf where it won’t get knocked over. It can also be fun to reuse the components for different crafts later.
What if we want to make it more colorful but don’t have markers?
You can use watercolors or even food coloring mixed with water to dye the filters. Just be sure to allow enough drying time after applying the colors.
Conclusion
Creating a jellyfish lantern with coffee filters is not just about the craft it’s about bonding with your children and enjoying the creative process together. The joy of turning simple materials into a beautiful decorative piece will surely brighten your space and your day. If you’re looking for more fun craft ideas, consider checking out other projects like Coffee Filter Jellyfish Sun Catcher Easy Ocean Craft for Kids or explore the DIY Floating Jellyfish Craft for additional inspiration. Enjoy your creative journey!
PrintJellyfish Lantern with Coffee Filters

A fun and easy craft project for kids, making jellyfish lanterns with colorful coffee filters.
- Prep Time: 10 minutes
- Cook Time: 15 minutes
- Total Time: 25 minutes
- Yield: 1 jellyfish lantern 1x
- Category: Craft
- Method: DIY Crafting
- Cuisine: Crafting
- Diet: Kid-Friendly
Ingredients
- 2 white coffee filters
- Washable markers
- Spray bottle with water
- 1 mason jar
- Battery fairy lights
- Ribbon
Instructions
- Color and mist the filters: Color both coffee filters with washable markers and mist with water. Allow to dry flat for about 15 minutes.
- Fold and cut: Fold one filter in half and cut to create a wavy jellyfish cap. Cut the second filter into strips for tentacles.
- Assemble the lantern: Place fairy lights in the mason jar, attach the jellyfish cap and use ribbon to secure tentacles around the jar.
Notes
Encourage kids to experiment with colors and designs. The project is safe and non-toxic for children.
Nutrition
- Serving Size: 1 lantern
- Calories: 0
- Sugar: 0g
- Sodium: 0mg
- Fat: 0g
- Saturated Fat: 0g
- Unsaturated Fat: 0g
- Trans Fat: 0g
- Carbohydrates: 0g
- Fiber: 0g
- Protein: 0g
- Cholesterol: 0mg