

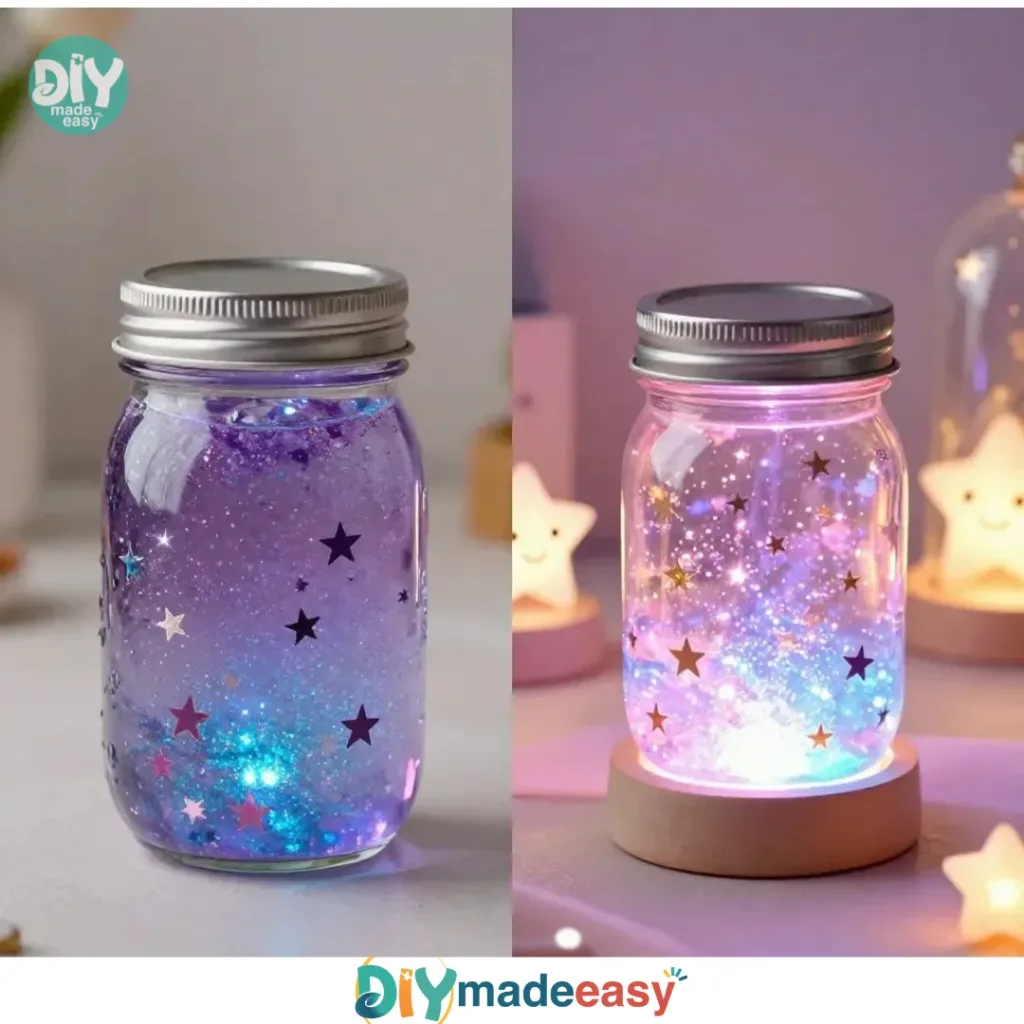
Creating a DIY Galaxy Glitter Jar can transform a busy afternoon into a delightful crafting experience. Whether your kids are bursting with energy or looking for an engaging project, this simple and fun activity promises to spark their creativity and wonder. The DIY Galaxy Glitter Jar is not just about making something beautiful; it’s also a way to connect, learn, and share in the joy of crafting together. You may also find Diy Lightning Storm In A Jar useful.
Why You’ll Love Making DIY Galaxy Glitter Jar
You may also find Glowing Glitter Jar useful.
This project is wonderfully low-prep, making it an excellent fit for real-life schedules. You will find that gathering the materials is simple, and the steps are straightforward, which keeps the momentum flowing without feeling overwhelmed. Each child can customize their jar with their favorite colors and glitter, adding a personal touch that enhances engagement. The reliable outcome means that most attempts will yield satisfying results, allowing for a stress-free crafting time. If you love hands-on activities that have predictable results, this galaxy jar project will be a hit! You may also find Magic Glitter Jar useful.
A Quick Look Before You Begin
Making a DIY Galaxy Glitter Jar is a quick and approachable project that can fit into a casual weekend or a quick activity after school. The entire crafting process takes about 30 minutes, giving you just the right amount of time to enjoy without getting rushed. The setup involves only a few materials, and the cleanup is manageable, especially if you lay down some newspaper or a plastic tablecloth first. You’ll find that everyone can pitch in, making adult involvement minimal but necessary for help with pouring heavier items. You may also find Magical Snowstorm In A Jar Diy Winter Craft useful.
Materials You’ll Need
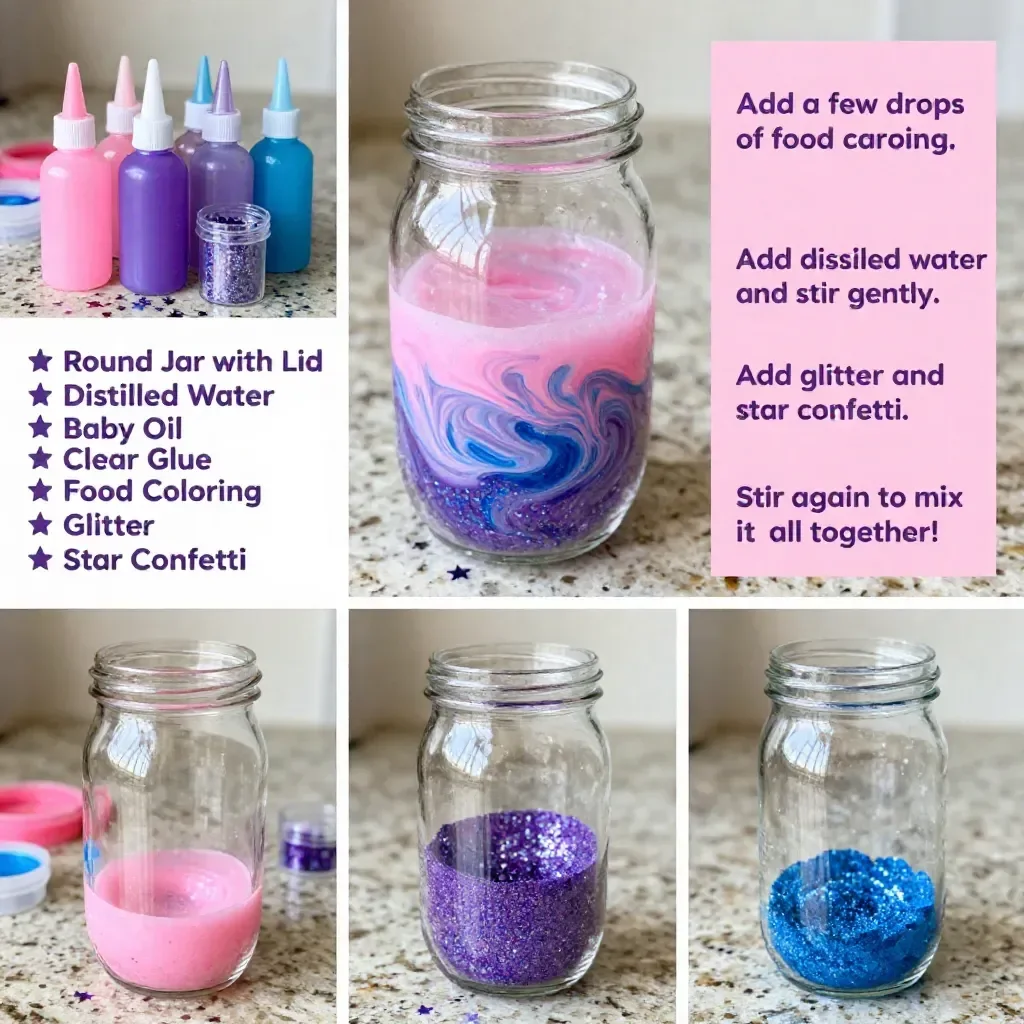
For the DIY Galaxy Glitter Jar, gather these simple supplies from around your home:
- Clear jar with a lid (like a mason jar)
- Water
- Clear glue or school glue
- Glitter (various colors)
- Food coloring (optional for added effect)
- Iridescent sparkle (optional for more depth)
- A stir stick or spoon
- A small funnel (optional)
These materials are mostly common household items, but don’t hesitate to explore optional elements like food coloring or iridescent sparkle to elevate the visual effect!
Step-by-Step Directions
- Clean the jar thoroughly to ensure it’s free from dust or residues. This is important for getting a nice, clear finish.
- Fill the jar about one-third full with water, leaving space for additional ingredients. This is the base that will help your glitter float and swirl.
- Add a generous amount of clear glue to the water, creating a viscous mixture. The glue will give your jar its galaxy-like effect as it binds the glitter together.
- Sprinkle in a mix of your chosen glitter. Feel free to use different colors for a more dynamic look.
- If you’d like a more vibrant look, add a few drops of food coloring and stir gently with your stick. Watch the colors meld into the mixture as you stir!
- Complete filling the jar with water, leaving just enough space at the top for the lid. You don’t want it to overflow when you put the lid on.
- Gently shake the jar to mix everything before sealing it tightly. This is the fun part where you can see the glitter and glue interact.
- Give your jar a final shake to see the spectacular galaxy unfold. The moment of unveiling is magical—watch the colors swirl and twinkle!
The Learning Behind This DIY
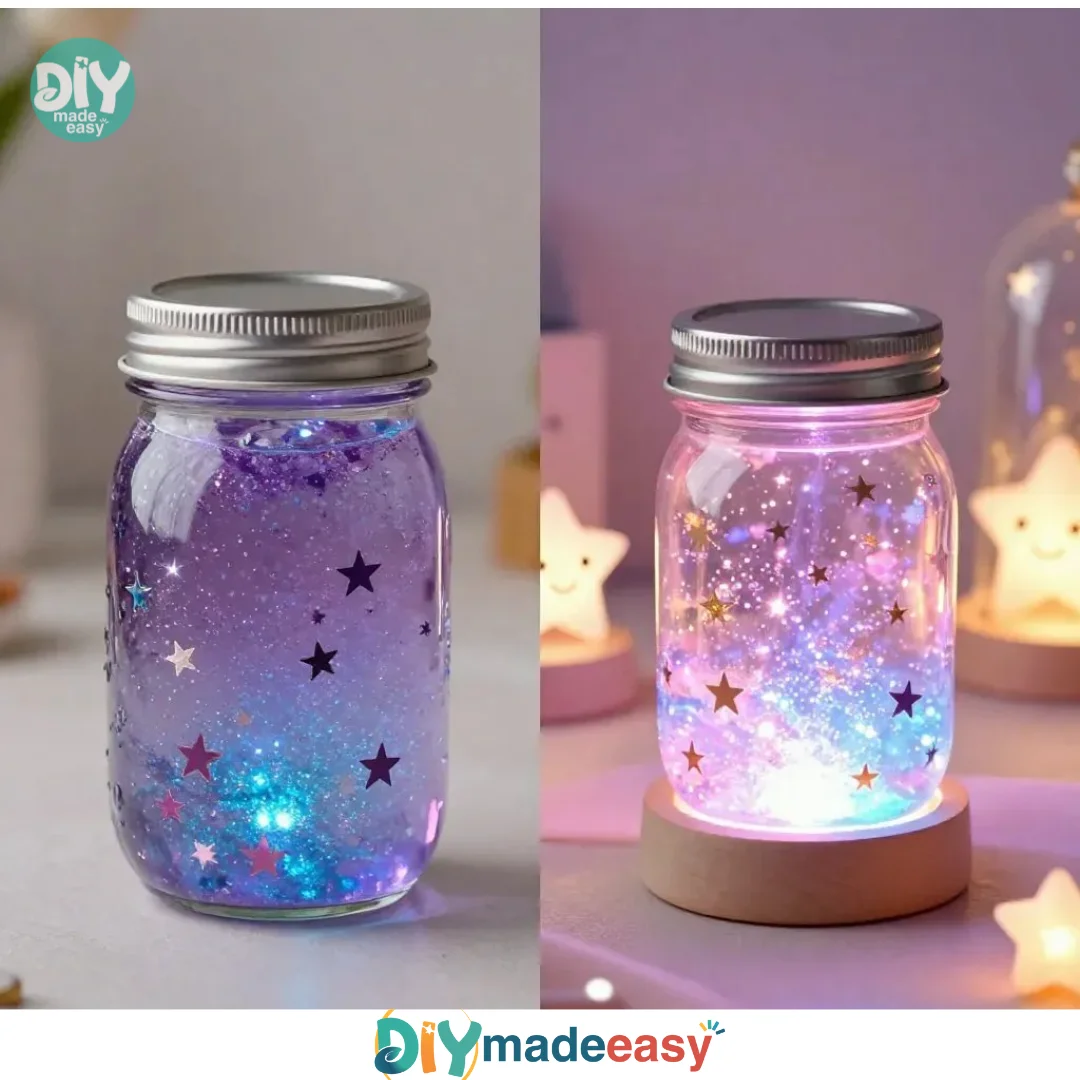
Making a DIY Galaxy Glitter Jar integrates fun with learning opportunities. While creating these jars, kids can practice fine motor skills through pouring, stirring, and shaking. Observing the glitter’s movement in the jar fascinates children and introduces them to basic science concepts such as cause and effect. They’ll notice how different amounts of glue or water can change the way the glitter behaves. Additionally, this activity can encourage creativity as they decide how to customize their jars’ colors and designs.
Troubleshooting Common Issues
If things don’t go quite as planned, don’t worry; common problems often have simple fixes. If the glitter clumps together, it may mean you didn’t use enough glue or water. Adding a little more glue can help separate those clumps. In case the colors aren’t vivid enough, additional food coloring can enhance the look. If your jar seems too full, ensure you leave enough air space at the top when sealing it to prevent overflow.
Easy Variations to Try
To keep the fun flowing, consider these variations to explore additional creative avenues:
- Seasonal Themes: Use holiday colors like red and green for Christmas or pastels for Easter.
- Themed Jars: Create galaxy jars based on favorite movies or characters by coordinating colors and glitter shapes accordingly.
- Layered Effects: Instead of mixing everything together, you can create layers by adding different colors of glitter and glue in segments.
Storing or Reusing This Project
After crafting your Galaxy Glitter Jar, think about storage and reuse. While the jars are beautiful as decorations, they can also be emptied and redone if a new creative spark hits. Simply clean and dry the jar, and the materials can be easily replaced. To maintain the jars, ensure they are kept out of direct sunlight as this can fade the colors over time. If you find glitter spilling, a simple clean-up involves a damp cloth to wipe surfaces safely.
FAQs About DIY Galaxy Glitter Jar
What if I’m worried about the mess?
It’s understandable to be concerned about messes. Just lay down some newspaper or a plastic cover to catch any spills, which keeps cleanup easier. Kids can also help wipe up after themselves, making it a shared responsibility.
Is this activity safe for younger kids?
Yes, the DIY Galaxy Glitter Jar is generally safe for children. Just supervise younger ones when handling small items like glitter to prevent ingestion. Always make sure they wash their hands after playing with glue and other materials.
Can I substitute the glue with something else?
Yes, you can use any clear adhesive similar to school glue, but results may vary. Transparent craft glue is a popular alternative if you have it on hand.
Will my jar look as pretty as the examples?
Every jar will have its own unique charm. Emphasizing creativity over perfection will make the activity enjoyable for everyone involved. Each jar is personal and special!
What can I do with leftover materials?
After making your jars, you might have some glitter, glue, or other supplies left over. Consider saving them for future craft projects or even letting the kids create more jars or crafts down the line!
Conclusion
Conclusion
Creating a DIY Galaxy Glitter Jar can be an inspiring and enjoyable experience for the whole family. It not only provides a creative outlet but also fosters valuable skills and imaginative play. For more exciting variations, check out these Galaxy Glitter Jars – Fireflies and Mud Pies and the DIY Galaxy Jar – Bitz & Giggles that can add even more fun to your crafting adventures!
PrintDIY Galaxy Glitter Jar
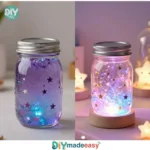
A fun and engaging project for kids to create a beautiful galaxy glitter jar that sparks creativity and learning.
- Prep Time: 5 minutes
- Cook Time: 25 minutes
- Total Time: 30 minutes
- Yield: 1 jar
- Category: Craft
- Method: Crafting
- Cuisine: N/A
- Diet: N/A
Ingredients
- Clear jar with a lid (like a mason jar)
- Water
- Clear glue or school glue
- Glitter (various colors)
- Food coloring (optional)
- Iridescent sparkle (optional)
- A stir stick or spoon
- A small funnel (optional)
Instructions
- Clean the jar thoroughly to ensure it’s free from dust or residues.
- Fill the jar about one-third full with water.
- Add clear glue to the water, creating a viscous mixture.
- Sprinkle in a mix of your chosen glitter.
- If desired, add food coloring and stir gently.
- Complete filling the jar with water, leaving space for the lid.
- Gently shake the jar to mix everything before sealing it tightly.
- Give your jar a final shake to see the spectacular galaxy unfold.
Notes
Encourages fine motor skills and introduces basic science concepts.
Nutrition
- Serving Size: 1 jar
- Calories: 50
- Sugar: 0g
- Sodium: 0mg
- Fat: 0g
- Saturated Fat: 0g
- Unsaturated Fat: 0g
- Trans Fat: 0g
- Carbohydrates: 0g
- Fiber: 0g
- Protein: 0g
- Cholesterol: 0mg