

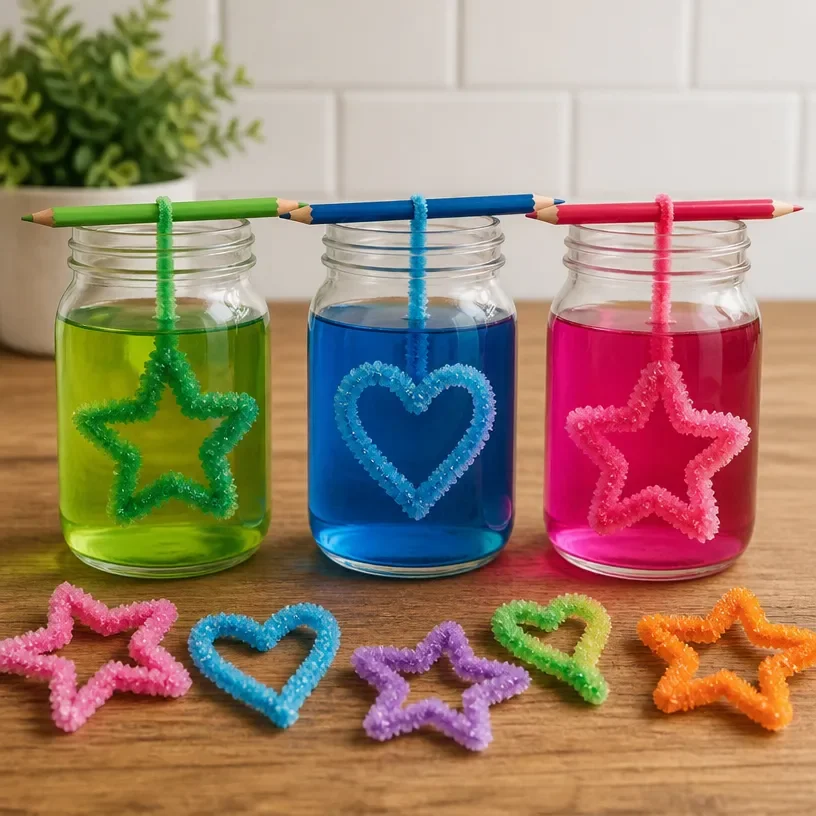
Creating beautiful DIY crystal art can be a fun and engaging way to spark creativity in your home. Imagine a busy afternoon when your kids want to craft something exciting right away. It’s moments like these when a quick project can take shape, leading to stunning results. The DIY Crystal Art: A Beginner’s Guide to Crystal Growth offers an easy, precise method that anyone can follow. With clear steps and simple materials, you’ll find yourself exploring the fascinating world of crystals in no time.
Why You’ll Love Making DIY Crystal Art: A Beginner’s Guide to Crystal Growth
You may also find How To Create A Crystal Star At Home Diy Guide useful.
This DIY project shines not only because of the beauty it can create but also due to its straightforward approach. It’s low-prep and makes use of everyday household items, making it approachable for families with busy schedules. The predictability of crystal growth means you don’t have to stress too much about the outcome. With guidance, you can create remarkable pieces of art that encourage hands-on learning and exploration. It’s a perfect blend of scientific engagement and artistic creation, ensuring that children remain involved and invested in their work. You may also find Grow A Crystal Star At Home Easy Diy Tutorial useful.
The Flow of Making DIY Crystal Art: A Beginner’s Guide to Crystal Growth
Picture the setup: a clean workspace, all materials at hand, and the anticipation of what’s to come. The project typically requires just an hour or so of active time, but the magic happens as the crystals grow over the next few days. With minimal mess and adult involvement primarily for setup and supervision, family teamwork can transform a simple project into a bonding experience. This project is flexible enough to fit into your family’s schedule, allowing for creative bursts whenever inspiration strikes. You may also find Galaxy Inspired Pebble Art Painting Stones Diy Guide useful.
Materials You’ll Need
To get started on your DIY crystal art adventure, make sure you gather the following materials:
- Alum or salt – common kitchen ingredients
- Water – a vital part of the solution
- A heat source – stovetop or microwave
- A glass container – easy to find in most kitchens
- String or wire – optional for suspension
- Coloring agents – optional for added fun
These items are either readily available in your home or can be obtained easily, making this an accessible project that won’t break the bank.
Step-by-Step Directions
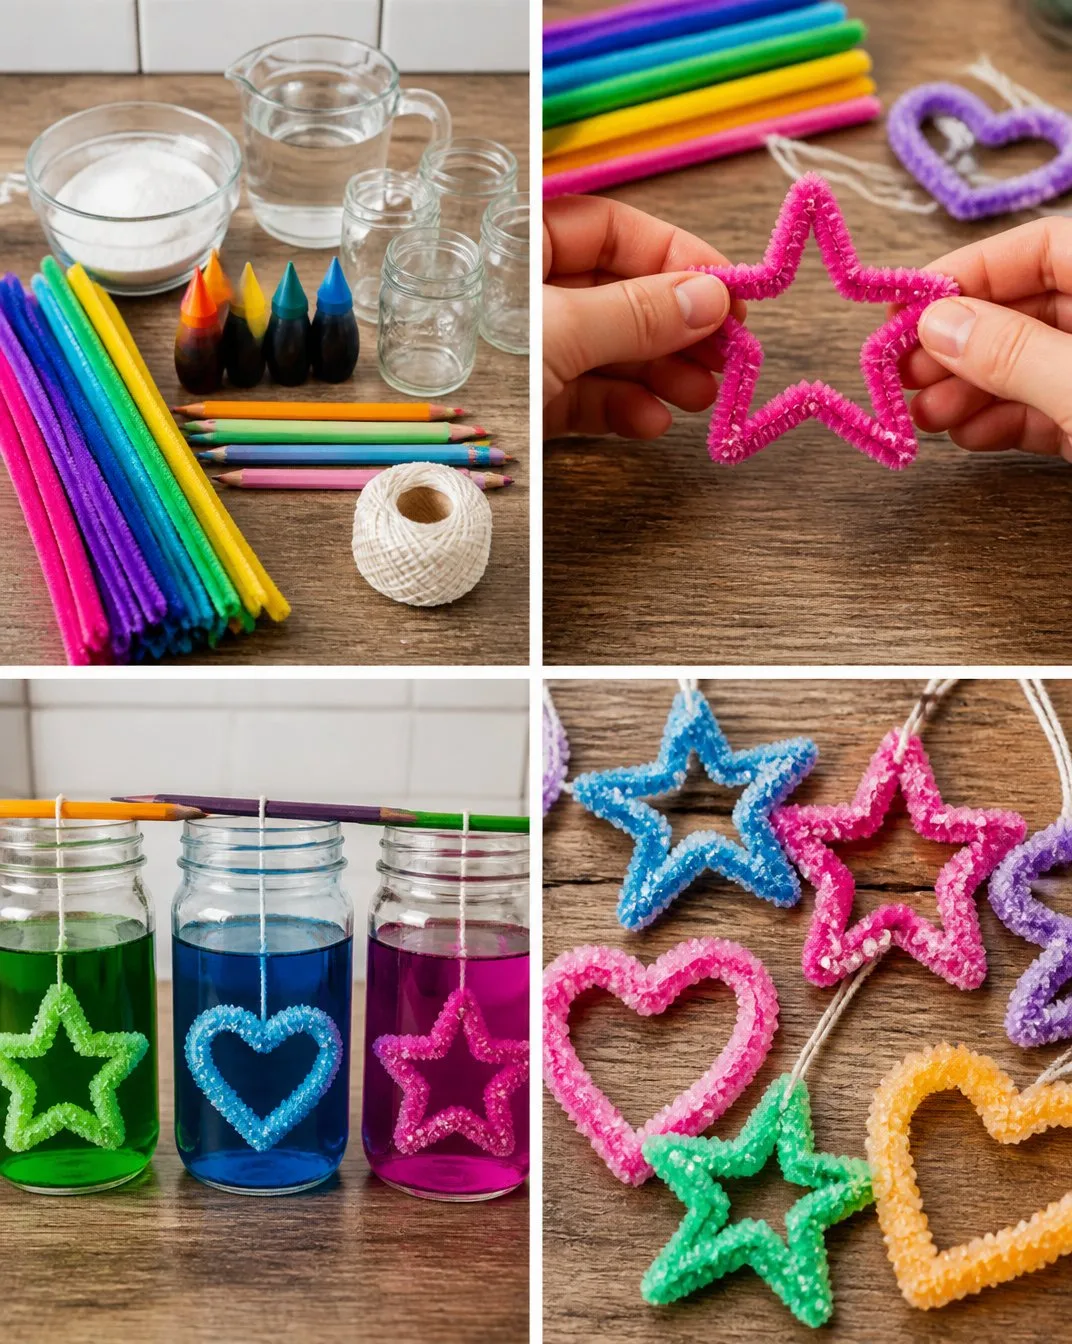
Prepare the Solution: In a glass container, mix warm water with alum or salt until no more dissolves. You want a saturated solution, so be generous.
Heat the Mixture: Place the container on the stovetop or microwave just until the mixture is warm but not boiling. This helps dissolve more crystals quickly.
Add Color: If using any coloring agents, stir them into the mixture now. This is your chance to customize the look of your crystals.
Cool and Set: Let the mixture cool slightly, then insert a string or wire for potential hanging.
Wait for Crystals to Form: Cover the container and place it in a safe location. Over the next few days, watch as crystals begin to form.
Observe the Growth: Check the solution daily. After a few days, you will see beautiful crystal formations!
Remove the Crystals: When you’re satisfied with the size of your crystals, gently remove them.
Display Your Art: Place your shining creations in a prominent spot at home!
The Learning Behind This DIY
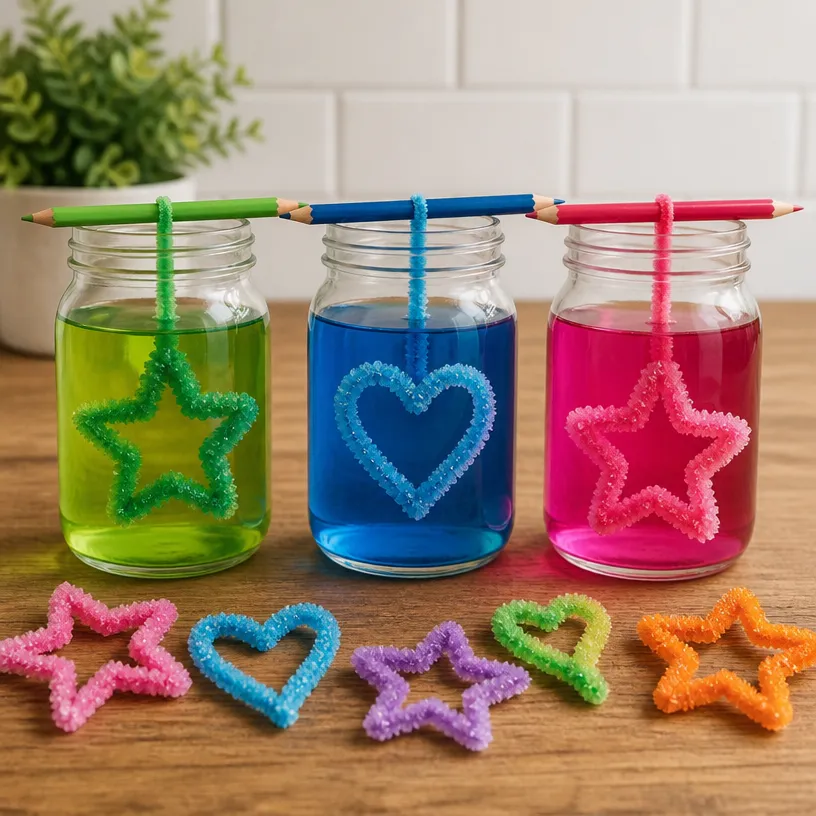
While crafting crystal art, kids are engaged in various learning opportunities. They’ll practice patience as they wait for their creations to bloom, and they will develop fine motor skills while handling materials and tools. This project also introduces basic scientific principles of crystallization, teaching young learners about solutions, temperature, and how substances change states.
Troubleshooting Common Issues
Sometimes, your crystal project might not go as planned, and that’s okay! If you’re noticing small or non-formed crystals, it could be due to a couple of reasons:
Too Much Water: If the solution is too diluted, crystals may not form properly. Try making a more concentrated solution next time.
Temperature Fluctuations: Be sure to keep the container in a stable climate. Rapid temperature changes can halt crystal growth.
Contamination: Ensure that nothing is added to the solution that could interfere with crystal growth. Keeping your container clean and materials pure will yield the best results.
Easy Variations to Try
To keep the creative juices flowing, consider adding some fun variations to your crystal art project! Here are a few simple ideas to inspire experimentation:
Different Colors: Use natural or food coloring to create a rainbow of crystal art. Each batch can yield unique colors.
Alternative Materials: Instead of salt, try using sugar or Epsom salt for different crystal textures and distinct finishes.
Shapes and Forms: Experiment with different glass containers to create unique shapes for your crystals. Think jars, vases, or shallow dishes.
Combination Projects: Incorporate this crystal-making method into a larger artwork, such as a diorama or a themed display.
Layering: Allow for one layer of crystals to form, then carefully add additional layers for depth and complexity.
Storing or Reusing This Project
Once you’ve created your dazzling crystals, think about how to store or reuse them. If you’re planning on keeping your creations:
Display: Showcase your crystals in a clear case or on a shelf to prevent dust accumulation.
Cleaning: If they get dusty, gently wipe them with a dry cloth.
Reuse Materials: Think about disassembling your setup. Many of the materials can be used again in future projects, reducing waste and encouraging creativity.
FAQs About DIY Crystal Art: A Beginner’s Guide to Crystal Growth
Is this project safe for small children?
While this project is generally safe, adult supervision is always recommended. Ensure that kids are careful with heated mixtures and handle all materials safely.
Can I use a different type of container?
Absolutely! Glass is ideal, but you can use any clear plastic or sturdy containers that can withstand heat.
How long will it take to see the crystals grow?
Typically, you should see some formation within a day or two, but larger and more intricate crystals can take several days to reach their full size.
What would I do with leftover materials?
Leftover solutions can be disposed of by pouring them down a drain with plenty of water. The other materials can be saved for future DIY endeavors, allowing for more projects.
A Final Helpful Note
Engaging in DIY crystal art brings a sense of joy and accomplishment as you witness the beauty of science unfolding before your eyes. Embrace the flexibility of this project, adapt as needed, and enjoy the creative freedom it offers. Whether you’re tackling it solo or involving the whole family, remember that the real success lies in the process as much as in the finished artwork.
Conclusion
Making crystal art isn’t just a fun project; it’s also an educational experience that cultivates curiosity and creativity. For deeper insights into growing crystals at home, you might find value by visiting
this detailed guide. Additionally, if you’re keen on learning about what makes certain crystals special, explore the fascinating techniques in
this beginner’s guide.
PrintDIY Crystal Art: A Beginner’s Guide to Crystal Growth
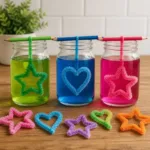
A fun and engaging DIY project that introduces creativity and science through crystal growth using everyday materials.
- Prep Time: 60 minutes
- Cook Time: 0 minutes
- Total Time: 60 minutes
- Yield: Varies based on materials used
- Category: Craft
- Method: DIY Project
- Cuisine: N/A
- Diet: N/A
Ingredients
- Alum or salt
- Water
- A heat source (stovetop or microwave)
- A glass container
- String or wire (optional)
- Coloring agents (optional)
Instructions
- Prepare the solution by mixing warm water with alum or salt until no more dissolves.
- Heat the mixture until warm, but not boiling.
- Add coloring agents if desired.
- Cool slightly and insert a string or wire for potential hanging.
- Wait for crystals to form, covering the container.
- Observe the growth daily.
- Remove the crystals when satisfied with their size.
- Display your shining creations prominently at home!
Notes
Adult supervision is recommended, especially with heated mixtures. Keep your workspace clean to ensure successful crystal growth.
Nutrition
- Serving Size: N/A
- Calories: N/A
- Sugar: N/A
- Sodium: N/A
- Fat: N/A
- Saturated Fat: N/A
- Unsaturated Fat: N/A
- Trans Fat: N/A
- Carbohydrates: N/A
- Fiber: N/A
- Protein: N/A
- Cholesterol: N/A