

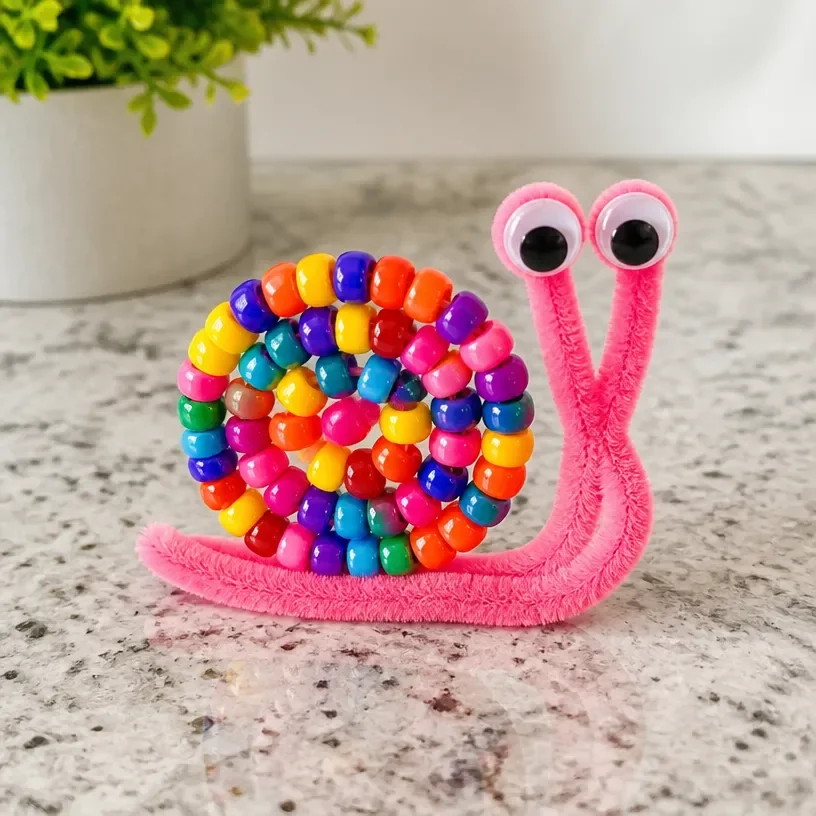
How many afternoons have you found yourself in need of a quick and engaging activity for your kids? Just the other day, when the weather turned gray and stay-at-home activities beckoned, we decided to dive into a hands-on project: How to Make a Beaded Snail with Pipe Cleaners. This delightful craft not only kept the little ones occupied, but it also encouraged creativity and fine motor skills. If you’re looking for a simple yet enchanting DIY project, making beaded snails could be the perfect solution. You may also find How To Make A Suncatcher With Glass Beads useful.
Why This How to Make a Beaded Snail with Pipe Cleaners Works So Well
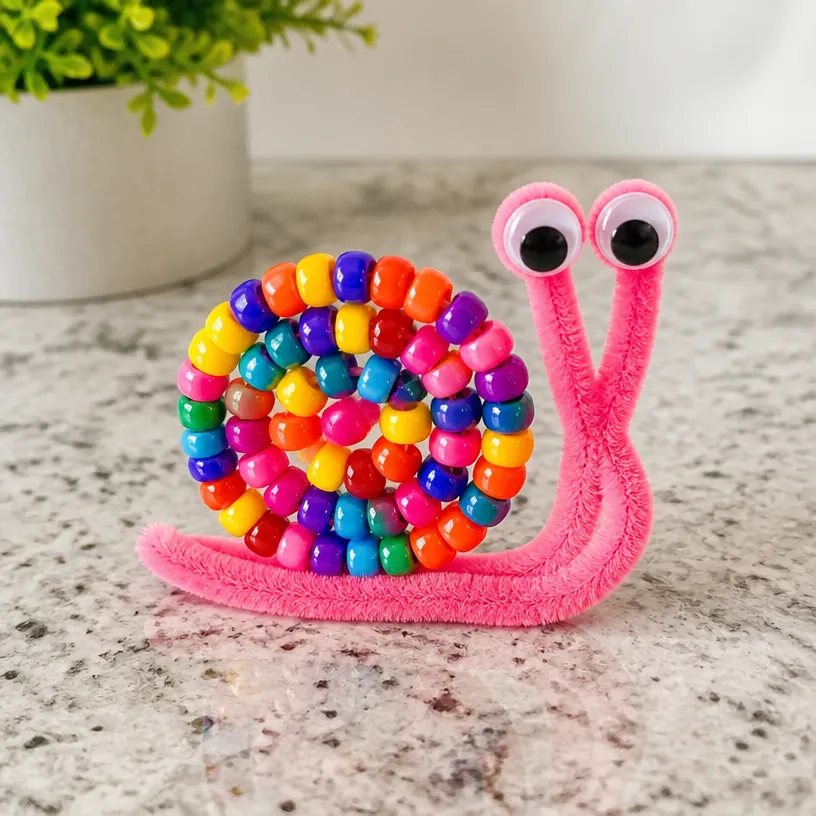
This craft is a real gem for busy families. First, it requires minimal preparation. You can gather everything you need quickly and jump right into the fun. Pipe cleaners and beads are standard household items, and if you don’t have beads at hand, the kids can even use alternatives like buttons or cut-up straws, making it approachable for everyone. You may also find How To Make A Butterfly Craft From Paper Plates useful.
Not only is the project reliable in terms of results, but it’s also perfect for various age groups. Older children can handle more complicated designs, while younger kids can stick to simple patterns. Plus, the snails can be finished in about half an hour, making it an easy choice for a last-minute activity. As an added bonus, you’ll find comfort in knowing that the materials won’t create a huge mess. You may also find How To Make A Rainbow Ocean Jar At Home useful.
A Quick Look Before You Begin
The flow of making your beaded snail is straightforward. Take a moment to set up your space with enough room for everyone to work comfortably. Gather all your materials in one spot to streamline the process. The mess level is low, as you’ll only need materials that can easily be cleaned up. If you’re doing this with multiple children, plan a small session where everyone can take turns choosing their bead colors. Having an adult nearby for assistance is helpful but not necessary. You may also find Diy Pipe Cleaner Butterflies Tutorial useful.
Materials You’ll Need
To get started on this creative endeavor, gather the following materials:
- Pipe cleaners (common household item)
- Various beads (optional – any small objects can substitute)
- Scissors (for cutting pipe cleaners, adult supervision recommended)
These supplies are economical and easily obtainable, plus they promote recycling and creativity.
Step-by-Step Directions
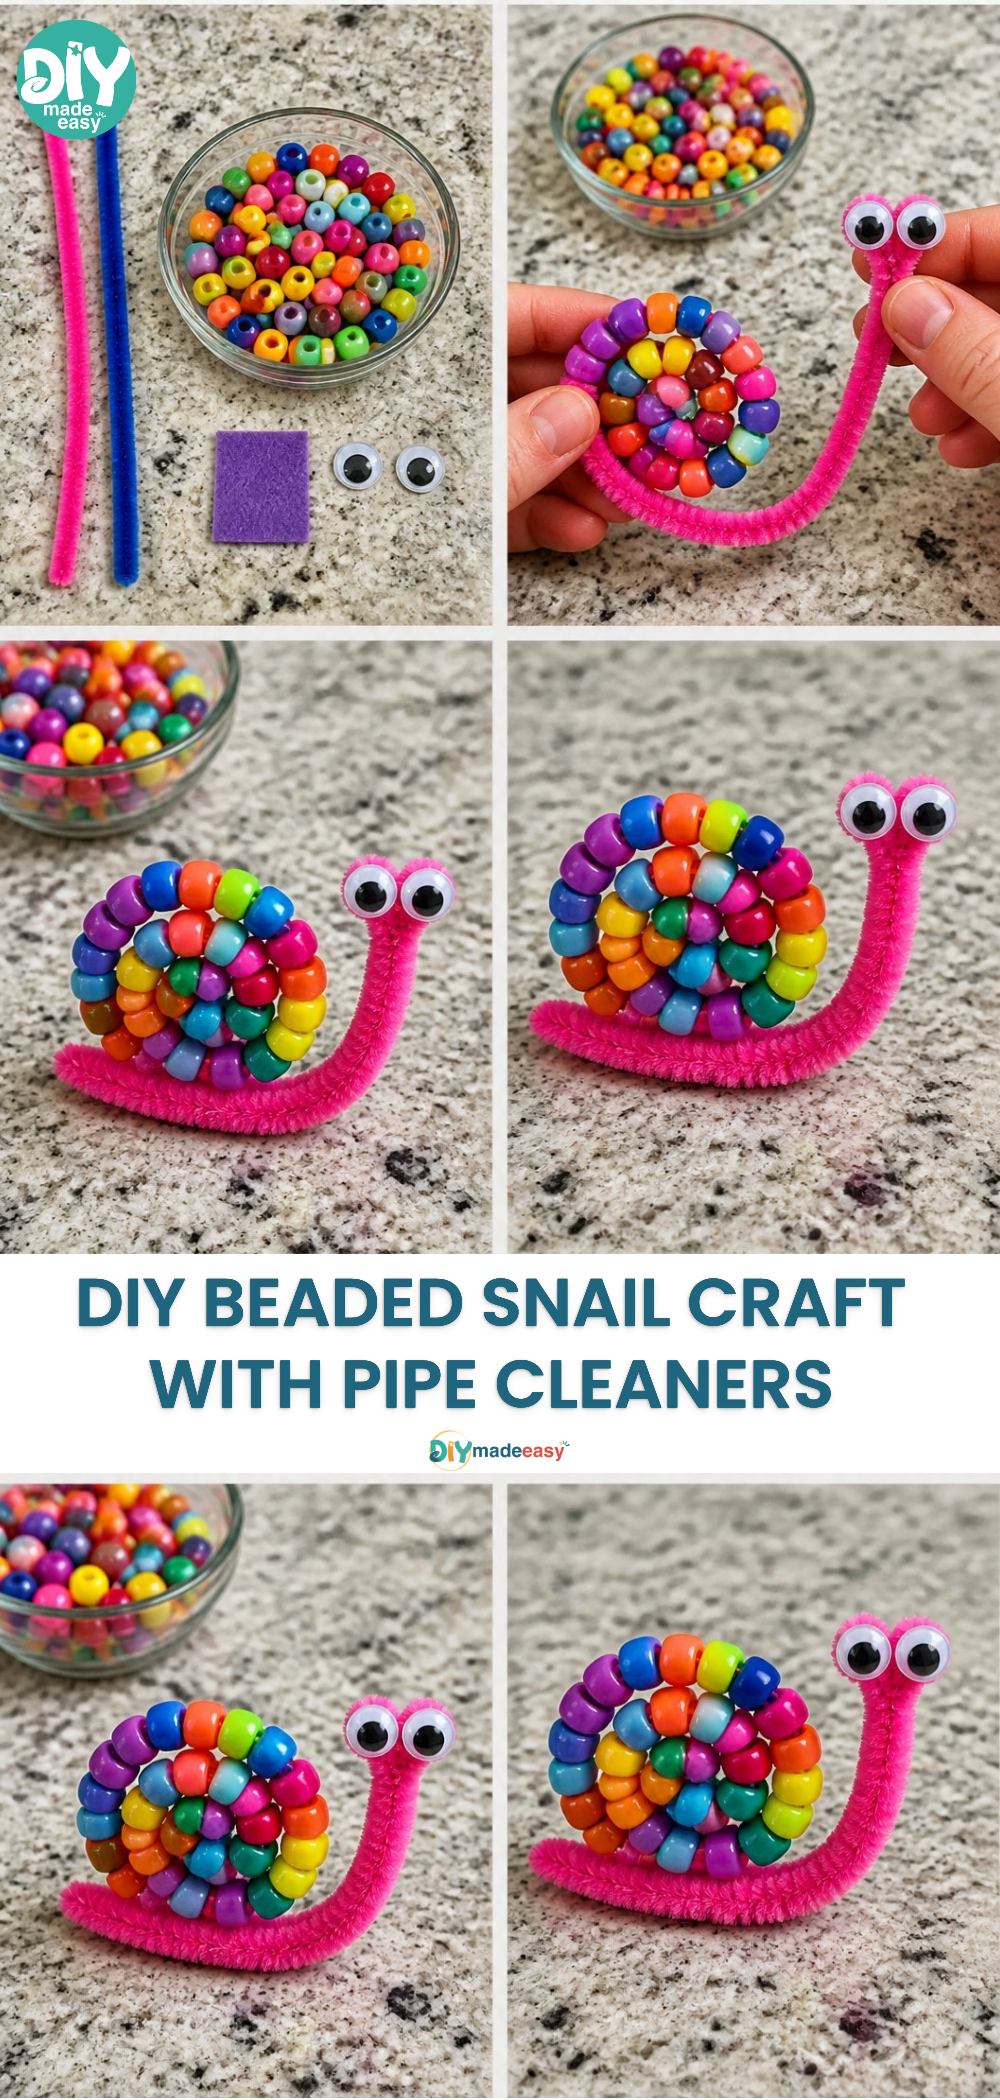
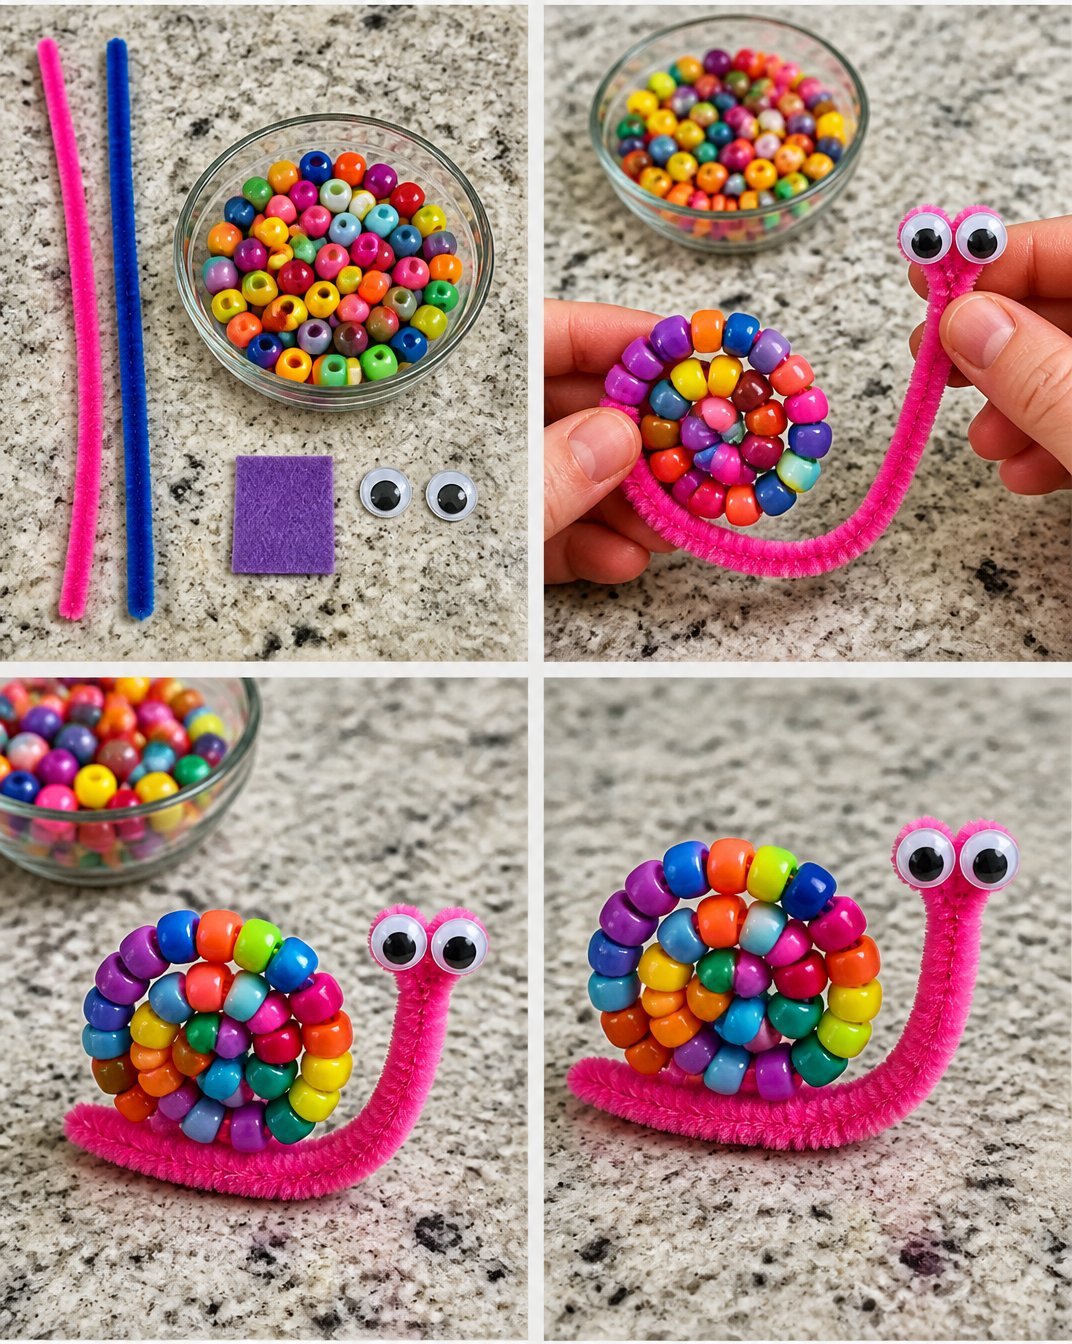
Prepare the Pipe Cleaner: Start with a pipe cleaner and fold it in half. This will serve as the foundation of your snail.
Attach Beads: Begin threading beads onto one side of the folded pipe cleaner. Feel free to mix colors and patterns to create a unique design.
Shape the Snail’s Body: Once done with the beads, twist the two sides of the pipe cleaner together at the bottom to form the snail’s body.
Create the Shell: With the remaining part of the pipe cleaner, curl it around itself to create the snail’s shell. The curl can be as tight or loose as you prefer.
Add Details: Another small piece of pipe cleaner can be added to form the snail’s antennae. Cut a small amount and fold it in half for a cute touch.
Final Touches: Adjust the beads and curls to ensure everything looks neat and tidy. This final step is an excellent opportunity for kids to express individuality in their creations.
The Learning Behind This DIY
While making a beaded snail, children practice several skills without even realizing it. They refine their fine motor skills as they thread beads onto the pipe cleaner. This craft also introduces basic math concepts like counting beads and recognizing patterns. Additionally, shaping the snail’s body and shell allows kids to explore spatial awareness, as they learn how to manipulate the materials to achieve their desired look.
Troubleshooting Common Issues
If something doesn’t go as planned during the project, there’s no need for concern. One common issue might be beads slipping off the end of the pipe cleaner. To prevent this, you can pinch the end of the pipe cleaner or leave a larger loop without threading beads close to the end. If the body looks uneven, gently twist it to reshape it to your preference.
Easy Variations to Try
This project can easily be modified to suit different tastes or ages. Here are a few suggestions:
- Create a garden full of snails using various colors of pipe cleaners.
- Experiment by adding googly eyes to the snails’ heads for a whimsical touch.
- Turn the snail into a refrigerator magnet by gluing a magnet to the back.
Storing or Reusing This Project
Once everyone is done creating their adorable beaded snails, you can display them proudly or decide to store the supplies for later use. To keep everything tidy, consider placing leftover beads in a small container for another crafting project later. Pipe cleaners can easily be stored in a drawer or a craft box without taking up much space.
FAQs About How to Make a Beaded Snail with Pipe Cleaners
What if I can’t find beads?
No worries! You can substitute beads with anything small, like buttons, pasta, or even stones. Just get creative with what you have.
How messy is this project?
This craft is quite clean! The materials used are easy to manage, and you won’t have much cleanup afterward.
What age group is this suitable for?
This activity is ideal for kids aged four and up. Younger kids may need supervision, but they can still enjoy threading beads with some help.
Can I use this activity for a group?
Absolutely! The beaded snail project is perfect for parties or group settings. Kids can even compete to see who can make the most colorful snail.
Conclusion
Conclusion
Making a beaded snail with pipe cleaners can be a delightful way to engage kids in a creative and educational project. It not only allows for artistic expression but also builds essential skills parents love seeing. If you’re inspired to explore more fun crafts, check out these 25 easy pipe cleaner crafts your kids will love or learn how to create a snail from beads by visiting this detailed guide. Enjoy crafting together and watch as your children’s creative ideas flourish!
PrintHow to Make a Beaded Snail with Pipe Cleaners
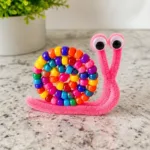
A quick and engaging DIY project for kids to make beaded snails using pipe cleaners, promoting creativity and fine motor skills.
- Prep Time: 10 minutes
- Cook Time: 30 minutes
- Total Time: 40 minutes
- Yield: 1 beaded snail
- Category: Craft
- Method: Crafting
- Cuisine: N/A
- Diet: N/A
Ingredients
- Pipe cleaners
- Various beads (or alternatives like buttons, cut-up straws)
- Scissors (adult supervision recommended)
Instructions
- Prepare the pipe cleaner: Start with a pipe cleaner and fold it in half.
- Attach beads: Begin threading beads onto one side of the folded pipe cleaner.
- Shape the snail’s body: Twist the two sides of the pipe cleaner together at the bottom.
- Create the shell: Curl the remaining part of the pipe cleaner around itself.
- Add details: Use another small piece of pipe cleaner for antennae.
- Final touches: Adjust beads and curls for a neat appearance.
Notes
Option to add googly eyes for a whimsical touch or turn into a refrigerator magnet by gluing a magnet to the back.
Nutrition
- Serving Size: 1 finished project
- Calories: 0
- Sugar: 0g
- Sodium: 0mg
- Fat: 0g
- Saturated Fat: 0g
- Unsaturated Fat: 0g
- Trans Fat: 0g
- Carbohydrates: 0g
- Fiber: 0g
- Protein: 0g
- Cholesterol: 0mg