

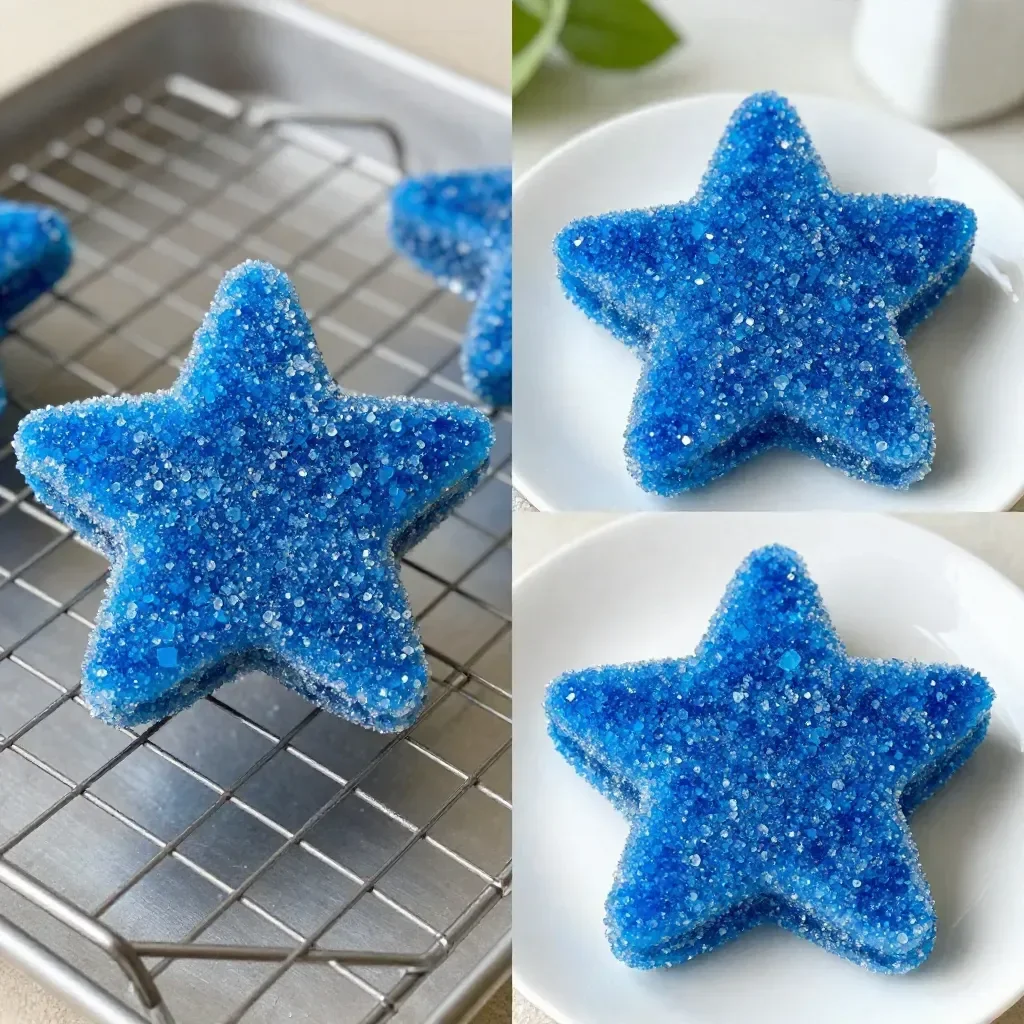
The afternoon was busy, with kids running around and a few last-minute activity needs bubbling up. Suddenly, the request for a craft project arose—a quick and easy way to channel their energy into something creative. That’s when the idea of making a Crystal Sea Star came to mind. This project allows little hands to engage with simple materials and watch as stunning crystal patterns form overnight. It’s not just about the outcome; it’s about the joy of creating and learning through the process. You may also find Bright Green Crystal Seashell Experiment 2 useful.
Why You’ll Love Making Crystal Sea Star
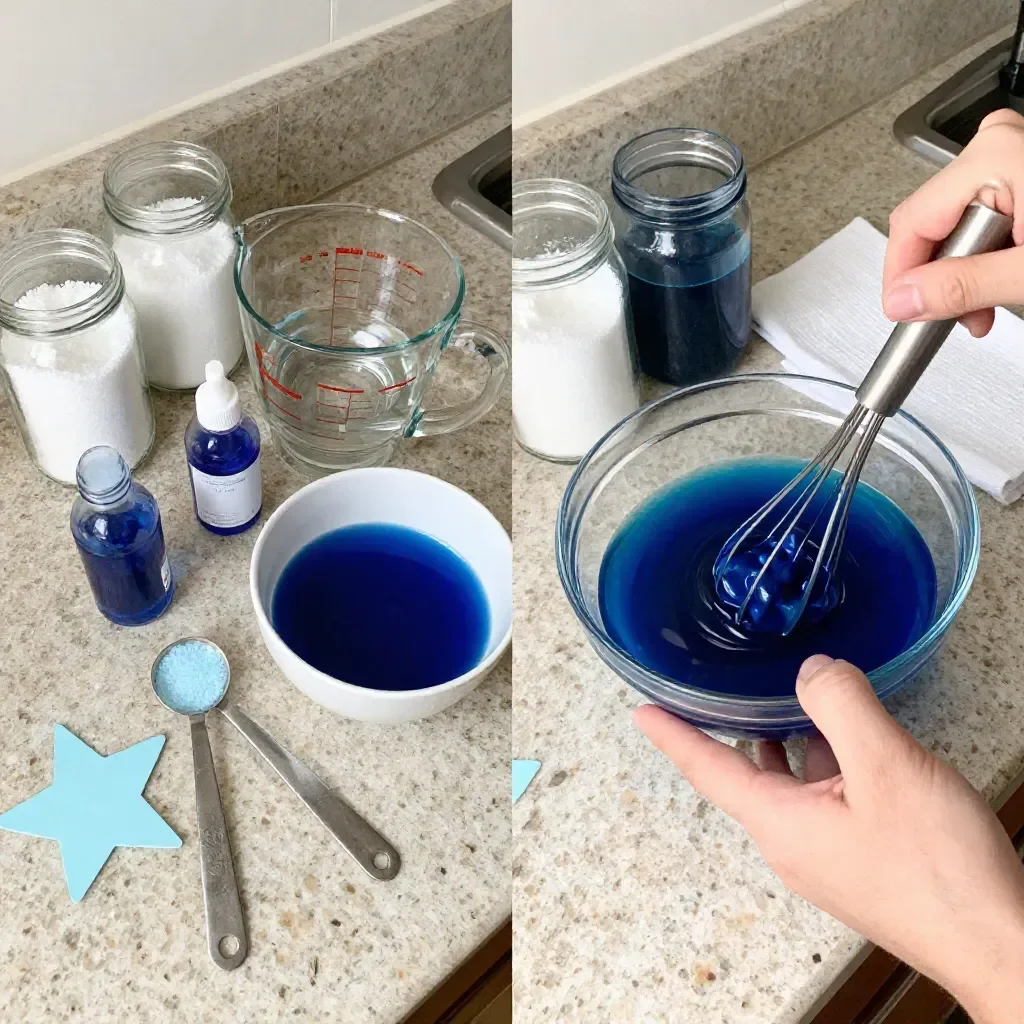
Creating a Crystal Sea Star is an adventure that requires minimal preparation yet delivers impressive results. This project stands out because of how accessible it is—there’s no need for complex tools or long waiting periods. You can dive right in with your cardboard, Epsom salt, hot water, and blue coloring. Plus, it offers a sense of reliability; you can count on those dazzling crystals forming with just a bit of time and patience. Whether you’re a busy parent or a grandparent, finding the right balance between play and creativity is invaluable, making this project perfect for your real-life schedule. You may also find Bright Green Crystal Seashell Experiment useful.
A Quick Look Before You Begin
Before you get started with your Crystal Sea Star, let’s take a moment to consider the flow of the activity. Plan for about an hour of hands-on time, plus an overnight wait for those beautiful crystals to grow. Set up a workspace that’s easy to clean, as mixing Epsom salt with hot water can get a little messy. If you’re supervising young children, you’ll want to be nearby to help with the scissors and mixing aspects. Just like cooking, this craft involves some easy tasks that are perfect for practicing motor skills and creativity. You may also find Crystal Seashells useful.
Materials You’ll Need
- Cardboard star: Common household item, great for crafting.
- Epsom salt: Easy to find and ideal for crystal growth.
- Hot water: Use caution to avoid burns; a grown-up’s help can be handy.
- Blue coloring: This adds a vibrant touch to your project and is usually a kitchen staple.
Step-by-Step Directions
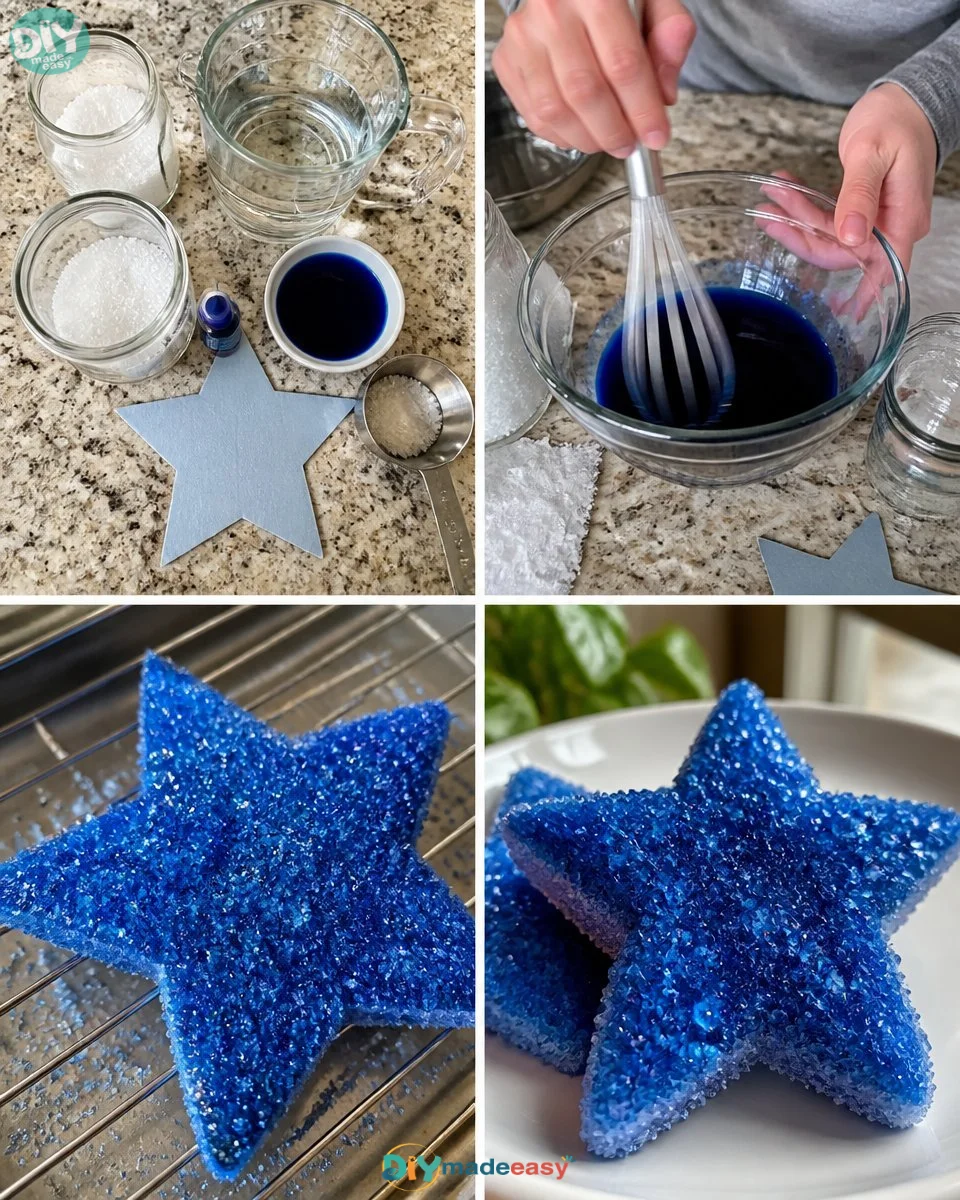
- Start by cutting a star shape from your cardboard. This is a fun way to practice scissor skills!
- In a bowl, mix Epsom salt with hot water until it dissolves. Carefully brush this shimmering salt water over your cardboard star.
- Add a few drops of blue coloring to the star while the salt water is still wet. Watch it come to life!
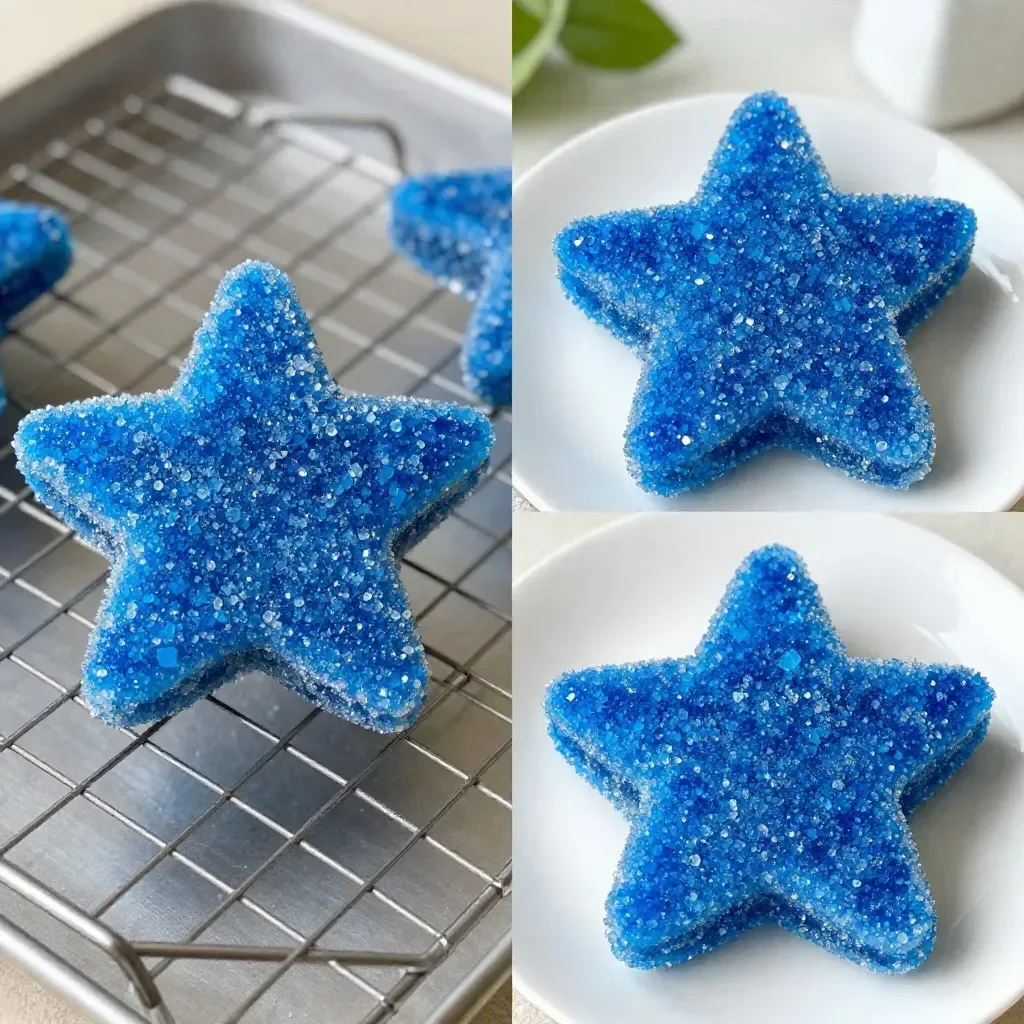
- Place your creation somewhere safe overnight for the crystals to form. The next day, reveal your dazzling star!
The Learning Behind This DIY
You may also find Diy Crystal Growing Star useful.
Creating a Crystal Sea Star is more than just a fun craft. It introduces kids to basic science concepts like crystallization and solubility. As they mix the Epsom salt and hot water, they engage in a hands-on chemistry lesson. This project also enhances fine motor skills as they cut out their star and brush on the salt water. Kids will enjoy observing cause and effect as they see the transformations overnight, fostering an early love for science and creativity.
Troubleshooting Common Issues
If something doesn’t go as planned, that’s completely okay! Sometimes, the crystals may not form perfectly, or they might come out less vivid than expected. This can happen if the water cools too much before the salt is applied or if not enough salt was mixed. If you find yourself in that situation, simply try again, adjusting the temperature of your water or ensuring a good mix next time. It’s all part of the learning process, and every attempt helps grasp how the materials interact.
Easy Variations to Try
Take the Crystal Sea Star project to the next level with these simple variations:
- Experiment with different colors of food coloring to create a rainbow effect.
- Use other shapes, like hearts or circles, to explore various designs.
- Try layering colors for a unique visual effect; adding blue and green together can make it look like a real sea star.
- Incorporate glitter for an extra sparkle if you’re feeling adventurous.
Storing or Reusing This Project
After you’ve admired and enjoyed your creations, think about how to preserve or reuse your materials. The leftover Epsom salt solution can be stored in a sealed container and used for future projects. As for the crystalline stars, they can be displayed as part of your home decor, a lovely reminder of creativity and science at work, or gifted to family and friends who might enjoy a sparkling reminder of fun times.
FAQs About Crystal Sea Star
What if my kids make a mess?
It’s natural for some mess to occur, especially with younger kids. Placing newspapers or a plastic tablecloth under your workspace can make cleanup a breeze.
Is this safe for toddlers?
While the materials are generally safe, adult supervision is recommended, particularly when using scissors or hot water.
Can I use regular salt instead of Epsom salt?
While regular salt won’t create the same crystal growth, you can try it out for different textures and results. Just keep in mind it might not yield the same dazzling outcome.
How long will this project last?
Once dried, the crystals can be preserved for display. However, over time, they may lose their shine and structural integrity, so enjoy them while they last!
Conclusion
Making a Crystal Sea Star is a wonderful way to spark creativity and science smoothly. As you and your children dive into this delightful project, you’ll find that it not only fosters hands-on learning but also offers an opportunity to bond over crafting. When you’re finished, if you’re looking for beautiful accessories, explore the Kailani – Crystal Sea Star Hair Pins Set of 5 – ADORA by Simona for some lovely keepsakes. Also, consider adding a touch of whimsy to your fridge with this Unique Bargains Magnetic Fridge Magnet that captures the spirit of your delightful project!
PrintCrystal Sea Star Craft
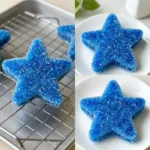
A fun and engaging craft project for kids that teaches them about crystallization while creating beautiful crystal sea stars.
- Prep Time: 15 minutes
- Cook Time: 0 minutes
- Total Time: 60 minutes
- Yield: 1 Crystal Sea Star
- Category: Craft
- Method: Crafting
- Cuisine: N/A
- Diet: N/A
Ingredients
- Cardboard star
- Epsom salt
- Hot water
- Blue coloring
Instructions
- Start by cutting a star shape from your cardboard.
- Mix Epsom salt with hot water until it dissolves.
- Brush the shimmering salt water over your cardboard star.
- Add a few drops of blue coloring to the star while the salt water is still wet.
- Place your creation somewhere safe overnight for the crystals to form.
- Reveal your dazzling star the next day!
Notes
Adult supervision is recommended, especially when using scissors or hot water.
Nutrition
- Serving Size: 1 Sea Star
- Calories: 0
- Sugar: 0g
- Sodium: 0mg
- Fat: 0g
- Saturated Fat: 0g
- Unsaturated Fat: 0g
- Trans Fat: 0g
- Carbohydrates: 0g
- Fiber: 0g
- Protein: 0g
- Cholesterol: 0mg