

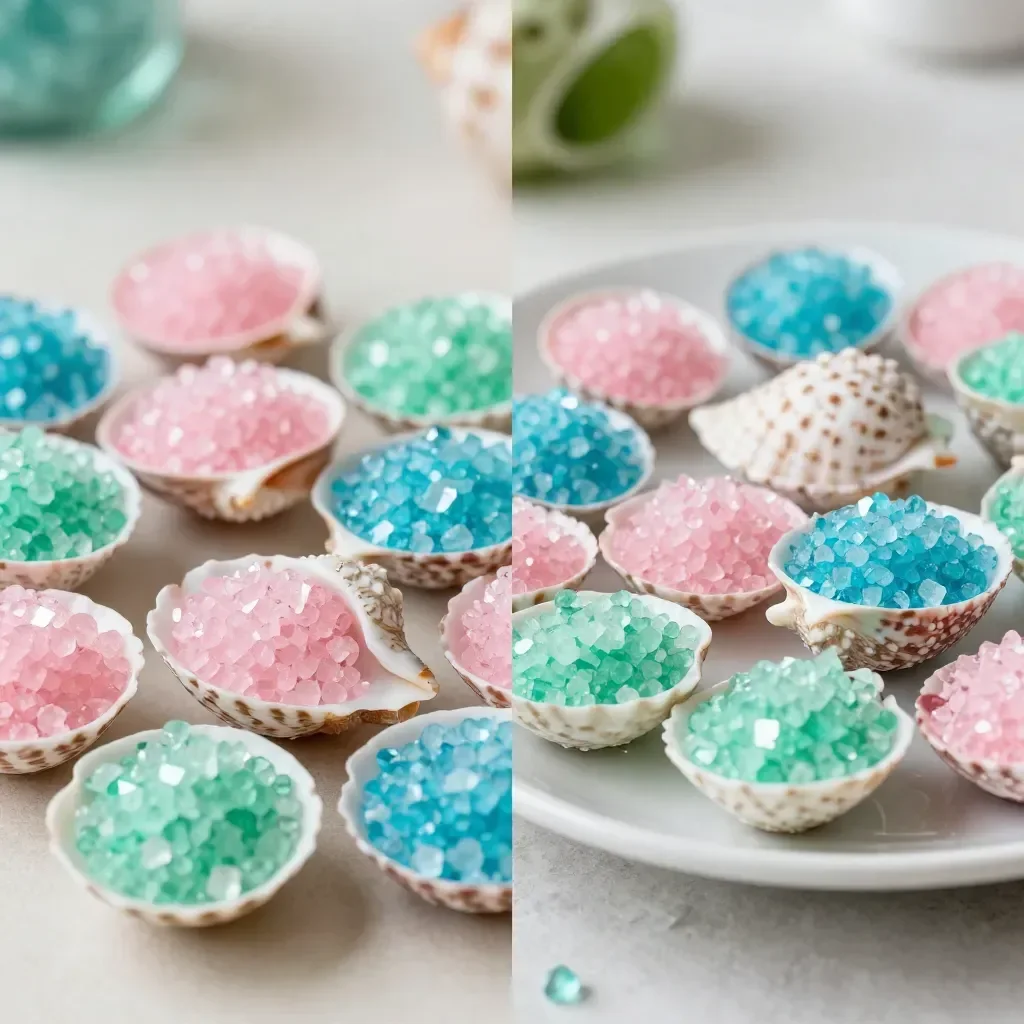
Creating fun and memorable activities with your children can sometimes feel overwhelming, especially on a busy afternoon when everyone is looking for something engaging to do. Have you ever found yourself looking for a last-minute activity that combines creativity and science? One activity that is sure to delight and educate is making a Crystal Geode Shell. This project not only sparkles with fun but also teaches kids about the fascinating process of crystallization. You may also find How To Make Crystal Eggshell Geodes useful.
Why You’ll Love Making Crystal Geode Shell
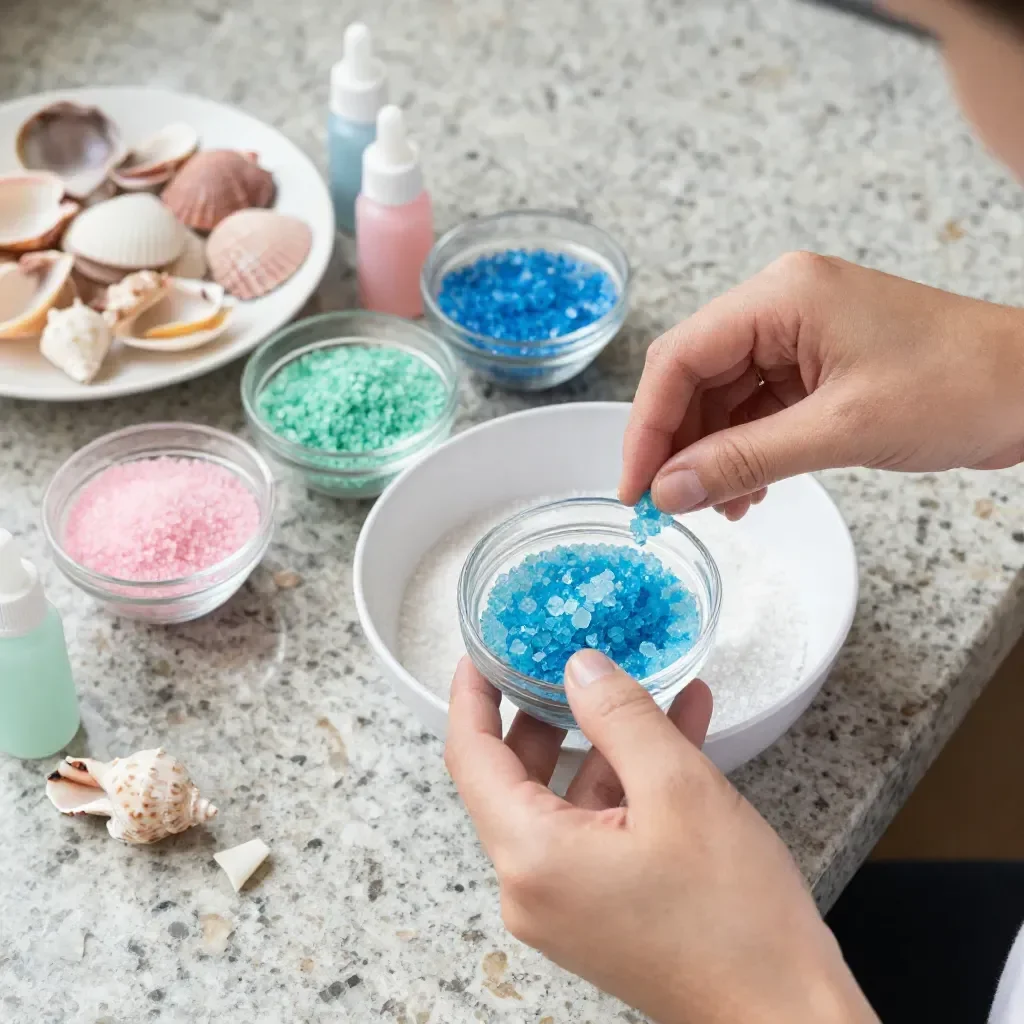
Making Crystal Geode Shell is an exciting and low-prep activity that requires minimal materials and offers maximum visual impact. The best part is that it doesn’t take a lot of time to set up or complete, making it perfectly suited for real-life schedules filled with various commitments. This project captures children’s attention and curiosity, providing a meaningful experience without demanding hours of preparation. Additionally, the final product—beautiful, colorful shells—works wonders for boosting confidence in young creators. You may also find Pink Crystal Eggshell Geodes useful.
A Quick Look Before You Begin
Making a Crystal Geode Shell is straightforward and rewarding. You only need a little time waiting for the crystals to form, which usually requires a cozy spot at home where the shells can sit undisturbed. The mess level for this activity is quite low, and adult supervision is minimal. If you have an hour or so, that’s all it takes to get started on this delightful project! You may also find Pink Eggshell Crystal Geodes useful.
Materials You’ll Need
To create your Crystal Geode Shells, gather the following materials: You may also find Seashell Crystal Geodes useful.
- Seashells: These can be collected from the beach or bought from a craft store. A fun touch is to use different shapes and sizes.
- Epsom salt: A common household item that you might already have in your bathroom or kitchen.
- Hot water: It helps dissolve the Epsom salt to create the crystal solution.
- Food coloring: This is optional but adds a vibrant hue to your geodes, making the result even more stunning.
Having these materials on hand makes this project budget-friendly and accessible, allowing for a creative experience that doesn’t break the bank.
Step-by-Step Directions
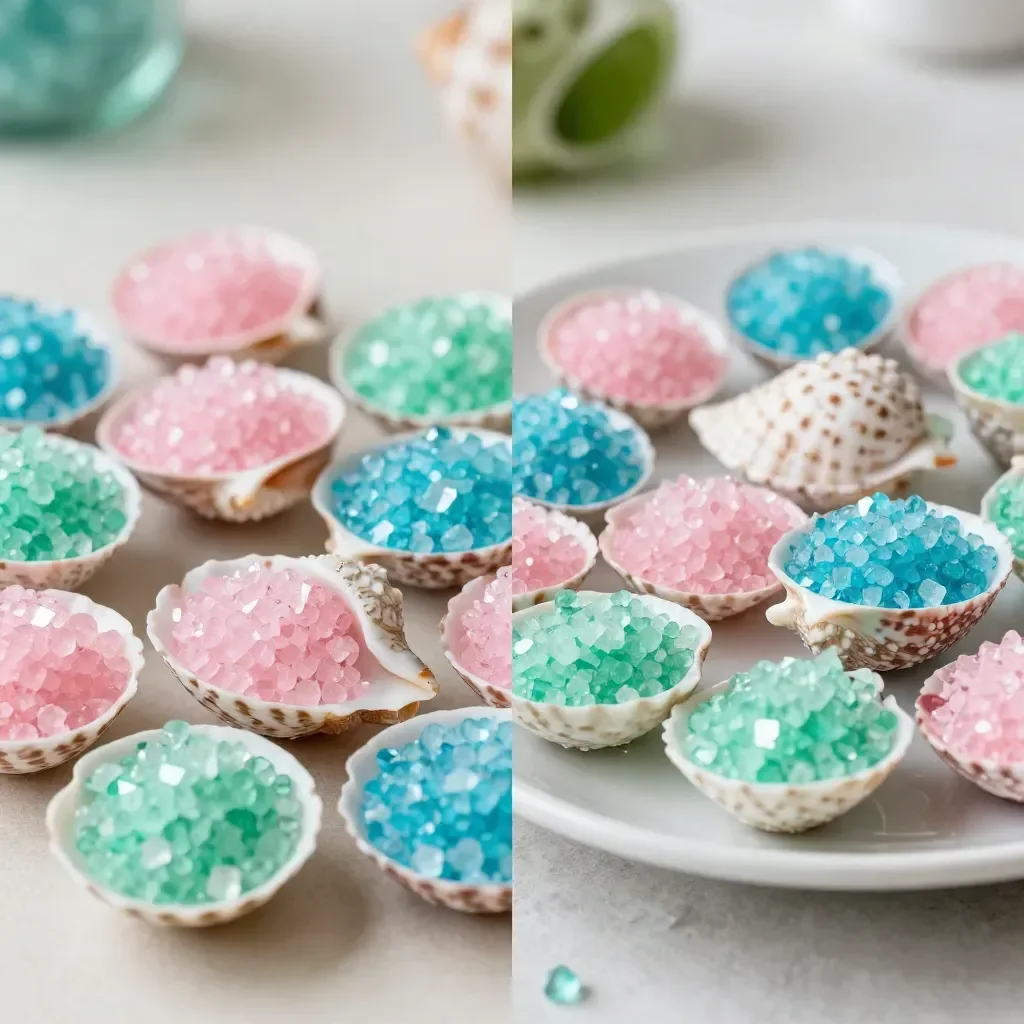
Begin by filling your seashells with a mix of hot water and Epsom salt, adding a few drops of food coloring for a lovely hue. Stir until the salt dissolves completely. This is where the fun begins—seeing the colors mix and swirl!
Once filled, place your colorful shells in a warm spot at home to start the crystal formation. Keeping them in a sunny window will help the process speed up, as warmth encourages crystal growth.
Be patient and watch as the crystals begin to grow! Over the next few hours and up to a few days, you should see beautiful crystal formations develop inside the shells. When they are ready, carefully pour off any extra liquid to avoid sogginess.
Allow your geodes to dry, and soon you’ll have sparkling treasures to admire. The waiting game will be worth it when your kids see the amazing results of their hard work.
The Simple Science or Skills at Work
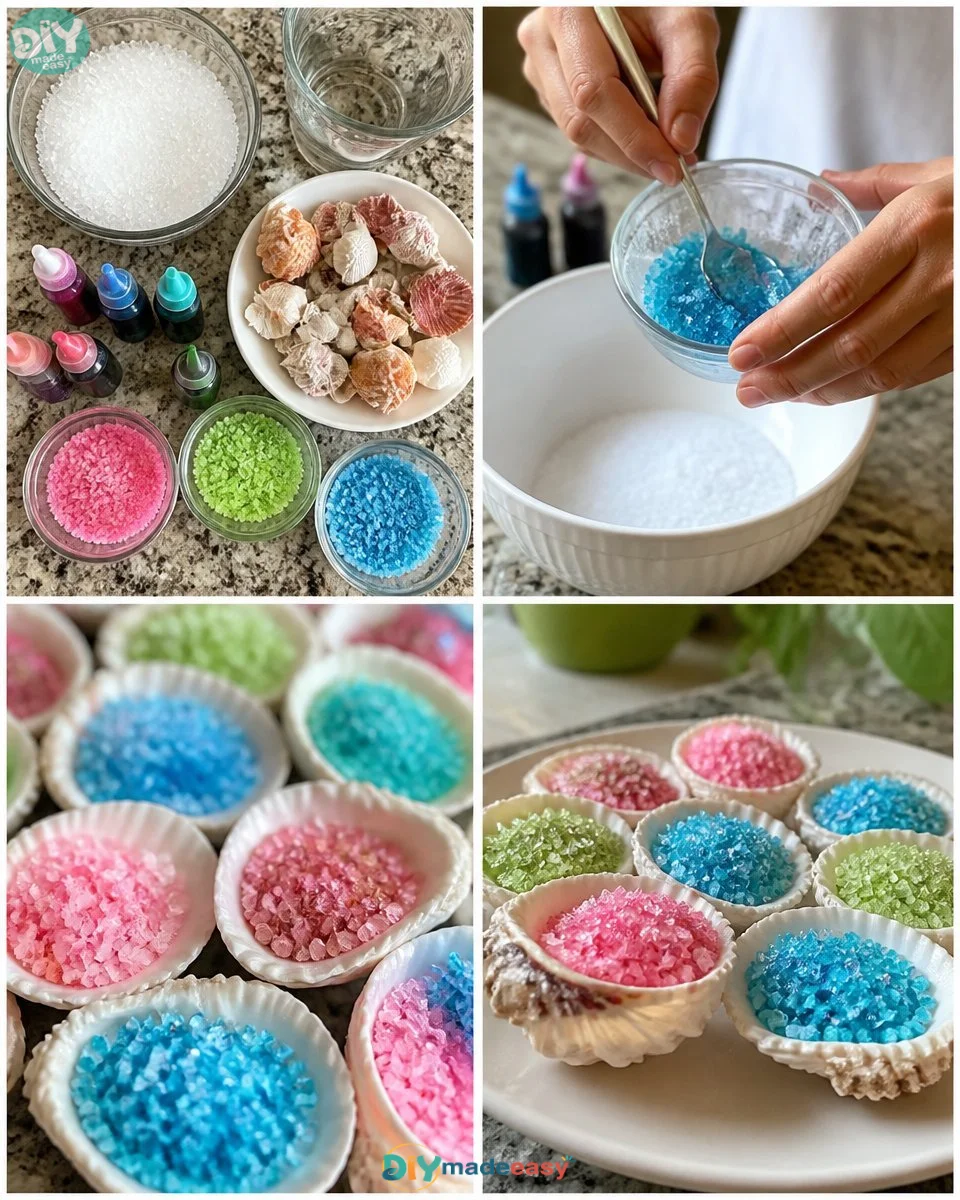
When creating Crystal Geode Shells, kids are not just engaged in a fun craft; they also practice important scientific concepts and skills. The process of making these geodes introduces basic principles of chemistry, particularly crystallization. Children can observe firsthand how a solution cools and evaporates, leading to the formation of solid crystals. Fine motor skills are also exercised as they fill shells and carefully handle the delicate formations.
Troubleshooting Common Issues
If something doesn’t go as planned, don’t worry! Sometimes crystals may not form as expected. This can happen if the mixture is not saturated enough or if the shells were moved too frequently. As a quick fix, ensure that you’re using enough Epsom salt to create a concentrated solution. If the crystals seem to be cloudy or soft, that might be a sign to let them sit longer. Just encourage everyone to be patient; crystals take time to form.
Easy Variations to Try
Feel free to add your creative flair to this project! Here are a few simple ways to change it up:
- Try different types of food coloring for unique color effects. You could create a rainbow effect by layering different colors.
- Use other containers like glass jars or bowls for a different aesthetic and crystal shape.
- Experiment with different types of salt (like sea salt) to see how the results differ.
- Add small decorative elements like glitter to the mixture for added sparkle.
Storing or Reusing This Project
After making your Crystal Geode Shells, you might wonder about storing them. Keep your colorful creations in a safe, dry spot where they won’t be disturbed. They also make a lovely decoration on a shelf or a gift for a friend or family member. If you find the crystals fading over time, consider gently rinsing the shells and trying the process again.
FAQs About Crystal Geode Shell
Can this project get messy?
While the materials are generally contained, spills can happen. It’s a good idea to lay down newspaper or use a tray during the setup to catch any overflow.
What age is this activity suitable for?
This activity is great for kids aged 5 and up, with adult supervision to help with measuring and handling hot water.
Can other types of salt be used?
Yes! While Epsom salt is recommended for its ability to form clear crystals, you could experiment with other salts. Just note that results may vary.
How do I store the crystals later?
Store the geodes in a cool, dry place. They can be displayed as decorative items or used in a science project to discuss crystallization.
Will the results be perfect?
Crystallization can vary, so results may not always be perfect. Each attempt offers a learning opportunity, and that’s part of the fun!
A Final Helpful Note
Creating Crystal Geode Shells is an enjoyable and educational experience that encourages creativity and patience. Don’t worry if everything isn’t perfect; embrace the journey of experimentation. This project offers a wonderful opportunity for family bonding and hands-on learning. Enjoy the sparkle and the smiles that come with it!
Conclusion
As you wrap up your Crystal Geode Shell project, consider exploring more hands-on science activities with your kids. For another engaging experience, check out How to Grow Your Own Crystal Geodes for tips on growing different types of crystals. You might also enjoy How to Make Crystal Egg Geodes for another creative twist on crystal-making. With each new project, you can continue nurturing a love for science and art in your home.
PrintCrystal Geode Shells
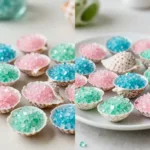
Create beautiful and colorful Crystal Geode Shells using simple materials. This fun and educational activity explores the process of crystallization, perfect for kids aged 5 and up.
- Prep Time: 15 minutes
- Cook Time: 30 minutes
- Total Time: 45 minutes
- Yield: 4 servings
- Category: Craft
- Method: Crafting
- Cuisine: N/A
- Diet: N/A
Ingredients
- Seashells
- Epsom salt
- Hot water
- Food coloring (optional)
Instructions
- Fill your seashells with a mix of hot water and Epsom salt, adding a few drops of food coloring for a lovely hue. Stir until the salt dissolves completely.
- Place your colorful shells in a warm spot at home to start the crystal formation.
- Be patient and watch as the crystals begin to grow! Pour off any extra liquid to avoid sogginess when ready.
- Allow your geodes to dry, and soon you’ll have sparkling treasures to admire.
Notes
Encourages creativity and teaches kids about crystallization. Ideal for family bonding.
Nutrition
- Serving Size: 1 shell
- Calories: 0
- Sugar: 0g
- Sodium: 0mg
- Fat: 0g
- Saturated Fat: 0g
- Unsaturated Fat: 0g
- Trans Fat: 0g
- Carbohydrates: 0g
- Fiber: 0g
- Protein: 0g
- Cholesterol: 0mg