

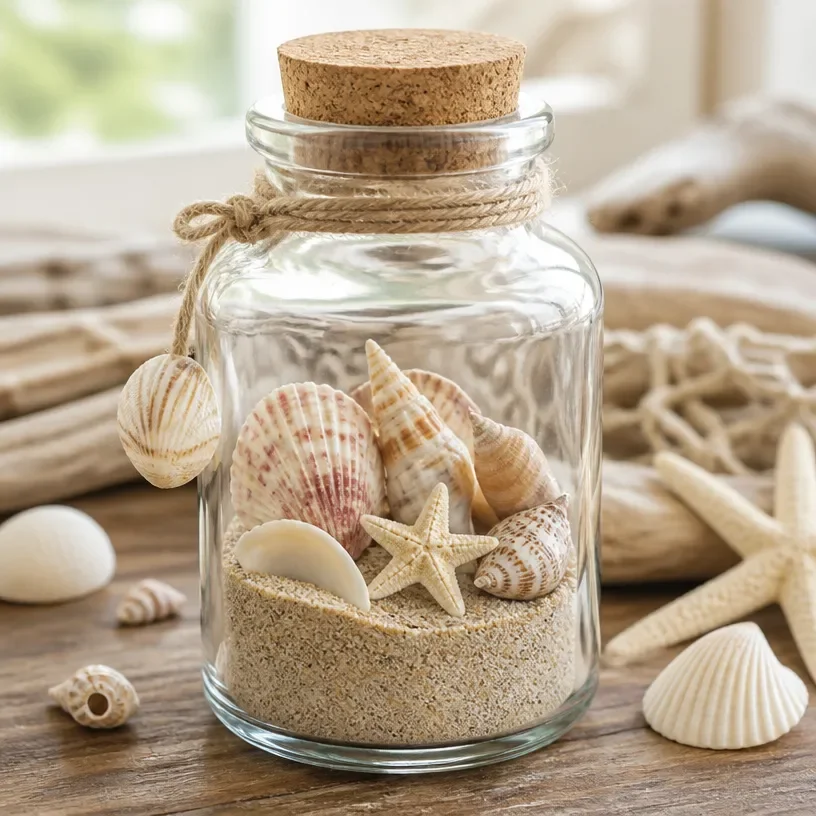
The afternoon sun streamed through the kitchen window, casting warm light on the cluttered table, where a young creative mind pondered a delightful idea. “Let’s make something special today!” was the enthusiastic call. As you pause to consider this, what better project to embark on than DIY Coastal Bottle Art: Create a Tiny Seaside Beach Scene? This activity sparks creativity and brings the calming essence of the ocean right into your home. Each step is filled with simple joy, allowing you to craft your own little paradise with easily accessible materials. You may also find Diy Firefly Bottle Lights Magical Nighttime Decor useful.
Why This DIY Coastal Bottle Art: Create a Tiny Seaside Beach Scene Works So Well
You may also find Diy Halloween Glass Bottle Lanterns Halloween Lanterns useful.
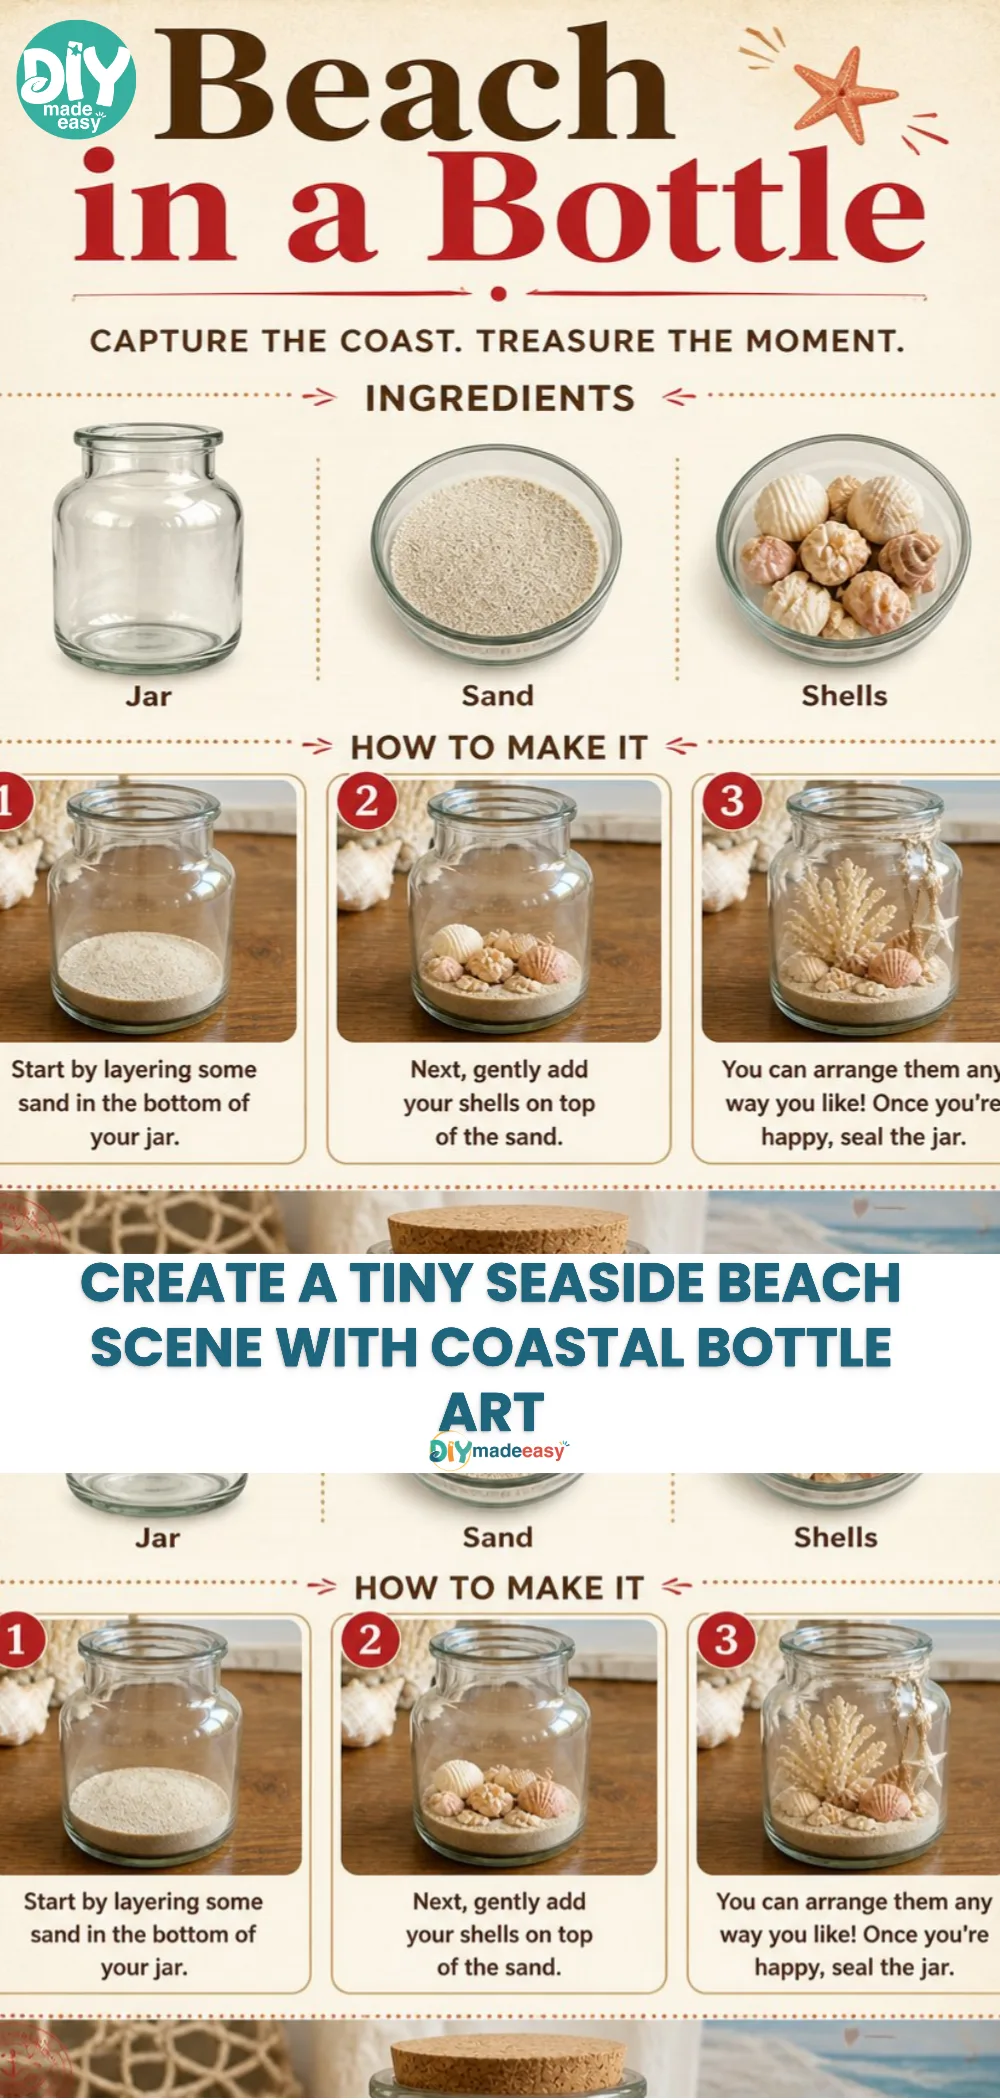
This project has its charm because it’s not only low-prep but also intensely rewarding. You don’t need a lot of specialized supplies most of the materials are common household items, which makes it approachable. The steps are straightforward, allowing even younger crafters to feel a sense of achievement. Additionally, this project is great for busy schedules, fitting nicely into that space of creativity without overwhelming the family’s routine. With a reliable process, you’ll find that making your coastal scene becomes just the right blend of fun and calm. You may also find Diy Plastic Bottle Crafts Colorful Outdoor Decor useful.
A Quick Look Before You Begin
Creating your own coastal bottle art can typically be done in about an hour, depending on how elaborate you want your scene to be. Set-up is minimal, requiring just a table and a few tools no complicated prep here. You might encounter a bit of mess; expect some sand to scatter and a touch of paint on fingers, which just adds to the fun! For young crafters, having an adult nearby can be helpful, ensuring they enjoy the project safely and successfully.
Materials You’ll Need
For this DIY project, gather the following supplies:
- Empty glass bottle: A common household item, which serves as your canvas.
- Sand: Easily found or leftover from a beach trip, this adds to the beachy feel.
- Tiny shells and rocks: Perfect for decoration; collect them during a nature walk.
- Small plastic figures: Use toys that can represent beachgoers or animals.
- Craft glue: A basic supply to attach your decorations.
- Acrylic paint: Optional, for adding colors to the background.
- Water: To give your scene a realistic touch, consider using it for a “water effect.”
Step-by-Step Directions
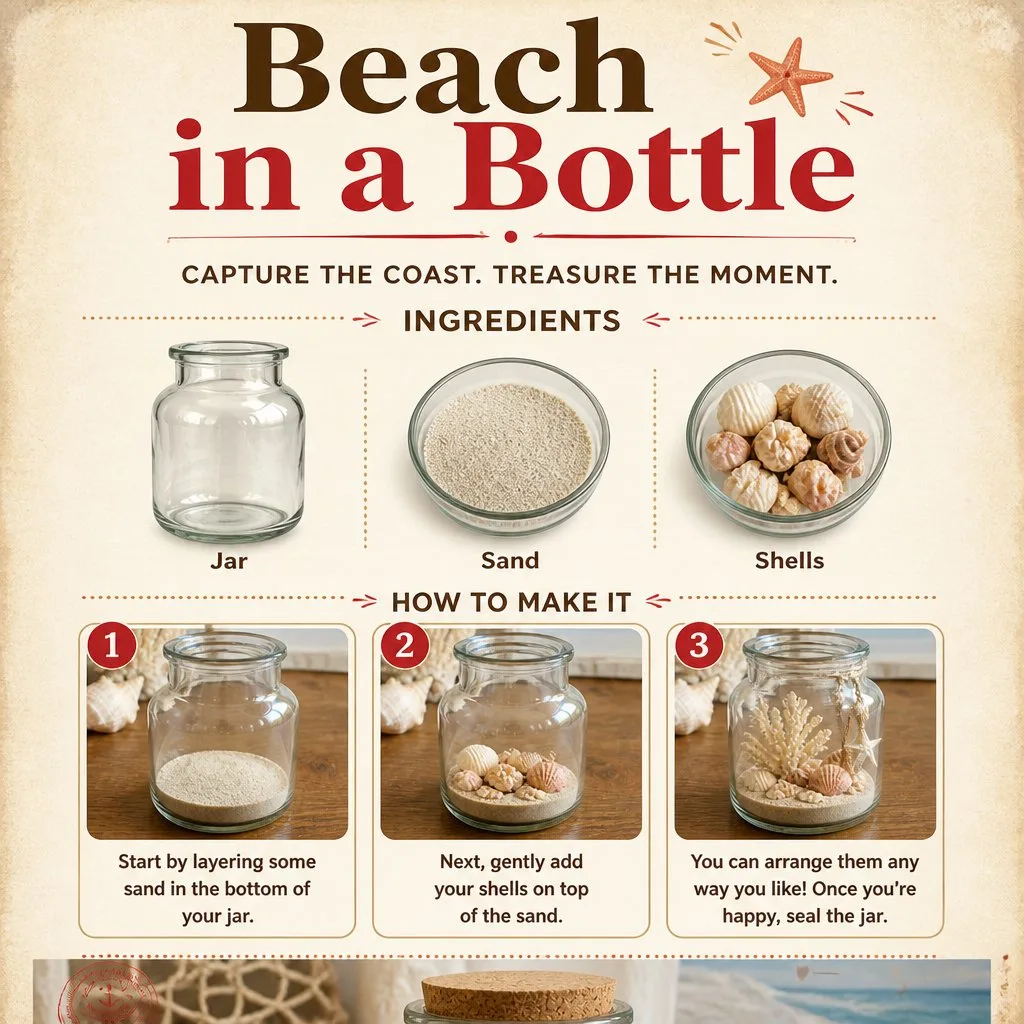
- Prepare the Bottle: Start with a clean glass bottle. Remove any labels and ensure it’s dry to create the perfect art piece.
- Add Sand: Pour a layer of sand into the bottle, approximately one-fourth full. This simulates the beach and provides a base for other elements.
- Arrange Shells: Place your tiny shells and rocks into the bottle. You can create a little cluster toward one side, mimicking a beach setup.
- Include Figures: If you have small plastic figures, position them into your sand, representing people, animals, or beach toys having a good time.
- Add Water: If you choose to add water, fill the bottle to the top, ensuring it doesn’t overflow before capping it.
- Seal the Top: Finally, cap your bottle to keep your seaside scene safe and sound. This also prevents any spills or messes.
The Learning Behind This DIY
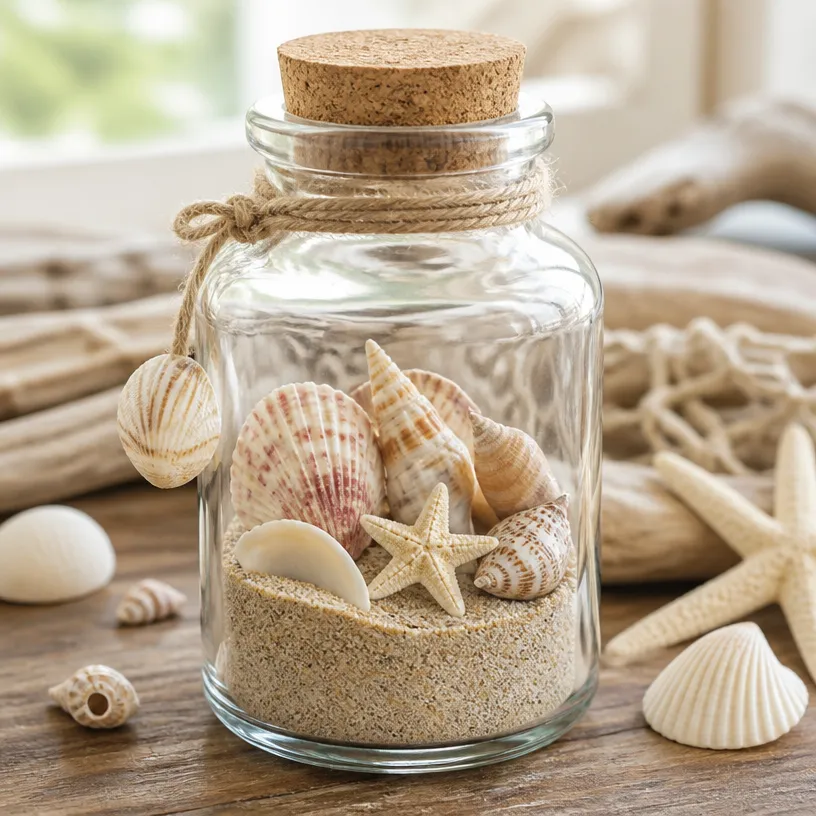
While making this coastal bottle art, kids will naturally develop fine motor skills and coordination by manipulating the small items and pouring materials. Additionally, the process of layering and arranging helps them understand spatial concepts and cause-and-effect relationships as they see how certain placements alter the aesthetic of their project. This project allows them to express themselves creatively while engaging in valuable hands-on learning.
Troubleshooting Common Issues
Sometimes, things might not go as planned. If the sand doesn’t stay put, ensure that you’ve compacted it slightly. In case water is leaking, double-check that you’ve capped the bottle tightly, and if needed, you can use a bit of craft glue around the rim for added security. If the figures don’t stay upright, try adjusting the sand level or using a different adhesive to anchor them better.
Easy Variations to Try
Feel free to mix things up with these ideas:
- Seasonal Themes: Change your figures and decor based on holidays like adding tiny pumpkins for Halloween.
- Glow-in-the-Dark Effects: For a fun twist, try incorporating glowing paint or elements to make your scene lighter when the sun goes down, much like in a glow-in-the-dark ocean discovery bottle tutorial.
- Personalized Touches: Let your child choose which shells and figures to represent their favorite beach memories.
Storing or Reusing This Project
After creating your coastal scene, think about how best to store it or display it. If you choose to put your creation on a shelf, cover it with a light drape to prevent dust accumulation. Alternatively, when the season changes, consider disassembling the bottle for a new project, utilizing the materials again. This helps reduce waste and encourages reusability of items like the bottle and decorations.
FAQs About DIY Coastal Bottle Art: Create a Tiny Seaside Beach Scene
What if I don’t have sand?
You can use fine soil or even colored sugar as an alternative. It’s all about getting creative with what you have at home!
Is this safe for younger kids?
Yes, the materials are generally safe, but it’s always good to supervise younger children, especially with small items that may pose a choking hazard.
How do I clean up afterward?
To minimize mess, use a large tray during the project to catch sand and other materials. Vacuuming afterward will help clear up any stray bits.
Can I add anything else to my bottle?
Absolutely! Get creative with any small craft items you have on hand. Natural elements like twigs or even artificial plants can enhance your design.
Conclusion
Conclusion
Creating a seaside paradise in a bottle is such a fulfilling project. It fosters creativity while being manageable for busy schedules. As you think about bringing this vivid artwork into your home, consider adding touches to your decor, such as the natural beach canvas art. Additionally, storytelling around coastal adventures can inspire reminiscing about your own beach trips. Enjoy building those tiny memories as you make your DIY coastal bottle art a reality! For more coastal exploration, check out The Forgotten Coast.
PrintDIY Coastal Bottle Art: Create a Tiny Seaside Beach Scene
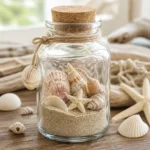
A fun and engaging DIY project for creating a coastal scene in a bottle, fostering creativity and hands-on learning.
- Prep Time: 15 minutes
- Cook Time: 0 minutes
- Total Time: 60 minutes
- Yield: 1 bottle art piece
- Category: Arts & Crafts
- Method: Crafting
- Diet: N/A
Ingredients
- Empty glass bottle
- Sand
- Tiny shells and rocks
- Small plastic figures
- Craft glue
- Acrylic paint (optional)
- Water (optional)
Instructions
- Prepare the bottle: Start with a clean glass bottle. Remove any labels and ensure it’s dry.
- Add sand: Pour a layer of sand into the bottle, approximately one-fourth full.
- Arrange shells: Place your tiny shells and rocks into the bottle.
- Include figures: If using small plastic figures, position them in the sand.
- Add water: If chosen, fill the bottle to the top, ensuring it doesn’t overflow.
- Seal the top: Cap your bottle to keep your seaside scene safe.
Notes
Supervision is recommended for younger crafters, especially with small items that may pose a choking hazard.
Nutrition
- Serving Size: 1 bottle art
- Calories: 0
- Sugar: 0g
- Sodium: 0mg
- Fat: 0g
- Saturated Fat: 0g
- Unsaturated Fat: 0g
- Trans Fat: 0g
- Carbohydrates: 0g
- Fiber: 0g
- Protein: 0g
- Cholesterol: 0mg