

Frozen Treasure Blocks: A Complete Guide You may also find Diy Crystal Art Beginners Practical Guide Crystal Growth useful.
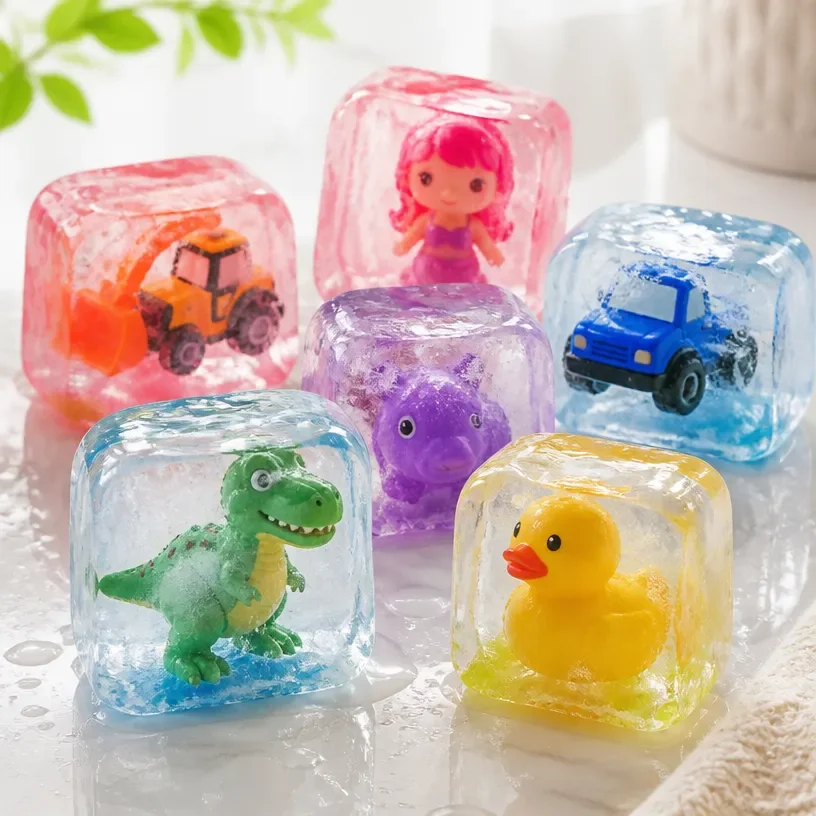
On a busy afternoon, when the kids are eager to create something magical, why not dive into an engaging project like Frozen Treasure Blocks? This activity not only captures their imagination but also adds a dash of scientific exploration, making it a perfect choice for a last-minute activity. The allure of discovering colorful treasures frozen in ice can turn an ordinary day into a fun-filled adventure. In this complete guide, we’ll walk through how to make these engaging blocks, their purpose, and all the fun variations to try, taking you step-by-step into the world of creativity and science much like the ideas shared in the Frozen Pinecones project.
Why You’ll Love Making Frozen Treasure Blocks: A Complete Guide
You may also find Diy Crystal Seashells Step By Step Guide useful.
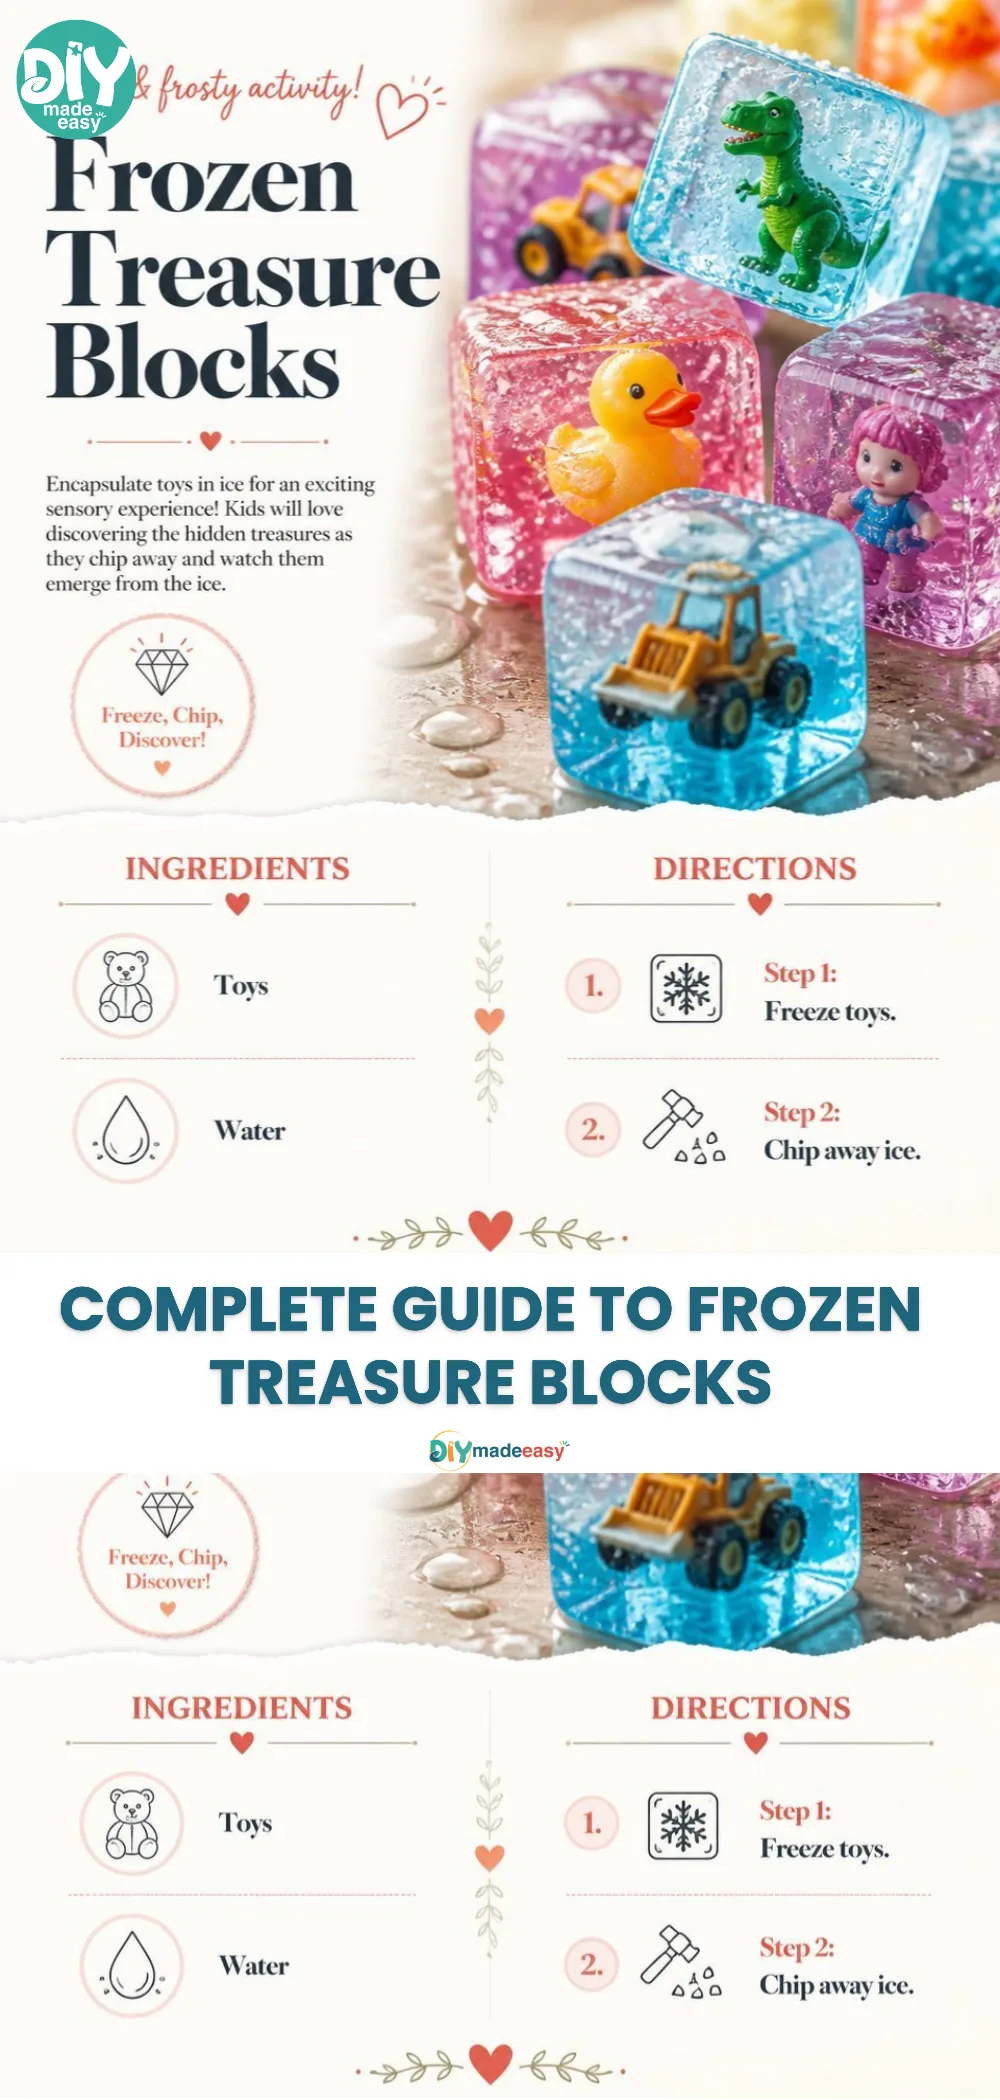
Creating Frozen Treasure Blocks is a fantastic way to spark creativity with minimal preparation required. This project is highly approachable, allowing for personalization based on the materials you have on hand. Whether it’s a random Tuesday or a special weekend, this DIY fits into real-life schedules seamlessly. With simple materials sourced from home, you can enjoy hours of sensory involvement. The kids get to experiment with colors and shapes while eagerly awaiting the reveal of their frozen treasures, making this an exciting and reliable activity. You may also find Diy Rainbow Crystal Dragonfly Window Charm Guide useful.
A Quick Look Before You Begin
Making Frozen Treasure Blocks is straightforward and doesn’t demand an entire day of commitment. The time you need for preparation is short, usually around 10-15 minutes. The waiting game is where the actual time stretches; once you freeze the blocks, plan for them to set for several hours, ideally overnight. Cleanup is equally easy, as most of it involves rinsing out materials and cleaning any spillages afterward. Since adult involvement is light, you can supervise while the kids explore the project independently, giving them room to be creative.
Materials You’ll Need
To create your Frozen Treasure Blocks, gather the following materials:
- Water (common household item)
- Safe, colorful treasures (like small toys or beads)
- Mold or container (plastic cups work well)
- Optional: Food coloring (for added visual excitement)
These simple supplies are budget-friendly and easy to find, ensuring you can dive into this activity without breaking the bank.
Step-by-Step Directions
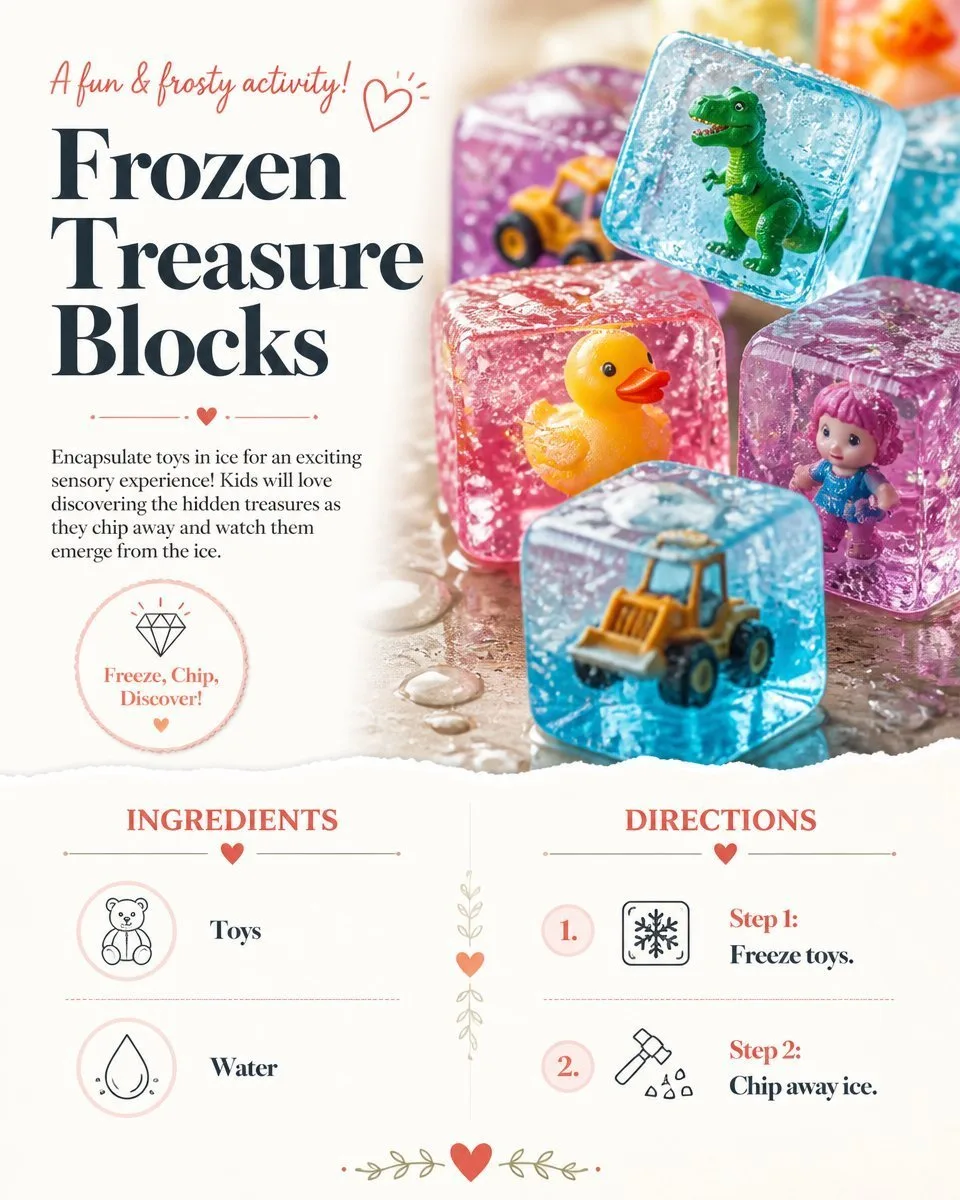
Select Your Container: Choose a mold or container to hold your treasures. Ice cube trays, plastic cups, or silicone molds work effectively for creating shapes.
Add Treasures: Place the small toys or beads inside your selected container. This step allows kids to express their creativity by choosing different treasures.
Mix in Colors (Optional): If you’re using food coloring, mix a few drops into your water before pouring. This adds a vibrant layer to the blocks.
Pour the Water: Slowly fill the containers with water, ensuring the treasures are submerged but also leaving some visible on the top for added excitement.
Freeze: Carefully place the filled containers in the freezer. Allow the blocks to solidify for at least 4-6 hours or overnight for best results.
Pop Them Out: Once the blocks are frozen solid, gently twist or squeeze the containers to release your newfound treasures.
Enjoy: Explore the frozen treasures and observe the colors and shapes. This is a delightful moment for kids to express their wonder and curiosity.
What Kids Practice While Making This
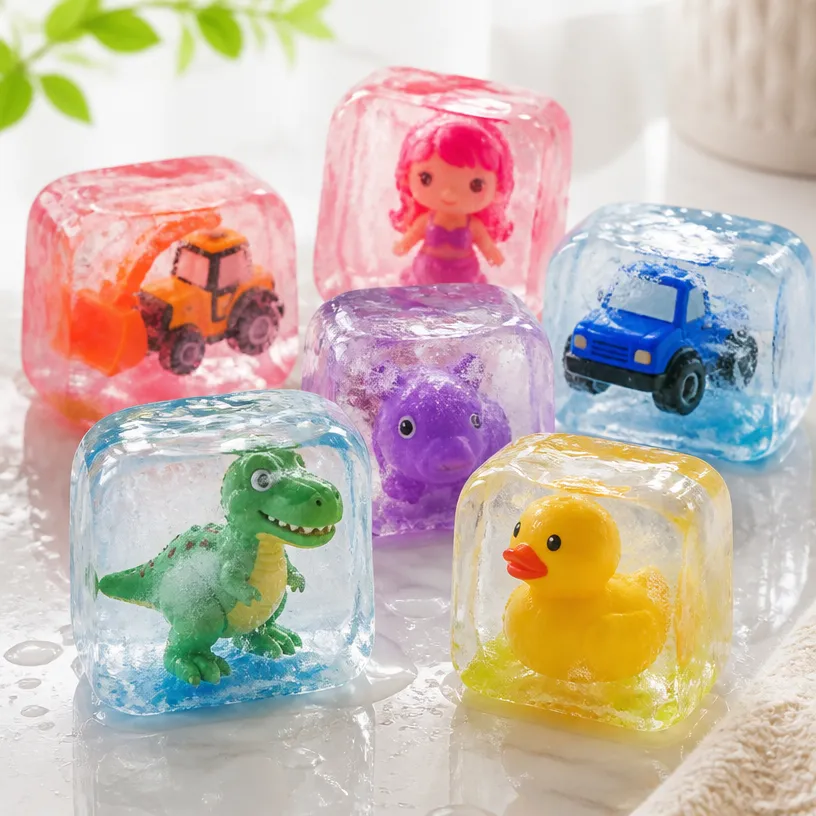
Making Frozen Treasure Blocks offers a blend of science and fine motor skills. As children work on this activity, they explore key concepts like freezing and melting, which lay a foundation for understanding states of matter. They also practice coordination while handling tiny treasures and pouring water, creating an environment stimulating both their minds and hands. This project naturally encourages discussions about colors, shapes, and even the properties of ice versus water, making it educational without losing its playful essence.
Troubleshooting Common Issues
If the treasures appear stuck in the ice, don’t fret! This can happen if the containers are too firm, making it hard to release the blocks. You can run the bottom of the container under warm water for a few seconds to loosen it up. If the colors mix more than desired, ensure to slowly pour the water to avoid too much agitation. Remember, this project is about the experience, so enjoy the little mishaps along the way!
Easy Variations to Try
Consider trying different variations to keep things fresh. Here are a few ideas:
- Themed Treasure Blocks: Create seasonal or holiday-themed treasures, such as mini pumpkins for Halloween or hearts for Valentine’s Day.
- Nature-Inspired: Incorporate small pieces of nature, like twigs or leaves, for a more organic appeal.
- Glow in the Dark Blocks: Use glow-in-the-dark paint for a night-time treasure experience.
- Layered Freezing: Freeze layers of colors for an eye-catching visual effect that enhances the Frozen Treasure Blocks’ aesthetics.
Storing or Reusing This Project
After the excitement of discovery, consider how to preserve any leftover treasures. Ice blocks can be stored in the freezer for a later reveal, or you can repurpose them by using the treasures in other crafts. Cleanup involves simply rinsing out molds and disposing of any leftover water, making sure to reduce waste from this adventure.
FAQs About Frozen Treasure Blocks: A Complete Guide
How messy is this activity?
Making Frozen Treasure Blocks is relatively low-mess. There might be some spills during the pouring stage, but with simple cleanup afterward, it’s manageable.
What ages is this activity suitable for?
This DIY is great for kids of various ages. Just supervise younger kids with small items to ensure safety.
Can I use different items for treasures?
Yes! Feel free to use different items, just ensure they are safe for freezing and suitable for younger children to handle.
What happens if the blocks don’t freeze properly?
If blocks are not solid after the designated freezing time, check your freezer settings. Be patient; some containers may take longer than others.
How long will the blocks last after being removed from the freezer?
The blocks will start to melt once removed from the freezer, so be sure to enjoy them soon after unveiling your treasures.
Conclusion
Creating Frozen Treasure Blocks is an engaging and educational project that brings joy and exploration to your home. For more insights on similar DIY projects, the Office of Foreign Assets Control offers a plethora of information about creating within specific themes. Additionally, if you’re looking for creative inspiration or ideas on setting up engaging DIY experiences, the Frozen Treasure Find – The Chaos and the Clutter provides an excellent resource. Enjoy the magic of these frozen creations, and feel confident to make this delightful project with your little ones!
PrintFrozen Treasure Blocks

A fun and educational DIY project for kids to create colorful treasure blocks frozen in ice, combining creativity with science.
- Prep Time: 15 minutes
- Cook Time: 240 minutes
- Total Time: 255 minutes
- Yield: Varies based on container size
- Category: DIY Activity
- Method: Freezing
- Cuisine: N/A
- Diet: N/A
Ingredients
- Water
- Safe, colorful treasures (small toys or beads)
- Mold or container (like plastic cups)
- Optional: Food coloring
Instructions
- Select your container: Choose a mold or container to hold your treasures.
- Add treasures: Place the small toys or beads inside your selected container.
- Mix in colors (optional): If using food coloring, mix a few drops into your water before pouring.
- Pour the water: Fill the containers with water, submerging the treasures.
- Freeze: Place the filled containers in the freezer for at least 4-6 hours or overnight.
- Pop them out: Gently twist or squeeze the containers to release your treasures.
- Enjoy: Explore the frozen treasures and observe the colors and shapes.
Notes
If treasures are stuck, run the bottom of the container under warm water for a few seconds. Enjoy the project and its little mishaps!
Nutrition
- Serving Size: 1 block
- Calories: 0
- Sugar: 0g
- Sodium: 0mg
- Fat: 0g
- Saturated Fat: 0g
- Unsaturated Fat: 0g
- Trans Fat: 0g
- Carbohydrates: 0g
- Fiber: 0g
- Protein: 0g
- Cholesterol: 0mg