

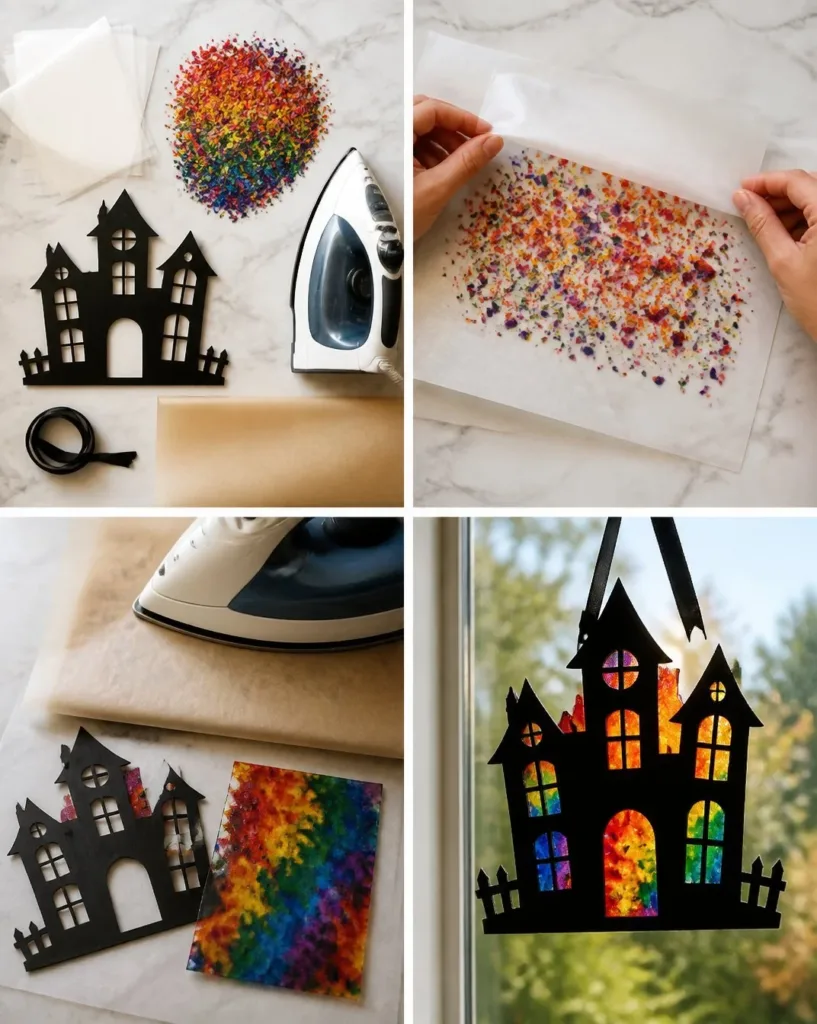
Making art can feel scarce when a busy afternoon rolls in, and your kids are craving a fun and creative activity. One quick solution is the Rainbow Crayon Haunted House Suncatcher. This vibrant and eye-catching project combines color and creativity, making it perfect for a last-minute crafting session at home. It doesn’t require complicated techniques or materials, so you can be sure that everyone involved will have a blast watching the magic unfold. You may also find Cornstarch Rainbow Suncatchers useful.
Why This Rainbow Crayon Haunted House Suncatcher Works So Well
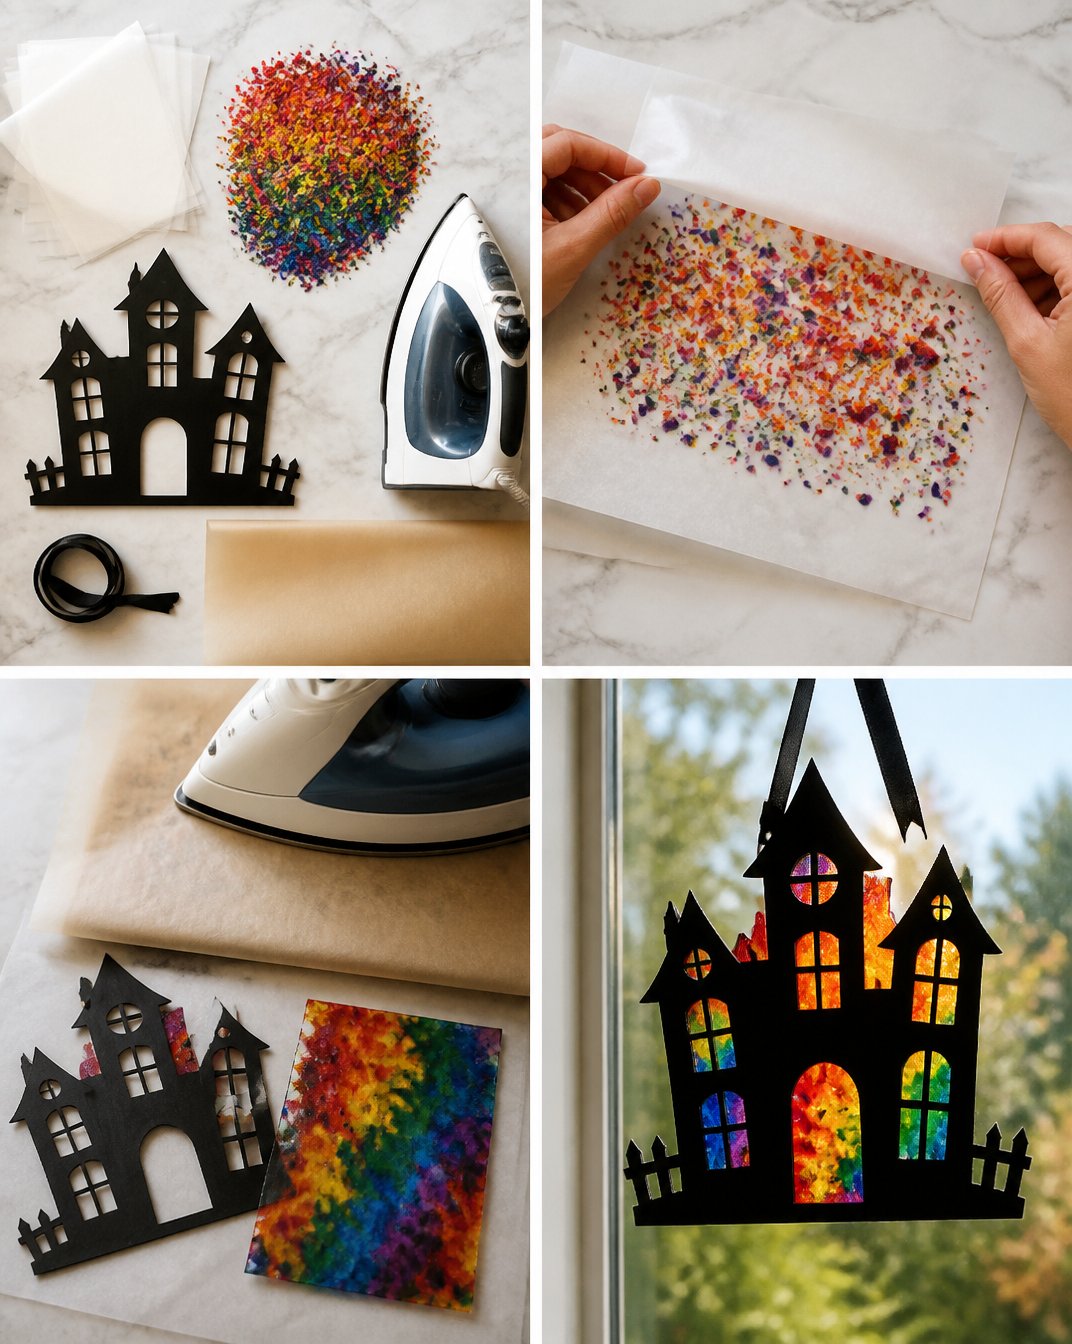
Creating a Rainbow Crayon Haunted House Suncatcher involves minimal preparation, which is ideal for parents juggling multiple tasks. The project is straightforward enough for kids to get involved while adults provide guidance and safety. It’s not just about making art; it’s an opportunity for children to express themselves and experiment with colors. Since the materials needed are common household items, like crayons and a silicone mold, you’ll find this project is budget-friendly and easy to set up. This combination of accessibility and engagement makes it a reliable choice for family fun. You may also find Diy Bioplastic Suncatchers Crayon Method useful.
A Quick Look Before You Begin
Engaging in this DIY project will take about an hour of your time, including melting and cooling, but the hands-on part is relatively short. Gather your materials ahead of time, and you’ll create a special haunted house suncatcher without much mess. The supervision required is also minimal, allowing your children to take the lead as they learn through crafting. This project suits various ages, so everyone can join in the fun. You may also find Diy Blue Crayon Suncatchers useful.
Materials You’ll Need
- A selection of crayons (preferably vibrant colors)
- A silicone suncatcher mold (haunted house shape)
- A baking sheet
- A pair of scissors (to remove crayon wrappers)
- An oven (or a toaster oven for a smaller setup)
- Parchment paper (if needed for easy cleanup)
Each item on this list consists of easily accessible materials, so you won’t have to break the bank to bring this project to life. The crayons will add color, while the silicone mold offers an easy way to shape the design. Don’t worry if you only have a few types of crayons; combining colors can lead to unique results! You may also find Enchanting Crayon Suncatchers Blue Hues useful.
Step-by-Step Directions
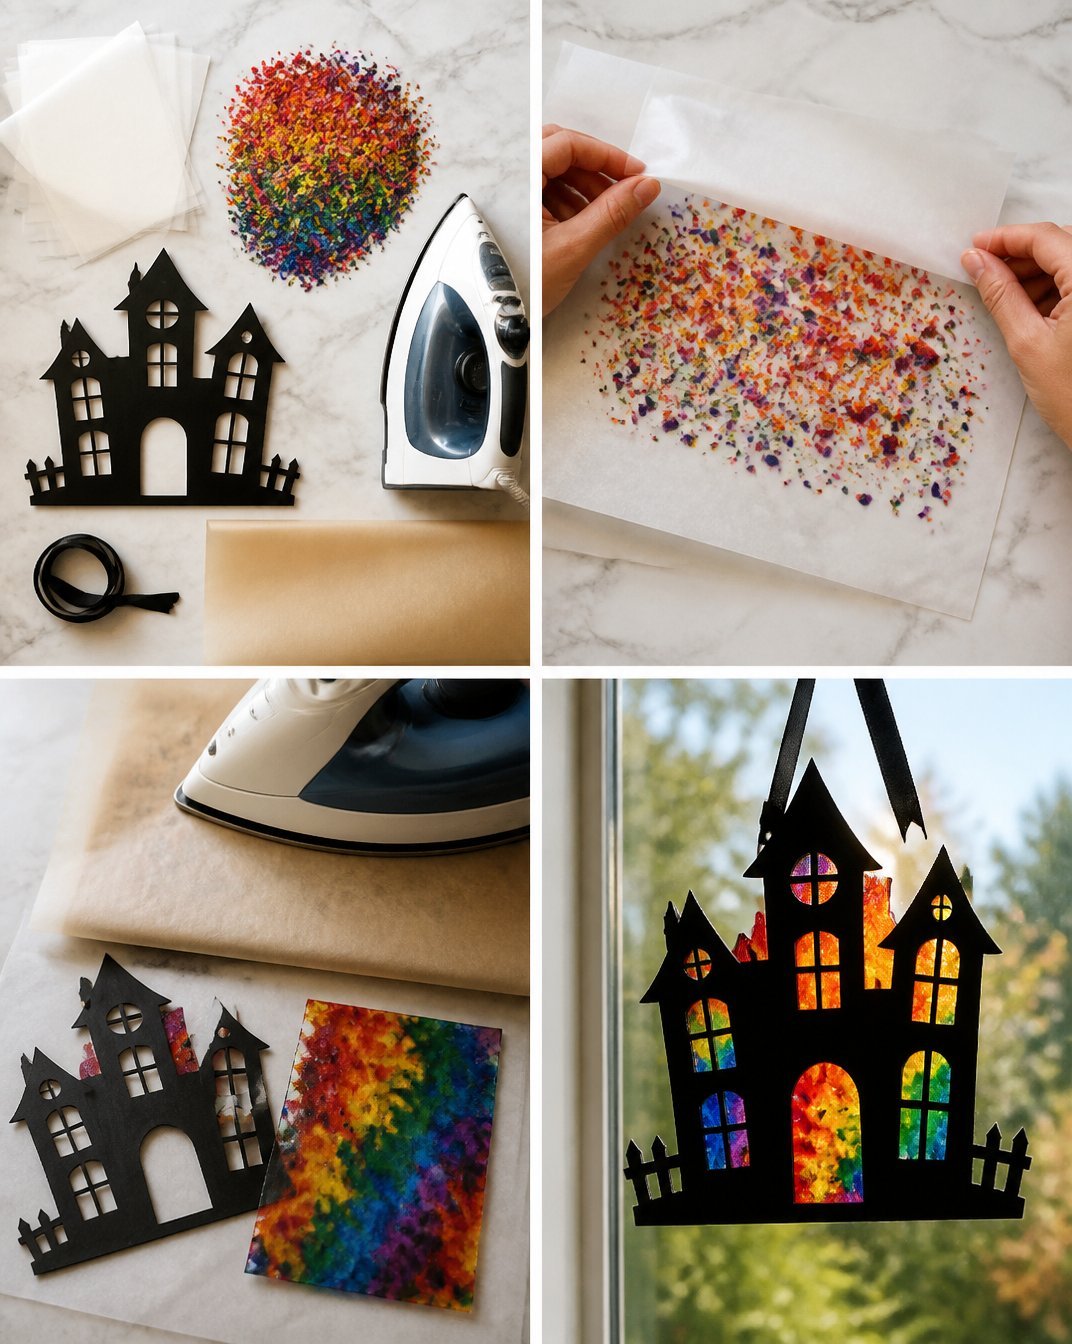
Prepare your crayons by removing the wrappers. Make sure to take off the paper wrappers since they won’t melt well. This task serves as a great warm-up for young hands before diving into the crafting process.
Chop the crayons into small pieces using scissors. It’s better to cut them into small chunks, as they will melt quicker and evenly. Consider safety when using scissors and assist younger children if needed.
Arrange the crayon pieces in the silicone suncatcher mold. Get creative with your color combinations—arranging the pieces can be like designing your own masterpiece. The more vibrant the colors, the more beautiful the final product will be.
Preheat your oven to 200°F (93°C) and place the mold on a baking sheet. A baking sheet helps stabilize the mold, ensuring that it isn’t tipping over while putting it in the oven.
Melt the crayons in the oven for 10-15 minutes, checking the melting process. The crayons will slowly transform into a vibrant, gooey mixture. Keep an eye on them to prevent overmelting.
Once melted, carefully remove the mold and let it cool for about 30 minutes. This step is important as the suncatcher needs to set before being removed from the mold.
Gently pop the suncatcher out of the mold and display it in a bright window to showcase the colors. Your colorful haunted house suncatcher will look especially stunning when lit up by sunlight!
What Kids Practice While Making This
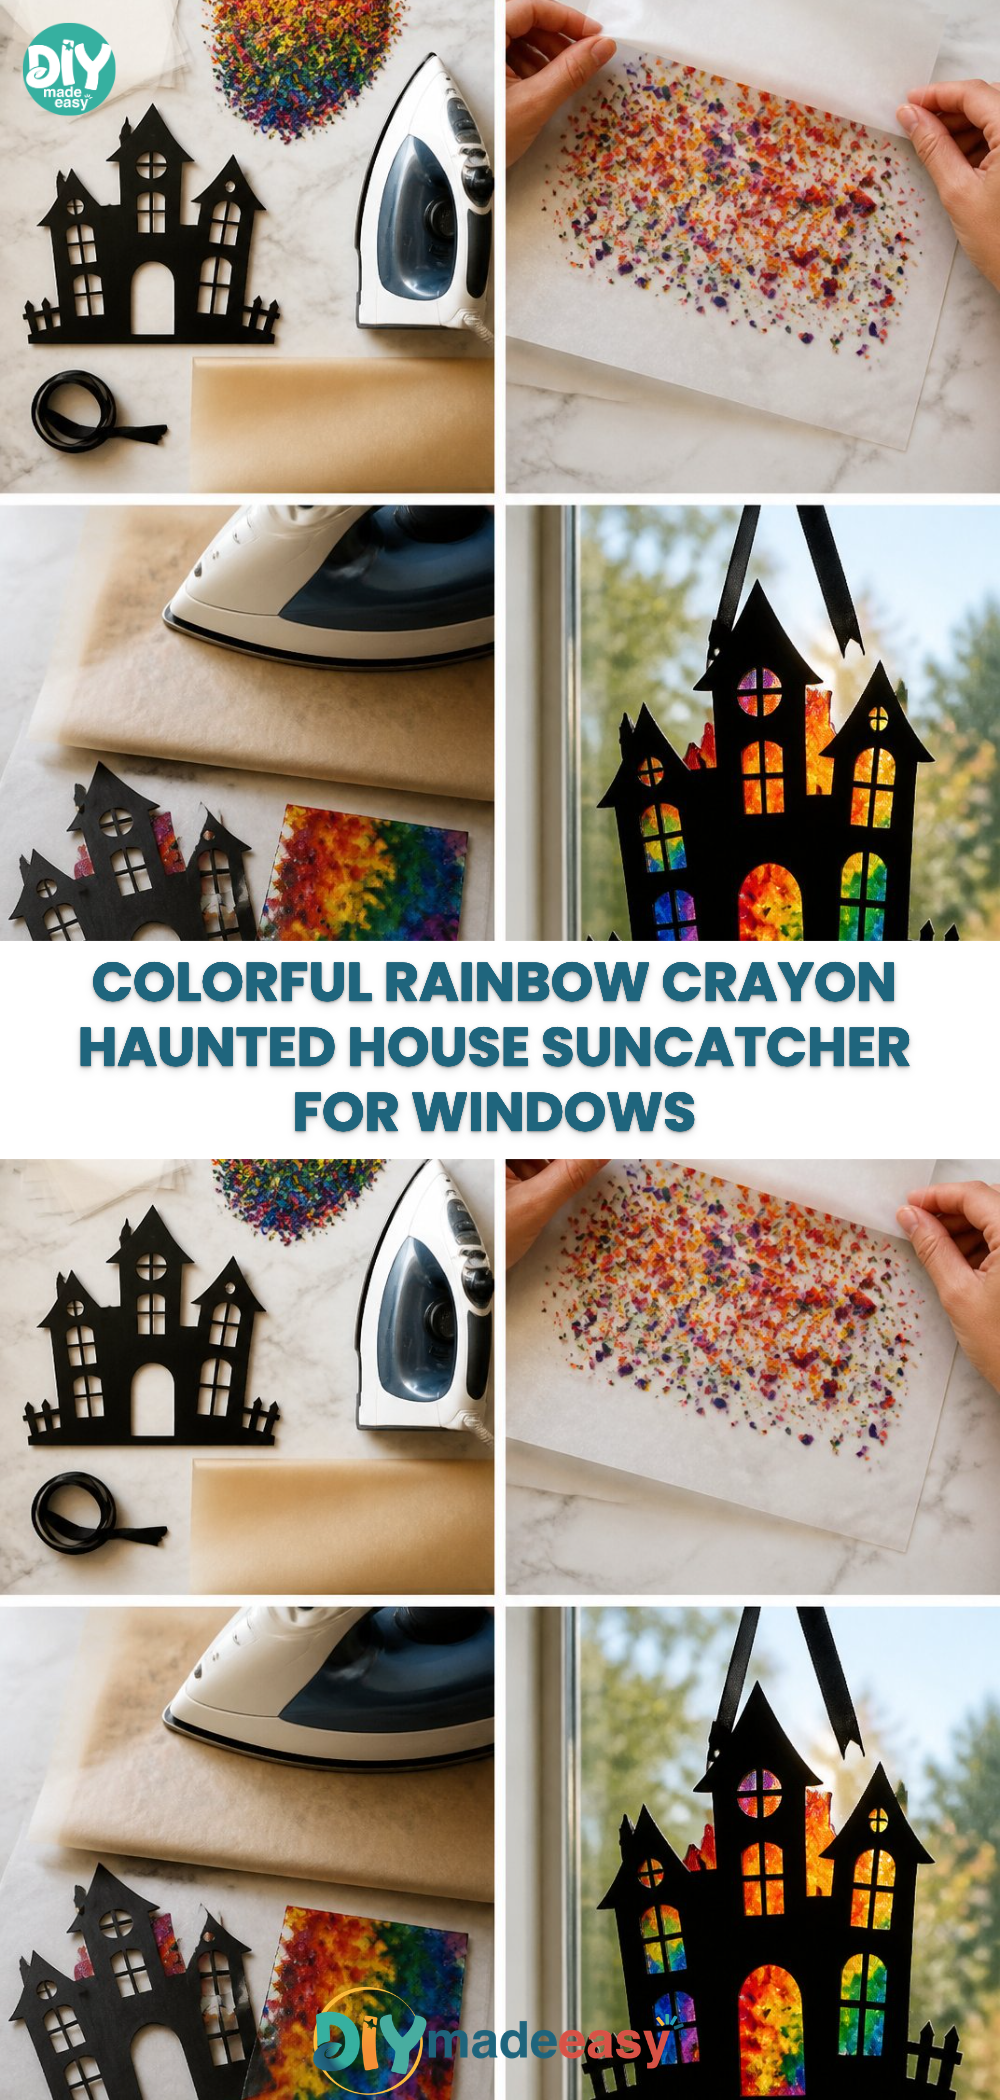
While creating the Rainbow Crayon Haunted House Suncatcher, kids engage in valuable skills development. Their fine motor skills come into play when cutting and arranging the crayons. As they follow the instructions, they also practice coordination and spatial awareness. Watching the crayons melt teaches children about temperature, cause and effect, and the science behind materials changing forms. This project is not just a fun afternoon activity but also an educational experience that parents and children can enjoy together.
Troubleshooting Common Issues
Sometimes, despite careful planning, things may not go as expected. If your suncatcher doesn’t come out of the mold easily, try gently twisting or flexing the silicone to release it. If the colors blend too much during melting, it might be because of overlapping pieces, so ensure there’s enough space between colors when arranging them. Don’t hesitate to experiment; sometimes imperfections turn into unique features that make your suncatcher stand out.
Easy Variations to Try
Consider different twists to enhance the Rainbow Crayon Haunted House Suncatcher project:
- Use seasonal colors for different festivities, such as orange and black for Halloween.
- Try using different shapes of molds, like stars or pumpkins, depending on the occasion.
- Encourage older kids to mix in different materials, like glitter, for added sparkle.
These variations make the original concept adaptable, ensuring it stays fresh and exciting.
Storing or Reusing This Project
Once you’ve completed your suncatcher, think about where to display it to catch the sunlight best. If needed, you can keep the materials for future projects, ensuring no waste occurs. The silicone mold is reusable, so later on, you can melt down any leftover crayons to create more colorful designs.
FAQs About Rainbow Crayon Haunted House Suncatcher
What if my kids make a mess while crafting?
It’s completely normal for hands to get a little messy while working with crayons. Using a tablecloth or setting up a crafting station can minimize clean-up. Just keep some damp cloths handy for quick wipe-ups.
Is this project safe for all ages?
Yes! This DIY is suitable for a wide range of ages. However, younger children may need adult supervision, especially when using scissors or being around a hot oven.
Can I use different types of crayons?
Absolutely! Many parents find that mixing regular crayons with different brands can yield various results. Just ensure any crayon brand you use is safe for melting.
What if I want to make this project but don’t have a haunted house mold?
No problem! This project is flexible; you can experiment with any silicone mold shape you have at hand. The process will remain the same.
Conclusion
Creating art with your children doesn’t have to require extensive planning; activities like this can easily fit into a busy lifestyle. The Rainbow Crayon Haunted House Suncatcher not only provides a creative outlet but also an opportunity for educational moments. As you craft together, you can laugh, learn, and enjoy the magic of colors. For more exciting ideas, you can check out this Melted Crayon Pumpkin project for a seasonal touch or explore RainbowDepth 3D Glasses for fun viewing experiences once your suncatcher is done!
PrintRainbow Crayon Haunted House Suncatcher
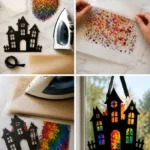
Craft a vibrant Rainbow Crayon Haunted House Suncatcher that’s fun, colorful, and easy to make with kids using simple materials.
- Prep Time: 10 minutes
- Cook Time: 15 minutes
- Total Time: 45 minutes
- Yield: 1 suncatcher
- Category: Crafts
- Method: DIY Crafting
- Cuisine: N/A
- Diet: N/A
Ingredients
- A selection of crayons (preferably vibrant colors)
- A silicone suncatcher mold (haunted house shape)
- A baking sheet
- A pair of scissors
- An oven (or a toaster oven)
- Parchment paper (if needed for easy cleanup)
Instructions
- Prepare your crayons by removing the wrappers.
- Chop the crayons into small pieces using scissors.
- Arrange the crayon pieces in the silicone suncatcher mold.
- Preheat your oven to 200°F (93°C) and place the mold on a baking sheet.
- Melt the crayons in the oven for 10-15 minutes.
- Once melted, carefully remove the mold and let it cool for about 30 minutes.
- Gently pop the suncatcher out of the mold and display it in a bright window.
Notes
Encourage kids to experiment with color combinations and different molds for variety. Supervision needed for younger children.
Nutrition
- Serving Size: 1 suncatcher
- Calories: 0
- Sugar: 0g
- Sodium: 0mg
- Fat: 0g
- Saturated Fat: 0g
- Unsaturated Fat: 0g
- Trans Fat: 0g
- Carbohydrates: 0g
- Fiber: 0g
- Protein: 0g
- Cholesterol: 0mg