

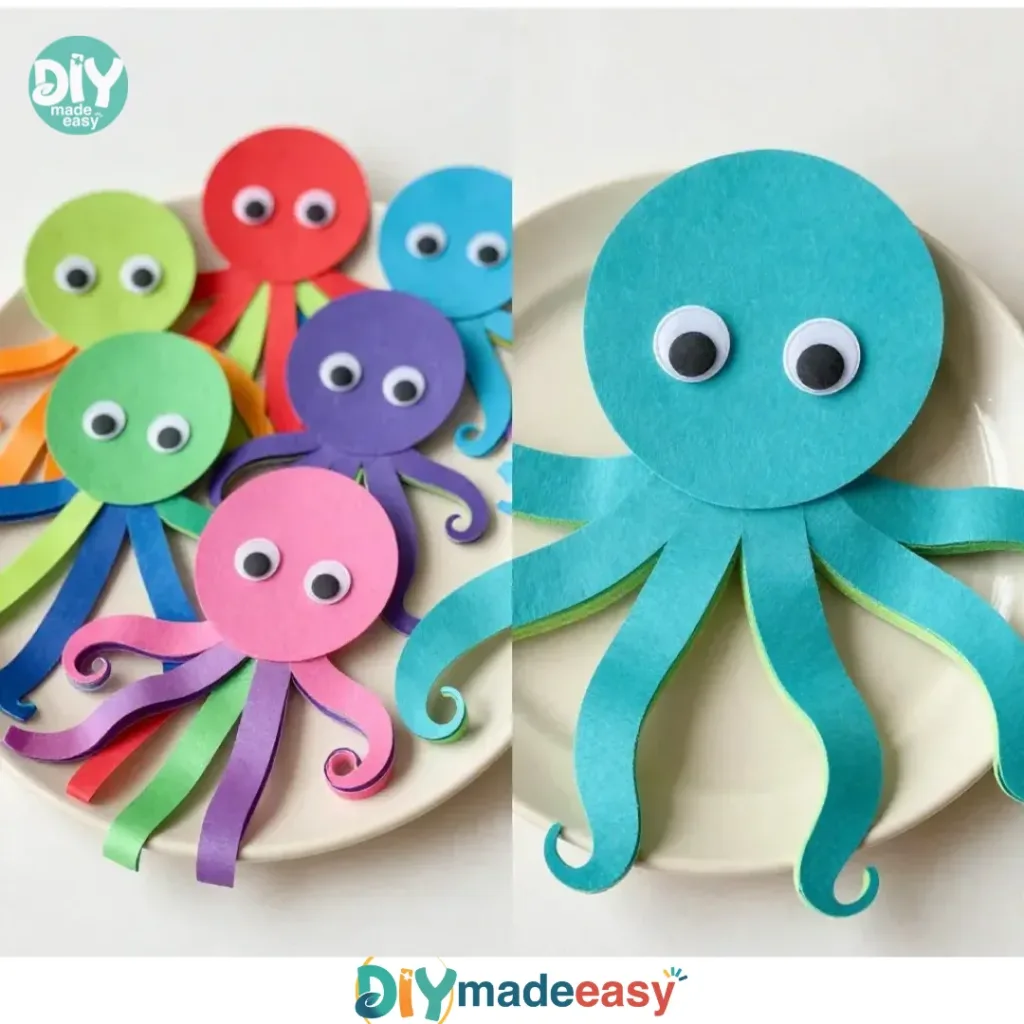
Creating a fun and vibrant decoration can often seem like a daunting task, especially when the kids are yearning to craft something exciting right now. However, if you’re looking for a simple yet engaging project, making Bright Hanging Ocean Creatures is a delightful choice. This DIY project is straightforward and uses common household items, making it both accessible and enjoyable for families. You may also find Bright Green Crystal Seashell Experiment 2 useful.
Why You’ll Love Making Bright Hanging Ocean Creatures
You may also find Bright Green Crystal Seashell Experiment useful.
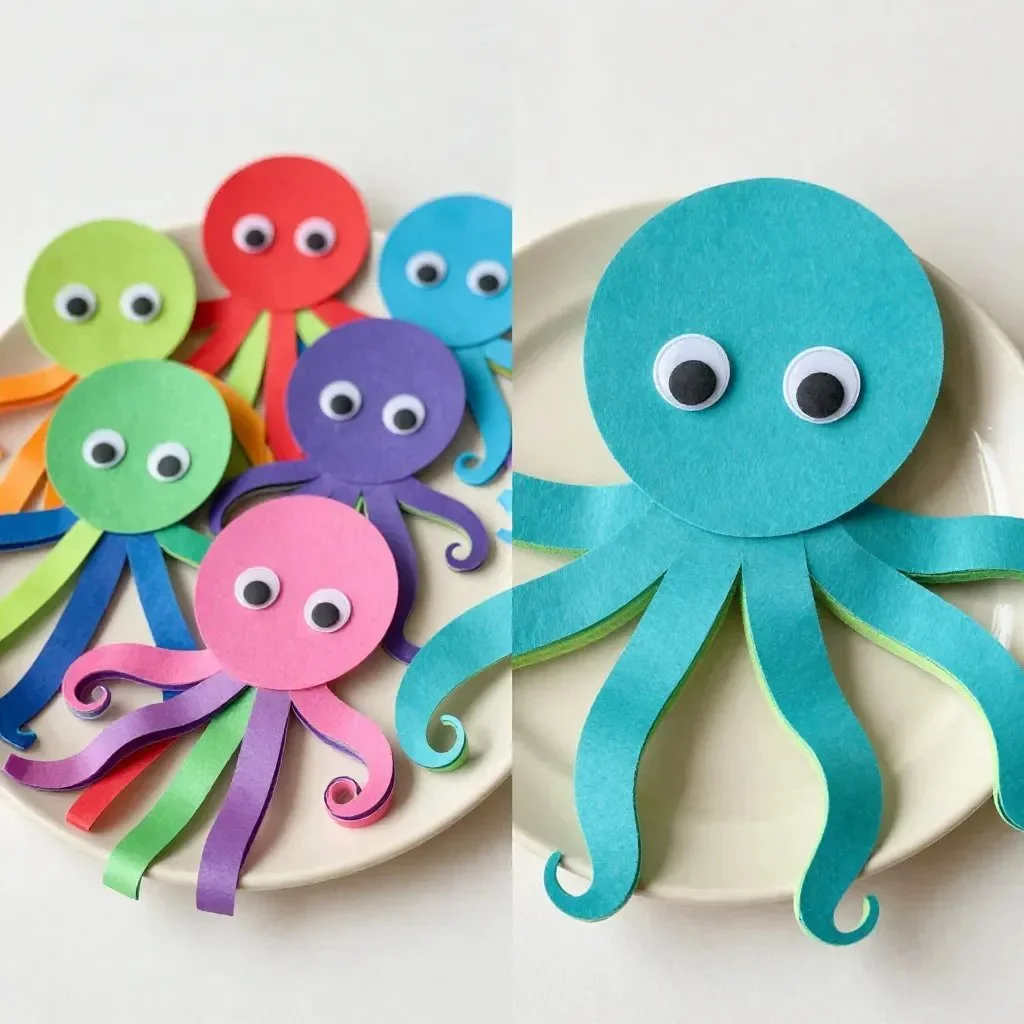
This project is incredibly appealing for several reasons. First, it requires minimal preparation—just gather your materials—and it’s suitable for all ages, from little hands to older kids. It allows creativity to shine through with the colors and shapes that can be chosen. The process is relaxed, making it easy to pick up and put down during a busy afternoon or to fit into a playdate. Plus, the end result is a cheerful hanging decoration that brightens up any space, bringing a splash of ocean flair into your home. You may also find Brighten Your Home Stained Glass Lantern useful.
A Quick Look Before You Begin
Making Bright Hanging Ocean Creatures involves a flow that feels natural and manageable. The timing is flexible enough that you can address distractions without losing steam. Expect about an hour of hands-on crafting, which includes cutting, decorating, and hanging. The mess level is low, making cleanup easy, especially with paper materials. Adult involvement can be more about guidance than hands-on help unless younger children need assistance with cutting.
Materials You’ll Need
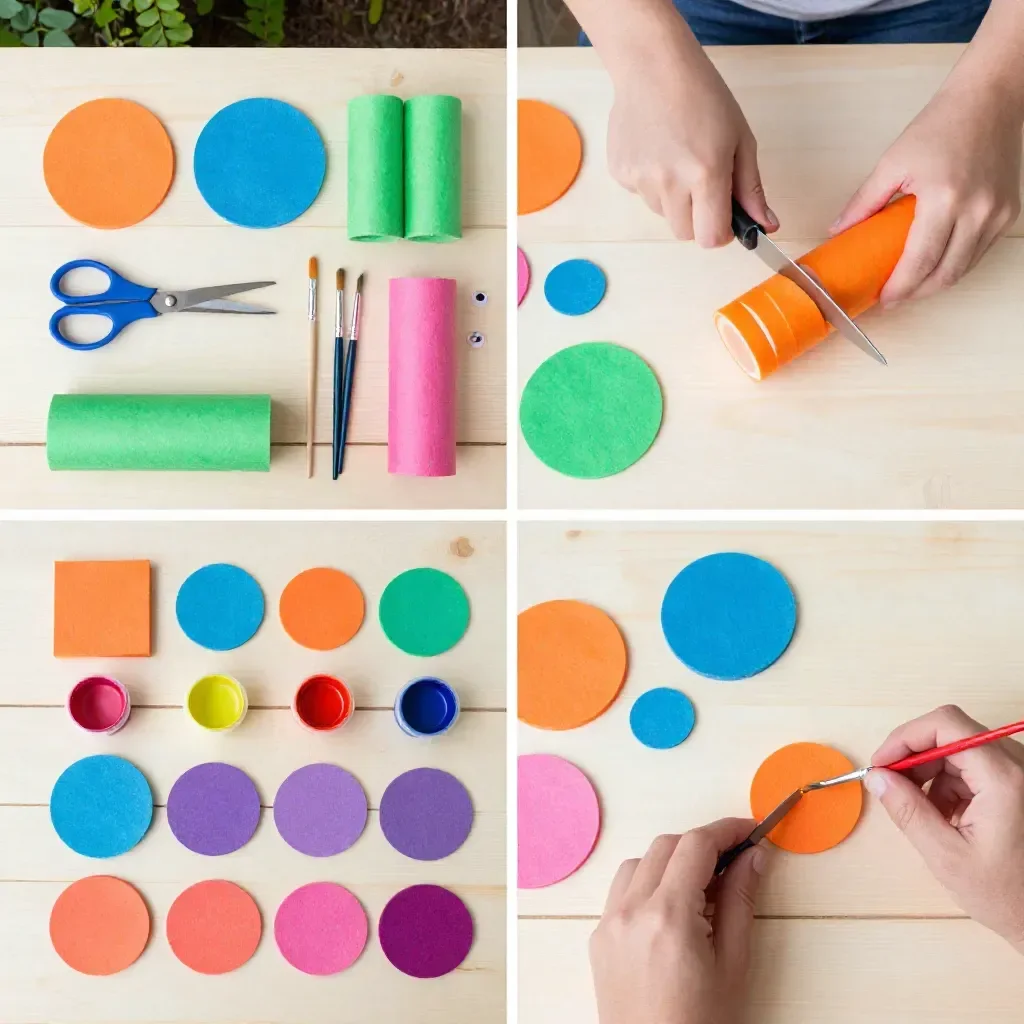
- Colorful cardstock or craft paper
- Scissors
- String or fishing line
- Hole punch
- A pencil
- Adhesive (glue stick or craft glue)
- Decorative sequins or stickers (optional)
- Markers or colored pencils (optional)
These materials are typically found at home, and substitutions can easily be made. For example, any scrap paper might work for the shapes, and string is often readily available in various forms.
Step-by-Step Directions
- Begin by selecting vibrant colors from your cardstock. Picture the hues of the ocean: deep blues, bright corals, and soft greens. This selection process sets the mood for your creations.
- Using a pencil, outline the shapes of your ocean creatures—think fish, starfish, or even playful sea turtles. This step allows everyone to express their creativity.
- Carefully cut out each shape. Feel the smoothness of the paper as the scissors glide through, giving a satisfying tactile experience.
- Punch holes in the top of each cut-out to prepare for hanging. This can be a fun job for kids, as they enjoy the action of punching through the paper.
- Take your string or fishing line, and cut it to your desired length. This will suspend your creations, allowing them to float gracefully in the air.
- Thread the string through the hole and secure it with a knot. This moment brings together all the work and anticipation.
- If you like, embellish your ocean creatures with sequins or stickers. This optional step adds a layer of fun and personality.
- Finally, hang them in your chosen space. Watch as your ocean creatures bring life and color to your room!
The Learning Behind This DIY
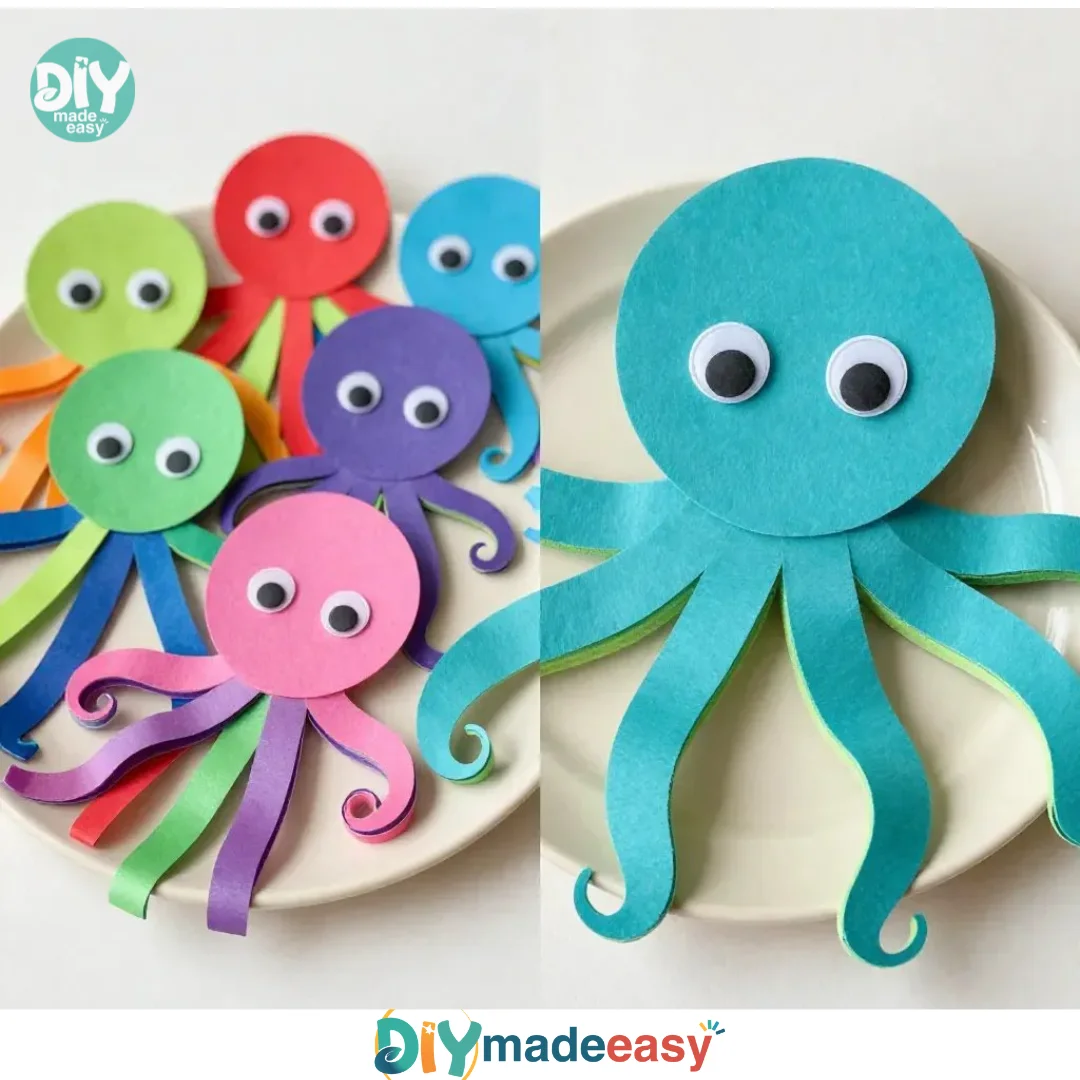
Making Bright Hanging Ocean Creatures is not just about decoration—it incorporates valuable learning experiences. Kids practice fine motor skills as they cut shapes and apply adhesive. Coordination improves as they work on threading and knotting the string. Additionally, the crafting process introduces basic science concepts, like balance and weight distribution, as they figure out how to hang their creations without them toppling over. Engaging in these activities supports their growth while allowing for creativity to flourish.
Troubleshooting Common Issues
If something doesn’t go as planned, don’t worry—there are simple fixes. For instance, if shapes don’t cut out perfectly, encourage kids to embrace the uniqueness of their creations. This project thrives on creativity over precision. If holes tear, reinforce them with tape or glue to provide strength. Lastly, if the creatures don’t hang as expected, adjusting the string length can help achieve a better balance.
Easy Variations to Try
You can easily change up this project for more fun. Here are some suggestions:
- Try using themed paper, like patterns of fish or ocean waves, to give a new look to the creatures.
- Create seasonal variations—think bright sun shapes for summer or autumn leaves for fall, and decorate accordingly.
- Instead of hanging the creatures, use them as table decoration by standing them upright on a flat surface.
- Work together to create a large ocean mural background, placing the hanging creatures above it for a more immersive experience.
Storing or Reusing This Project
Once the project is complete, consider how best to store or reuse these delightful creatures. Use a dedicated box or envelope to keep them safe for future decorations. If they become damaged, parts can be recycled or transformed into new art projects, reducing waste while stimulating creativity.
FAQs About Bright Hanging Ocean Creatures
What if it gets messy?
Crafting with paper often leads to some little mess, but it’s usually easy to clean up. Lay down a sheet or old newspaper before starting, so any scraps are contained.
Are these safe for young kids?
Yes, as long as supervision is present, the materials used are safe. Ensure scissors are used carefully, and assist as needed.
Can I use other materials?
Absolutely! Feel free to use whatever you have on hand. Anyone can substitute materials, making this project flexible and inclusive.
How do I store these once they’re made?
Keep them in a safe place like a box. Using cardboard dividers can help avoid flat shapes becoming bent or broken.
What if my creatures look different than I expected?
Every creation is unique, and part of the fun is embracing those differences! Celebrate the individuality of each piece you make.
Conclusion
Conclusion
Making Bright Hanging Ocean Creatures is not just a fantastic DIY project; it’s a wonderful opportunity to explore creativity, develop skills, and enjoy hands-on crafting. If you’re considering adding a touch of ocean life to your space, these colorful decorations are an easy choice. For some extra inspiration, you might visit this selection of hanging decorations or check out how Marcellus, the octopus, brings color and charm to the underwater world.
PrintBright Hanging Ocean Creatures
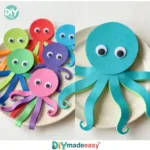
A fun and engaging DIY project for creating cheerful hanging decorations that add a splash of ocean flair to your home.
- Prep Time: 15 minutes
- Cook Time: 0 minutes
- Total Time: 60 minutes
- Yield: Several decorations
- Category: Craft
- Method: Crafting
- Cuisine: N/A
- Diet: N/A
Ingredients
- Colorful cardstock or craft paper
- Scissors
- String or fishing line
- Hole punch
- A pencil
- Adhesive (glue stick or craft glue)
- Decorative sequins or stickers (optional)
- Markers or colored pencils (optional)
Instructions
- Begin by selecting vibrant colors from your cardstock.
- Using a pencil, outline the shapes of your ocean creatures.
- Carefully cut out each shape.
- Punch holes in the top of each cut-out to prepare for hanging.
- Take your string or fishing line, and cut it to your desired length.
- Thread the string through the hole and secure it with a knot.
- If you like, embellish your ocean creatures with sequins or stickers.
- Finally, hang them in your chosen space.
Notes
This project supports creativity while developing fine motor skills, coordination, and basic science concepts.
Nutrition
- Serving Size: 1 decoration
- Calories: N/A
- Sugar: 0g
- Sodium: 0mg
- Fat: 0g
- Saturated Fat: 0g
- Unsaturated Fat: 0g
- Trans Fat: 0g
- Carbohydrates: 0g
- Fiber: 0g
- Protein: 0g
- Cholesterol: 0mg