

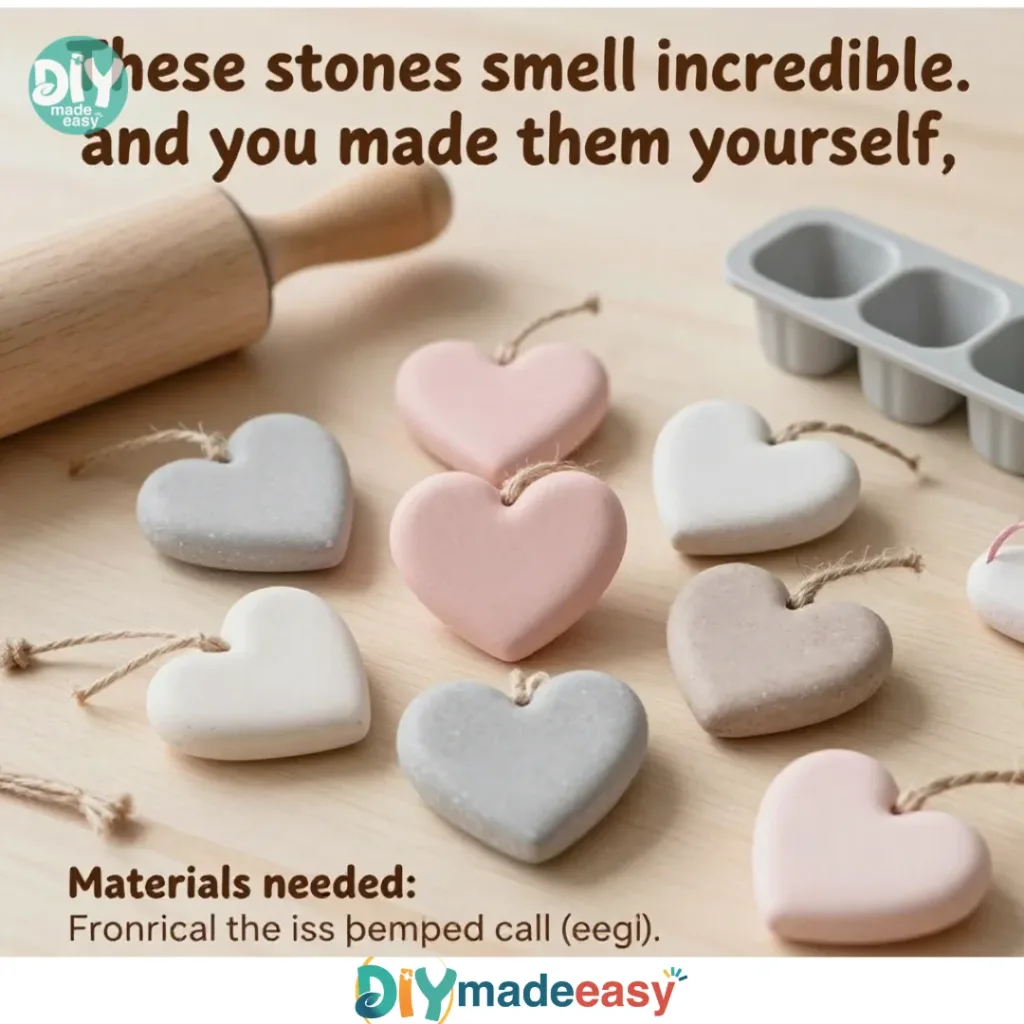
When the afternoon sun streams through the kitchen window and the kids are buzzing with energy, it can feel like a race against time to come up with a fun project that holds their attention. They might rush in, full of ideas, asking for something creative and engaging. You want to foster their enthusiasm without overwhelming yourself. That’s where making Aromatic Stones comes into play. This simple project becomes a delightful way to channel their creativity, using things you likely have on hand while filling your space with lovely scents.
Why You’ll Love Making Aromatic Stones
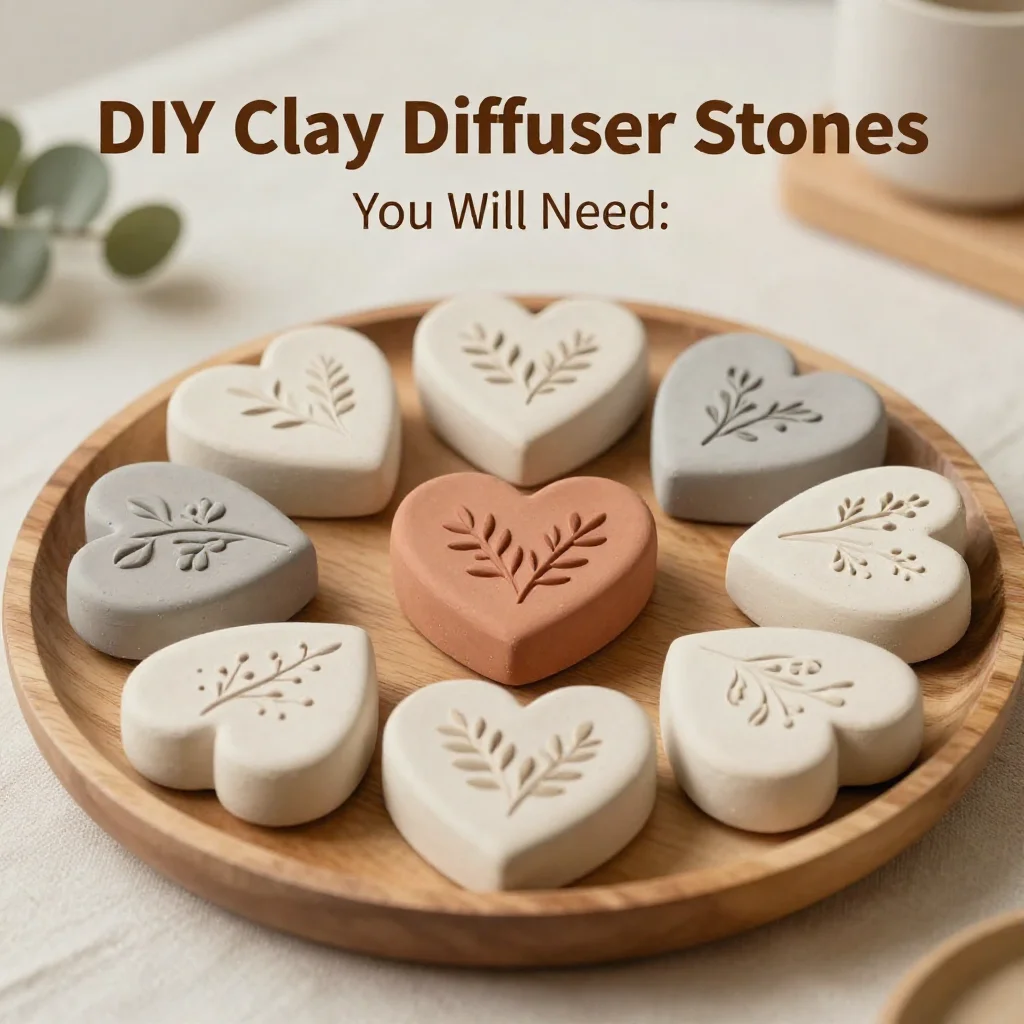
The beauty of crafting Aromatic Stones lies in its simplicity and the joy it brings to every step of the process. This project requires minimal prep, making it an ideal choice for busy afternoons or impromptu activity requests. The materials are common household items, so you don’t have to run to the store or spend a lot of money.
Each step of creating these stones is straightforward, allowing both kids and adults to enjoy the craft without stress. Because it relies on baking soda and cornstarch, you know that the results will be reliable and often fantastic! Plus, the hands-on nature of this activity promotes sensory exploration. Watching the dough transform and then releasing delightful fragrances as the stones dry offers an element of anticipation that keeps everyone engaged.
Discover Easy Kids Activities
Looking for simple, fun ideas for kids? Explore our Low Prep Kids Activities and find quick projects that spark creativity without long prep time.
The Flow of Making Aromatic Stones
Before diving into the project, let’s take a moment to overview what you need to know. The total time you’ll need to set aside is about a few hours, including drying time if you choose to bake them. If you opt for air-drying, it might take a little longer, but you can still get the fun done in just a couple of hours.
The setup is minimal, primarily focused on a large mixing bowl, a clean surface for rolling out your dough, and a baking sheet. This minimizes mess and creates a calming atmosphere. Expect some floury spills; it’s all part of the fun!
Finally, adult involvement can be as hands-on or as light as you desire. Younger kids will benefit from guidance in mixing and cutting shapes, while older children can take charge of the process. Watching them take pride in their creations feels rewarding as you craft together.
Materials You’ll Need
- 1 cup baking soda
- 1/2 cup cornstarch
- 1/2 cup water
- Essential oils (to preference)
- Food coloring (optional)
- Cornstarch (for dusting)
- Cookie cutters
- Baking sheet
Baking soda and cornstarch are staples in many households, ensuring this project is budget-friendly. Essential oils are completely optional and can be chosen based on your family’s favorites. The food coloring can add a vibrant touch to the stones but leaves the decision up to your creative choices.
Step-by-Step Directions
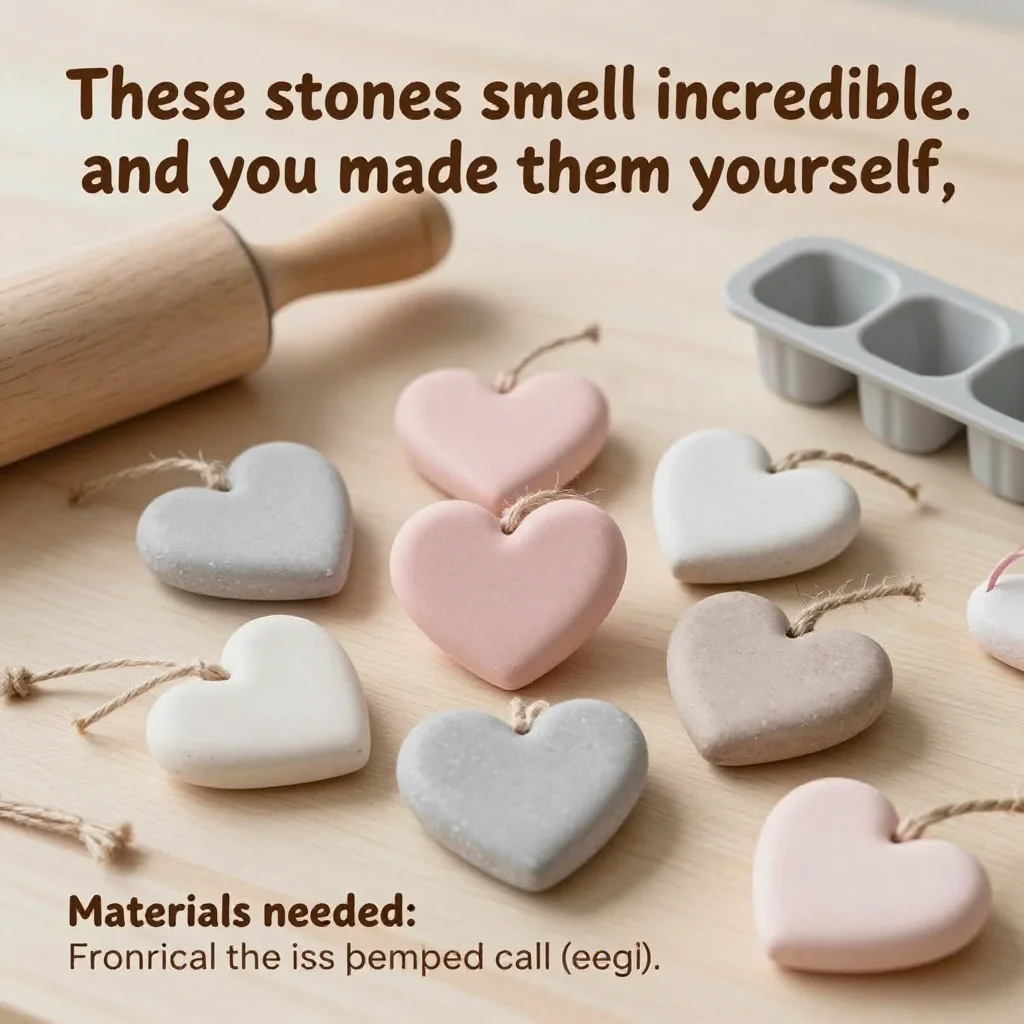
- In a mixing bowl, combine 1 cup of baking soda and 1/2 cup of cornstarch. As you pour in the ingredients, notice the fine, soft texture. It’s like a playtime experience right from the start.
- Slowly add 1/2 cup of water, stirring gently until a dough-like consistency is achieved. Take your time here; you want the mixture to hold together but not be too sticky. If it’s crumbly, a tiny splash more water can help.
- Add several drops of essential oils if desired. Take a moment to breathe in the aromas after adding. This is where you and your kids can choose your favorite scent.
- Incorporate food coloring for color if desired. A few drops make a visual impact, and it’s fun to mix in varying shades to see how they blend.
- Dust a clean surface with cornstarch and roll the dough out to about 1/2 inch thick. Don’t rush this part; the texture should feel elastic and smooth as you roll it out.
- Use cookie cutters to create desired shapes. Watch for excitement on faces as they pick their shapes. Stars and hearts are always favorites, but why stop there? Let imaginations run wild!
- Place the stones on a baking sheet. If baking, do so at a low temperature for a few hours; if not, allow to air dry for 24-48 hours. While waiting, you and your kids can brainstorm ideas about where these stones might go in your home.
- Once dry, reinforce scents with more essential oil, allowing them to absorb for a while. This step is all about boosting the aroma. Kids can have fun with this, choosing more scents to layer on.
- Enjoy the aromas as they fill your space. Once your stones are ready, place them around the house and let the scents waft through your rooms.
What Kids Practice While Making This
Crafting Aromatic Stones is more than just a creative outlet it supports essential skills and concepts. The project gently encourages children to practice fine motor skills as they mix, pour, and roll the dough. Rolling and cutting shapes require good coordination, promoting hand-eye skills naturally.
Additionally, the process introduces basic science concepts like mixing and reactions between different materials. Understanding how baking soda combines with water and other ingredients lends to grasping cause and effect in a tangible way. This project creates an inviting environment for kids to explore their creativity while learning without the pressure.
Troubleshooting Common Issues
Sometimes things don’t go exactly as planned, but that’s okay! If your dough is too crumbly, you may need to add a little more water until it reaches the right consistency. Don’t worry if it turns sticky; simply dust your hands and the working surface with cornstarch.
If you find that your stones don’t dry well or they feel soft to the touch after air drying, it may be a sign that they need more time, or you could consider baking them at a low temperature as an alternative. No one wants a soggy stone! Patience is key here, and remember that crafting is all about exploration and learning.
Easy Variations to Try
Feel free to personalize this project! Here’s how you can mix things up a bit:
- Seasonal Shapes: Use seasonal cookie cutters for a festive touch hearts for Valentine’s Day or pumpkins for Halloween!
- Layered Colors: Divide the dough into sections and color them differently. Kids can layer colors when rolling to create beautiful marbled stones.
- Themed Scents: Choose essential oils that fit with themes citrus for summer or cedar for a cozy winter feel.
- Gift Ideas: Encourage children to make stones as gifts. They can decorate them and package the stones beautifully.
- Scent Combination: Let kids experiment with different essential oil combinations for unique aromas. Lavender mixed with vanilla can make a calm, soothing scent that might be lovely in a bedroom.
Storing or Reusing This Project
After making your Aromatic Stones, you’ll want to think about what comes next. If stored properly, the stones can last a long time, keeping their scent for a few months. Consider placing them in sealed containers to maintain moisture while avoiding excess dust.
If at any point the scents fade, a simple dab of essential oil will revive their fragrant charm easily. And of course, if you make more, enjoy a new batch on special occasions, reinforcing the memories and scents in your space.
FAQs About Aromatic Stones
Will this project create a lot of mess?
While there may be some spills from flour or dough, it’s all manageable. Using a clean surface keeps things contained, and a simple dusting of cornstarch helps with clean-up.
What age group is this suitable for?
Aromatic Stones are perfect for children of various ages. Young children will need guidance, while older kids can likely work independently.
Can I substitute any of the ingredients?
Yes! You can experiment with different types of essential oils or use food coloring to match themes. If you’re out of cornstarch, you could try using more baking soda, though the texture may change slightly.
What if my stones don’t hold their shape?
If you find your shapes collapse or don’t hold, try reducing the water a little next time or ensure that you’re using enough cornstarch during rolling.
How should I store leftovers?
Store completed stones in a sealed container at room temperature. If your stones become dusty or lose scent, a quick refresh with essential oils will work wonders!
Conclusion
Making Aromatic Stones offers a delightful way to spend time with family, get creative, and fill your home with lovely scents. The process is designed to be as simple as possible, using readily available materials and clear steps. Each stone you create becomes a small piece of art, representing time spent together and personal creativity.
If you’re looking for more inspiration or variations, check out DIY Aroma Stones for unique ideas. You might even want to explore how scented beads and stones can enhance your DIY projects. Remember, the joy comes from the journey of creating, so relax and enjoy each aromatic moment!
PrintAromatic Stones

A fun and simple project to make fragrant stones using household materials, perfect for kids and adults to enjoy together.
- Prep Time: 15 minutes
- Cook Time: 120 minutes
- Total Time: 135 minutes
- Yield: 10 stones 1x
- Category: Crafts
- Method: Crafting
- Cuisine: N/A
- Diet: N/A
Ingredients
- 1 cup baking soda
- 1/2 cup cornstarch
- 1/2 cup water
- Essential oils (to preference)
- Food coloring (optional)
- Cornstarch (for dusting)
- Cookie cutters
- Baking sheet
Instructions
- Combine 1 cup of baking soda and 1/2 cup of cornstarch in a mixing bowl.
- Add 1/2 cup of water slowly, stirring until a dough-like consistency is achieved.
- Incorporate essential oils if desired and take a moment to enjoy the aromas.
- Mix in food coloring for vibrancy if desired.
- Dust a clean surface with cornstarch and roll the dough out to about 1/2 inch thick.
- Use cookie cutters to create desired shapes.
- Place the stones on a baking sheet and bake at a low temperature for a few hours or air dry for 24-48 hours.
- Reinforce scents with essential oils after drying.
- Enjoy the aromas as they fill your space.
Notes
Store stones in sealed containers to maintain scent and moisture; refresh with essential oils as needed.
Nutrition
- Serving Size: 1 stone
- Calories: 15
- Sugar: 0g
- Sodium: 5mg
- Fat: 0g
- Saturated Fat: 0g
- Unsaturated Fat: 0g
- Trans Fat: 0g
- Carbohydrates: 4g
- Fiber: 0g
- Protein: 0g
- Cholesterol: 0mg