

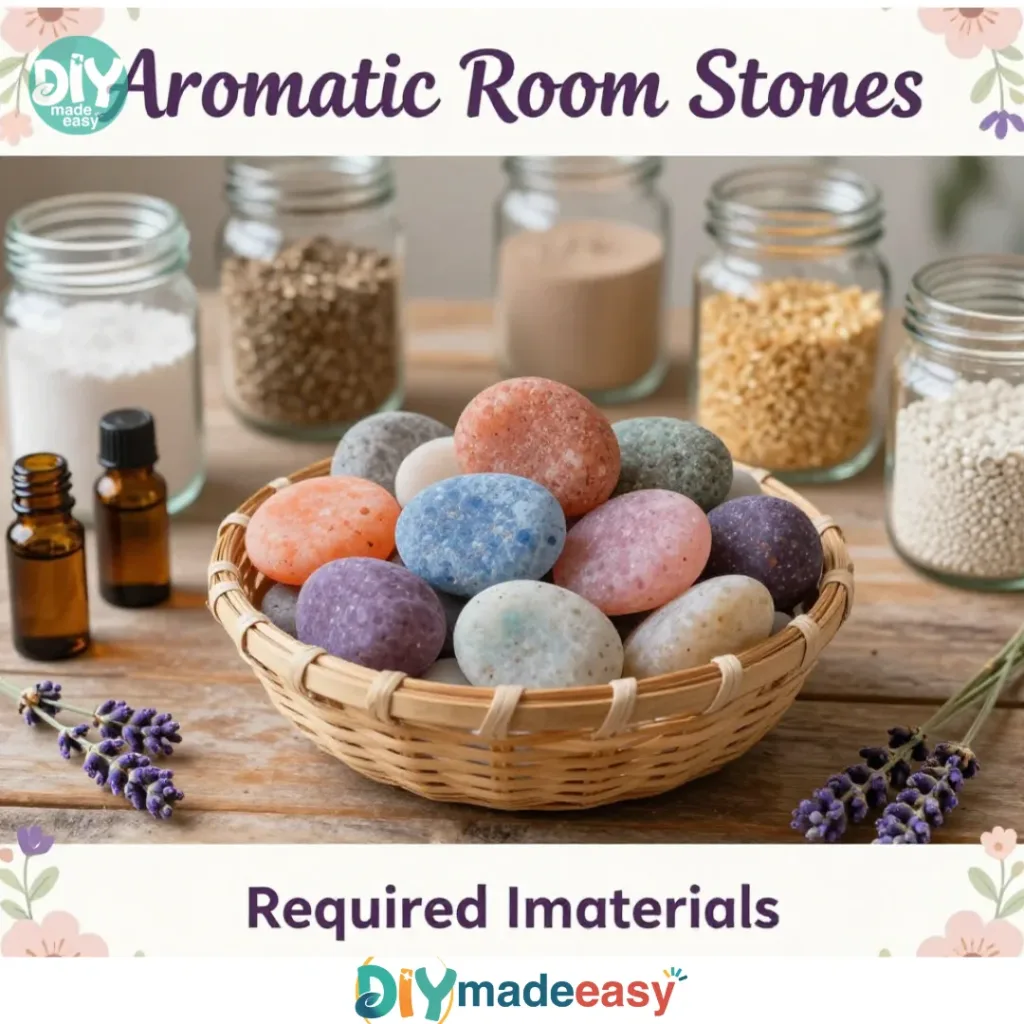
Creating special moments as a family can sometimes feel challenging, especially on those busy afternoons when the kids suddenly declare they want to make something fun. In the midst of dinner prep or weekend chores, finding a quick and enjoyable activity can seem daunting. This is where Aromatic Room Stones come into play. They are not just a delightful project; they’re a way to bring scents, colors, and a touch of creativity into your home. Perfect for using up a quiet afternoon or for a break from the usual routine, these easy-to-make stones fill your space with nature’s best aromas while also allowing for a hands-on crafting experience that you can enjoy together.
Why You’ll Love Making Aromatic Room Stones
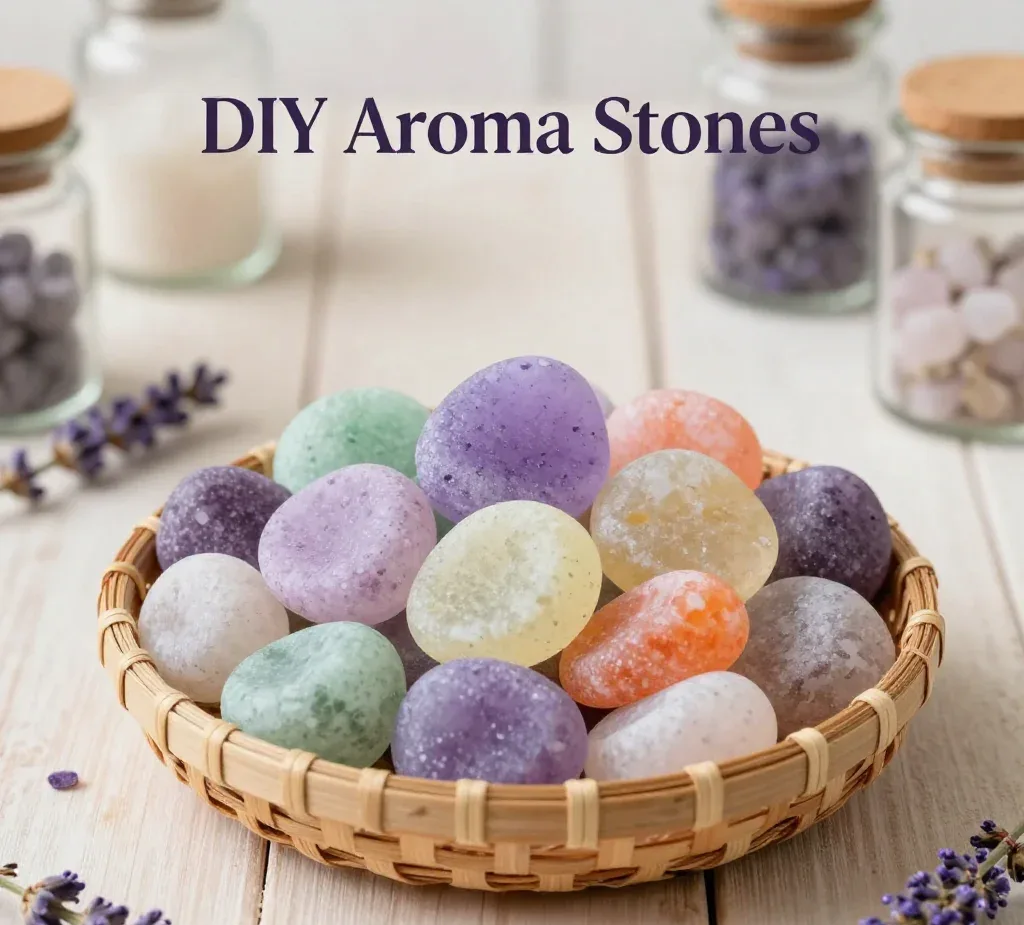
Aromatic Room Stones are wonderful because they truly exemplify the essence of a low-prep craft. Using common household items, you can transform simple materials into something lovely and functional. Whether it’s a rainy day activity, a last-minute gift idea, or a creative outlet for you and your children, these stones fit seamlessly into your real-life schedule.
The best part is that this project feels approachable, requiring minimal skill and just a bit of patience. You can easily adjust it to accommodate different ages and interest levels, making it a fantastic family affair. Plus, the results are always reliable. You may find it becomes a regular activity in your home because of how simple and satisfying it is.
Discover Easy Kids Activities
Looking for simple, fun ideas for kids? Explore our Low Prep Kids Activities and find quick projects that spark creativity without long prep time.
A Quick Look Before You Begin
Before diving into making your Aromatic Room Stones, it’s good to have a quick overview of what to expect. The entire process takes about one to two hours, depending on how many stones you plan to make and how much fun you have along the way. The setup is straightforward, with materials you likely already have in your kitchen. Knowing that can help ease any worry about complicated preparation.
Mess-wise, there might be a little flour dust in the air as you mix the ingredients, but it is easily cleaned up with a quick wipe. Kids can safely assist with the mixing, pouring, and even pressing into molds. This means you can spend quality time together without the project feeling overwhelming.
Materials You’ll Need
1 cup baking soda
1/2 cup cornstarch (optional)
1/2 cup water
10-15 drops of essential oils
Sprinkle of dried flowers or herbs (optional)
Baking soda is a common household item and serves as the base for these stones. The cornstarch is optional but can enhance the texture. Water is necessary to bind everything together. Essential oils bring the magic of scents into your home, allowing for personal preferences to shine through. Finally, dried flowers or herbs offer a lovely visual touch, though they’re not a must-have.
Step-by-Step Directions
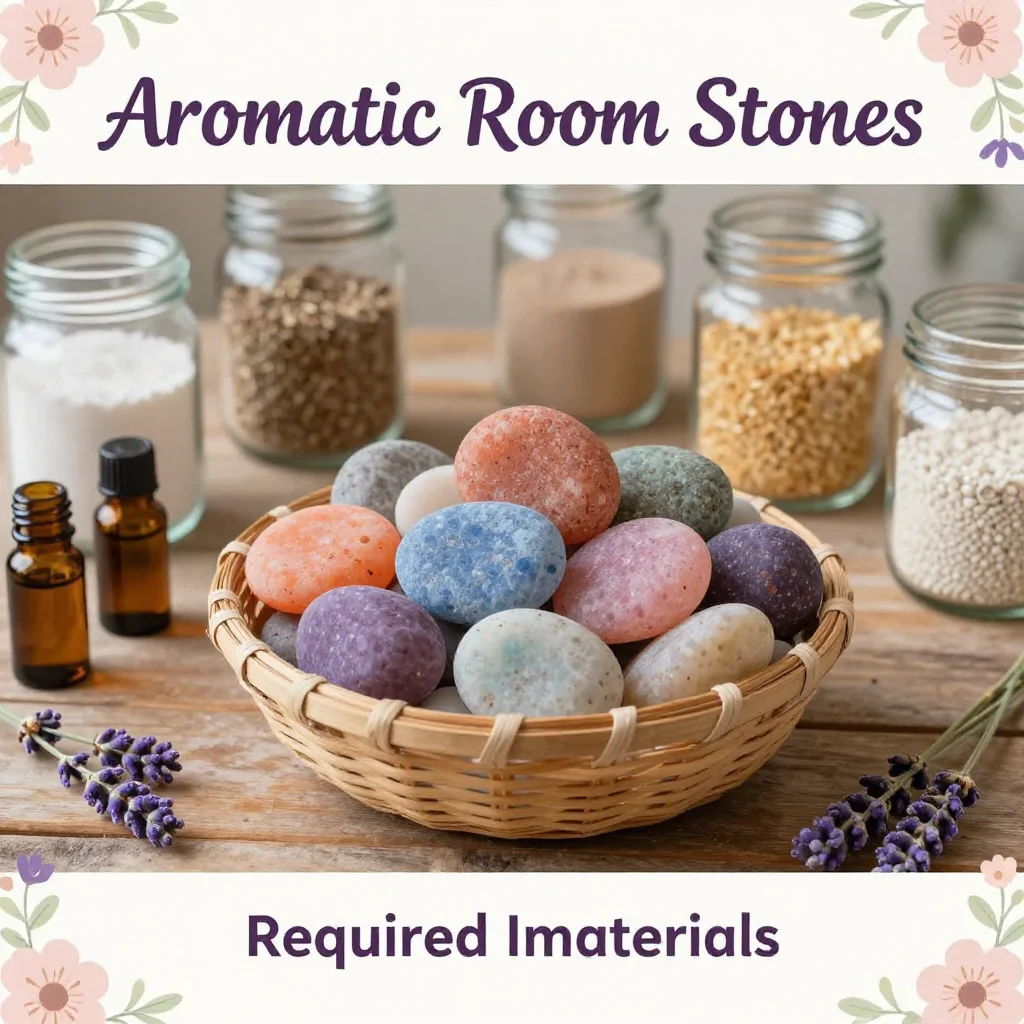
- In a mixing bowl, blend baking soda and cornstarch.
Begin by combining the baking soda and cornstarch in a mixing bowl. Use a whisk or a spoon to mix them well, creating a uniform base that will act as the structure of your stones. - Gradually stir in water until the mixture thickens.
Slowly add the water to the dry mix. It’s smart to add it a little at a time, stirring consistently. The mixture will begin to clump and thicken. Aim for a consistency that is moldable but not too wet. You want it to hold shape without being overly sticky. - Add essential oils and mix until smooth.
Next, it’s time to bring in the aromatic magic. Add 10-15 drops of your favorite essential oils to the mixture. Think about your family’s preferences here. Citrus oils can be refreshing, while lavender offers a calming effect. Mix well until the oils are fully incorporated. - Press the mixture into molds.
Spoon the mixture into your chosen molds. Press down firmly, ensuring there are no air bubbles and that the stones hold their shape. You can use silicone molds, cookie cutters, or even small cups. Have fun with shapes that reflect your family’s style! - Set stones aside to dry for at least 24 hours.
Once you’ve filled your molds, set them in a safe spot where they will remain undisturbed. Let them dry for at least 24 hours. You might notice the room starting to fill with the lovely scents you’ve chosen. - Remove from molds and enjoy in your space or as gifts.
Once fully dried, carefully remove the stones from their molds. They should come out easily if you pressed them in well. Enjoy these aromatic stones around the house, in drawers, or as meaningful gifts for family and friends.
The Learning Behind This DIY
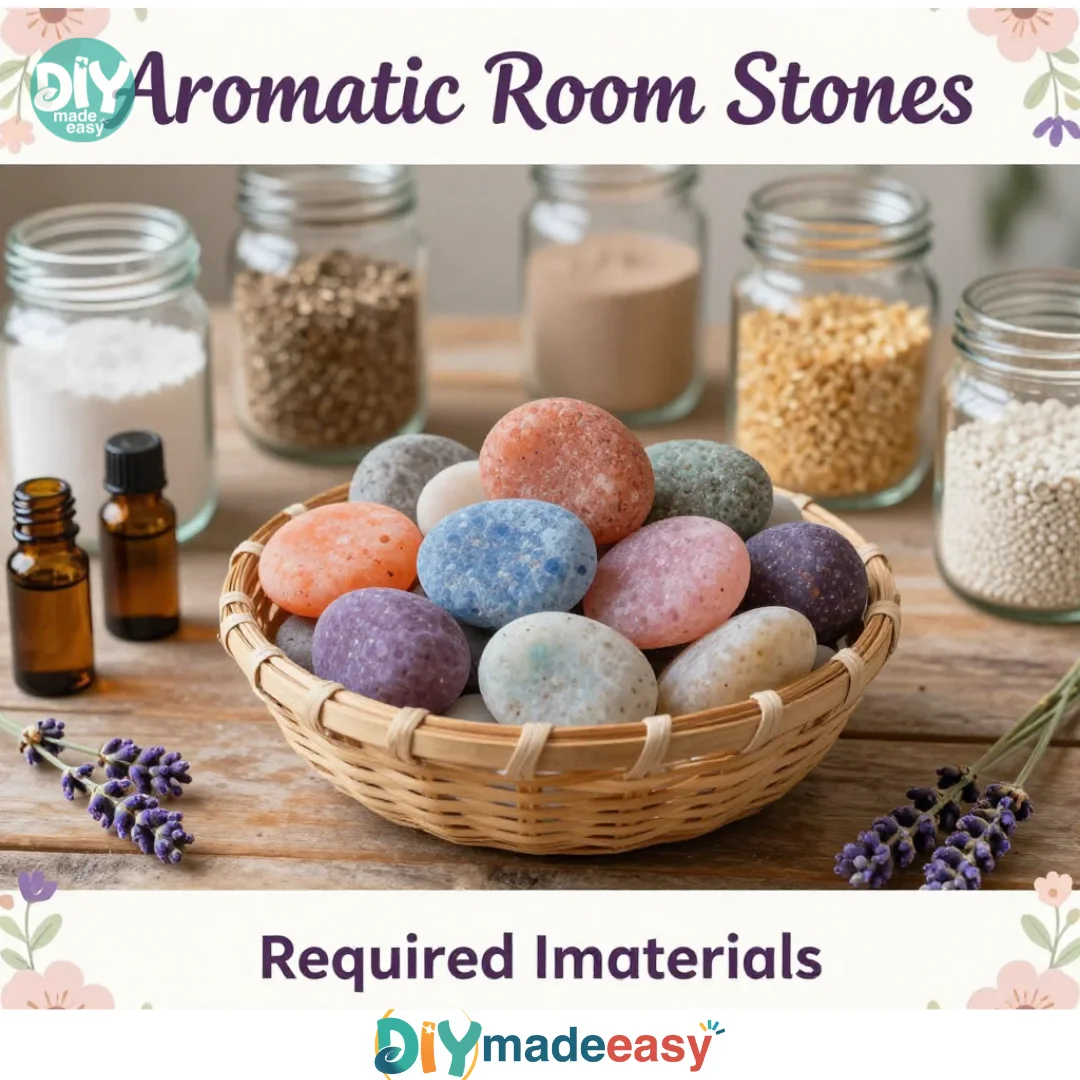
Making Aromatic Room Stones is not just about crafting; it’s also a wonderful way to build skills. As adults, you can help children develop fine motor skills by having them mix, pour, and mold the materials. They also learn about measurements and how different materials interact with each other.
Additionally, this project touches on basic science concepts like texture and chemical reactions. Baking soda, for example, is known for its bubbling reaction with acids. While this recipe doesn’t create a dramatic reaction, the understanding of combining elements to create something new is satisfying and enriching.
Troubleshooting Common Issues
Sometimes, things may not go as planned. A common issue is the mixture being too runny, which can happen if too much water is added. If that occurs, simply mix in a little more baking soda until you reach the desired consistency.
Another issue could be the stones crumbling when removed from the mold. This usually happens if they weren’t pressed down firmly enough. Ensure each stone is compact and well-formed before letting it dry.
Easy Variations to Try
Experimenting with Aromatic Room Stones can add an extra layer of fun to your crafting process.
- Try different essential oils for various scents. A mix of eucalyptus and mint can energize, while chamomile and lavender can help calm.
- Incorporate seasonal themes. Use autumn spices like cinnamon or holiday scents like pine needles during winter creating a context-based craft experience.
- Use cookie cutters for festive shapes. Make holiday-themed stones like stars or hearts for an extra touch during celebrations.
- Make a gift set. Create several different scented stones to give as thoughtful, handmade gifts to friends or family.
- Spruce up your package. Package them creatively with handwritten notes describing their benefits for an added personal touch.
Storing or Reusing This Project
After making your Aromatic Room Stones, consider storage to extend their life. They should be kept away from moisture, so store them in a dry, cool place. If you feel the scent has waned over time, simply squeeze on a few more drops of your chosen essential oil to rejuvenate the fragrance.
If your stones begin to crumble or look less appealing, don’t toss them. Instead, you can crush them and use the pieces in a small dish or bowl as fragrant decorative fillers. This way, you’re reducing waste while still enjoying their aesthetic and aromatic benefits.
FAQs About Aromatic Room Stones
How messy is this project, and how do I clean up afterward?
While there might be a bit of flour dust and a few spills, it’s nothing a quick wipe down can’t fix. Keep a damp cloth or wet wipes nearby for easy cleanup.
Is this project safe for kids?
Absolutely! The ingredients are non-toxic and easy to work with. However, supervise younger children while handling small items like molds or if using sharp tools.
Can I substitute any of the materials?
Yes, you can miss the cornstarch without a problem. If you lack essential oils, try using dried herbs or even natural extracts if you’d prefer something readily available.
What if my stones crumble when I take them out of the molds?
This can happen if they weren’t well formed. Press them down firmly and ensure they are dry enough before attempting to remove them.
How long do these stones last?
With proper storage, your aromatic stones can last quite a long time. However, if you notice a decline in scent, you can always refresh them with a few drops of oil.
Conclusion
Creating Aromatic Room Stones is an easy and rewarding project that brings joy and fragrance into your life. You will have fun selecting scents and making something beautiful, all while spending meaningful time together. If you’re interested in discovering more about other scent options, check out the variety available in scented room sprays. Additionally, you can explore even more recipes and ideas for crafting similar aromatic stones with insights from DIY Aroma Stones. Remember, the key is to enjoy the process and let your creativity shine!
PrintAromatic Room Stones
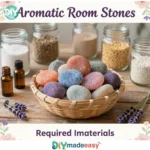
Create delightful Aromatic Room Stones that fill your home with enchanting scents while enjoying a fun crafting experience with the family.
- Prep Time: 15 minutes
- Cook Time: 24 hours
- Total Time: 24 hours 15 minutes
- Yield: 12 stones 1x
- Category: Crafts
- Method: Crafting
- Cuisine: N/A
- Diet: N/A
Ingredients
- 1 cup baking soda
- 1/2 cup cornstarch (optional)
- 1/2 cup water
- 10–15 drops of essential oils
- Sprinkle of dried flowers or herbs (optional)
Instructions
- Blend baking soda and cornstarch in a mixing bowl.
- Gradually stir in water until the mixture thickens.
- Add essential oils and mix until smooth.
- Press the mixture into molds.
- Set stones aside to dry for at least 24 hours.
- Remove from molds and enjoy in your space or as gifts.
Notes
This project is safe for kids and allows for creativity with various scents. Ensure stones are pressed firmly to avoid crumbling.
Nutrition
- Serving Size: 1 stone
- Calories: 50 (per stone, estimated)
- Sugar: 0g
- Sodium: 5mg
- Fat: 0g
- Saturated Fat: 0g
- Unsaturated Fat: 0g
- Trans Fat: 0g
- Carbohydrates: 13g
- Fiber: 0g
- Protein: 0g
- Cholesterol: 0mg