

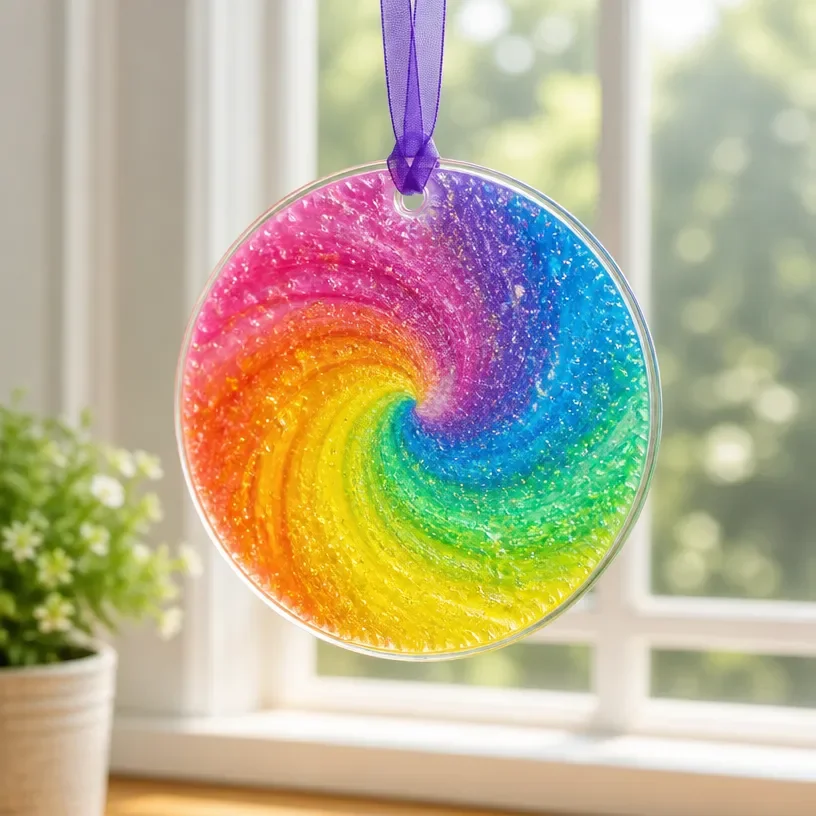
Making DIY Swirled Glue Suncatchers for Window Decor can be the perfect afternoon activity to redirect your kids’ energy. Picture this: it’s a busy day at home, and the children are feeling creative but have no idea what they want to make. You have the perfect solution right at hand with this simple craft that transforms basic glue into a vibrant, colorful art piece. Not only does it engage their creativity, but it also brightens up your home with homemade decor by using materials you already have around the house. You may also find Diy Glue Suncatchers Easy Window Decor useful.
Why You’ll Love Making DIY Swirled Glue Suncatchers for Window Decor
You may also find Marble Effect Butterfly Suncatchers Diy Window Decor useful.
The charm of DIY Swirled Glue Suncatchers lies in their simplicity. This project doesn’t require extensive preparation, making it a go-to for busy families. It’s ideal for varying age groups, allowing everyone to contribute in their own way. Plus, the end result is satisfying: beautiful window decorations that capture sunlight and add a splash of color to any room. The beauty of these suncatchers is that they’re approachable, reliable, and can be completed in a relatively short timeframe, allowing for easy integration into real-life schedules. You may also find Diy Glue Suncatchers useful.
A Quick Look Before You Begin
Before diving into the fun, it’s helpful to know what to expect from this crafting session. Overall, making DIY Swirled Glue Suncatchers takes about 45 minutes, plus some drying time. You can prepare your workspace with just a couple of minutes worth of setup. The mess level is quite manageable, as glue spills can be easily wiped up with a damp cloth. An adult’s involvement is helpful especially with younger kids but this is largely an independent activity that kids can tackle themselves, fostering their self-confidence and creativity. You may also find Diy Pressed Flower Rainbow Window Medallions Home Decor useful.
Materials You’ll Need
To make these stunning suncatchers, gather the following materials:
- Clear, liquid school glue (common household item)
- Food coloring (add color; optional)
- Baking paper or wax paper (for easy cleanup)
- Scissors (to create shapes)
- Paintbrushes or sponges (for spreading glue; easy substitute)
- A container for mixing colors (optional)
- An old tray or plastic sheet (to protect your work surface; budget-friendly)
With these materials on hand, you can easily create your own one-of-a-kind suncatchers.
Step-by-Step Directions
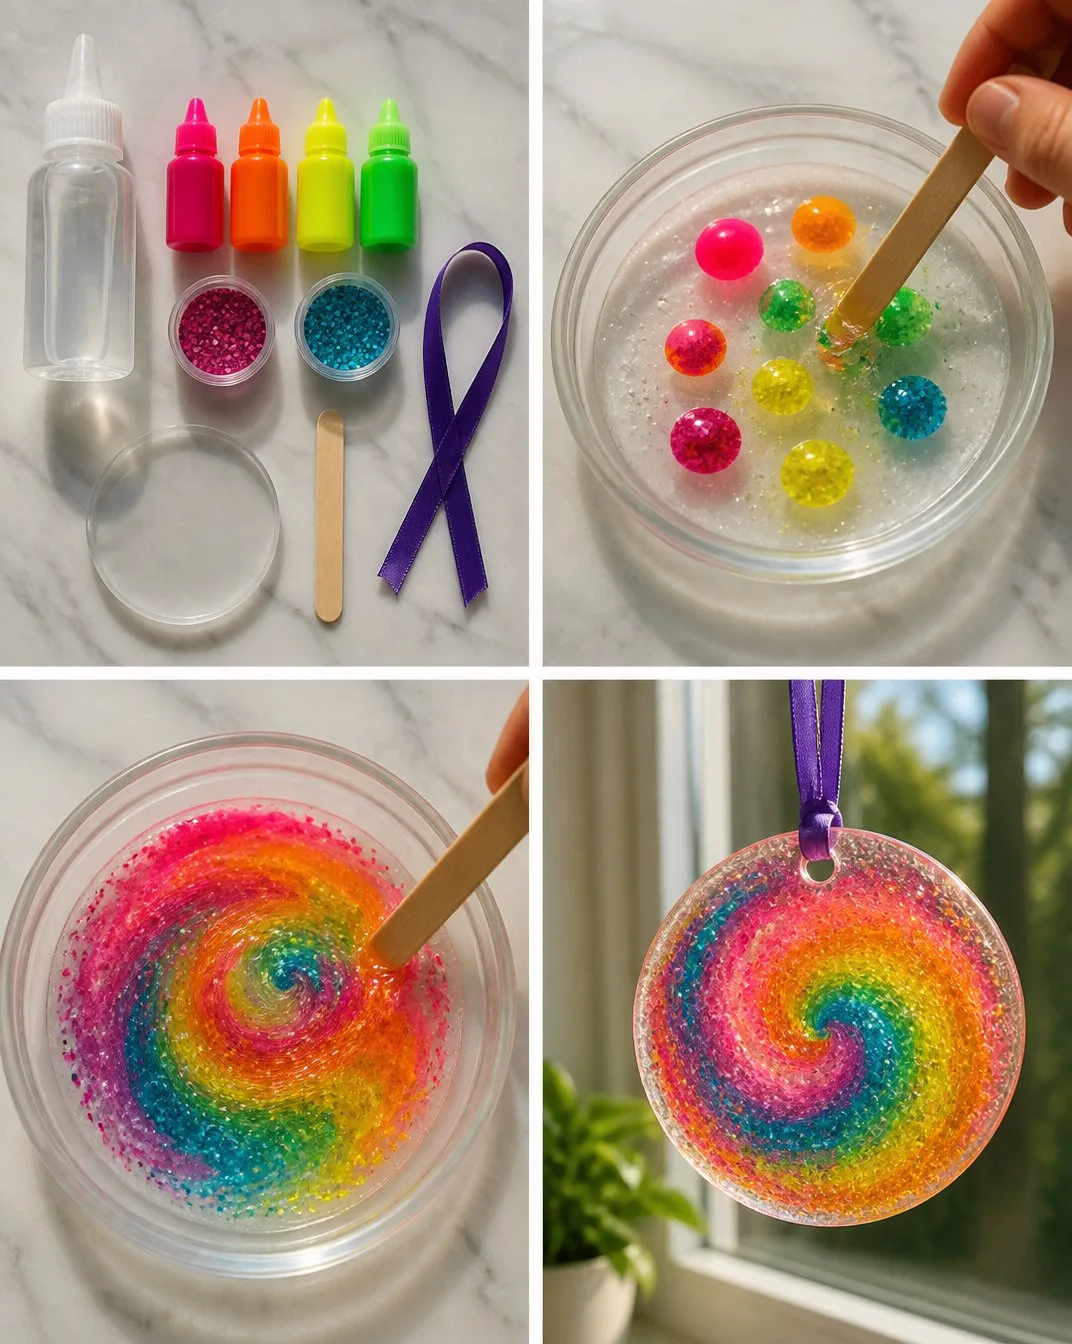
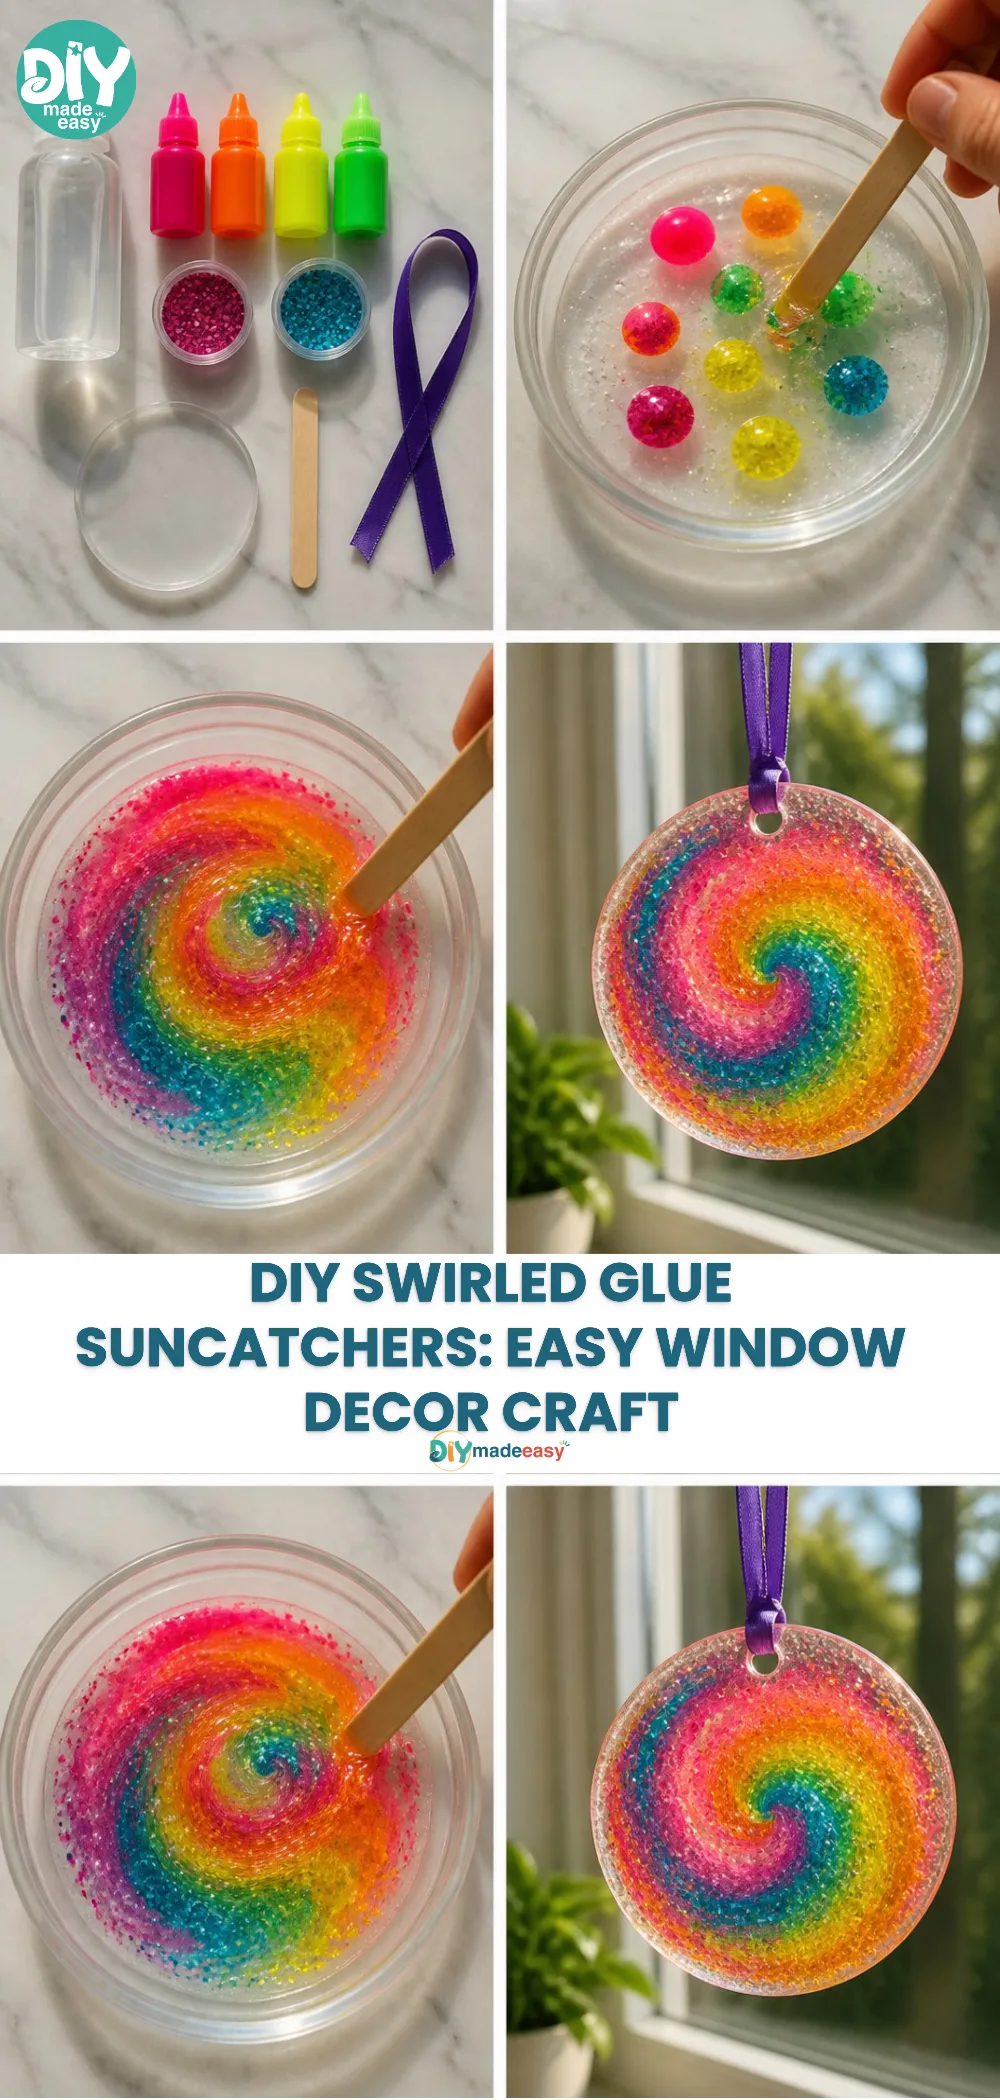
- Start by laying out your baking or wax paper flat on your workspace.
- Pour clear liquid school glue into a mixing container. Add a few drops of food coloring if you’d like vibrant hues.
- Use a paintbrush or sponge to apply the glue in swirled patterns on the paper. Let your creativity flow!
- Experiment with mixing various colors by adding more food coloring to different areas.
- Allow your suncatchers to dry completely this might take up to four hours.
- Once dried, carefully peel the suncatchers off the paper.
- Cut them into intricate shapes if desired.
- Hang them in a sunny window and enjoy the colorful display!
Throughout this process, the tactile experience of the glue and the anticipation as the colors swirl together adds to the excitement.
The Learning Behind This DIY
Kids benefit from this activity on multiple levels. Making DIY Swirled Glue Suncatchers helps develop fine motor skills through the actions of pouring, spreading, and cutting. It encourages coordination when mixing colors and controlling brush strokes. Beyond fine motor skills, they gain an understanding of basic color theory as they experiment with how colors combine and react to light.
Troubleshooting Common Issues
If you find that your glue is too thin and runs too much, it may be useful to let it dry partially before adding colors. Sometimes, the suncatchers might become cloudy this usually happens if the glue isn’t dried thoroughly. Allowing adequate drying time helps avoid this issue, so patience is key. If they don’t stick well to the window, check that the surface is clean, as dust can interfere with adhesion.
Easy Variations to Try
To keep things fresh, consider these variations:
- Add glitter to the glue for some sparkle.
- Create themed suncatchers for holidays red and green for Christmas, pastels for Easter.
- Use different forms like hearts, stars, or even animals to appeal to various interests.
- Introduce a texture element by using sponge brushes or textured papers for different effects.
These variations not only make the project exciting but also cater to the varying interests of your kids.
Storing or Reusing This Project
Once your suncatchers are complete, you can store extra materials in a zipped bag or container for future projects. Instead of discarding excess glue or decorative materials, think of other uses for them, such as a collage or creating custom bookmarks. Keeping cleanup simple starts with using baking or wax paper which is easy to dispose of.
FAQs About DIY Swirled Glue Suncatchers for Window Decor
What if the project gets messy?
It’s okay! Messes happen, and they can be easily cleaned up with a damp cloth. Just keep a towel handy.
Is this project safe for younger kids?
Yes, but it’s always a good idea to supervise younger children, especially when using scissors or if there are any questions about safety.
Can I use other types of glue?
While any clear glue will work, sticking to school glue ensures a good consistency and safety for children.
How long will it take to dry?
Let your suncatchers dry for at least four hours, but overnight is best for optimal firmness.
Can we save the suncatchers for next year?
Absolutely! Store them flat in a box to keep their shape intact for next use.
A Final Helpful Note
Creating DIY Swirled Glue Suncatchers can become a cherished family activity, filling your home with colorful creations that inspire creativity. Embrace the flexibility of the project, ensuring everyone participates at their own level. And most importantly, enjoy the experience you might find that you’ve just as much fun as the kids.
Conclusion
Engaging in DIY projects, such as the colorful and vibrant suncatchers, offers not just a creative outlet but also a way to bond as a family. As you explore these projects, consider adding
more ideas for suncatcher craftsor learn about different techniques to enrich your creative sessions by checking out
how to make cosmic suncatchers. These crafts not only beautify your home but also provide wonderful memories that last.
PrintDIY Swirled Glue Suncatchers
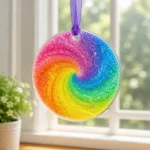
A fun and colorful activity for kids to make their own suncatchers using simple materials like school glue and food coloring.
- Prep Time: 2 minutes
- Cook Time: 240 minutes
- Total Time: 242 minutes
- Yield: Multiple suncatchers
- Category: Crafts
- Method: Crafting
- Cuisine: N/A
- Diet: N/A
Ingredients
- Clear, liquid school glue
- Food coloring (optional)
- Baking paper or wax paper
- Scissors
- Paintbrushes or sponges
- A container for mixing colors (optional)
- An old tray or plastic sheet
Instructions
- Start by laying out your baking or wax paper flat on your workspace.
- Pour clear liquid school glue into a mixing container. Add food coloring for vibrant hues.
- Use a paintbrush or sponge to apply the glue in swirled patterns on the paper.
- Experiment with mixing various colors by adding more food coloring to different areas.
- Allow your suncatchers to dry completely—this might take up to four hours.
- Once dried, carefully peel the suncatchers off the paper.
- Cut them into intricate shapes if desired.
- Hang them in a sunny window and enjoy the colorful display!
Notes
This activity helps develop fine motor skills and understanding of color theory and can be stored for future use.
Nutrition
- Serving Size: 1 suncatcher
- Calories: N/A
- Sugar: N/A
- Sodium: N/A
- Fat: N/A
- Saturated Fat: N/A
- Unsaturated Fat: N/A
- Trans Fat: N/A
- Carbohydrates: N/A
- Fiber: N/A
- Protein: N/A
- Cholesterol: N/A