

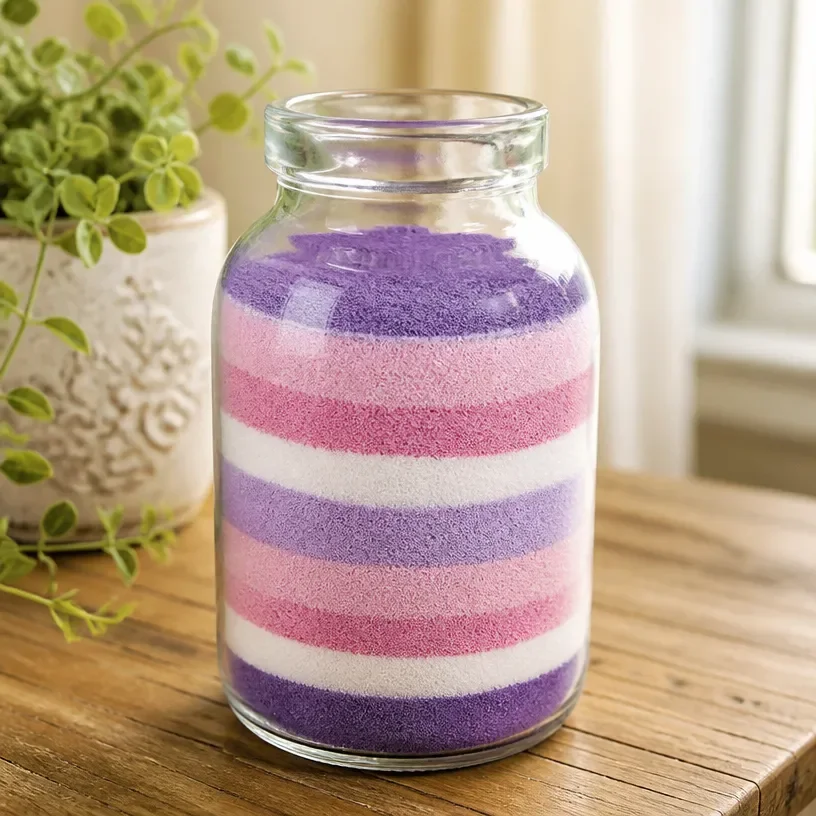
The afternoon unfolded busily, with children bouncing around, eager to create something fun yet simple. It was the perfect environment for a DIY Gradient Sand Art Jar Tutorial. This craft combines everyday materials and encourages creativity while also being a great way to calm down from the day’s chaos. As you sit with your little ones and watch the colors blend together, you’ll find that this project becomes a cherished memory for all. You may also find Diy Melted Crayon Rainbow Heart Suncatcher Tutorial useful.
Why This DIY Gradient Sand Art Jar Tutorial Works So Well
You may also find How To Create Transparent Cornstarch Heart Charms Diy Tutorial useful.
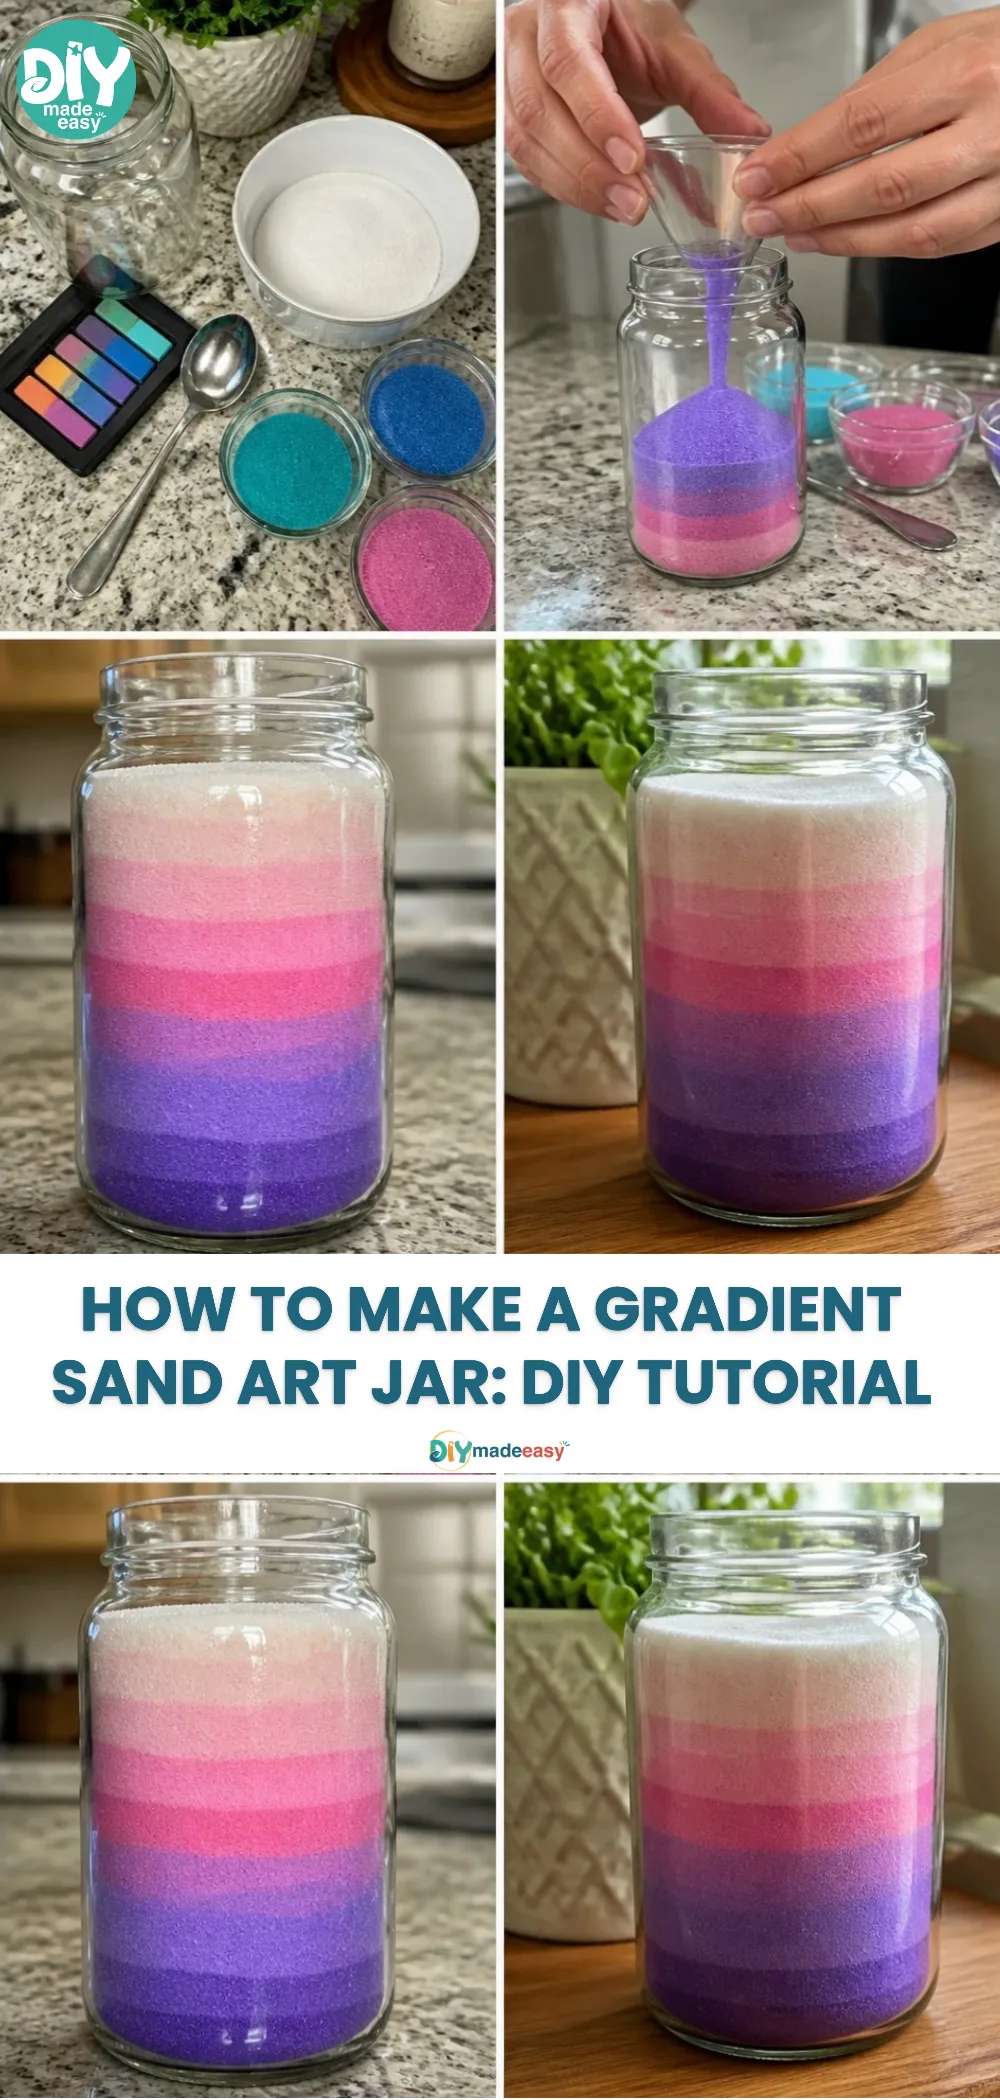
This DIY project stands out for its low-prep nature, making it an excellent choice for parents on a tight schedule. You can quickly gather the necessary materials many of which are likely around your home. The approachable steps foster a sense of accomplishment while allowing for creative expression without overwhelming complexity. Your kids will not only enjoy the process but also be proud of the vibrant, layered creations they make. You may also find Colorful Rainbow Jellyfish Salt Art Tutorial useful.
A Quick Look Before You Begin
Before diving in, it helps to visualize the steps and atmosphere for this project. The setup is straightforward, with minimal mess expected as long as you take precautions. You might spread out some newspaper or an old tablecloth for easy cleanup. Generally, the timing is flexible; preparing everything can take just about 10 minutes, and the actual sand layering can be as long as you’d like to make it. Adult supervision can enhance the fun, especially if younger children are involved, but much of the project is suitable for kids to do independently. You may also find Craft Resin Epoxy Diy Resin Art Handmade Crafts useful.
Materials You’ll Need
Gather these supplies for your DIY Gradient Sand Art Jar:
- Colored sand (choose vibrant shades)
- Clean jar or container (an old mason jar works great)
- Funnel (optional but helpful for layering)
- Spoon or stick (for packing sand)
- A small bowl (for mixing colors, if desired)
Each of these items is either a common household item or can be easily found at craft stores, making this project both budget-friendly and accessible.
Step-by-Step Directions
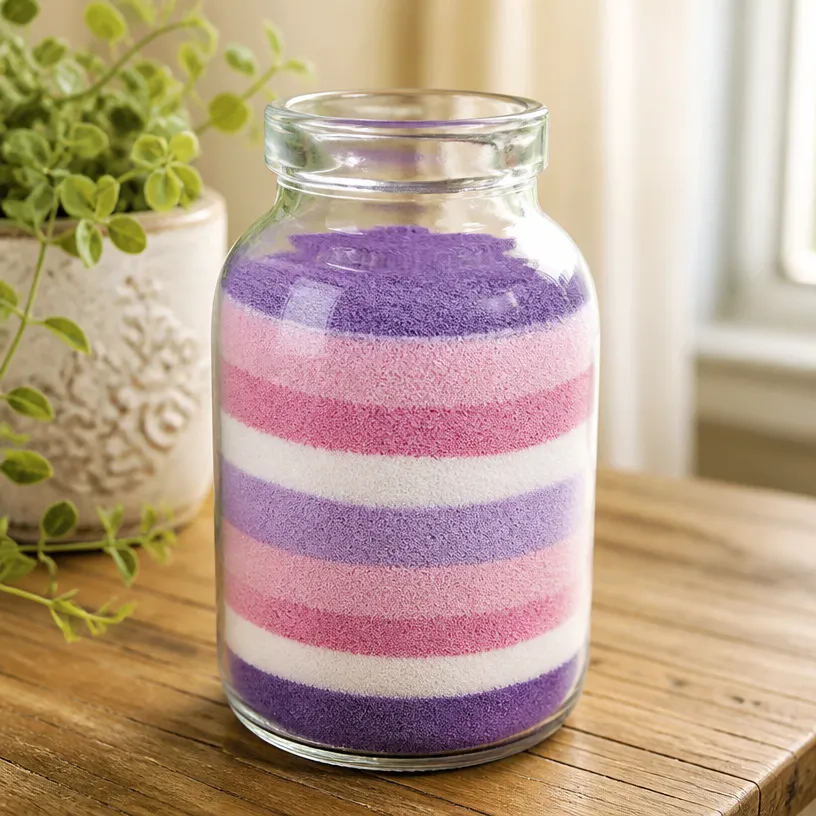
Prepare Your Workspace: Set up a clean area with all your materials in arms reach. This will help keep everything organized and reduce the risk of spills.
Choose Your Colors: Pick several colors of sand to create a gradient effect. You might want to pick complementary colors for a striking look or a spectrum for a more whimsical effect.
Layer the First Color: Using your funnel, pour the first color of sand into the jar. Aim for a layer that’s about one inch thick.
Pack It Down: Gently pack down the first layer using a spoon or stick. This will create a solid base for the next color.
Repeat with Additional Colors: Continue layering different colors of sand on top of the previous layer. Alternate colors and remember to pack each one down before adding the next.
Add Decorative Touches: If you like, you can add small items between layers, like tiny shells, beads, or even glitter for extra flair.
Finishing Touches: Once you reach the top of the jar, you can finish with a final layer of a specific color or a mix to create a more playful look.
Seal the Jar (Optional): If you want to keep the project intact, consider sealing the jar with a lid or even a bit of craft glue around the rim.
Display Your Work: Proudly find a spot for your new art piece to showcase your kids’ hard work and creativity.
What Kids Practice While Making This
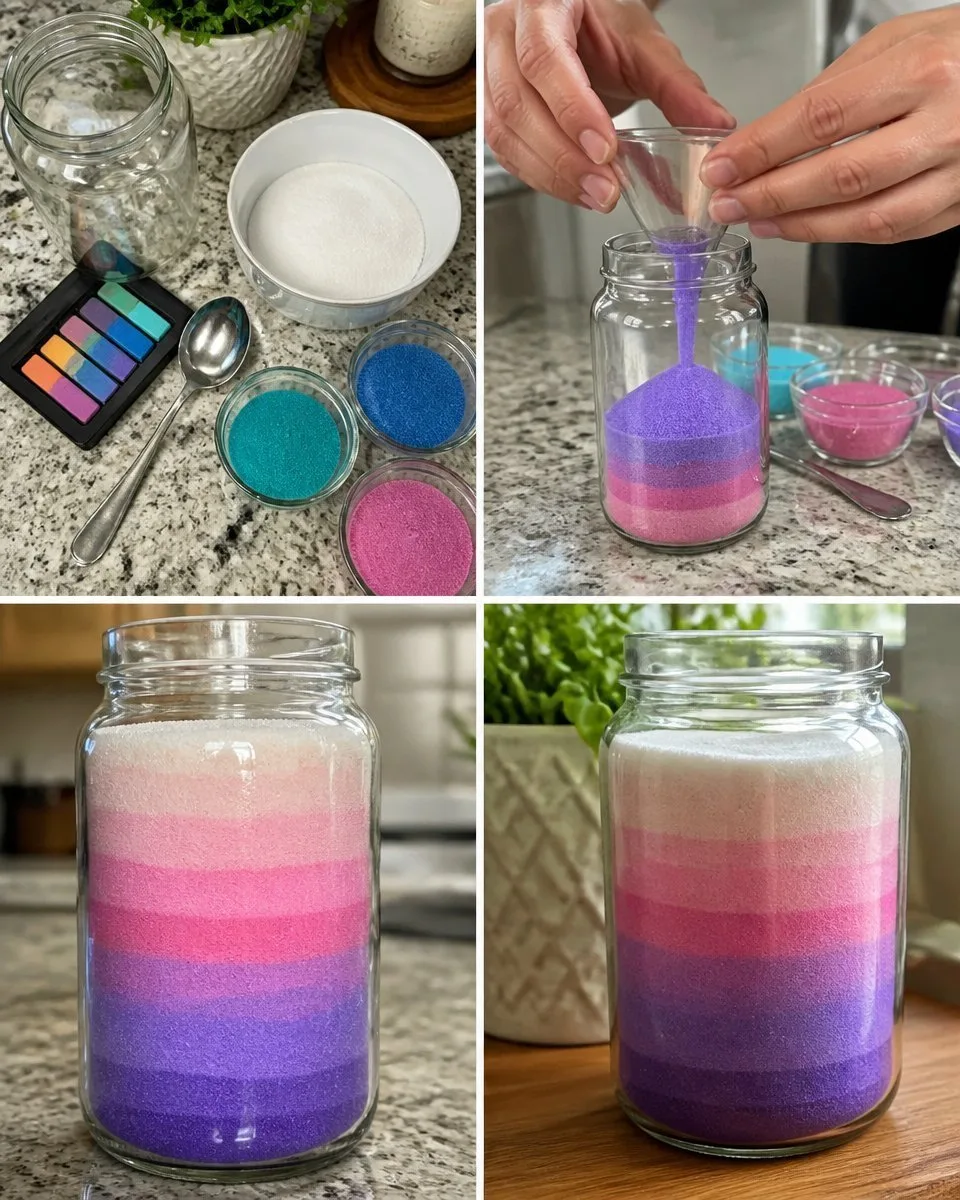
While working on the DIY Gradient Sand Art Jar, children engage multiple skills. The activity enhances fine motor skills as they pour and layer the sand carefully, which not only improves coordination but also brings a sense of achievement. Additionally, they practice decision-making as they choose color combinations and design layouts, learning about aesthetics and symmetry. The project allows exploration of basic scientific concepts like layering and density, as different types of sand can behave uniquely when compacted.
Troubleshooting Common Issues
When embarking on this creative adventure, there might be a few hiccups. Sometimes, the sand can spill or the layers can mix if poured too hastily. If this happens, simply stop pouring, allow the layers to settle, and gently pack down the sand to keep each layer distinct. Another common problem is getting the sand to pour neatly; using a funnel can really help, but if you don’t have one on hand, steady hands and a spoon will work just fine.
Easy Variations to Try
Consider some of these variations to personalize your craft project:
Theme Colors: Create seasonal jars using colors representative of different holidays, like red and green for Christmas or orange and black for Halloween.
Layer Patterns: Experiment with zig-zag or striped layering instead of flat layers for a more dynamic look.
Sand Blends: Mix two sand colors together in small quantities before layering to blend colors within the layers.
Lid Decor: Decorate the lid of your jar with stickers or paint to further personalize your creation.
Smaller Jars: For a more delicate look, mini jars filled with sand make lovely gifts or party favors.
Storing or Reusing This Project
If you want to keep your sand art intact, store it in a cool, dry place away from direct sunlight to prevent any fading. If you decide to freshen things up or reuse materials, you can carefully empty the jar, and reuse the sand for a new creation. Another fun option is to combine the sand with different textures like rice or seeds for a new sensory experience.
FAQs About DIY Gradient Sand Art Jar Tutorial
One of the most common concerns is about mess. Will it make a huge mess in my home? While some sand can spill, keeping your workspace controlled will help contain the area. Use newspaper on the table to catch any stray grains, and it’ll clean up easily.
Another frequent question is related to age appropriateness. What age range is suitable for this activity? This project is generally suitable for kids aged 5 and up, but younger kids can also participate with adult supervision.
If you’re pondering substitutions, you might wonder if you can use sugar instead of colored sand. While sugar won’t layer in the same way, it’s an option for a sweet sensory experience just make sure not to let any critters get into it.
Expect realistic results while the layering might not be perfect, that’s all part of the beauty of it. Each jar reveals its character with characterful variations.
A Final Helpful Note
Taking on the DIY Gradient Sand Art Jar is a chance to encourage creativity in a calm and enjoyable way. Embrace the mess and variations, and allow your kids to explore their own artistic expressions. Remember, the goal is not perfection but the joy of creating something beautiful together. Enjoy the process, and celebrate the moments that come with crafting your unique art piece.
Conclusion
In summary, this DIY Gradient Sand Art Jar project invites creativity and exploration without the complications of more elaborate crafts. Whether you're creating beautiful art for your home or engaging kids in a fun activity, you're bound to enjoy the results. For more inspiration, consider checking out the
Mixed Media Beach Canvas Painting | DIY Tutorialor the
Easy Gradient Wall Painting Tutorial. These ideas can elevate your crafting endeavors to a whole new level!
PrintDIY Gradient Sand Art Jar Tutorial
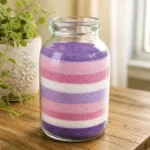
A fun and simple craft project for kids to create colorful sand art in jars.
- Prep Time: 10 minutes
- Cook Time: 0 minutes
- Total Time: 10 minutes
- Yield: 1 jar
- Category: Craft
- Method: Crafting
- Cuisine: N/A
- Diet: N/A
Ingredients
- Colored sand (choose vibrant shades)
- Clean jar or container (an old mason jar works great)
- Funnel (optional but helpful for layering)
- Spoon or stick (for packing sand)
- A small bowl (for mixing colors, if desired)
Instructions
- Prepare your workspace: Set up a clean area with all your materials in arms reach.
- Choose your colors: Pick several colors of sand to create a gradient effect.
- Layer the first color: Pour the first color of sand into the jar, aiming for a layer that’s about one inch thick.
- Pack it down: Gently pack down the first layer using a spoon or stick.
- Repeat with additional colors: Continue layering different colors and remember to pack each one down.
- Add decorative touches: Insert small items between layers for extra flair.
- Finishing touches: Once at the top, finish with a final layer of a specific color or a mix.
- Seal the jar (optional): Consider sealing the jar with a lid or craft glue around the rim.
- Display your work: Find a spot to showcase your new art piece.
Notes
Consider using seasonal colors or mixing sands for creative variations.
Nutrition
- Serving Size: 1 jar
- Calories: 0
- Sugar: 0g
- Sodium: 0mg
- Fat: 0g
- Saturated Fat: 0g
- Unsaturated Fat: 0g
- Trans Fat: 0g
- Carbohydrates: 0g
- Fiber: 0g
- Protein: 0g
- Cholesterol: 0mg