

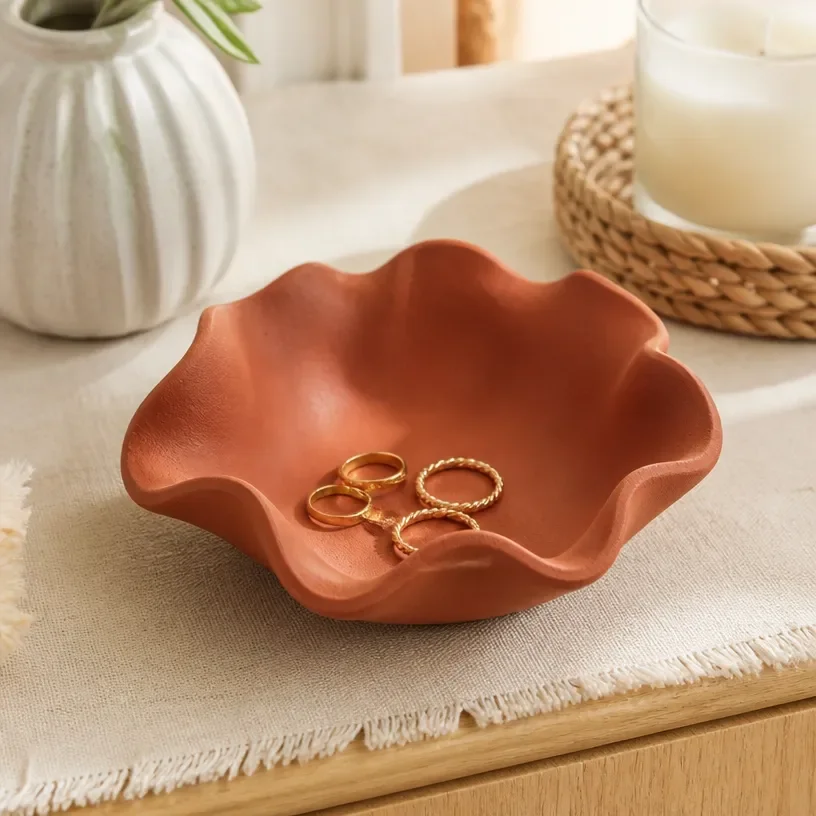
Making crafts with family can transform an ordinary afternoon into a cherished memory. Picture this: the kids are at home, bubbling with creativity and suddenly want to make something special. It’s the perfect time to dive into a project like How to Make a Scalloped Bowl with Air-Dry Clay. Not only is this project simple and engaging, but the materials are easy to come by, making it ideal for those spontaneous crafting moments that arise in busy households. You may also find How To Make A Suncatcher With Glass Beads useful.
Why You’ll Love Making How to Make a Scalloped Bowl with Air-Dry Clay
You may also find How To Make Flower Hearts With Clear Glue useful.
Creating a scalloped bowl with air-dry clay is a fantastic project for several reasons. First, it requires minimal prep work, which means you can start almost right away. There’s no need for complicated setups or extensive cleanups, allowing you to focus on enjoying the process with your children. You may also find How To Make A Butterfly Craft From Paper Plates useful.
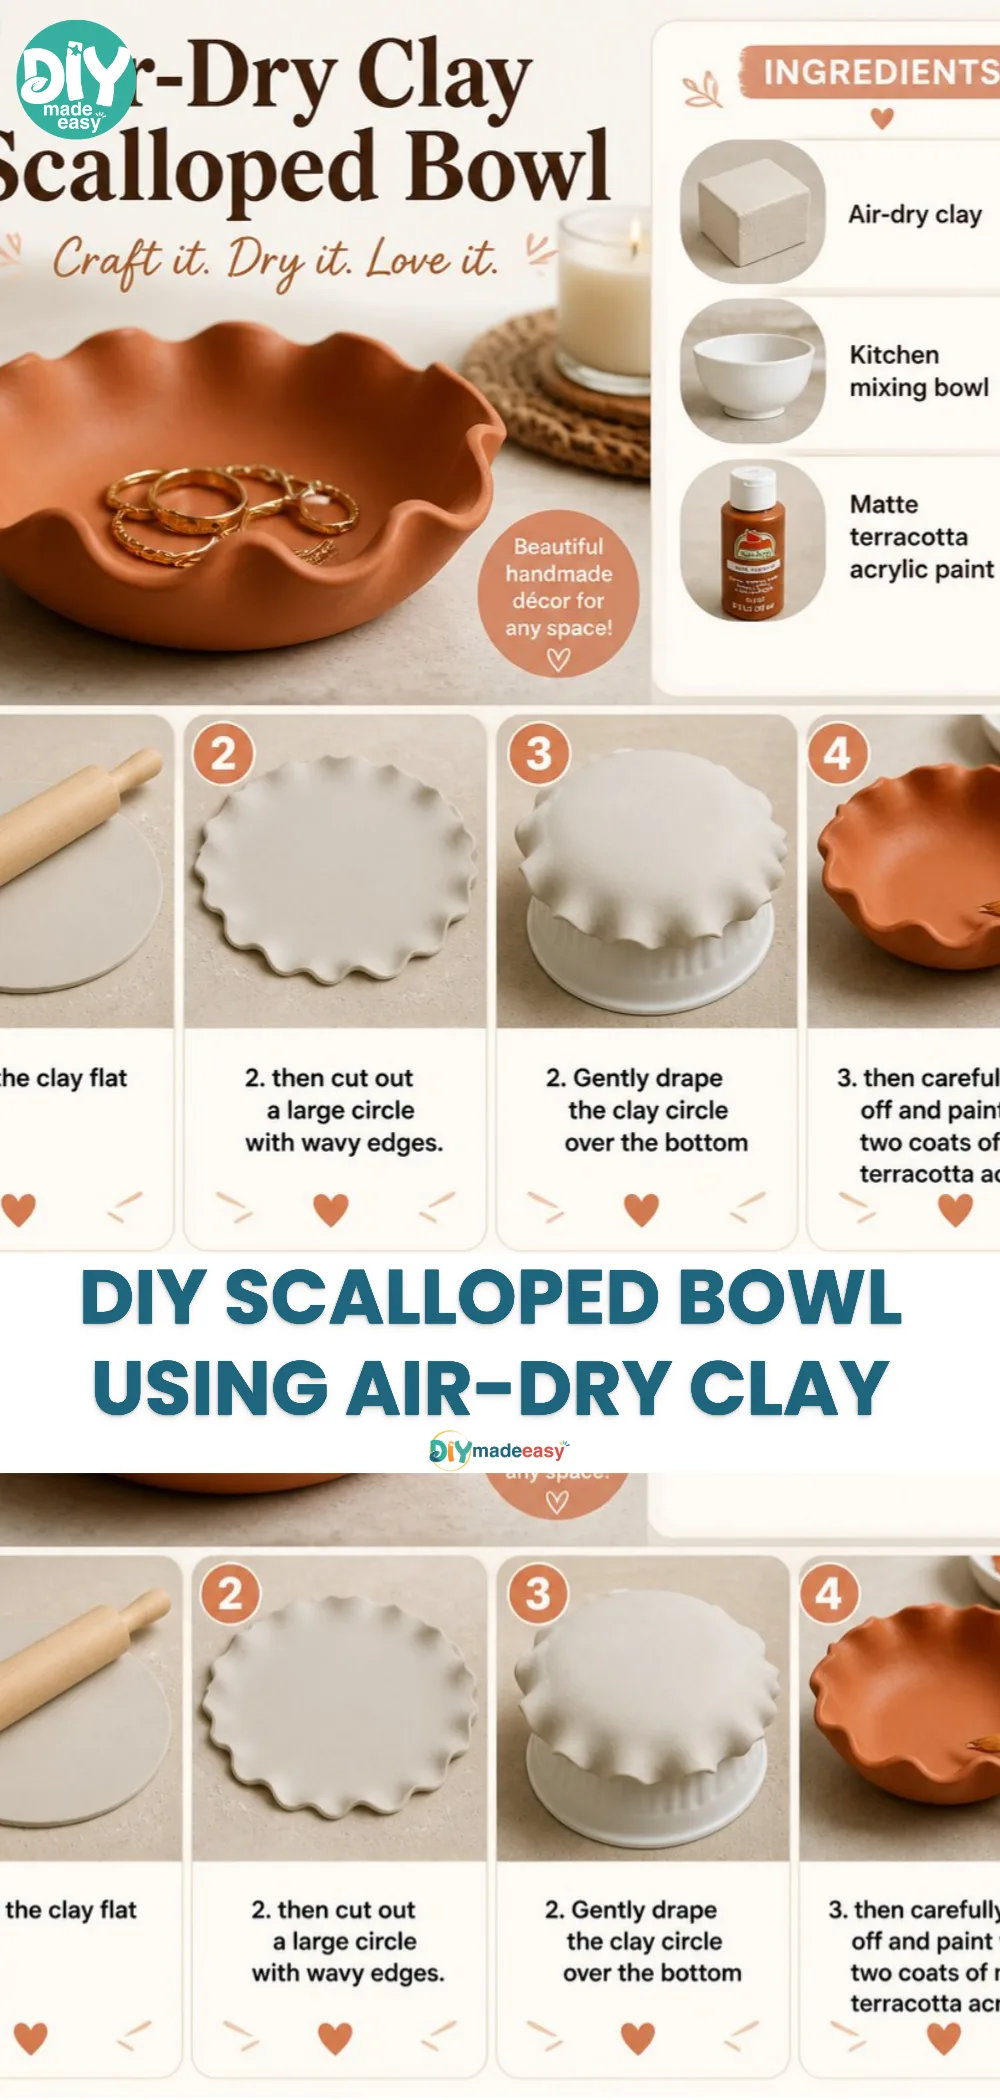
Moreover, this project is approachable for all skill levels. Even if you’re not a crafty person, the clear and simple steps will ensure that you can follow along with ease. The results are impressive too, leaving you with beautiful bowls that can be used as trinket holders or decorative pieces. It’s a reliable activity that fits well into real-life schedules, whether you’re spending a rainy day indoors or looking for a fun after-school project. You may also find How To Make A Rainbow Ocean Jar At Home useful.
A Quick Look Before You Begin
Creating your air-dry clay bowls is a gratifying experience that won’t take much time. All you need is a little preparation, around 30 minutes of active crafting, and then some drying time. Depending on your clay’s instructions, that could take several hours to a day.
The mess level is quite manageable, thanks to the non-toxic nature of air-dry clay, which makes cleanup easy. It’s a good idea to have some wet wipes or paper towels handy for small spills. Adult involvement is suggested, especially for the cutting and shaping parts, to ensure everything goes smoothly.
Materials You’ll Need
Here’s what you will need for making your scalloped bowls:
- Air-dry clay: A common household item that dries hard without requiring a kiln.
- Rolling pin: To flatten the clay easily.
- Bowl or template: Use a bowl or plate to trace the shape you want for your scalloped bowl.
- Knife or clay tool: For cutting the clay.
- Paint (optional): Add some color once your bowl is dry.
- Sealer (optional): To give your finished bowl a glossy look if desired.
Step-by-Step Directions
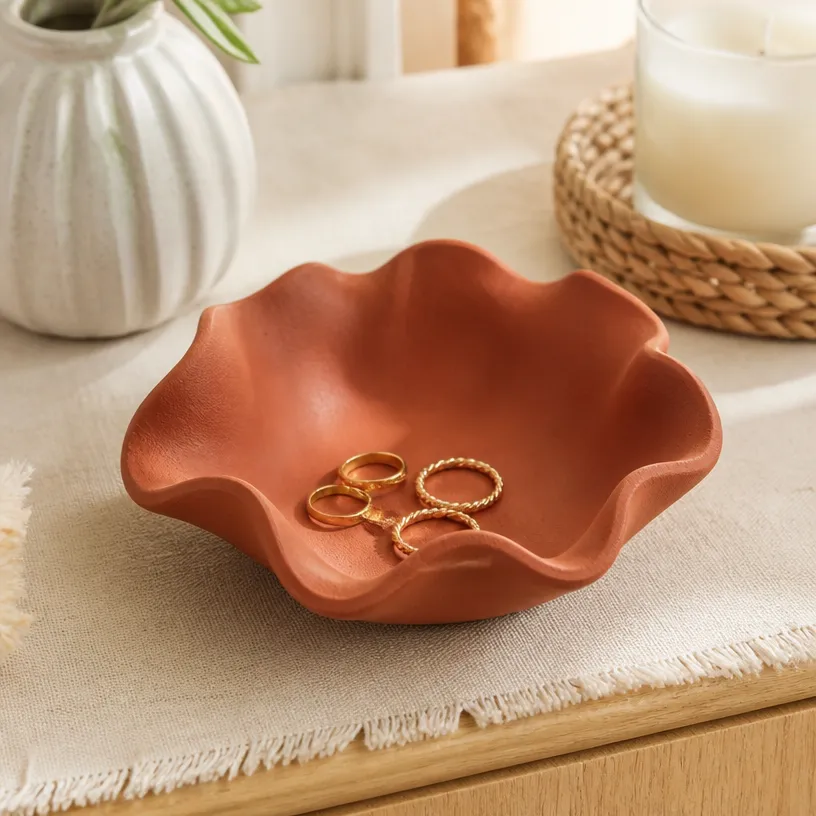
Prepare Your Workspace
Cover your table with newspaper or a plastic sheet to keep it clean. Gather all the materials you need, so you have everything at hand.Roll Out the Clay
Take a large piece of air-dry clay and shape it into a ball. Use a rolling pin to flatten it to about a quarter-inch thickness.Cut the Clay
Place your bowl or template upside down on the flattened clay. Trace around it with a knife, ensuring you have a clear shape cut out.Create the Scallops
Using your fingers or a clay tool, pinch around the edges to create scalloped shapes. This part allows for creativity; you can make them as deep or shallow as you prefer.Transfer to Drying Surface
Carefully lift your clay bowl and place it on a drying rack or a flat surface lined with parchment paper. Ensure it doesn’t touch anything else, or it may lose its shape.Allow to Dry
Let the bowl dry completely according to the manufacturer’s instructions. You may need several hours or even a full day.Add Color (Optional)
Once dry, you can paint it with colorful designs or keep it natural. Let the paint dry if you added any.Seal the Bowl (Optional)
If using a sealer, follow the instructions for application to enhance the durability and shine of your bowl.
The Learning Behind This DIY
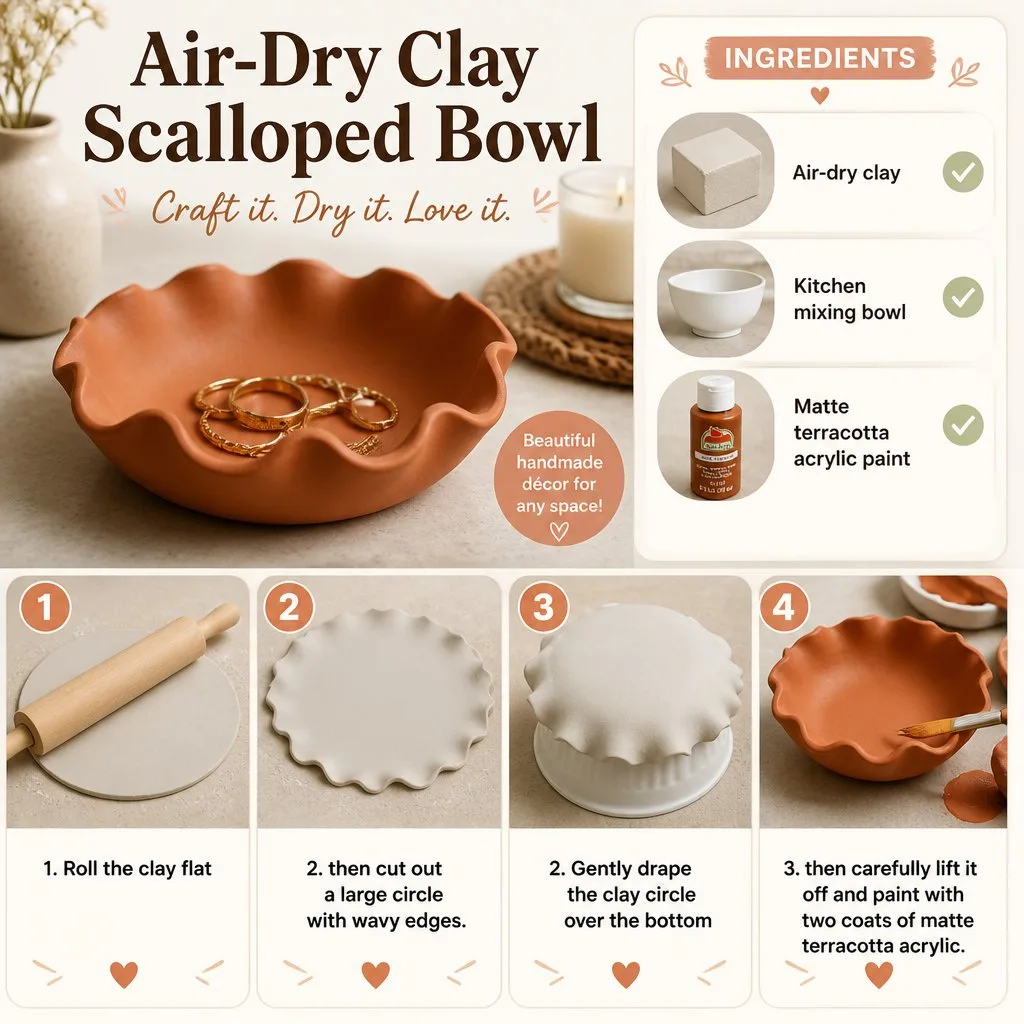
This project provides an excellent opportunity for kids to practice fine motor skills, such as rolling, cutting, and shaping. They engage in a hands-on activity that develops their coordination and introduces concepts like measurement through the rolling and shaping of clay.
Additionally, working with air-dry clay teaches patience, as they need to wait for the drying process. Kids can also explore colors and designs in a creative space, which fosters their imagination. Understanding how materials change from a soft state to solid hardens encourages a practical understanding of cause and effect.
Troubleshooting Common Issues
Sometimes things might not go as planned, and that’s okay! Here are a few common problems and easy fixes:
- Clay Cracks During Drying: This can occur if it dries out too quickly. Ensure the clay is thick enough or cover it lightly with a damp cloth while it dries.
- Bowl Doesn’t Hold Shape: If it sags before drying, it may need more support. You can place it in a bowl while it’s drying for added form.
- Difficulty Cutting the Clay: If the clay becomes tough to cut, it might be too dry. Work quickly or keep some water nearby to moisten it slightly.
Easy Variations to Try
To make your scalloped bowls even more personalized, consider these variations:
- Colored Clay: Experiment with air-dry clay in different colors for a vibrant bowl.
- Mixed-Media Decorations: Use beads or glitter on the surface before it completely dries to make fun designs.
- Seasonal Themes: Create bowls that reflect holidays or seasons by shaping the edges into seasonal motifs.
- Personalized Messages: Press letters into the wet clay to create names or meaningful words.
- Different Sizes: Make a set of varying sizes, using smaller bowls for rings and larger ones for keys.
Storing or Reusing This Project
After crafting, storing your bowls can be simple. If you used a non-toxic paint or sealer, make sure they are fully dry before placing them in a box or on a shelf. You might also want to consider donating them as gifts, especially if you made several unique designs.
If your children wish to try the project again, you can reuse any leftover clay as long as it’s kept in an airtight container to avoid drying out.
FAQs About How to Make a Scalloped Bowl with Air-Dry Clay
What if the finished product doesn’t look perfect?
Crafting is about the process, not the perfection! Each bowl will have its unique charm, which is part of what makes this activity special.
Can we reuse the clay if we don’t finish it all?
Yes! Just put any leftover clay in an airtight container to prevent it from drying out for future use.
Conclusion
Creating scalloped bowls with air-dry clay is not just an enjoyable crafting activity but an opportunity to bond and learn with your children. By engaging in this easy project, you will potentially create meaningful family keepsakes that encourage creativity and self-expression. If you’re considering expanding your crafting adventures, the Stamped Air-Dry Clay Scalloped Bowls Art Kit offers everything you need in one package. Alternatively, you might look into the Easy Air Dry Clay Trinket Bowl for more crafting inspiration. Enjoy this delightful family activity, and let your creativity shine!