

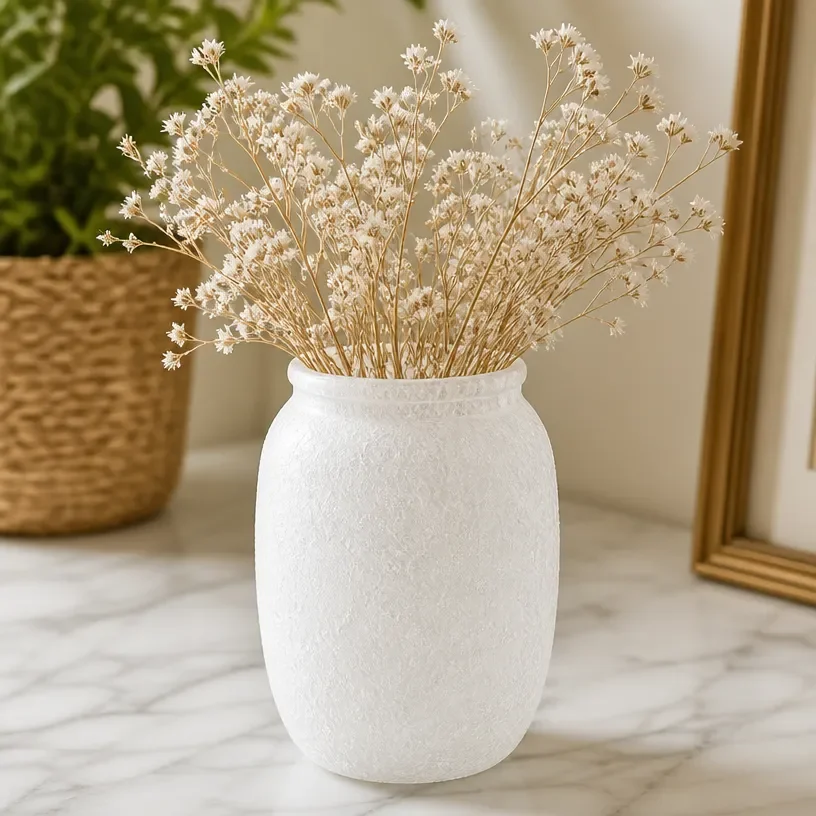
When kids come home from school full of energy, the last thing you want to do is feel rushed or overwhelmed with complicated projects. Here’s where the Frosted Cornstarch Glass Vase comes in a delightful, simple, and creative way to engage little hands and minds. This project is not only fun but also low-prep, allowing everyone to jump in quickly without needing extensive materials or too much adult supervision. Imagine gathering together all the supplies easily found around your home and transforming them into something beautiful. With just a bit of creativity, you could add an artistic touch to your living space! You may also find Diy Glass Butterfly Charms Cornstarch useful.
Why You’ll Love Making Frosted Cornstarch Glass Vase
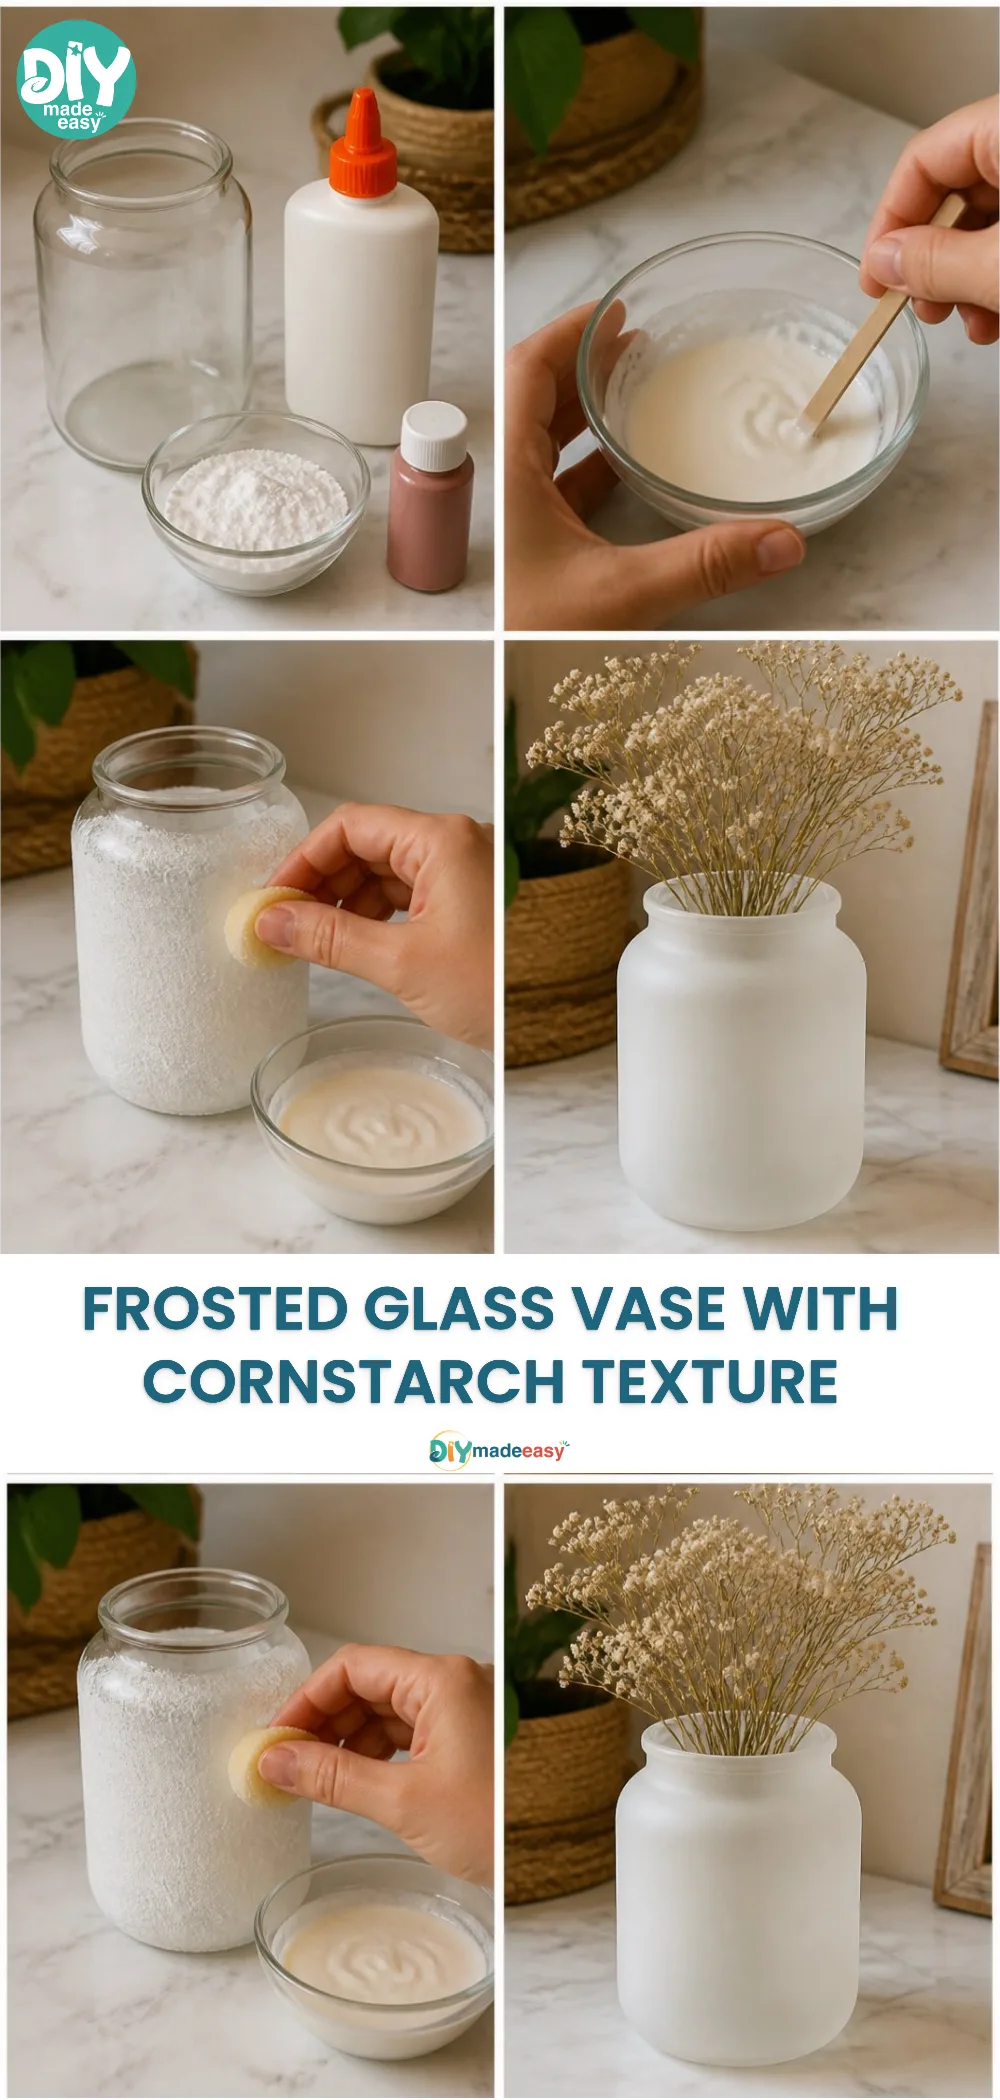
The Frosted Cornstarch Glass Vase is perfect for busy families. This project is incredibly approachable; the materials you need are likely already in your pantry or cupboard. The simplicity of this project also means that it fits right into hectic days. You can enjoy the process together, without worrying about complex steps that might lead to frustration or disappointment. It’s reliable, too; once you get the hang of it, making multiple vases becomes a breeze. You may also find Baking Soda Crystals Transform Into Glassy Art useful.
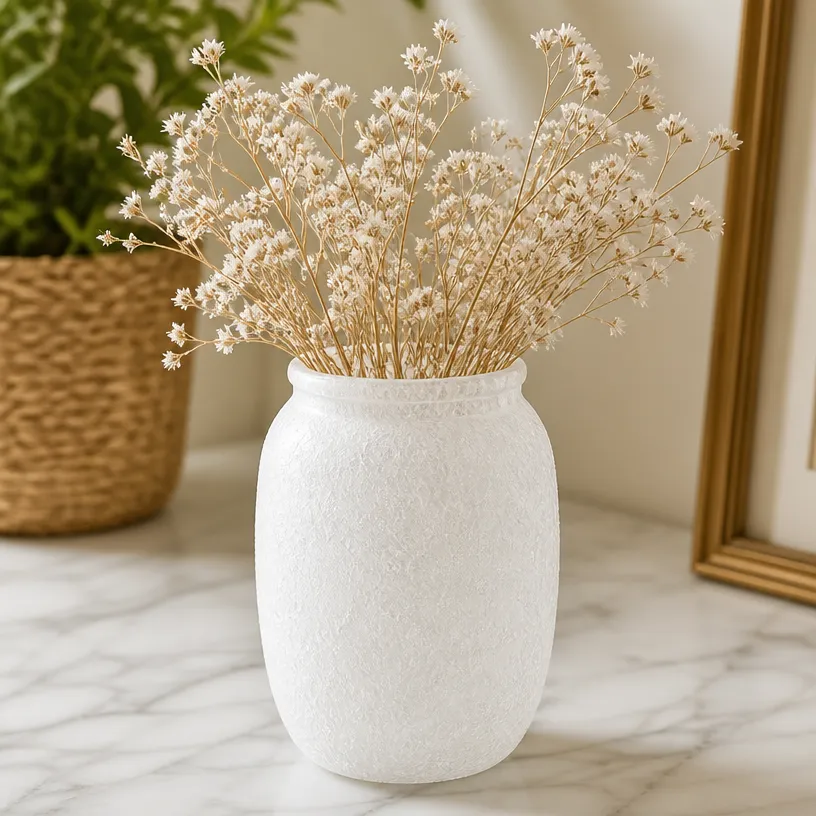
Additionally, this DIY is a great way to teach kids about creativity, as they can play with textures, colors, and arrangements. Plus, the results speak for themselves a beautiful frosted glass vase that can hold flowers or stand alone as a piece of art. You may also find Colorful Glass Suncatchers Diy Ornaments useful.
A Quick Look Before You Begin
Before diving into the fun, it’s best to take a moment to check what you’ll need. The entire process of making a Frosted Cornstarch Glass Vase typically takes about an hour, including drying time. You can set everything up easily on your kitchen table or in a craft corner. The mess level is low too; you might only have cornstarch to sweep up. Adult involvement is helpful, especially for measuring and mixing, but kids can handle most of the hands-on creative work. You may also find Cornstarch Bioplastic Pressed Flowers Recipe useful.
Materials You’ll Need
- Cornstarch (common household item)
- Water
- A bowl for mixing
- A spoon for stirring
- Clean glass vases or jars
- Paintbrush (optional for applying)
- Food coloring (optional for color)
These materials are simple and budget-friendly, making this project easy to start without any financial pressure.
Step-by-Step Directions
- Prepare Your Workspace: Clear off the table or surface where you’ll be working. Lay down some newspaper if you’re concerned about mess.
- Mix the Cornstarch and Water: In a bowl, combine 1 cup of cornstarch with ½ cup of water. Stir it together until it creates a smooth, paste-like consistency.
- Add Color (Optional): If you’d like to add a fun twist, mix in a few drops of food coloring to your cornstarch mixture. This step is completely optional.
- Apply the Mixture to the Glass: Use a paintbrush to spread the cornstarch mixture onto the outside of your glass vase or jar. Make sure to cover the surface evenly.
- Let It Dry: Allow the vases to dry for about 30 minutes. You might want to place them somewhere they won’t be disturbed.
- Check and Add More Layers: After the first coat has dried, you can apply a second coat of the mixture if you’d like it to be thicker or more opaque. Let dry again.
- Finish Up: Once the vases are completely dry, they should have a frosty finish that looks lovely!
The Learning Behind This DIY
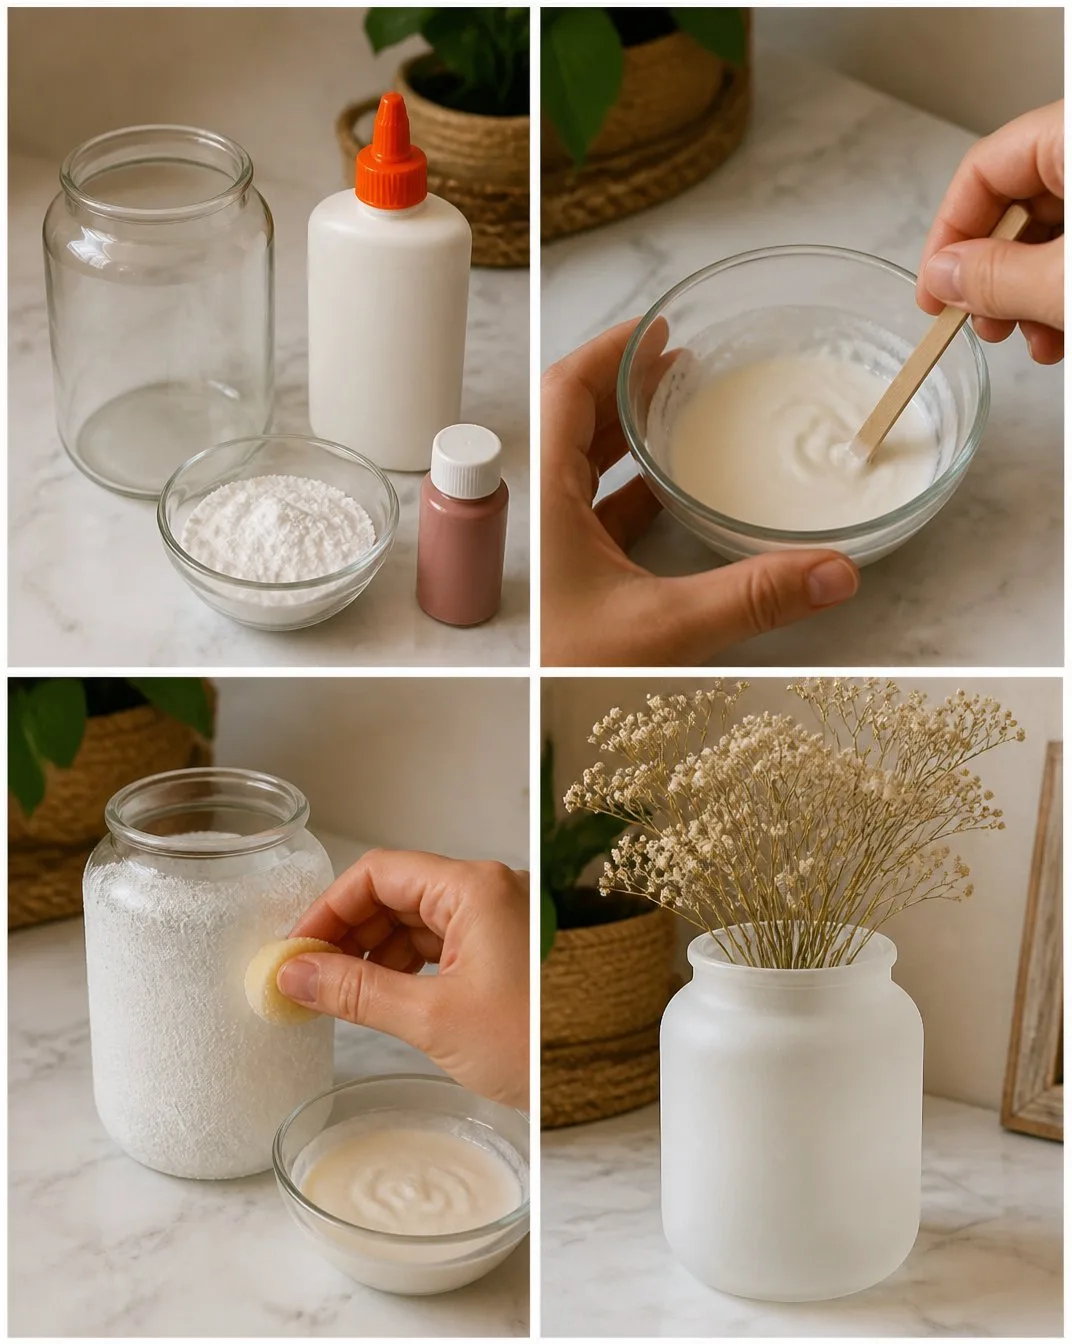
This project isn’t just a fun activity; it also serves as a simple science experiment. When mixing cornstarch with water, children can observe how the consistency changes, introducing them to the concepts of mixtures and the properties of solids and liquids. It engages fine motor skills as well, as they practice their coordination by applying the mixture onto the glass. Moreover, seeing how the mixture dries and transforms can spark creativity and curiosity about how different materials interact with one another.
Troubleshooting Common Issues
Even with the best plans, things can go awry. Here are a few common issues and their solutions:
- Too Runny: If your cornstarch mixture is too runny, simply add more cornstarch to thicken it up.
- Uneven Coating: If the layer looks uneven after drying, you may need to apply a second coat to achieve the desired frosty look.
- Cracking: If the vase cracks during the drying process, it could be due to applying the mixture too thickly, so aim for an even, thinner layer next time.
By keeping these tips in mind, you can easily navigate through the making process.
Easy Variations to Try
There are plenty of creative twists to explore once you’re comfortable with the basic Frosted Cornstarch Glass Vase.
- Glitter Accents: Mix glitter into the cornstarch to add sparkle to your vase.
- Seasonal Themes: Use seasonal colors for holidays, like red and green for Christmas or pastels for Easter, to create festive decorations.
- Creative Shapes: Instead of standard glass vases, try using different containers to create unique looks; think mason jars or bottles in interesting shapes.
- Layering Colors: Experiment with layering different colors to create a beautiful ombre effect.
- Decorative Trims: Once the vases are dry, consider wrapping the neck with twine or ribbon for an extra finishing touch.
These ideas encourage creativity while expanding the possibilities of the project.
Storing or Reusing This Project
After creating your Frosted Cornstarch Glass Vase, you might wonder what’s next. If you’d like to store your materials, keep the cornstarch in a cool, dry place. If the vases are made with proper care and are left to dry completely, they can last for an extended period. If at any point you decide to change the look of your creation, you can carefully peel off the cornstarch layer and start again reducing waste and allowing for fun new designs!
FAQs About Frosted Cornstarch Glass Vase
What do I do if it gets messy?
Mess is part of the fun! But if cornstarch spills, try to wipe up any excess before it dries with a damp cloth.
Is this project safe for younger kids?
Yes, as long as they’re supervised. Cornstarch is non-toxic, but it’s always important to keep an eye on small children while they engage in any crafting project.
Can I use something other than cornstarch?
If you’re out of cornstarch, tapioca starch can be a good alternative, though the results may vary slightly.
How long will my vase last?
With proper care and if kept dry, your frosted glass vase can last quite a long time, adding a touch of charm to your décor.
What if I want to store the vase?
You can keep the vase as a decorative piece or alter it with new designs whenever you wish.
A Final Helpful Note
Experimenting with the Frosted Cornstarch Glass Vase is about having fun without the pressure of perfection. Remember that every step is a chance to create, connect, and learn together. So gather those materials, roll up your sleeves, and let your creativity shine!
Conclusion
Making your own decorative pieces can be both rewarding and enjoyable. If you want to learn more about techniques for frosted finishes, check out how to frost glass for additional ideas. For inspiration for other sweet treats, consider this guide on buttercream frosting that can easily pair with your crafting fun. Enjoy your crafting journey!
PrintFrosted Cornstarch Glass Vase
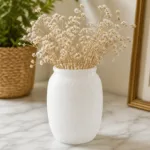
A delightful and simple DIY project to create beautiful frosted glass vases using cornstarch and water, perfect for kids and family bonding time.
- Prep Time: 15 minutes
- Cook Time: 30 minutes
- Total Time: 45 minutes
- Yield: 4 vases
- Category: Craft
- Method: DIY
- Cuisine: None
- Diet: None
Ingredients
- Cornstarch (1 cup)
- Water (½ cup)
- Clean glass vases or jars
- A bowl for mixing
- A spoon for stirring
- Paintbrush (optional)
- Food coloring (optional)
Instructions
- Prepare your workspace by clearing off a table and laying down newspaper.
- Mix the cornstarch and water in a bowl until smooth.
- Add color by mixing in food coloring if desired.
- Apply the mixture onto the glass with a paintbrush.
- Let it dry for about 30 minutes in a safe spot.
- Check the first coat, and add a second layer if you want it thicker.
- Finish once the vases are completely dry, revealing a frosty finish.
Notes
Encourages creativity and teaches kids about mixtures and textures. Optional variations include using glitter or creating seasonal themes.
Nutrition
- Serving Size: 1 vase
- Calories: 0
- Sugar: 0g
- Sodium: 0mg
- Fat: 0g
- Saturated Fat: 0g
- Unsaturated Fat: 0g
- Trans Fat: 0g
- Carbohydrates: 0g
- Fiber: 0g
- Protein: 0g
- Cholesterol: 0mg