

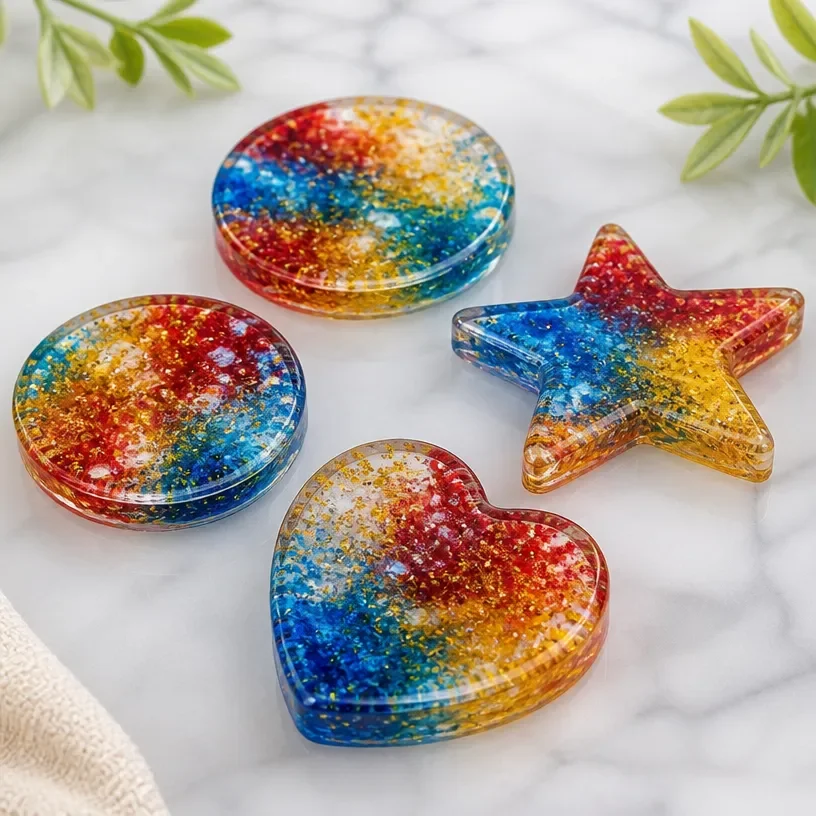
DIY Colorful Crafts with Clear School Glue can turn an ordinary day into a creative adventure for you and your children. Picture a busy afternoon when your kids are asking for something fun to do, and you realize the supplies for an engaging craft are right at your fingertips. Using materials that are easy to find around the house, you can embark on a delightful project that brings color and joy to your space. Whether it’s making a lovely suncatcher or a vibrant mosaic, these crafts are perfect for helping kids express their creativity and have fun. You may also find Colorful Pencil Suncatcher Back To School Crafts useful.
Why You’ll Love Making DIY Colorful Crafts with Clear School Glue
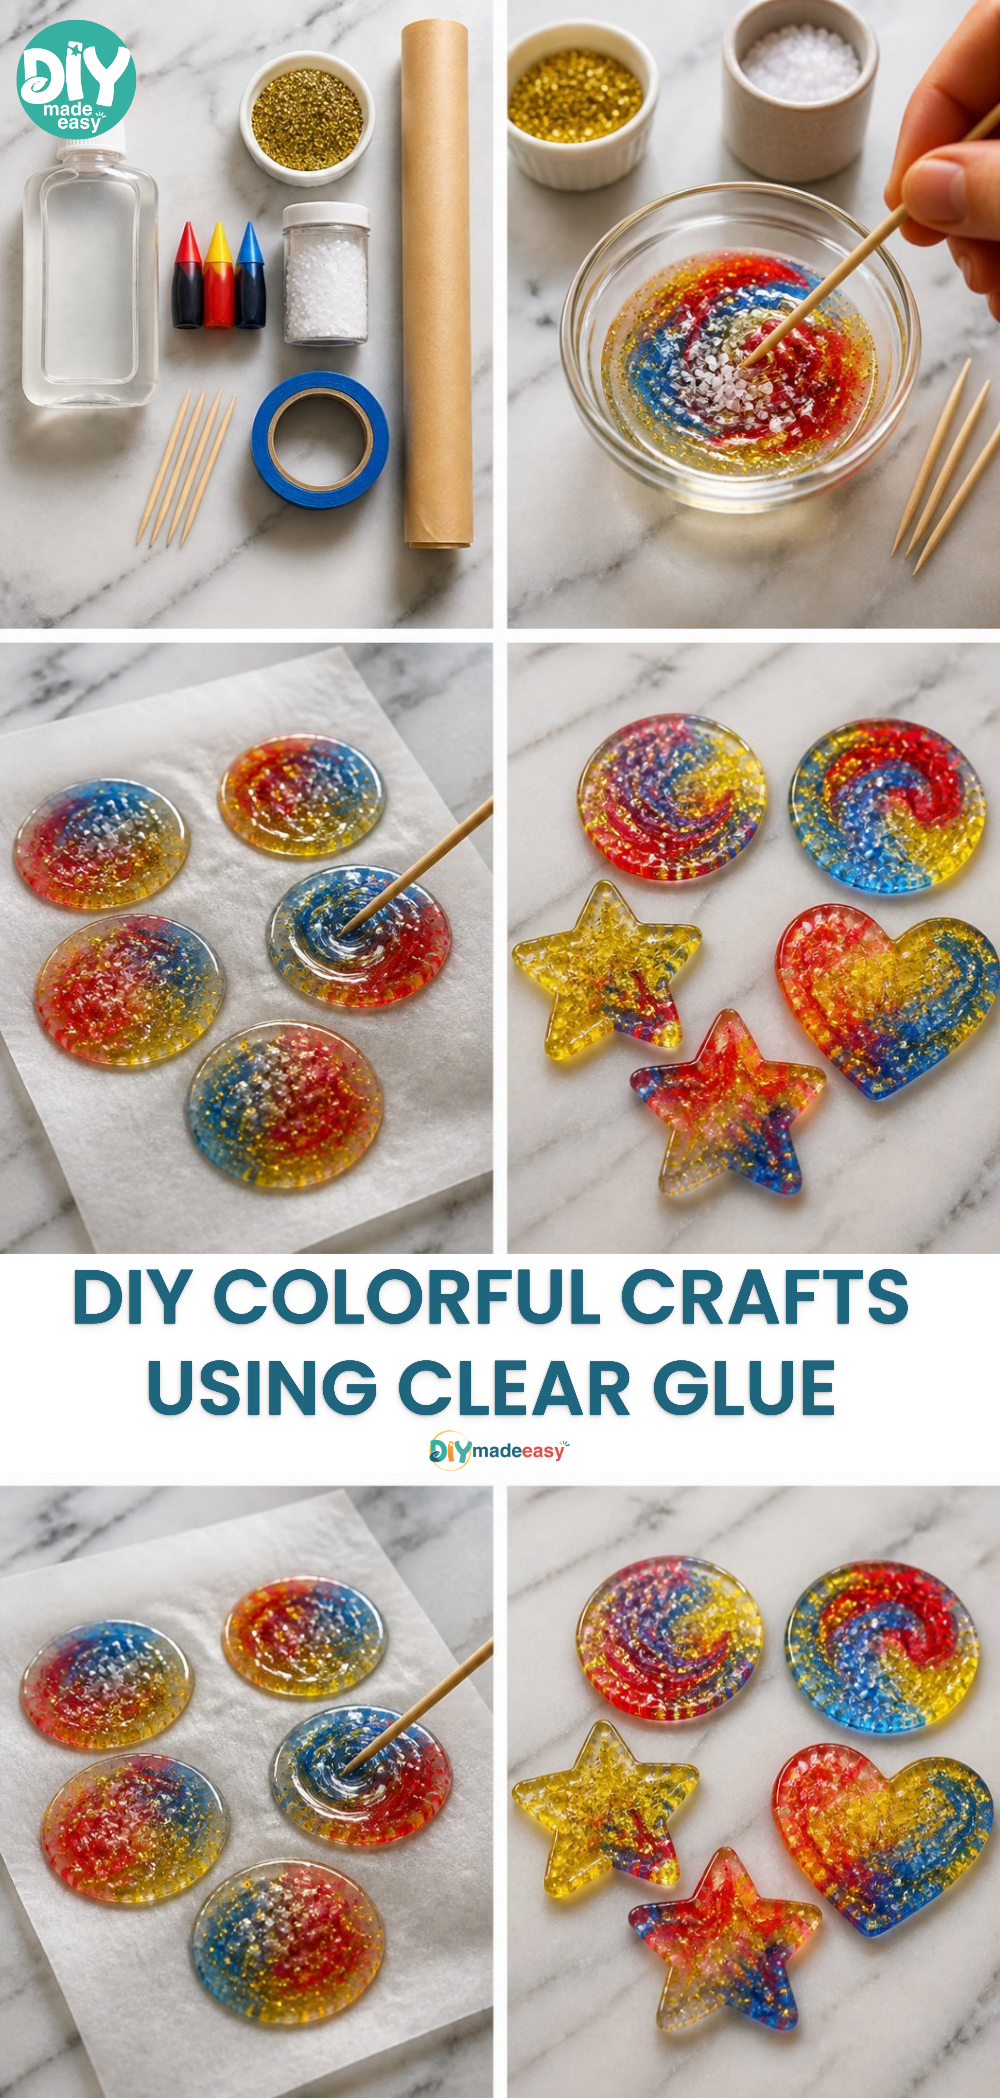
You may also find Colorful Rainbow Apple Mosaic Back To School Crafts useful.
This project is a fantastic choice for several reasons. First, it’s low-prep; you can gather your materials quickly and start crafting without extensive setup. You can easily transition from a hectic day to a calm crafting session. Reliable and straightforward, this craft lets kids enjoy the creative process while adults can rest assured that it’s manageable. Completing a project together not only enhances family bonding but also gives children a sense of accomplishment. You may also find Clear Glue Mosaic Suncatcher useful.
A Quick Look Before You Begin
In this DIY project, you’ll find that everything comes together relatively smoothly. Expect to invest about an hour for the complete experience, including prep time and drying. The mess level is quite manageable; clear school glue is easy to clean up with water, which is reassuring for parents. While kids may need a bit of adult guidance in the beginning, they will soon take charge and express their creativity independently. You may also find Clear Glue Suncatcher Quiet Joy Making useful.
Materials You’ll Need
- Clear school glue – a common household item
- Colorful tissue paper or construction paper – optional for added flair
- Scissors – necessary for cutting paper
- A clear plastic sheet or a window for the suncatcher – easy substitute if necessary
- A tray or newspaper for easy cleanup – budget-friendly and helpful
These materials represent the essence of this project: simple and easily sourced.
Step-by-Step Directions
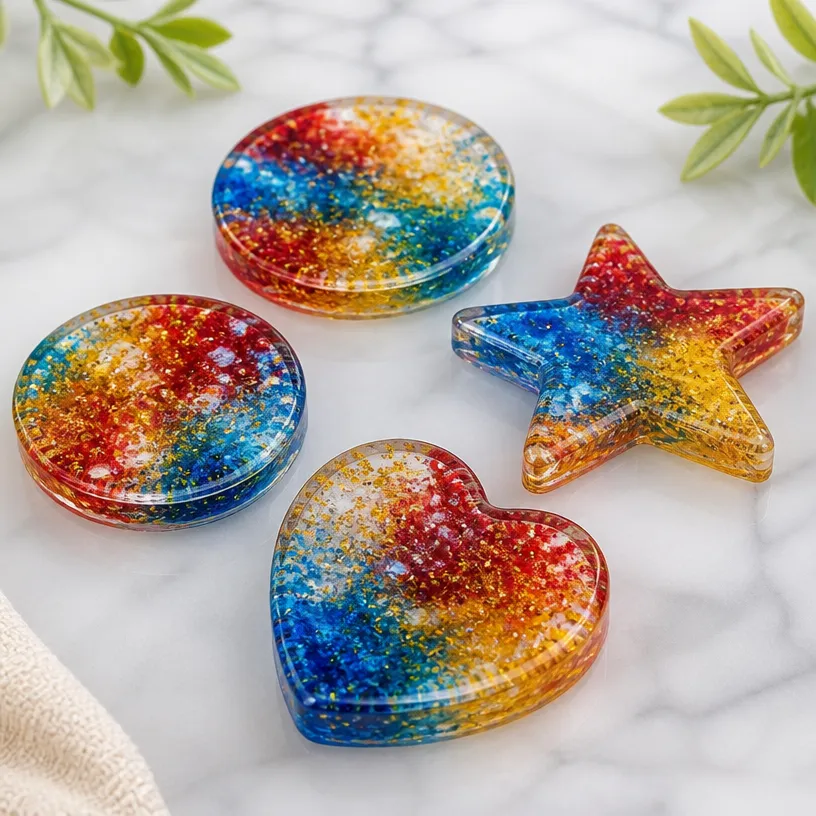
Prepare Your Workspace: Start by covering your workspace with a tray or old newspaper. This ensures that clean-up is quick and easy once you’re finished.
Cut Your Paper: Using scissors, cut the colorful tissue or construction paper into various shapes. You can cut circles, squares, or even freeform fun shapes.
Design Your Layout: Before applying glue, arrange the cut pieces on the plastic sheet or your chosen window. This will help you visualize the final look and adjust as needed.
Apply the Glue: With the clear school glue, start applying a generous layer over your patterned paper. Make sure to cover the shapes completely to ensure they stick well.
Let It Dry: Allow the glue-covered creation to dry completely, placing it in a safe, flat area where it won’t be disturbed for several hours.
Display Your Artwork: Once dry, peel off the suncatcher or mosaic carefully and display it proudly on a window or wall to enjoy the vibrant colors.
The Learning Behind This DIY
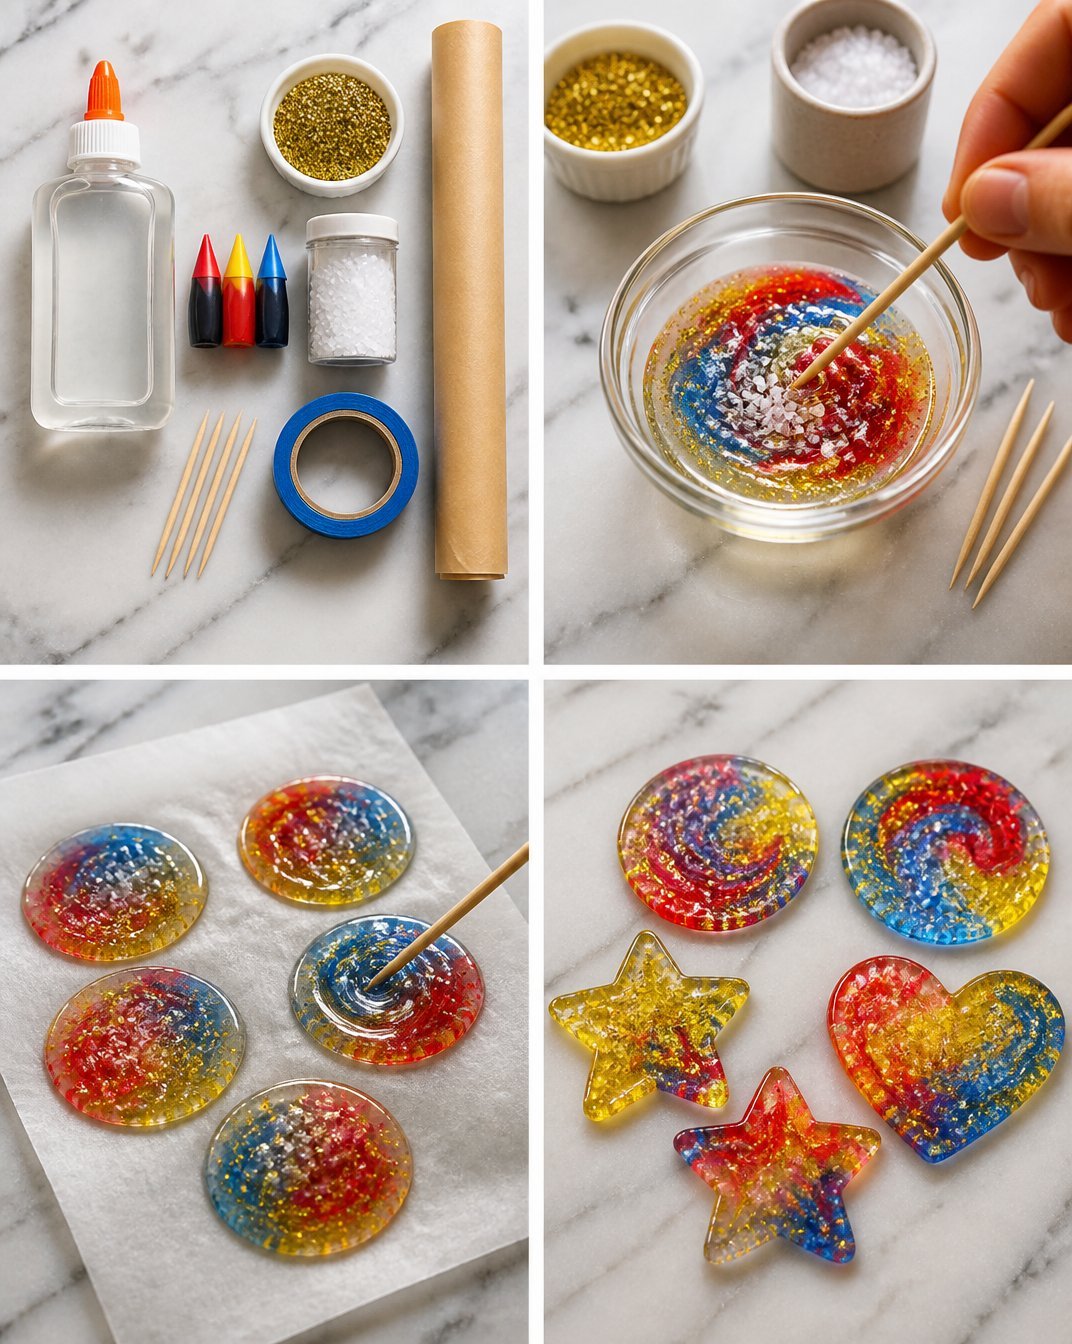
Beyond the fun, this craft helps kids develop various skills. As they cut shapes, they refine their fine motor coordination and improve their hand-eye coordination. The process of layering paper and glue teaches them about colors and textures while also introducing basic artistic concepts such as composition and design. It’s an effective way to illustrate cause and effect, as they see how glue adheres the paper, creating a cohesive whole.
Troubleshooting Common Issues
While crafting can be a joy, things don’t always go as planned. One common issue is the paper curling. If this happens, ensure you’re applying enough glue to anchor the edges down. Another problem could be excess glue. Encourage kids to spread the glue evenly and not to overapply, which can lead to long drying times. Finally, if the colors seem dull once dried, choose brighter papers next time or consider layering different colors for a more vibrant effect.
Easy Variations to Try
To keep the creativity flowing, here are a few variations you can consider:
- Seasonal Themes: Switch up the colors and shapes based on the season—think autumn leaves or winter snowflakes.
- Shape Challenge: Encourage children to make shapes that represent their favorite animals or objects.
- Layered Techniques: Try layering different colors and patterns for a textured mosaic effect.
- Outdoor Display: Create larger pieces that can decorate your garden or yard.
Storing or Reusing This Project
Thoughtful storage can prolong the life of your project. If the suncatcher isn’t displayed right away, keep it in a cool, dry place between sheets of wax paper to prevent bending or curling. For medium-sized projects, consider having a dedicated display space in your home where they can be rotated regularly. Clean up leftover materials, as these can often be used for future crafts.
FAQs About DIY Colorful Crafts with Clear School Glue
One common question is about the mess involved in this project. Parents often worry about spills, but since clear school glue washes off easily with water, the cleanup is straightforward with a damp cloth.
Parents also frequently ask about age suitability. Generally, kids six and older can handle this craft independently, while younger children will benefit from more adult involvement, especially during cutting and glue application.
If you’re wondering about substitutions, consider that many projects use similar materials. If paper isn’t available, you might use old magazines or cardboard.
Finally, parents sometimes ask if it’s okay to hold on to their creations. Yes! These projects can serve as beautiful reminders of creativity and connection within the family, and they can make great gifts too.
A Final Helpful Note
Embrace flexibility and ease with this project. The journey of creating should feel just as rewarding as the final result. Each crafting session is an opportunity for your children to express themselves, experiment with colors, and have fun alongside you. Celebrate their creativity and allow them to adjust the process as they gain confidence and skill.
Conclusion
For anyone looking to enhance their crafting experience, DIY Colorful Crafts with Clear School Glue brings fun and creativity to the forefront. If you’re interested in exploring more creative techniques, check out this guide on how to make faux stained glass with acrylic paint and glue or learn more about the colorful DIY glue suncatcher craft. Engaging in these activities not only fosters creativity but also builds lasting memories with your little ones.
PrintDIY Colorful Crafts with Clear School Glue
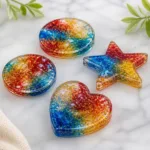
A fun and easy way to create colorful crafts with kids using clear school glue, perfect for enhancing creativity and family bonding.
- Prep Time: 10 minutes
- Cook Time: 50 minutes
- Total Time: 60 minutes
- Yield: 1 craft project
- Category: Craft
- Method: Crafting
- Cuisine: N/A
- Diet: N/A
Ingredients
- Clear school glue
- Colorful tissue paper or construction paper (optional)
- Scissors
- A clear plastic sheet or window
- A tray or newspaper for easy cleanup
Instructions
- Prepare your workspace: Cover it with a tray or old newspaper.
- Cut your paper into various shapes using scissors.
- Design your layout by arranging the cut pieces on the plastic sheet or window.
- Apply a generous layer of glue over the paper shapes.
- Let it dry completely in a safe flat area.
- Display your artwork once dry, enjoying the vibrant colors.
Notes
Kids may need adult guidance at first but will quickly take charge. Cleanup is easy with water since clear school glue washes off easily.
Nutrition
- Serving Size: 1 project
- Calories: 0
- Sugar: 0g
- Sodium: 0mg
- Fat: 0g
- Saturated Fat: 0g
- Unsaturated Fat: 0g
- Trans Fat: 0g
- Carbohydrates: 0g
- Fiber: 0g
- Protein: 0g
- Cholesterol: 0mg