

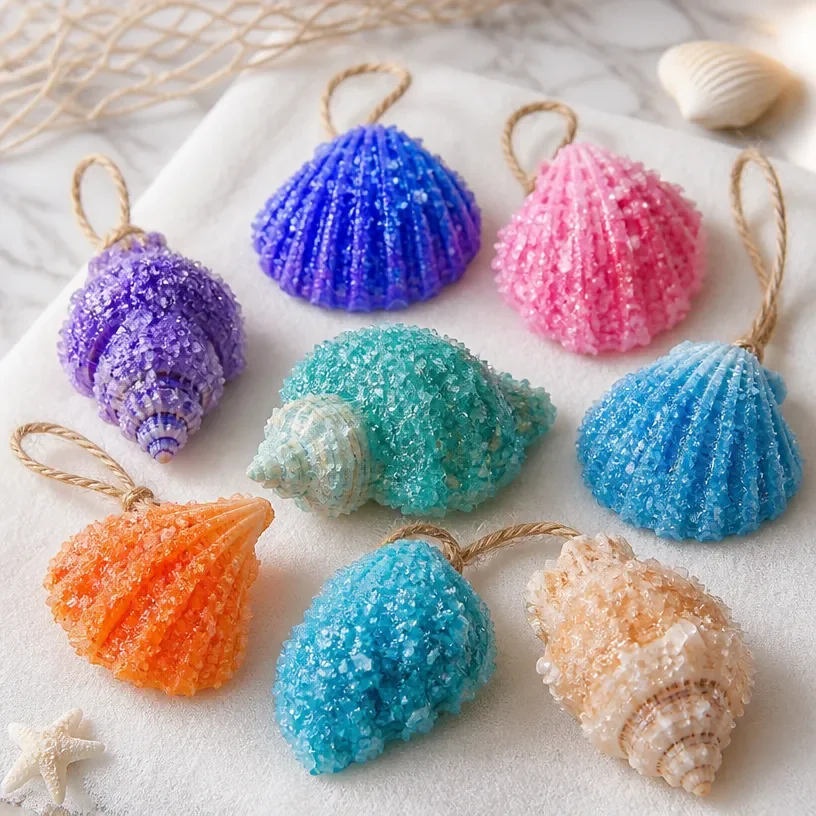
Making DIY projects together can be a wonderful way to bond with family or friends, especially on a busy afternoon when everyone is looking for a creative outlet. If you’re in need of a last-minute project that’s both fun and visually appealing, look no further than How to Make DIY Crystal Seashells. This delightful craft not only results in beautiful decorations but also doubles as a great science experiment that sparks curiosity in kids. You may also find How To Make Crystal Seashells useful.
Why You’ll Love Making How to Make DIY Crystal Seashells
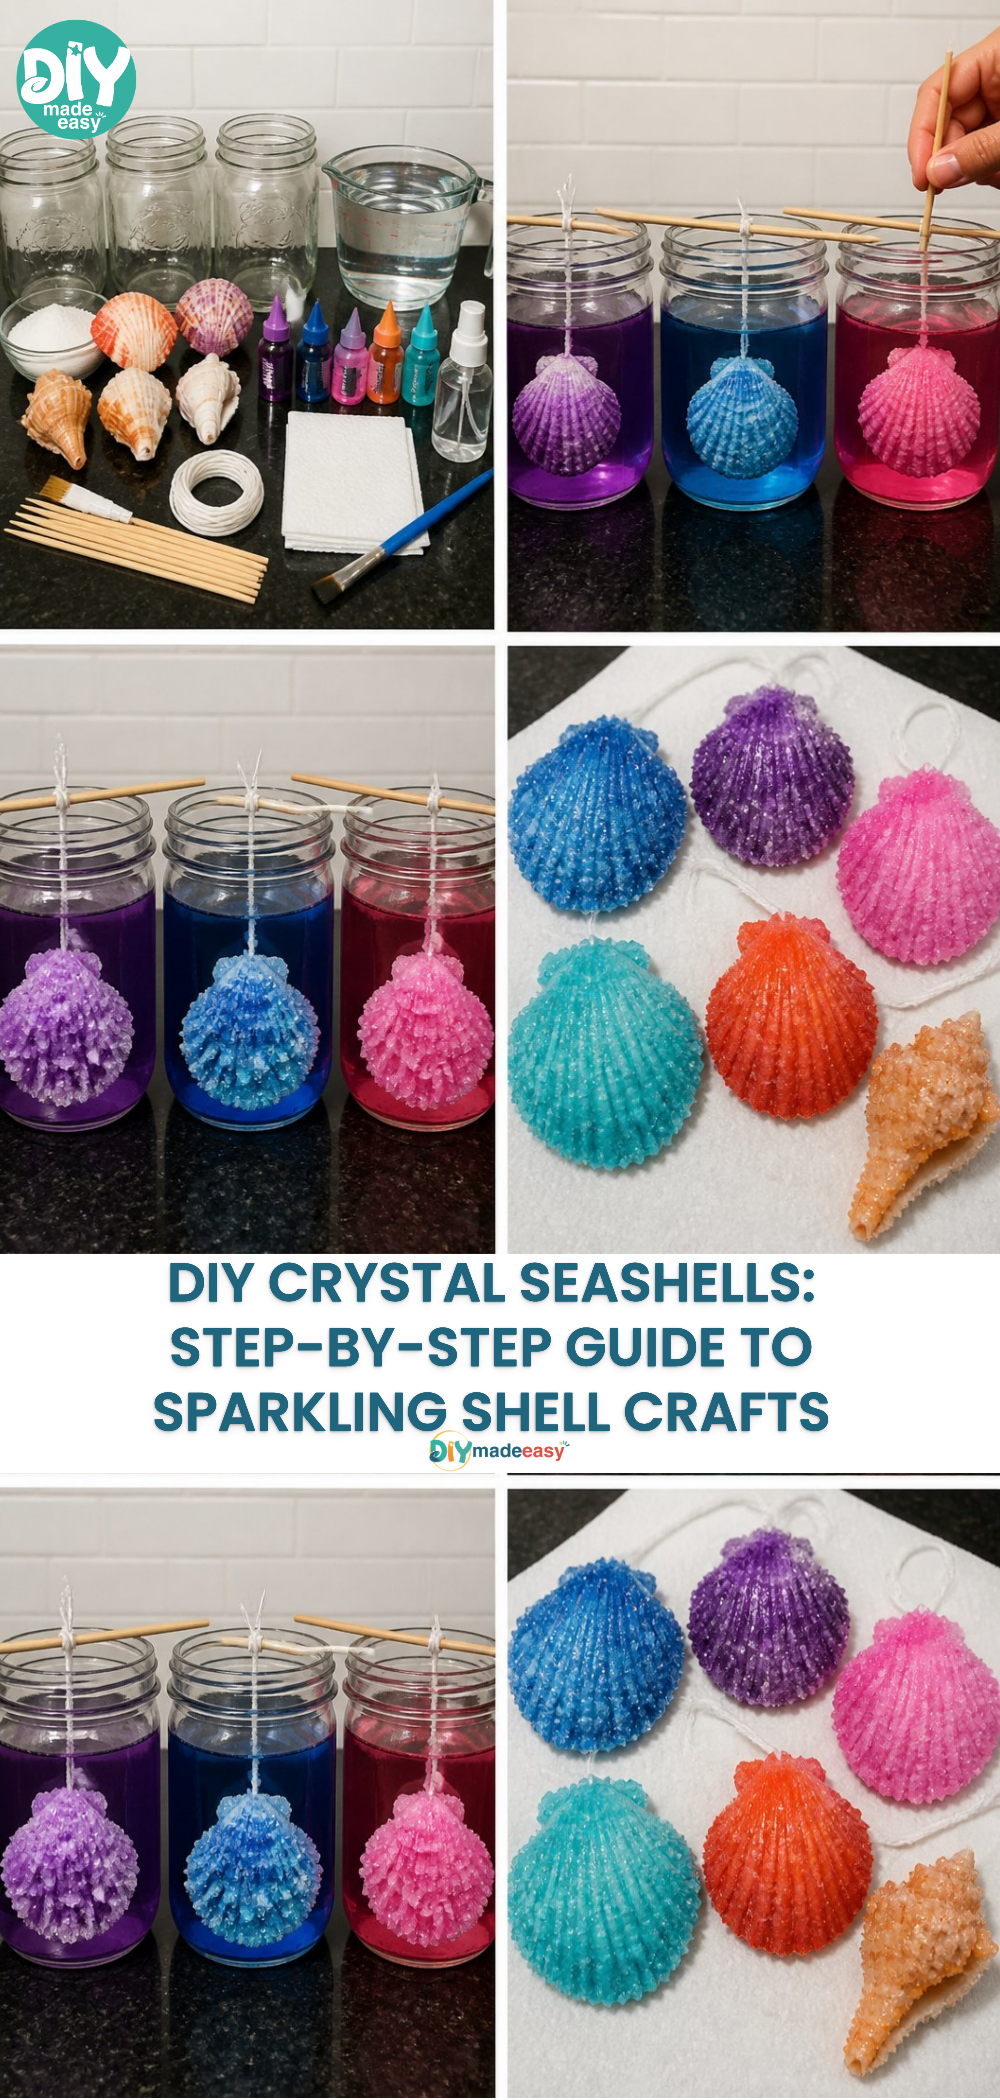
The appeal of creating crystal seashells lies in their simplicity. With very few materials needed, this project fits well into a range of busy schedules. You get to enjoy the joy of crafting without overwhelming preparation. Parents will appreciate how easy it is to gather supplies and engage their kids in a creative process that doesn’t require extensive planning. Plus, the exciting science behind crystal formation offers a fantastic opportunity to teach children about chemistry while they enjoy the hands-on experience. You may also find How To Make Faux Stained Glass Flowers Diy Tutorial useful.
A Quick Look Before You Begin
This DIY project typically takes about 2 hours from start to finish, including setup and wait times. The majority of the making happens within the first half-hour, followed by some waiting while the crystals form. Your workspace will only get mildly messy, especially with a little parental supervision, making it ideal for families of all sizes. Ultimately, the most involved adult task is supervising the boiling water, allowing kids to take the lead while making their creations.
Materials You’ll Need
To make crystal seashells, gather these materials from around your home:
- Seashells or other porous objects (common finds at the beach)
- Borax (easily found at your local grocery store)
- Boiling water (supervised adult task)
- A heat-resistant container (like a glass cup or jar)
- A spoon (for stirring)
- String (optional, to hang or shape the crystals)
Each of these items is easily accessible. Using shells that you already have or scavenging for them at the beach keeps costs low and allows the environment to influence your choices.
Step-by-Step Directions
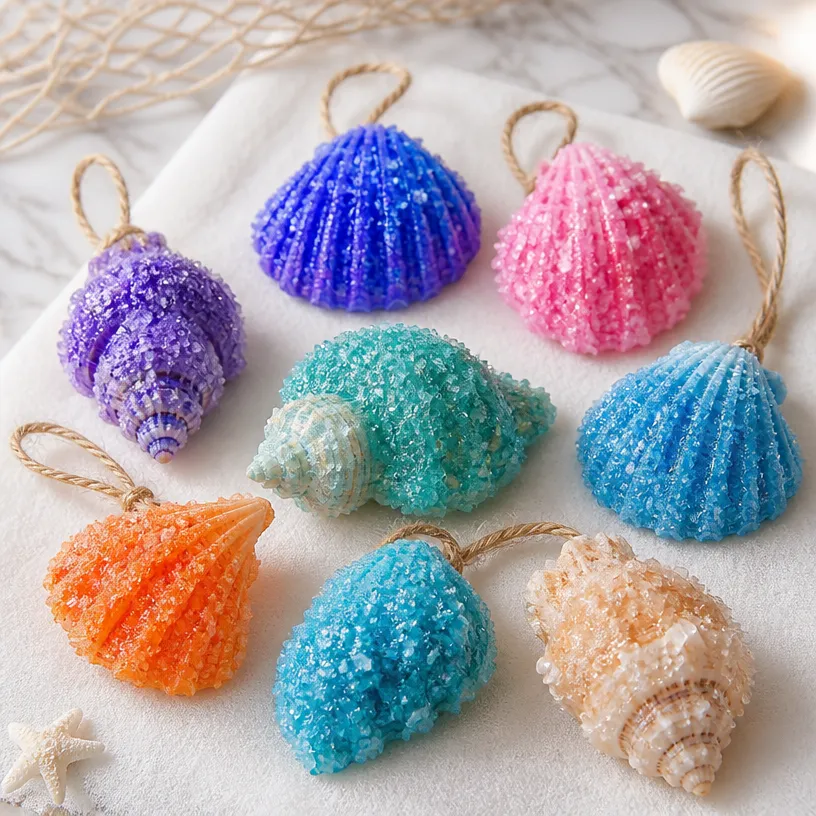
- Start by preparing your materials, ensuring everything you need is within easy reach.
- In a heat-resistant container, boil about 2 cups of water. Make sure to have a responsible adult do this to avoid any burns.
- Slowly add 1 cup of borax to the boiling water, continuously stirring until the borax fully dissolves.
- Carefully pour the solution into another container, leaving some space at the top for later.
- Once dissolved, dip your seashells into the borax solution, allowing them to soak.
- If you want, you can secure a string to the seashells, which will help you hang them and make the crystal-growing process easier.
- Set the seashells in a cool and undisturbed location, allowing them to sit for at least a few hours or overnight.
- After the crystals form, gently remove the shells from the solution and allow them to dry.
This step-by-step guide is simple to follow, and don’t hesitate to engage your kids in each part of the process. Watching the crystals grow will provide visual gratification!
The Learning Behind This DIY
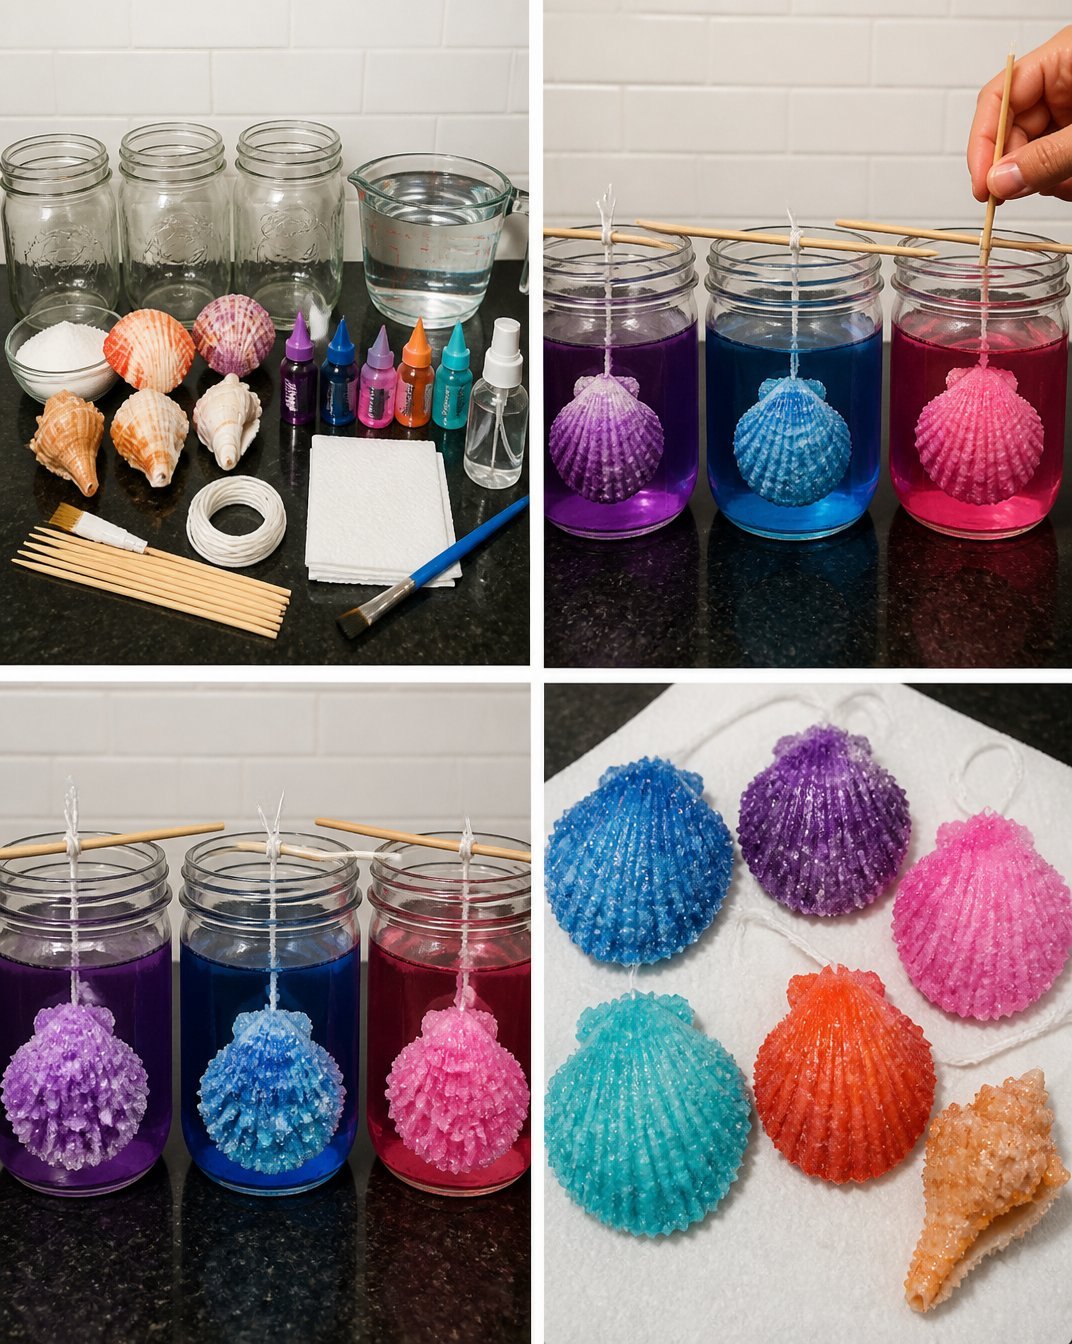
Creating crystal seashells serves as a fascinating introduction to chemistry and crystallization. As your children watch the borax solution cool, they can learn how changes in temperature affect states of matter. Observing how the crystals form and grow will inspire curiosity regarding scientific concepts, enhancing fine motor skills and coordination as they handle various materials during the project. Kids develop patience, too, as waiting for the crystals to form teaches them about the results of hard work.
Troubleshooting Common Issues
If at any stage you’re not seeing the results you expected, don’t worry—common problems can occur during this process. If the crystals are too small or not forming well, check the temperature of your water; it should be boiling. Be sure to let the mixture cool undisturbed, as movement can disrupt crystal formation. If your seashells appear dull, consider using fresh borax and ensuring they spend enough time in the solution.
Easy Variations to Try
There are so many creative spins you can put on your crystal seashell project. Try using different colored dyes to add variety to the crystals. You can also explore making other shapes using similar techniques, like creating crystal eggshell geodes or even DIY dragon eggs. Allow your imagination to flourish as you create different themed crafts!
Storing or Reusing This Project
Once your beautiful crystal seashells are complete, you’ll want to figure out what to do with them! They make excellent decorations for your home or can be gifted to family and friends. If you find that some parts of the project are excess, don’t hesitate to recycle or reuse materials. Proper storage of the unused borax solution and leftover seashells also reduces waste, making it easier to try this project again later on.
FAQs About How to Make DIY Crystal Seashells
When starting a project, it’s common to have questions. Here’s a few that might come to mind:
How messy will this project be?
This project is relatively mess-free, especially if you monitor the workspace. Just be prepared for a little cleanup afterwards, especially if kids are involved.
Are there age restrictions for this project?
While older children can handle this on their own, I recommend adult supervision, especially during the boiling process, to keep everyone safe.
What if I don’t have borax?
If you can’t find borax, consider using sugar or salt as alternatives, although they may not yield the same result.
Can I store the crystals after they form?
Absolutely! Once dried, your seashells can be used as decor, or you can simply store them safely away to enjoy later.
How do I clean up after the project?
For easy cleanup, simply discard the solution and rinse any containers with warm water.
Conclusion
Creating DIY crystal seashells offers parents an engaging and educational project that beautifully combines creativity and science. Working on this project not only provides a great activity for kids but also brings families together through the joy of making. If you’re looking for more inspiration, consider checking out DIY crystal inspirations or browse through the shell crystal craft ideas! Enjoy the process and have fun creating beautiful, sparkly seashells together!
PrintHow to Make DIY Crystal Seashells
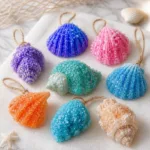
Engage your family with a fun DIY project that combines creativity and science by making beautiful crystal seashells.
- Prep Time: 30 minutes
- Cook Time: 120 minutes
- Total Time: 150 minutes
- Yield: Varies based on materials used
- Category: DIY Project
- Method: Crafting
- Cuisine: N/A
- Diet: N/A
Ingredients
- Seashells or other porous objects
- 1 cup of borax
- 2 cups of boiling water
- A heat-resistant container
- A spoon
- String (optional)
Instructions
- Prepare your materials, ensuring everything you need is within easy reach.
- Boil about 2 cups of water in a heat-resistant container.
- Add 1 cup of borax to the boiling water, continuously stirring until the borax fully dissolves.
- Pour the solution into another container, leaving some space at the top for later.
- Dip your seashells into the borax solution, allowing them to soak.
- Secure a string to the seashells if desired.
- Set the seashells in a cool, undisturbed location for several hours or overnight.
- Remove the shells from the solution and allow them to dry.
Notes
Engage children in each part of the process and ensure adult supervision during boiling.
Nutrition
- Serving Size: 1 project
- Calories: 0
- Sugar: 0g
- Sodium: 0mg
- Fat: 0g
- Saturated Fat: 0g
- Unsaturated Fat: 0g
- Trans Fat: 0g
- Carbohydrates: 0g
- Fiber: 0g
- Protein: 0g
- Cholesterol: 0mg