


When an afternoon is buzzing with energy and the kids announce they want to create something colorful right now, you might feel both excitement and a touch of panic. You need a quick, engaging project that doesn’t require a mountain of supplies. Enter the DIY Rainbow Pencil Shavings Butterfly Art Tutorial—this delightful craft transforms ordinary pencil shavings into stunning butterflies, making it perfect for all ages. Not only is it easy to set up, but it also brings a splash of color to your day and nourishes creativity. You may also find Diy Melted Crayon Rainbow Heart Suncatcher Tutorial useful.
Why You’ll Love Making DIY Rainbow Pencil Shavings Butterfly Art Tutorial
You may also find Colorful Rainbow Jellyfish Salt Art Tutorial useful.
This craft is inherently low-prep and highly approachable. You gather all the supplies from around the house, which means you can jump straight into the fun without pre-planning. The process is reliable; whether you’re working with little ones or more experienced crafters, the outcome is bright and cheerful. This project fits well into busy schedules, allowing for creativity that won’t add extra stress. You may also find Diy Melted Crayon Rainbow Heart Suncatcher useful.
A Quick Look Before You Begin
Planning a short, accessible art project can be a lifesaver. The DIY Rainbow Pencil Shavings Butterfly Art offers a delightful activity that takes around 30 minutes to complete. The setup is minimal—just some pencil shavings and paper—and the cleanup is manageable, mostly just a quick sweep of dust. Adult involvement is mainly in supervision and possible assistance with the cutting of paper, which keeps the activity safe and simple.
Materials You’ll Need
You’ll find everything you need for the DIY project around the house, making it easy to dive right in. Here is a list of the materials:
- Colored pencils (common household item)
- White paper (common household item)
- Glue (budget-friendly)
- Scissors (adult supervision recommended)
These simple supplies will help you create beautiful butterfly art that can brighten up any room.
Step-by-Step Directions
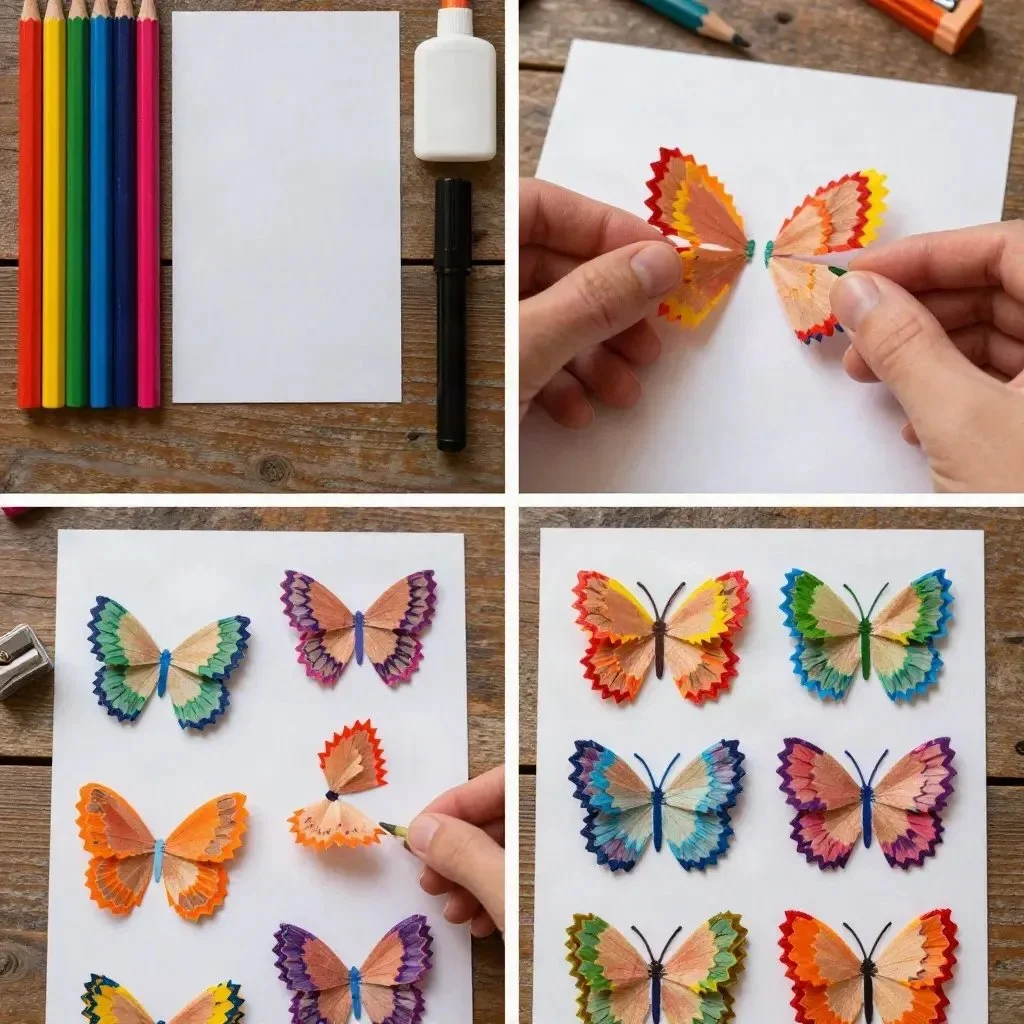
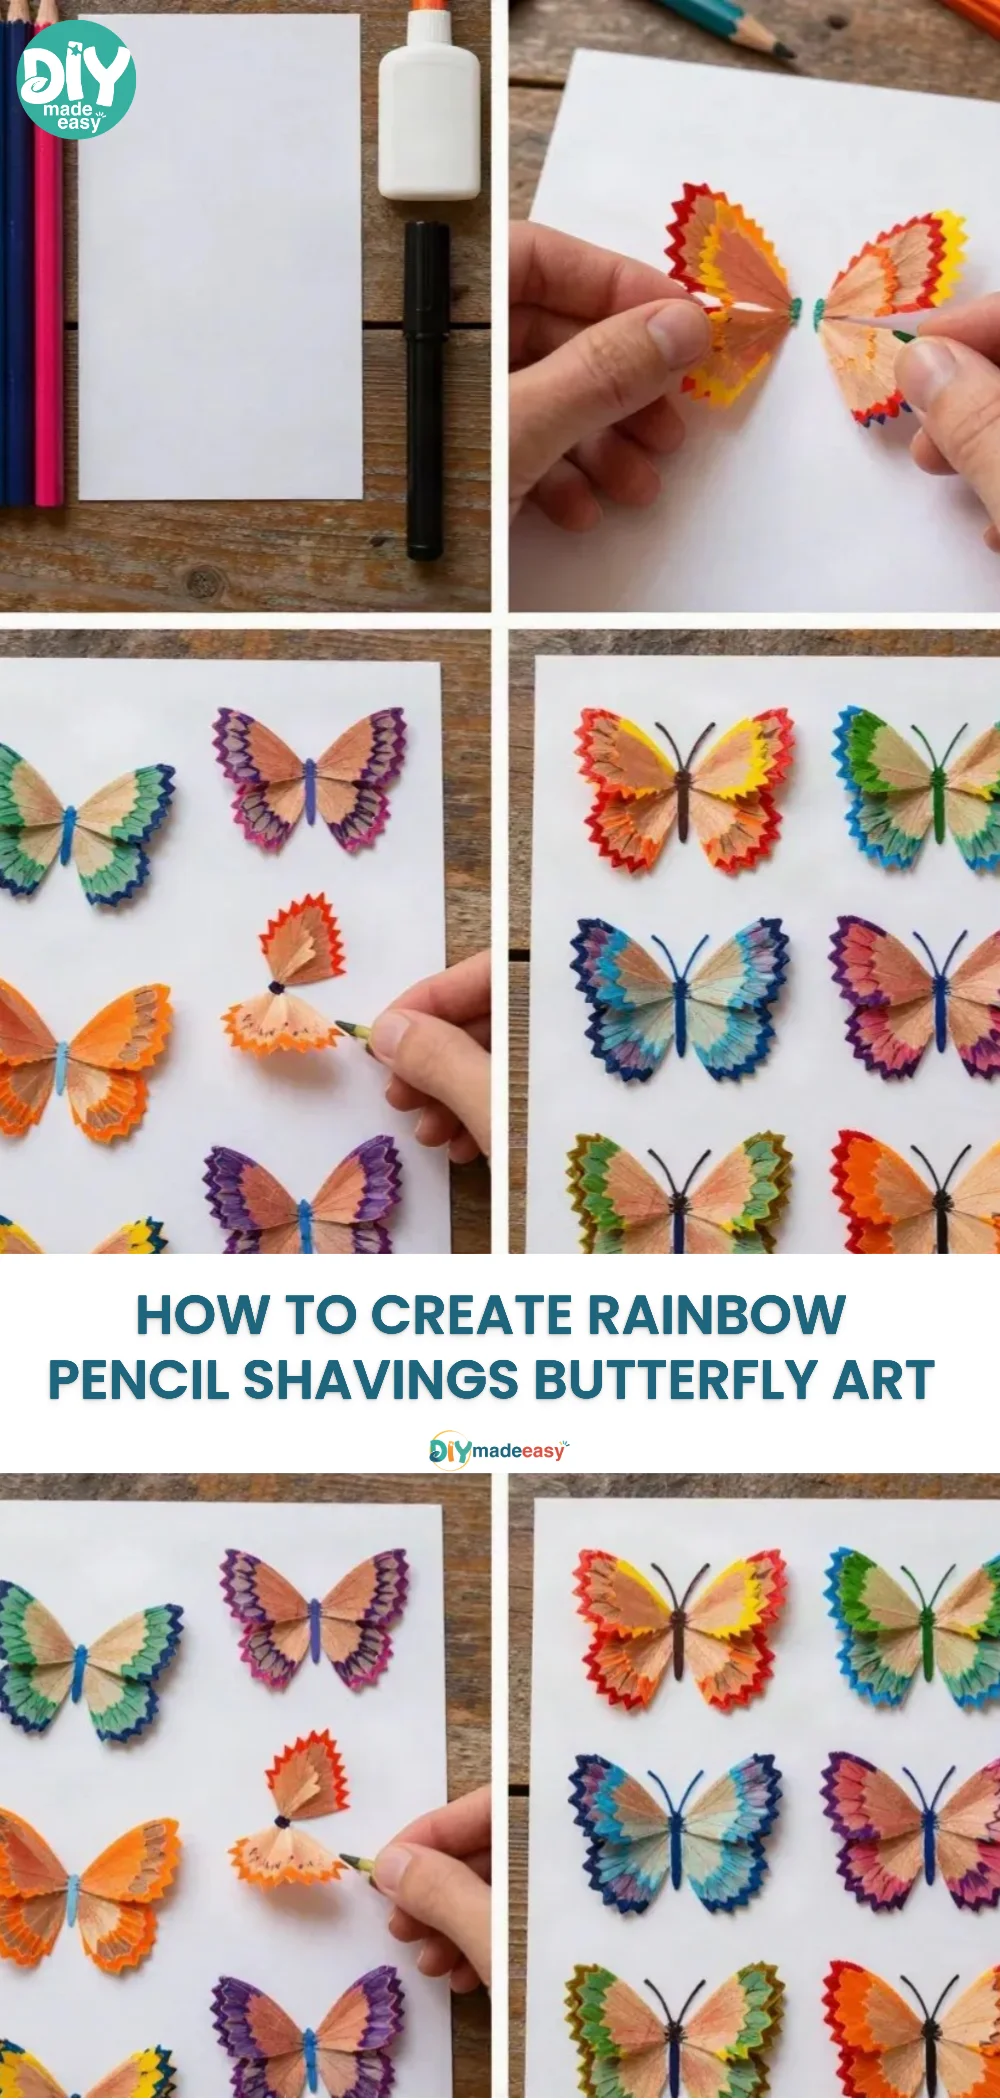
- Start by sharpening the colored pencils over a sheet of white paper. This will create a pile of colorful shavings.
- Once you have enough shavings, take the sheet of white paper and gather a good amount of the colored shavings into the shape of a butterfly.
- Carefully glue the shavings down onto the paper so they stay in place.
- For extra details, you can create a butterfly body using a small piece of paper. Cut it out and glue it in the middle of the butterfly’s wings.
- Allow your creations to dry before displaying your beautiful artwork!
These steps ensure that even if you’re in a rush, you can still manage to make beautiful art that everyone can enjoy.
The Learning Behind This DIY
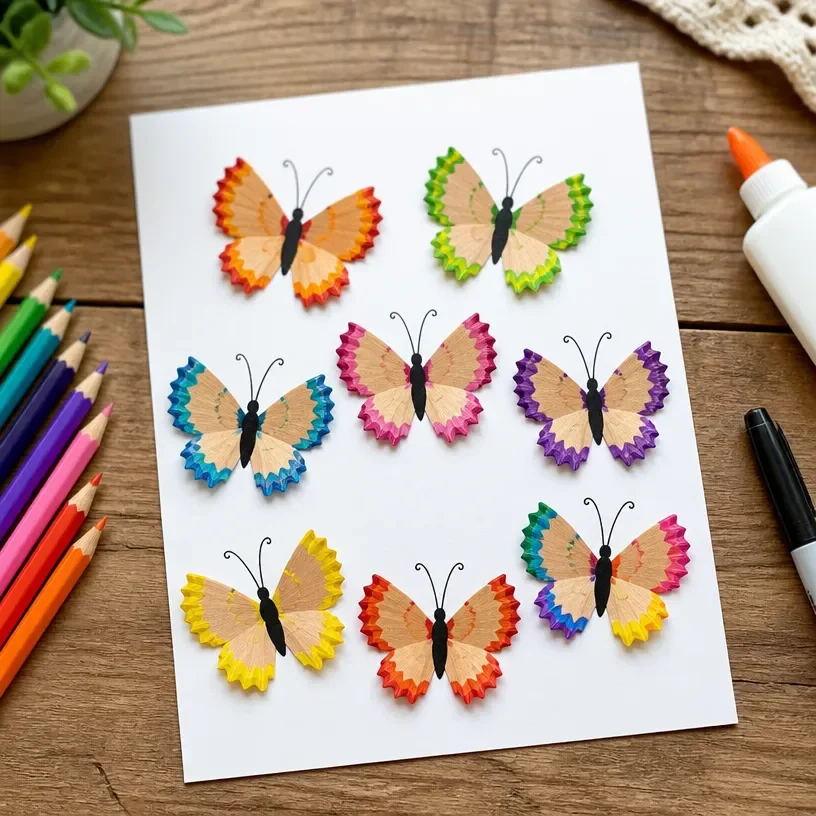
While creating this butterfly art, kids practice several skills. Fine motor skills are in action as they manipulate the pencil shavings. They also strengthen hand-eye coordination when gluing and cutting the butterfly shapes. There’s a lovely cause-and-effect relationship at play; children see that their actions shape the outcome of their art. This project fosters a sense of accomplishment and pride in creative expression.
Troubleshooting Common Issues
If things don’t go as planned, there’s no need to worry. Sometimes the shavings won’t stick well; if that happens, simply add a bit more glue. Should the shavings look uneven, encourage kids to mix different colors together or rearrange them for a better look. With hands-on activities, it’s all about enjoying the process and adjusting when things seem a bit off.
Easy Variations to Try
To keep the creativity flowing, consider these variations.
- Instead of making butterflies, try creating a rainbow magic butterfly using different shapes and colors.
- Add glitter to the gluing process for an extra sparkle.
- Experiment with different colored paper as backgrounds to see how it changes the artwork.
These alterations keep the project fresh and engaging.
Storing or Reusing This Project
After the butterflies are done, think about how they can brighten up your living space. Hang them on a wall or stick them in a window for a beautiful display. If your kids aren’t ready to part with their creations, consider keeping them in a folder designated for artwork. This way, they’ll stay safe and visible.
FAQs About DIY Rainbow Pencil Shavings Butterfly Art Tutorial
What if my child makes a mess while working on this project? Mess is part of the creative process! Use a drop cloth or old newspaper to contain the shavings, and keep some cleaning supplies handy for easy cleanup.
Is this project suitable for younger children? Yes, but make sure to supervise closely during the cutting stages. While the process is simple, it involves sharp objects that need adult oversight.
What supplies can I use if I don’t have colored pencils? Crayons can be a good substitute, even markers that can be scraped can provide colorful shavings.
How long does this project typically take? Most families find they can complete it comfortably in about 30 minutes, making it perfect for a quick afternoon burst of creativity.
Conclusion
Conclusion
The DIY Rainbow Pencil Shavings Butterfly Art Tutorial is a fantastic way to spark creativity in children while using everyday materials. It’s rewarding to see a simple craft come to life with vibrant colors and personal touches. For a fun twist on butterfly art, check out this colorful pasta art project. If you’re looking for watercolor techniques, the Yellow Swallowtail Butterfly Watercolor Tutorial offers another engaging art experience!
PrintDIY Rainbow Pencil Shavings Butterfly Art
A fun and colorful craft project that transforms pencil shavings into beautiful butterfly art, perfect for kids and families.
- Prep Time: 5 minutes
- Cook Time: 30 minutes
- Total Time: 35 minutes
- Yield: 1 butterfly art piece
- Category: Craft
- Method: Crafting
- Cuisine: N/A
- Diet: N/A
Ingredients
- Colored pencils (common household item)
- White paper (common household item)
- Glue (budget-friendly)
- Scissors (adult supervision recommended)
Instructions
- Start by sharpening the colored pencils over a sheet of white paper.
- Gather a good amount of the colored shavings into the shape of a butterfly.
- Carefully glue the shavings down onto the paper.
- Create a butterfly body using a small piece of paper and glue it in the middle of the butterfly’s wings.
- Allow your creations to dry before displaying your beautiful artwork!
Notes
Supervision is recommended for cutting and using scissors.
Nutrition
- Serving Size: 1 craft project
- Calories: 0
- Sugar: 0g
- Sodium: 0mg
- Fat: 0g
- Saturated Fat: 0g
- Unsaturated Fat: 0g
- Trans Fat: 0g
- Carbohydrates: 0g
- Fiber: 0g
- Protein: 0g
- Cholesterol: 0mg