

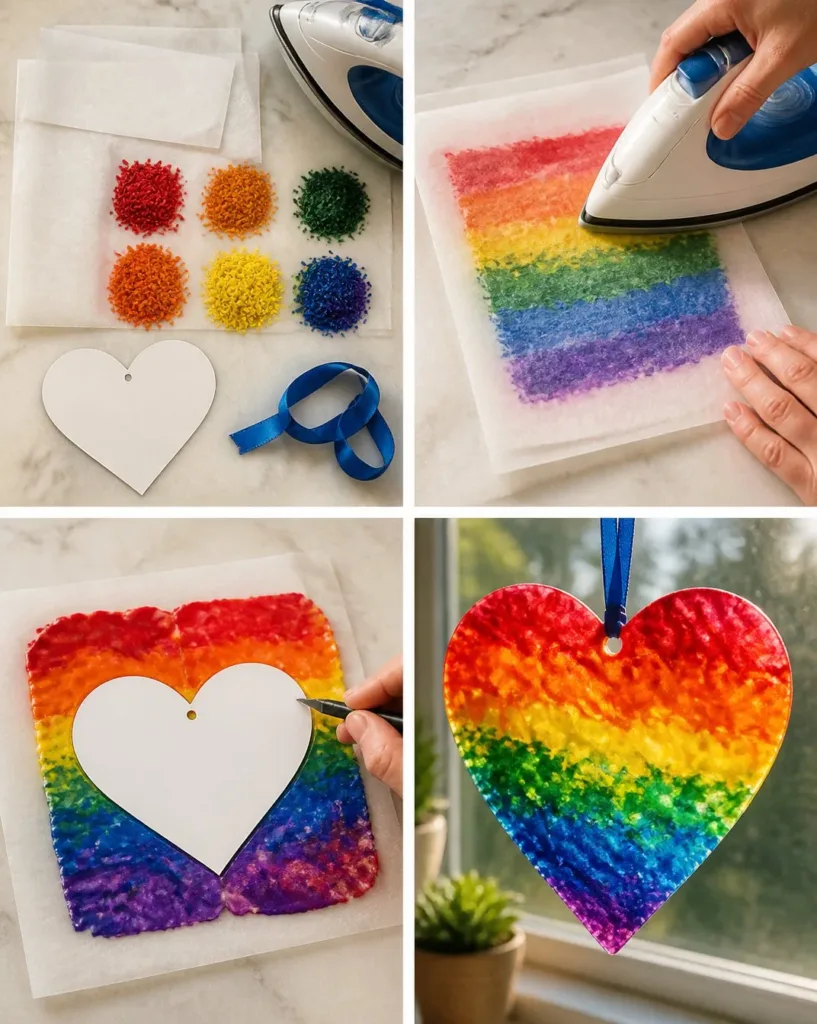
Melted Crayon Rainbow Heart Suncatcher You may also find Melted Crayon Flower Suncatchers useful.
On a busy afternoon, when your kids are bursting with creativity and a last-minute activity is needed, the Melted Crayon Rainbow Heart Suncatcher makes for the perfect project. This colorful craft not only entertains but also utilizes simple materials you likely have at home. The vibrant hues and the radiant effect of sunlight filtering through the melted crayon artwork can brighten any space and mood. It’s a wonderful chance to bond and create something beautiful together, transforming an ordinary day into a colorful experience. You may also find Butterfly Rainbow Suncatcher Layered Glue Craft useful.
Why This Melted Crayon Rainbow Heart Suncatcher Works So Well
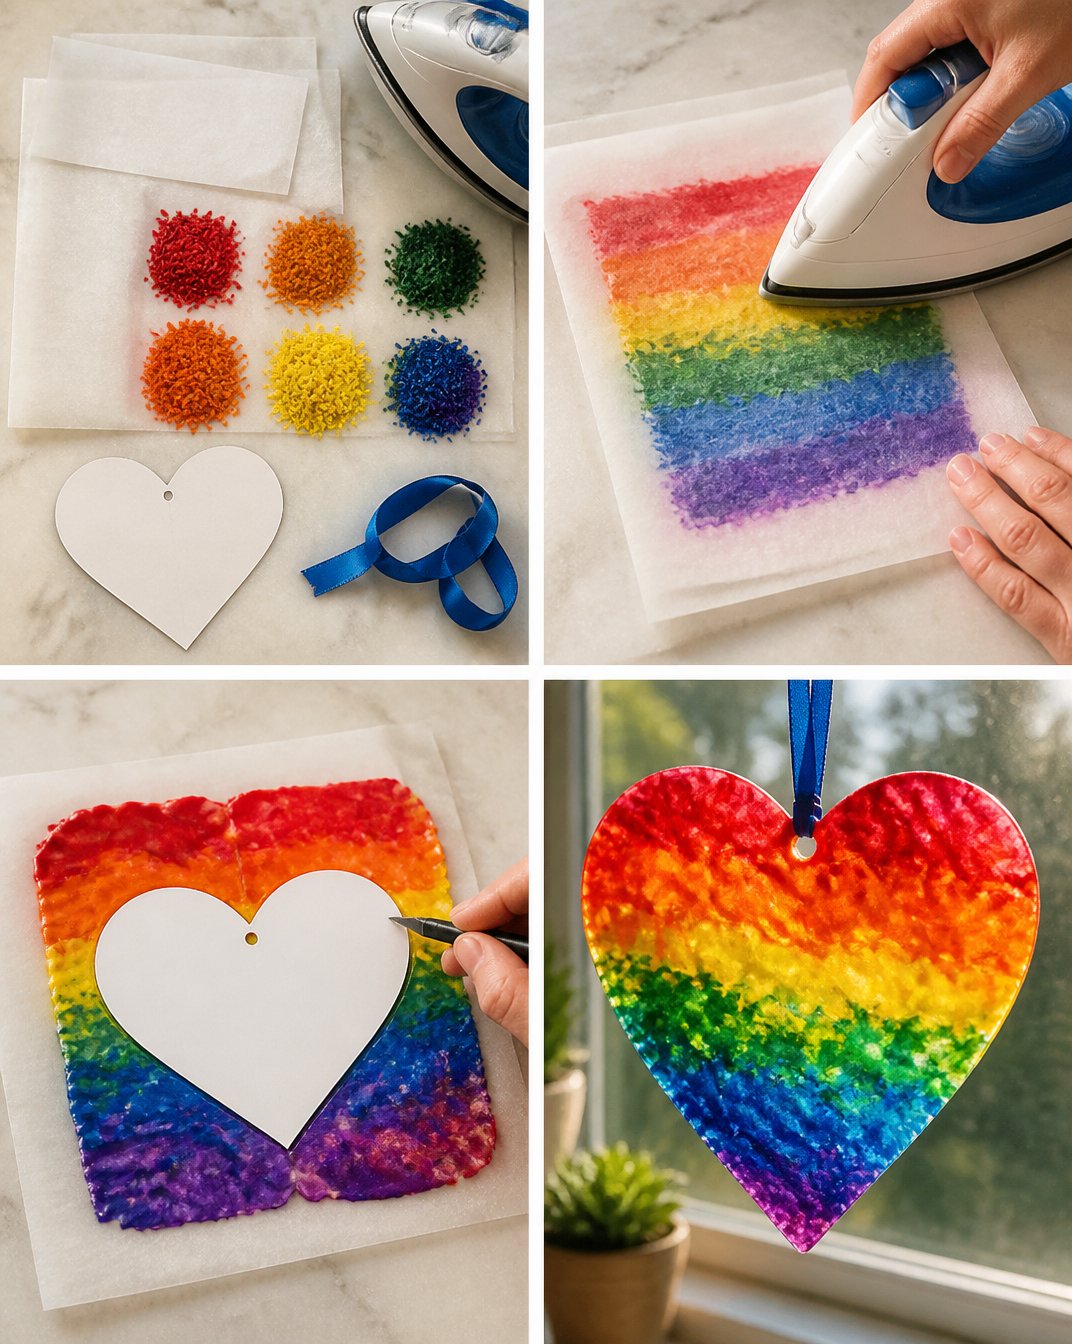
The charm of the Melted Crayon Rainbow Heart Suncatcher lies in how approachable and low-prep it is. You don’t need specialized skills or fancy equipment to succeed. By using just a few common items, this DIY project delivers reliable results that will bring a smile to both kids and adults alike. Plus, it encourages creativity without taking up too much of your valuable time. You may also find Cornstarch Rainbow Suncatchers useful.
A Quick Look Before You Begin
Creating this suncatcher requires little setup and minimal cleanup, making it great for busy schedules. Plan for about an hour of crafting time, which includes melting and cooling. With adult supervision, your kids can navigate this project easily, although some steps may benefit from an adult’s touch, particularly when handling the iron. This fun activity ensures that you can focus on enjoying the creative process together without worrying too much about the mess. You may also find Diy Bioplastic Suncatchers Crayon Method useful.
Materials You’ll Need
- Wax paper
- Crayon shavings in 6 colors
- Parchment paper
- Iron
- Heart template
- Ribbon
All these materials are common household items, making them easy to gather. The crayon shavings can even be created from old crayons, which adds an element of sustainability by recycling materials from past art projects.
Step-by-Step Directions
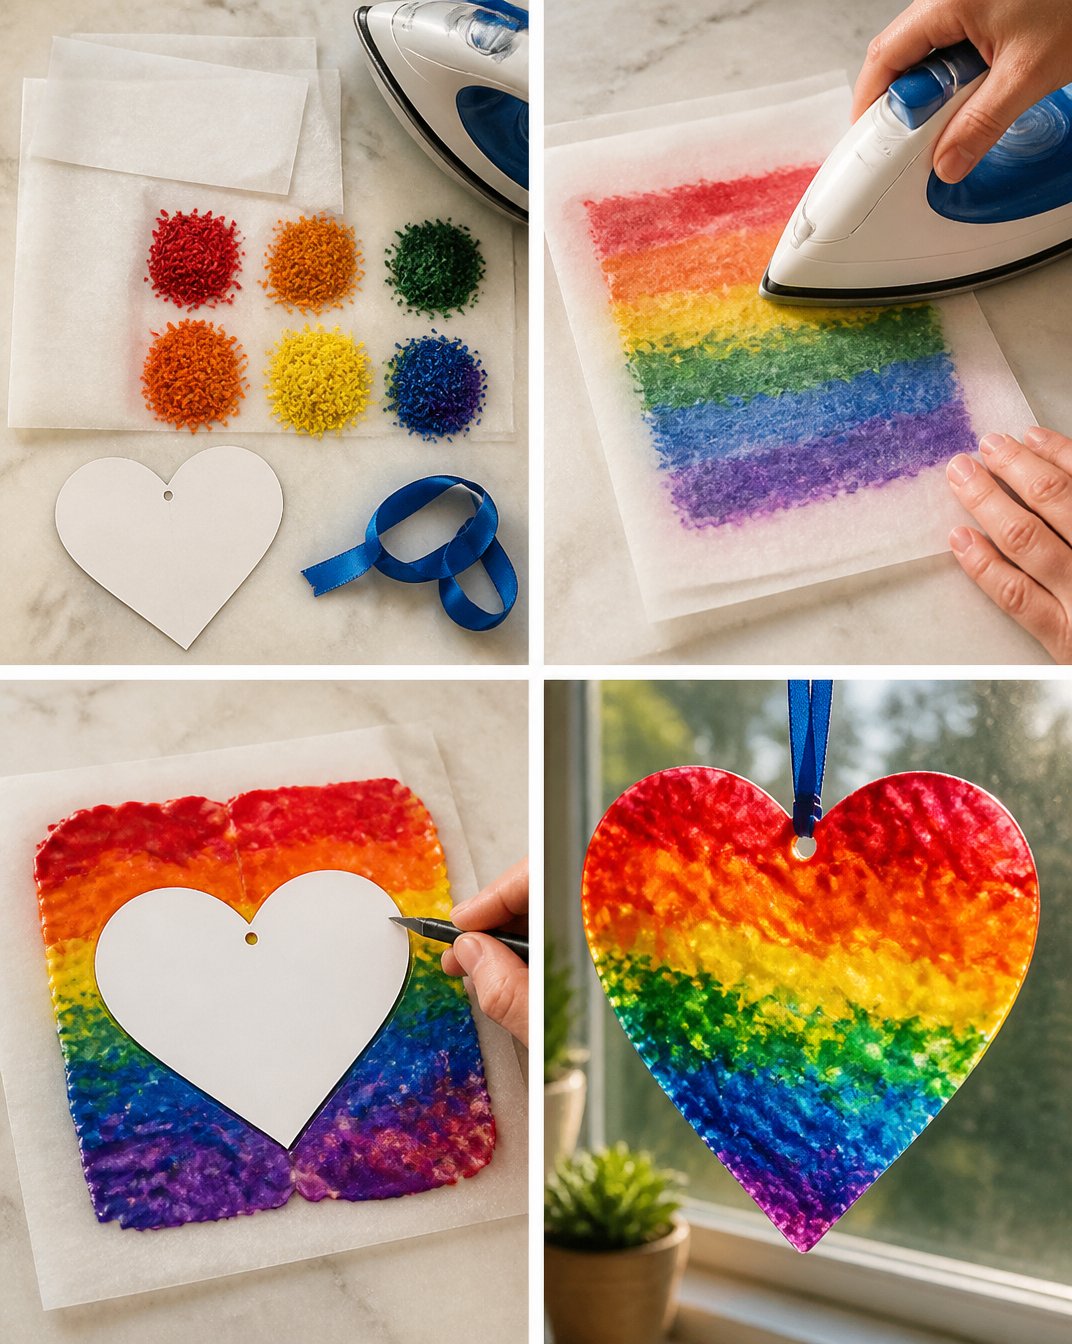
Start by arranging small bands of colorful crayon shavings between two sheets of wax paper. The colors combine beautifully, and you can involve your kids by letting them choose their favorite shades.
Cover the wax paper with a sheet of parchment paper. This protects your iron and helps manage the melting process, keeping everything neat and tidy.
With adult supervision, briefly press the layers with a warm iron until the crayon shavings melt and bond together. Just a few seconds is often enough, so keep an eye on your creations.
Let your piece cool completely before handling it. The transformation from shavings to a solid piece is magical, and patients here pays off beautifully.
Trace and cut out a large heart from your melted creation. This is where the unique shape of your suncatcher starts to take form!
Make a small hole for hanging, add a ribbon, and hang your beautiful heart in a sunny window! Watching the light bounce off your creation is incredibly rewarding.
The Learning Behind This DIY
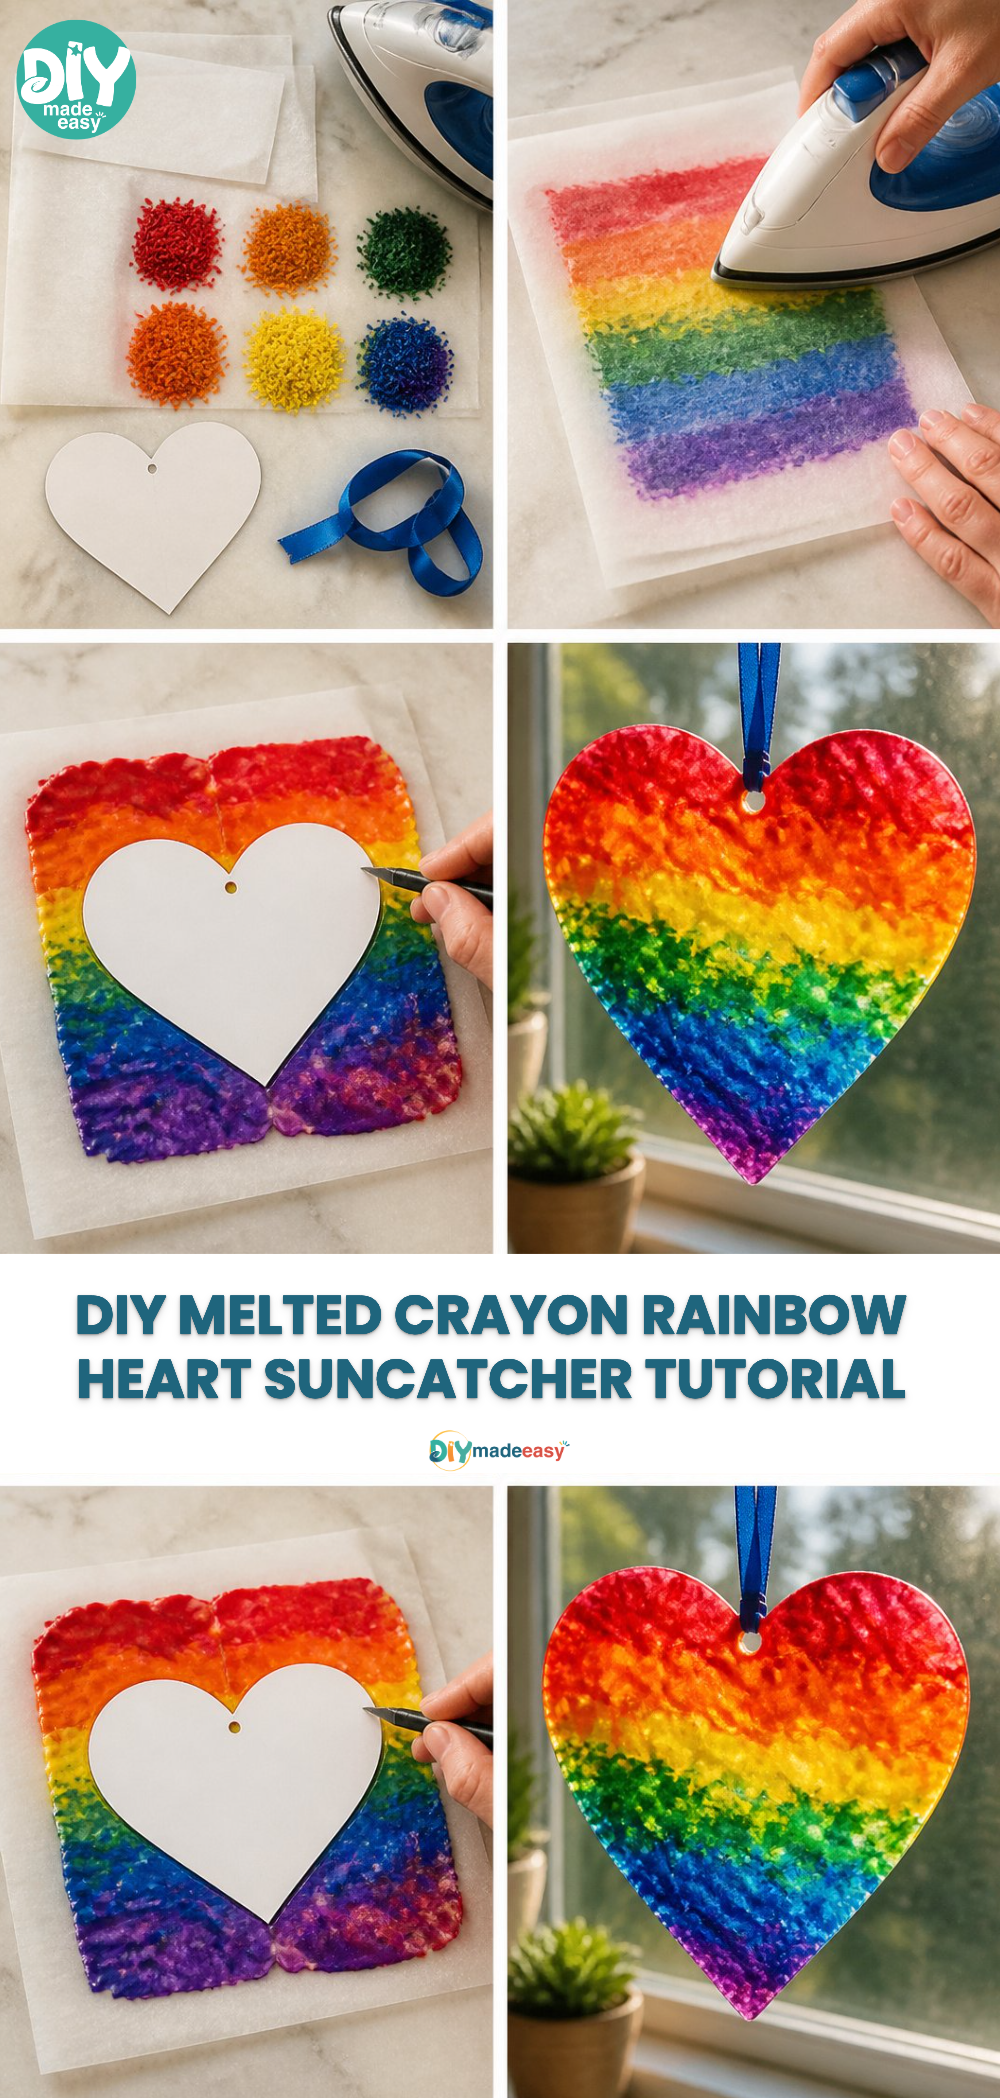
While making the Melted Crayon Rainbow Heart Suncatcher, children practice several important skills. They engage their fine motor skills while manipulating the crayon shavings and cutting the heart shape. As they watch the crayons melt and blend, they explore basic science concepts like heat and state changes. This hands-on experience ignites curiosity and fosters creativity, making it more than just a craft but also an opportunity for growth.
Troubleshooting Common Issues
If something doesn’t go as planned during this craft, don’t worry. A common problem is the melting not being fully effective, which can happen if the iron isn’t warm enough. Just try applying gentle pressure for a little longer. If edges look uneven when cutting, simply refine the shape with scissors afterward. Always remember, crafting is about the process rather than perfection.
Easy Variations to Try
For those wanting a little twist on this classic, here are a few easy variations:
- Experiment with different shapes besides hearts; stars or circles can be equally delightful.
- Use seasonal colors for decorations, like orange and black for Halloween or red and green for Christmas.
- Consider making a larger piece that can decorate your window more prominently or even a series of smaller suncatchers to create a colorful display.
Storing or Reusing This Project
To store your suncatcher safely, hang it in a window that is not in direct sunlight for long periods to prevent fading. When it’s time to clean up, wiping down the work area and recycling any leftover wax paper or crayon shavings can minimize waste. You can also store your materials in labeled bins for future crafting sessions, keeping things organized and ready for next time.
FAQs About Melted Crayon Rainbow Heart Suncatcher
What if the melted crayon does not bond properly?
If the bonding doesn’t happen, it usually means the iron wasn’t hot enough or the melting time was too short. Just give it another gentle press.
Is this project safe for all age groups?
Yes, kids can participate, but adult supervision is necessary for handling the iron. It keeps everyone safe while enhancing the fun.
Can I use different kinds of crayon brands?
Yes, as long as they are regular wax crayons, they should work well for this project. Just avoid using crayons that contain additional fillers or waxes.
How do I clean up the melted crayon mess?
Most of the mess is easy to manage with a damp cloth. If any wax sticks to your iron, wait for it to cool and then wipe it off.
Can I save leftover crayon shavings for future projects?
Absolutely! You can store crayon shavings in a small container for future crafting. They can also be used for other creative projects, such as homemade candles or paint.
Conclusion
Creating a Melted Crayon Rainbow Heart Suncatcher is a delightful way to spend time with your children while cultivating their creativity. The collective experience of crafting can lead to joyful memories, making this project worth every minute. For more stunning ideas, you might visit Melted crayon sun catcher – kid’s art project or discover more about crayon art with Crayon Suncatcher | Wax Paper Melted Crayon Art.
PrintMelted Crayon Rainbow Heart Suncatcher
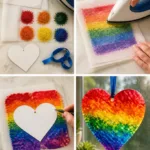
A delightful craft activity for kids that transforms crayon shavings into stunning suncatchers.
- Prep Time: 10 minutes
- Cook Time: 30 minutes
- Total Time: 40 minutes
- Yield: 1 suncatcher
- Category: Crafts
- Method: Ironing
- Cuisine: N/A
- Diet: N/A
Ingredients
- Wax paper
- Crayon shavings in 6 colors
- Parchment paper
- Iron
- Heart template
- Ribbon
Instructions
- Start by arranging small bands of colorful crayon shavings between two sheets of wax paper.
- Cover the wax paper with a sheet of parchment paper.
- Press the layers with a warm iron until the crayon shavings melt and bond together.
- Let your piece cool completely before handling it.
- Trace and cut out a large heart from your melted creation.
- Make a small hole for hanging, add a ribbon, and hang your beautiful heart in a sunny window!
Notes
This craft is safe for all ages but requires adult supervision for handling the iron.
Nutrition
- Serving Size: 1 suncatcher
- Calories: 0
- Sugar: 0g
- Sodium: 0mg
- Fat: 0g
- Saturated Fat: 0g
- Unsaturated Fat: 0g
- Trans Fat: 0g
- Carbohydrates: 0g
- Fiber: 0g
- Protein: 0g
- Cholesterol: 0mg