

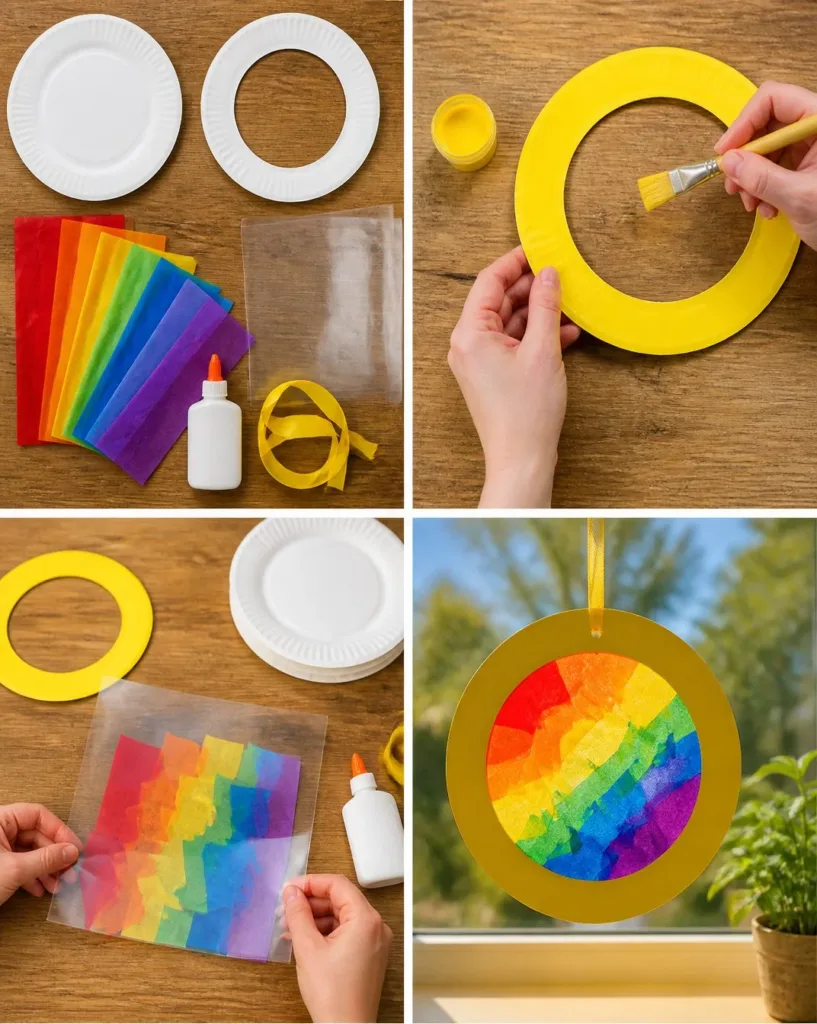
Creating a Rainbow Paper-Plate Sun Catcher can be a delightful activity on a busy afternoon when kids are looking for something fun and creative to do. The best part is that it requires minimal preparation and materials you likely already have at home. This project brings a splash of color into your living space while also encouraging little ones to express their creativity. Plus, once complete, this charming sun catcher brightens up any window, filling the room with vibrant hues whenever the sun shines upon it. If you’re searching for more colorful crafts, consider exploring ideas such as cornstarch rainbow suncatchers.
Why You’ll Love Making Rainbow Paper-Plate Sun Catcher
This Rainbow Paper-Plate Sun Catcher works so well for a host of reasons. First, the project is incredibly low-prep, making it perfect for spontaneous creative moments. You only need a few household items, which keeps it approachable for everyone. The steps are straightforward, allowing kids to dive into crafting without feeling overwhelmed. Furthermore, using bright-colored tissue paper engages children’s senses and sparks their imaginations while they work. You may also find Iridescent Crystal Sun Catcher Rainbow Hues useful.
As you embark on this project, you’ll realize how beneficial this activity can be for all ages—learning about colors, light, and shadow while creating beautiful art. It’s perfect for a quick activity that won’t demand too much time away from your busy schedule. If you find that you enjoy this, you might also want to try other fun projects, like the butterfly rainbow suncatcher.
A Quick Look Before You Begin
Before diving into the actual crafting, it’s helpful to have a calm overview of what you’re getting into. This Rainbow Paper-Plate Sun Catcher project is not just easy but also manageable in terms of timing. You can expect to spend around 30 to 45 minutes from start to finish, which makes it a great choice for after-school activities.
Setting up your workspace is also straightforward. You will want to protect the table with an old tablecloth or newspapers, as some paint or glue might get messy. Thankfully, since the preparation requires few materials and involves simple actions, adult involvement can be minimal unless your child needs help with cutting or using the glue.
Materials You’ll Need
For this project, gather the following materials:
- 2 paper plates
- Clear contact paper
- Tissue paper in 6 rainbow colors
- Yellow paint
- Ribbon
- Glue
These supplies are basic, with many likely available around your home. The glue and paint can also easily be cleaned up with soap and water if spills occur, making it a practical choice for kids.
Step-by-Step Directions
Now that you’ve gathered your materials, let’s walk through each step of creating your Rainbow Paper-Plate Sun Catcher.
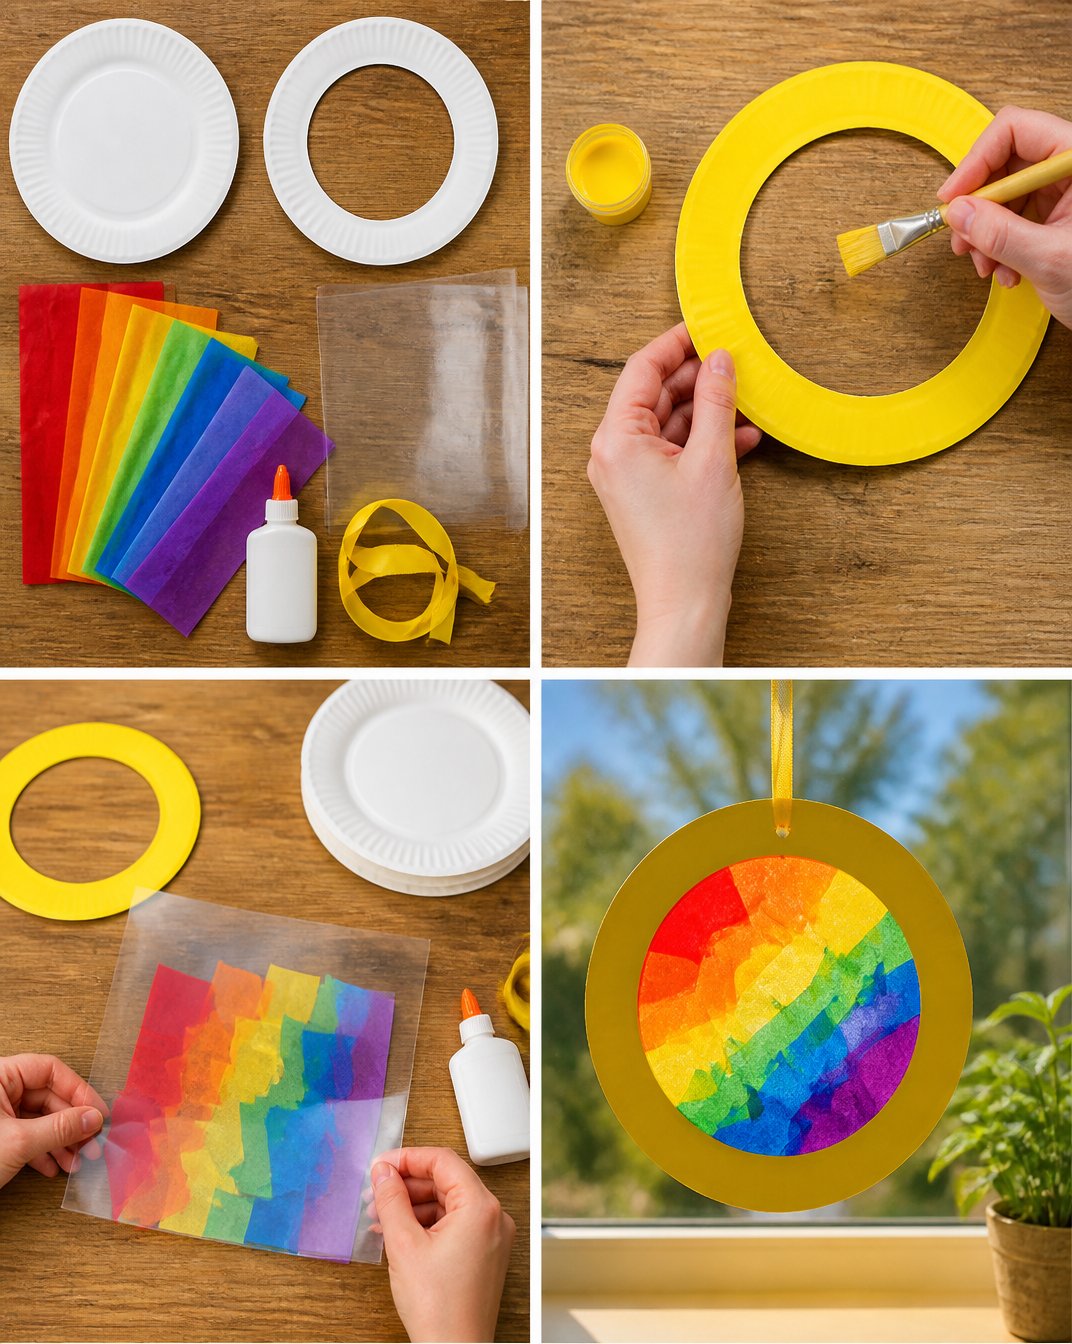
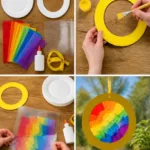
Cut the center from one paper plate to create a circular frame. This first step is crucial as it forms the base of your sun catcher. Use safety scissors if you’re helping younger children.
Paint the frame sunshine yellow and let it dry completely. This vibrant color adds a cheerful effect to your project. Make sure to apply an even coat and allow it to dry thoroughly to avoid smudging later.
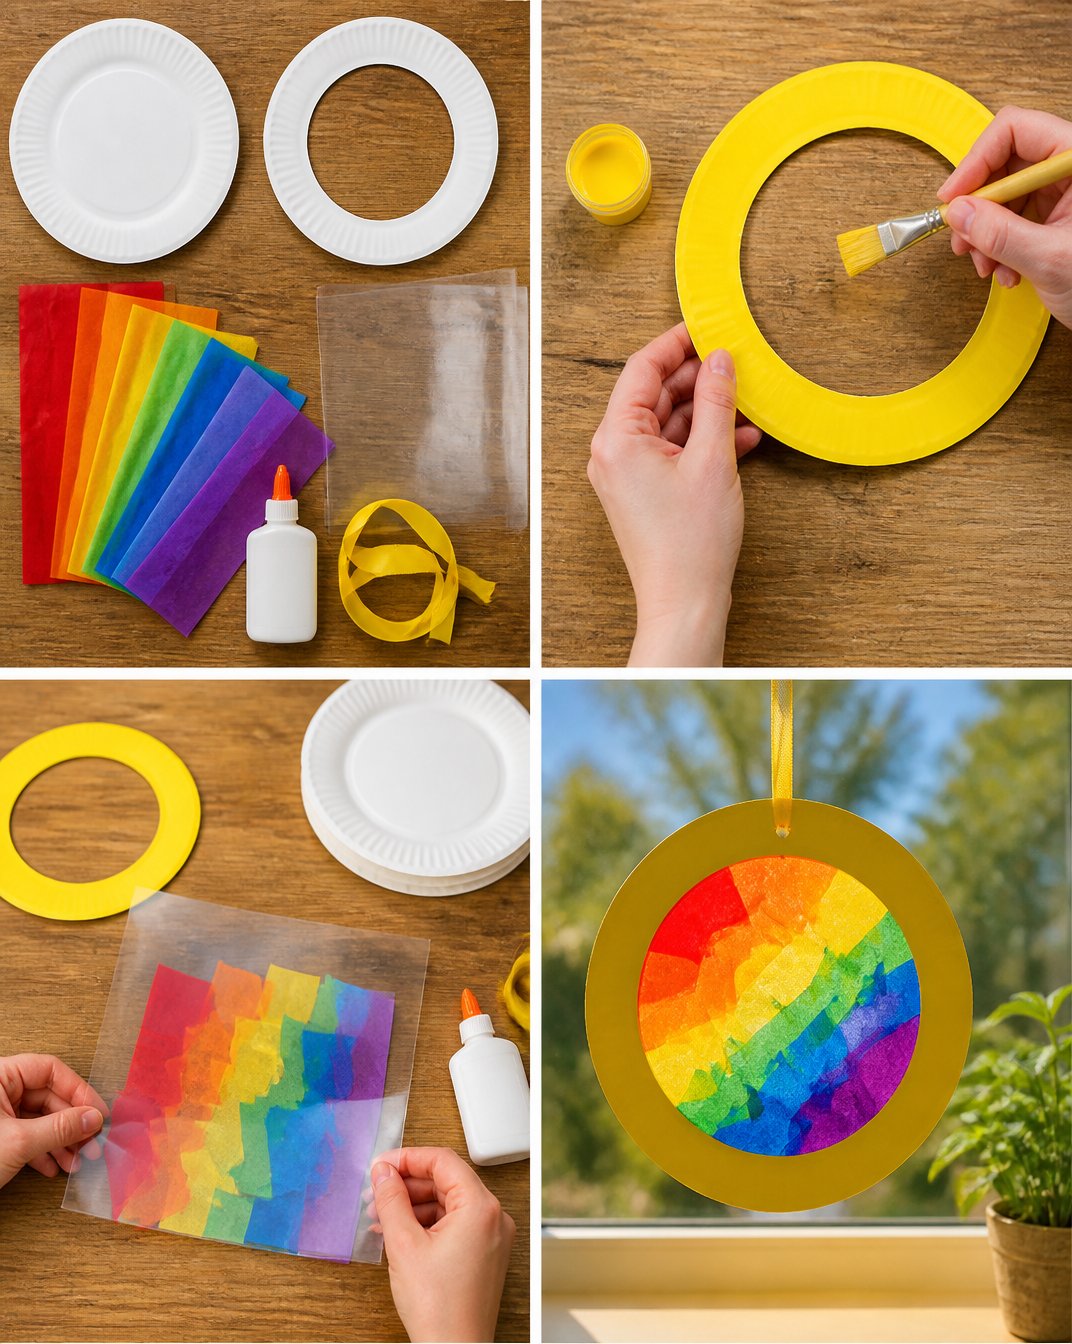
Arrange overlapping pieces of rainbow tissue paper on a sheet of clear contact paper. This part allows kids to explore their creativity, as they can layer the tissue pieces however they like, forming their unique patterns.
Seal the tissue paper with a second clear sheet of contact paper. This step is important for keeping everything contained. Press down gently but firmly to remove bubbles and ensure a tight seal.
Trim the colorful contact-paper panel to fit behind the paper-plate frame. You want the colorful design to be visible from the front. Be careful while trimming to ensure a neat finish.
Glue the contact-paper panel securely in place, using the second plate for extra backing if needed. This adds stability to your sun catcher and creates a polished look.
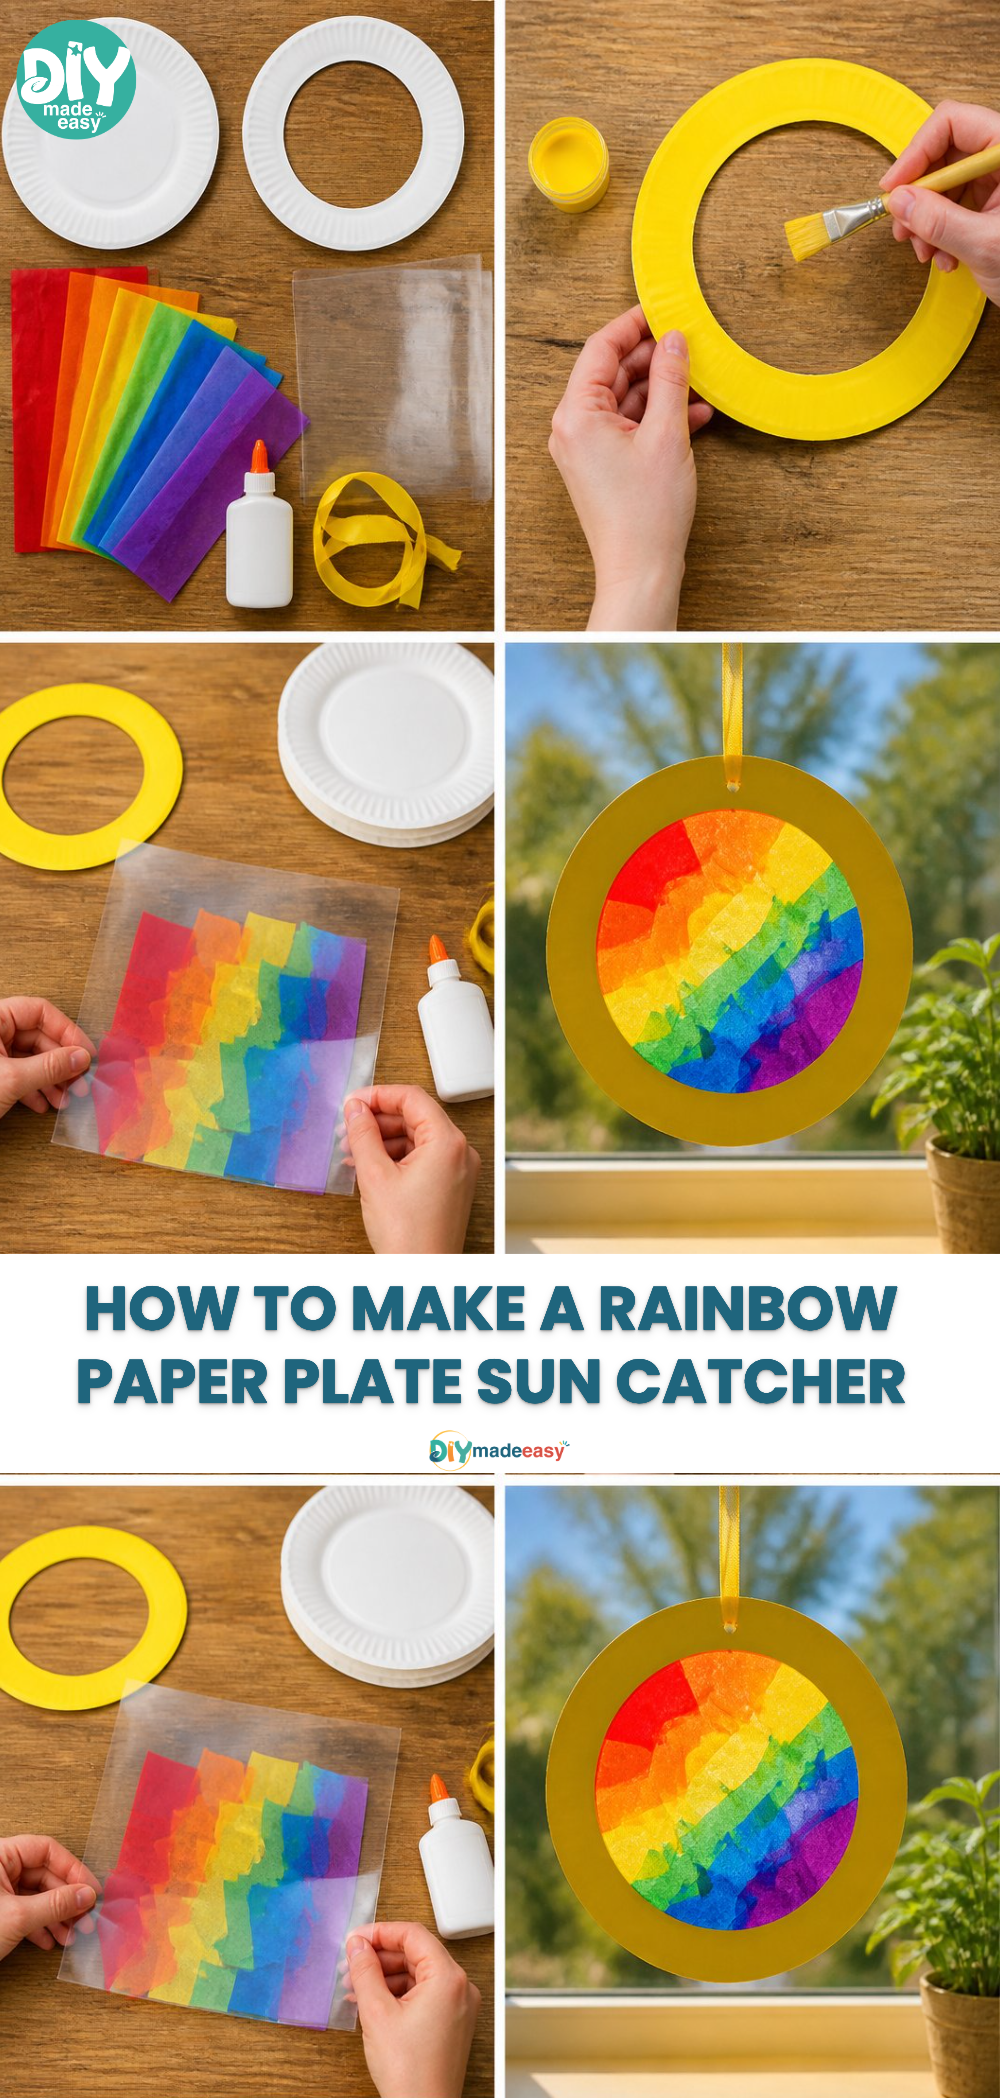
Attach ribbon to the top and hang the finished sun catcher in a bright window. Enjoy the view as it catches the sunlight, illuminating the room with the colors of the rainbow!
If you find this project enjoyable, you might also want to explore making colorful rainbow crystal leaf sun catchers for a different twist.
The Learning Behind This DIY
Creating a Rainbow Paper-Plate Sun Catcher is not just about making art; it also introduces several learning experiences. As children engage with different colors and materials, they practice fine motor skills while cutting and gluing.
This activity supports coordination as kids manipulate various components, following a sequence of steps to bring their creation to life. Moreover, it provides a gentle introduction to science concepts, especially regarding light and transparency as they observe how the sun reflects through colorful papers. With each step, kids learn about cause and effect—seeing how sunlight transforms their design into a spectacle.
Troubleshooting Common Issues
While crafting is generally enjoyable, sometimes things don’t go as planned. For instance, if the tissue paper colors start to fade or bleed when exposed to sunlight, it could be due to using lower quality paper. Opt for tissue paper specifically designed for crafts, as they often hold color better.
Another common issue might arise during the sealing process. If bubbles form, simply press down firmly on the contact paper to release air. If the contact paper seems to curl or doesn’t stick, try cutting less at the edges to allow for better adhesion onto the frame.
Easy Variations to Try
To keep crafting exciting, here are a few variations you can try:
Nature-inspired designs: Incorporate leaves or flowers between the layers of tissue paper for a more organic look.
Themed colors: Adjust the colors based on seasons or holidays, like pastels for spring or warm tones for fall.
Additional shapes: Consider cutting different shapes—like stars or hearts—from the second plate to create various designs.
These alternatives can transform your sun catcher crafting into an evolving project that remains fresh with each new idea.
Storing or Reusing This Project
Once your Rainbow Paper-Plate Sun Catcher has served its purpose in brightening your room, consider whether you would like to keep it! If it’s still in good shape, feel free to reuse the materials in future crafts. Alternatively, if it begins to wear or fade, you can dismantle it and store the parts for another project, ensuring you maximize your supplies.
Cleaning up is simple too. Ensure all paintbrushes and materials are washed and put away. Since this project uses limited supplies, your cleanup won’t become overwhelming.
FAQs About Rainbow Paper-Plate Sun Catcher
What if my child spills glue or paint?
Don’t worry! This often happens with art projects, especially with kids. Simply use a damp cloth to wipe it up quickly. Most glue can be removed easily when wet, and paint can be cleaned with soap and water.
Is this safe for younger children?
Yes, with appropriate supervision as they use scissors and glue. You might need to handle the cutting, but the rest can be quite safe and fun for kids.
Can I use other types of paper instead of tissue paper?
Absolutely! If you have scrapbooking paper, wrapping paper, or even old magazines, they can work well too. Just be mindful that the final look will be different.
How do I store it after making it?
Once it’s dry, hang it in a window or place it where you can enjoy it. If it’s becoming worn, consider disassembling it to use in future crafts.
Conclusion
Conclusion
Creating a Rainbow Paper-Plate Sun Catcher can be a delightful way to spend time with your children while fostering their creativity. This craft not only brightens your home but also teaches children valuable skills and concepts. For additional inspiration, consider checking out the Paper Plate Rainbow Sun Catcher Craft – Messy Little Monster and take a look at some exciting variations, like those featured in Sun Catchers Rainbow Paper Plate Rainbow Sun Catcher Craft. Enjoy making colorful magic together!
PrintRainbow Paper-Plate Sun Catcher
A delightful and colorful crafting activity for kids that brightens up any window with a beautiful sun catcher made from paper plates and tissue paper.
- Prep Time: 15 minutes
- Cook Time: 30 minutes
- Total Time: 45 minutes
- Yield: 1 sun catcher 1x
- Category: Craft
- Method: Crafting
- Cuisine: N/A
- Diet: N/A
Ingredients
- 2 paper plates
- Clear contact paper
- Tissue paper in 6 rainbow colors
- Yellow paint
- Ribbon
- Glue
Instructions
- Cut the center from one paper plate to create a circular frame.
- Paint the frame sunshine yellow and let it dry completely.
- Arrange overlapping pieces of rainbow tissue paper on a sheet of clear contact paper.
- Seal the tissue paper with a second clear sheet of contact paper.
- Trim the colorful contact-paper panel to fit behind the paper-plate frame.
- Glue the contact-paper panel securely in place.
- Attach ribbon to the top and hang the finished sun catcher in a bright window.
Notes
Ensure supervision for younger children when using scissors and glue. Cleanup is easy with soap and water.
Nutrition
- Serving Size: 1 sun catcher
- Calories: 0
- Sugar: 0g
- Sodium: 0mg
- Fat: 0g
- Saturated Fat: 0g
- Unsaturated Fat: 0g
- Trans Fat: 0g
- Carbohydrates: 0g
- Fiber: 0g
- Protein: 0g
- Cholesterol: 0mg