

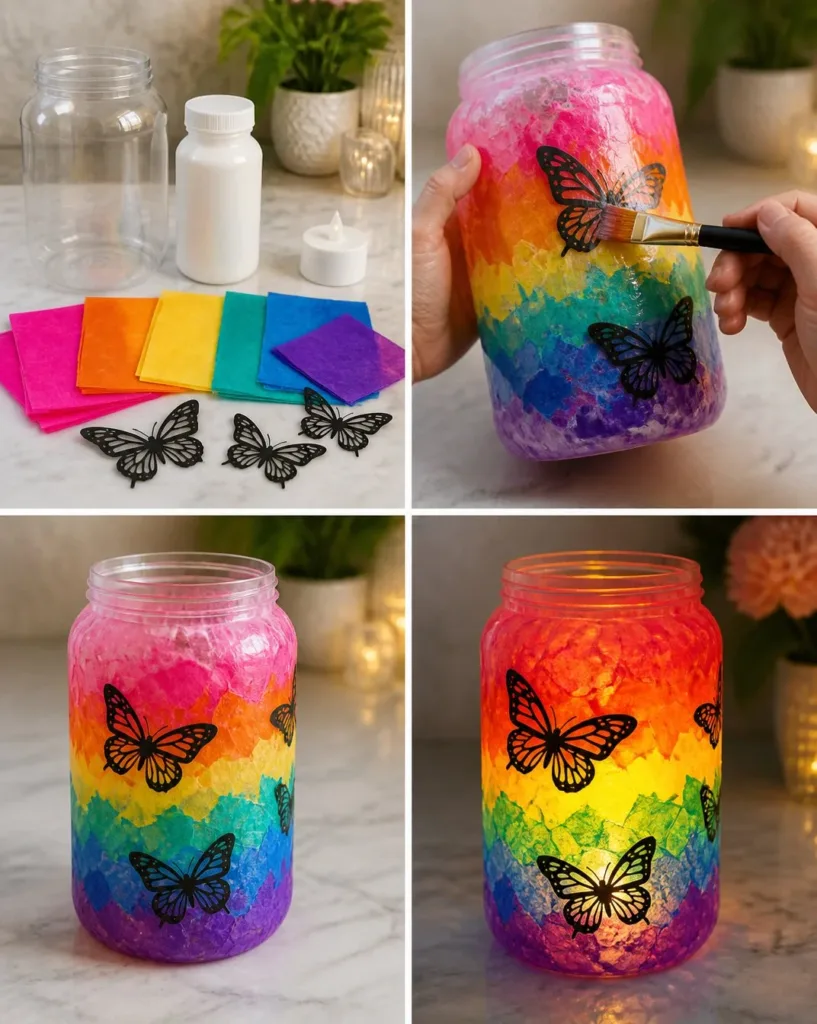
Creating a fun, colorful project with kids can be incredibly rewarding, especially when the activity is not only engaging but also results in a beautiful craft like the Colorful Rainbow Tissue Paper Butterfly Lantern. Picture a busy afternoon where little hands are eager to create something special. Whether you’re looking for a last-minute activity or just a creative way to brighten up the day, this lantern project incorporates vibrant tissue paper and a bit of decoupage, making it a perfect blend of fun and artistry. You may also find Diy Rainbow Tissue Paper Hot Air Balloon Craft useful.
Why You’ll Love Making Colorful Rainbow Tissue Paper Butterfly Lantern
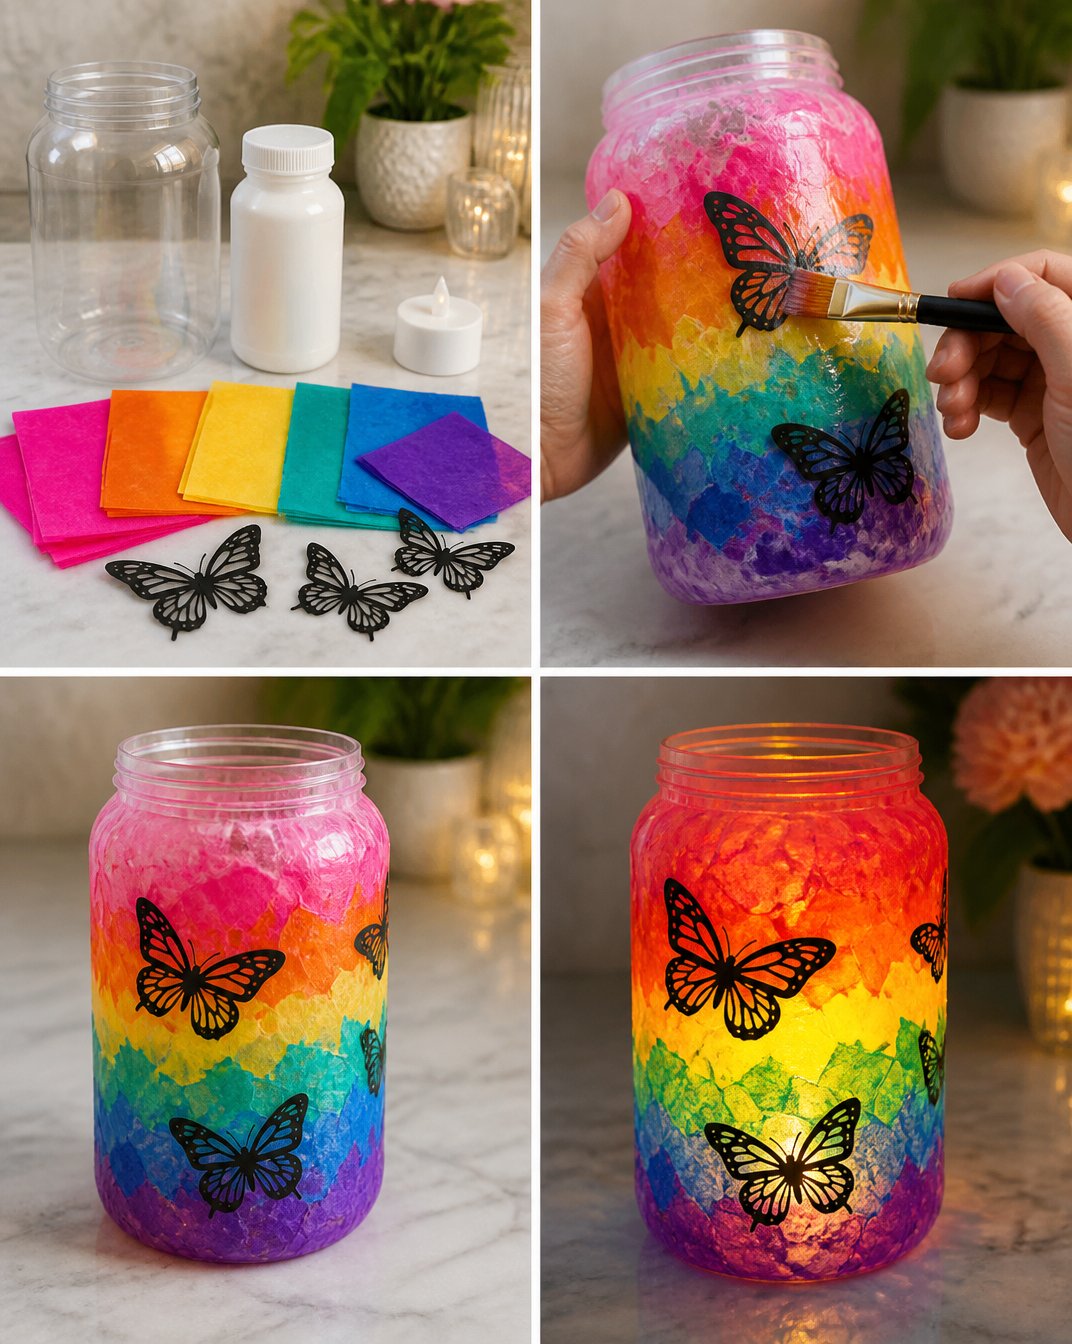
The Colorful Rainbow Tissue Paper Butterfly Lantern really stands out because it combines simplicity with creativity. It’s a low-prep project that parents and kids can easily tackle together, perfect for real-life schedules. You don’t need to gather a lot of complicated materials; everything needed is often found at home, making this a budget-friendly craft. Plus, it allows for self-expression as children can choose their favorite colors and patterns when applying the tissue paper, enhancing the fun. You may also find Butterfly Glow Lantern useful.
A Quick Look Before You Begin
Making this lantern involves a straightforward process that is both exciting and manageable. You should set aside about an hour to complete the project, allowing for some drying time in the end, especially after sealing with decoupage glue. The setup is simple, and the mess level is minimal, so you won’t need to worry too much about major clean-up afterward. If you do get a little tissue paper stuck to the table or floor, a quick wipe will do the trick. Parents may want to involve themselves in brushing on the glue and supervising, but kids will undeniably love tearing the tissue paper and arranging their creations. You may also find Butterfly Rainbow Suncatcher Layered Glue Craft useful.
Materials You’ll Need
- 1 clear plastic jar
- Tissue paper in pink, orange, yellow, turquoise, blue, and purple
- Butterfly cutouts
- Decoupage glue
- Battery tea light
These materials are typically easy to find around the house or at local craft stores. Using a clear plastic jar makes it visually appealing as the colorful light will shine through beautifully, and the tissue paper can be a common household item. Butterfly cutouts can be easily printed from templates online or hand-drawn for a personalized touch. You may also find Colorful Haunted Mason Jar Lanterns Halloween Decor useful.
Step-by-Step Directions
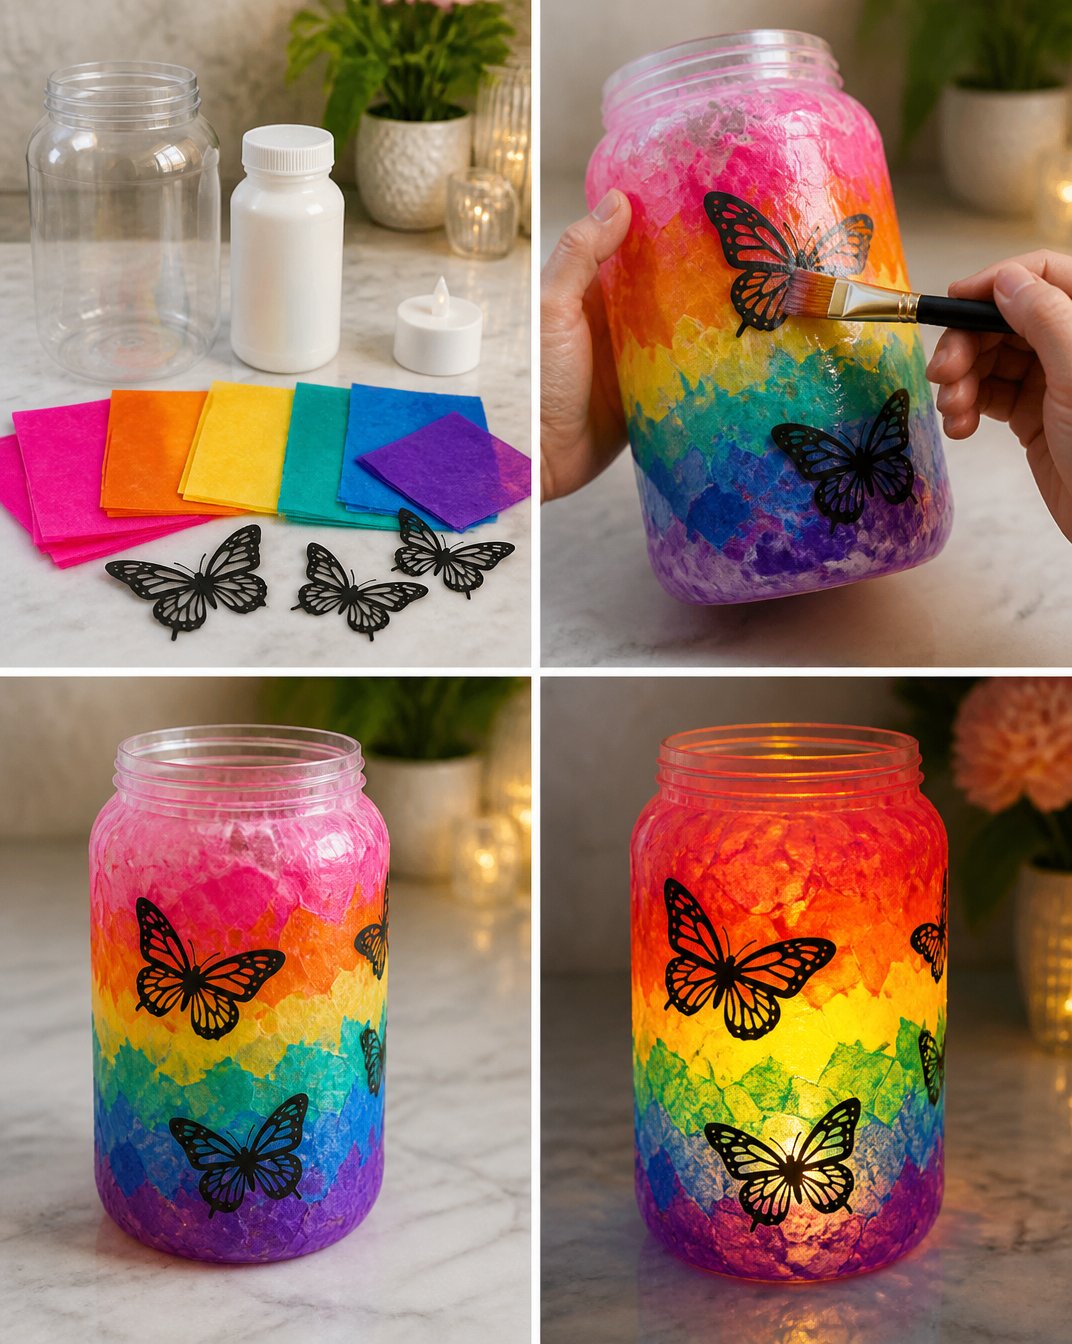
Tear the colored tissue paper into small pieces. Encourage kids to rip it into various shapes and sizes—this adds to the unique design. The more colorful, the better!
Brush a thin layer of decoupage glue onto the clear plastic jar. Starting from the bottom, apply a light coat so the tissue pieces will stick well.
Overlap the tissue pieces to form a rainbow mosaic. Let children arrange their scrap papers as they see fit. There’s no right or wrong way here, which helps them feel creative.
Place butterfly cutouts over the colorful background and smooth them into position. You can gently press down to ensure they adhere nicely.
Seal the design with another thin layer of decoupage glue. This helps protect the tissue pieces and gives a nice finish.
Let the jar dry completely. Depending on the environment, this can take anywhere from 30 to 60 minutes.
Place a battery tea light inside the finished lantern. Make sure not to use an open flame as it can pose a safety hazard. The light will bring your beautiful craft to life!
What Kids Practice While Making This
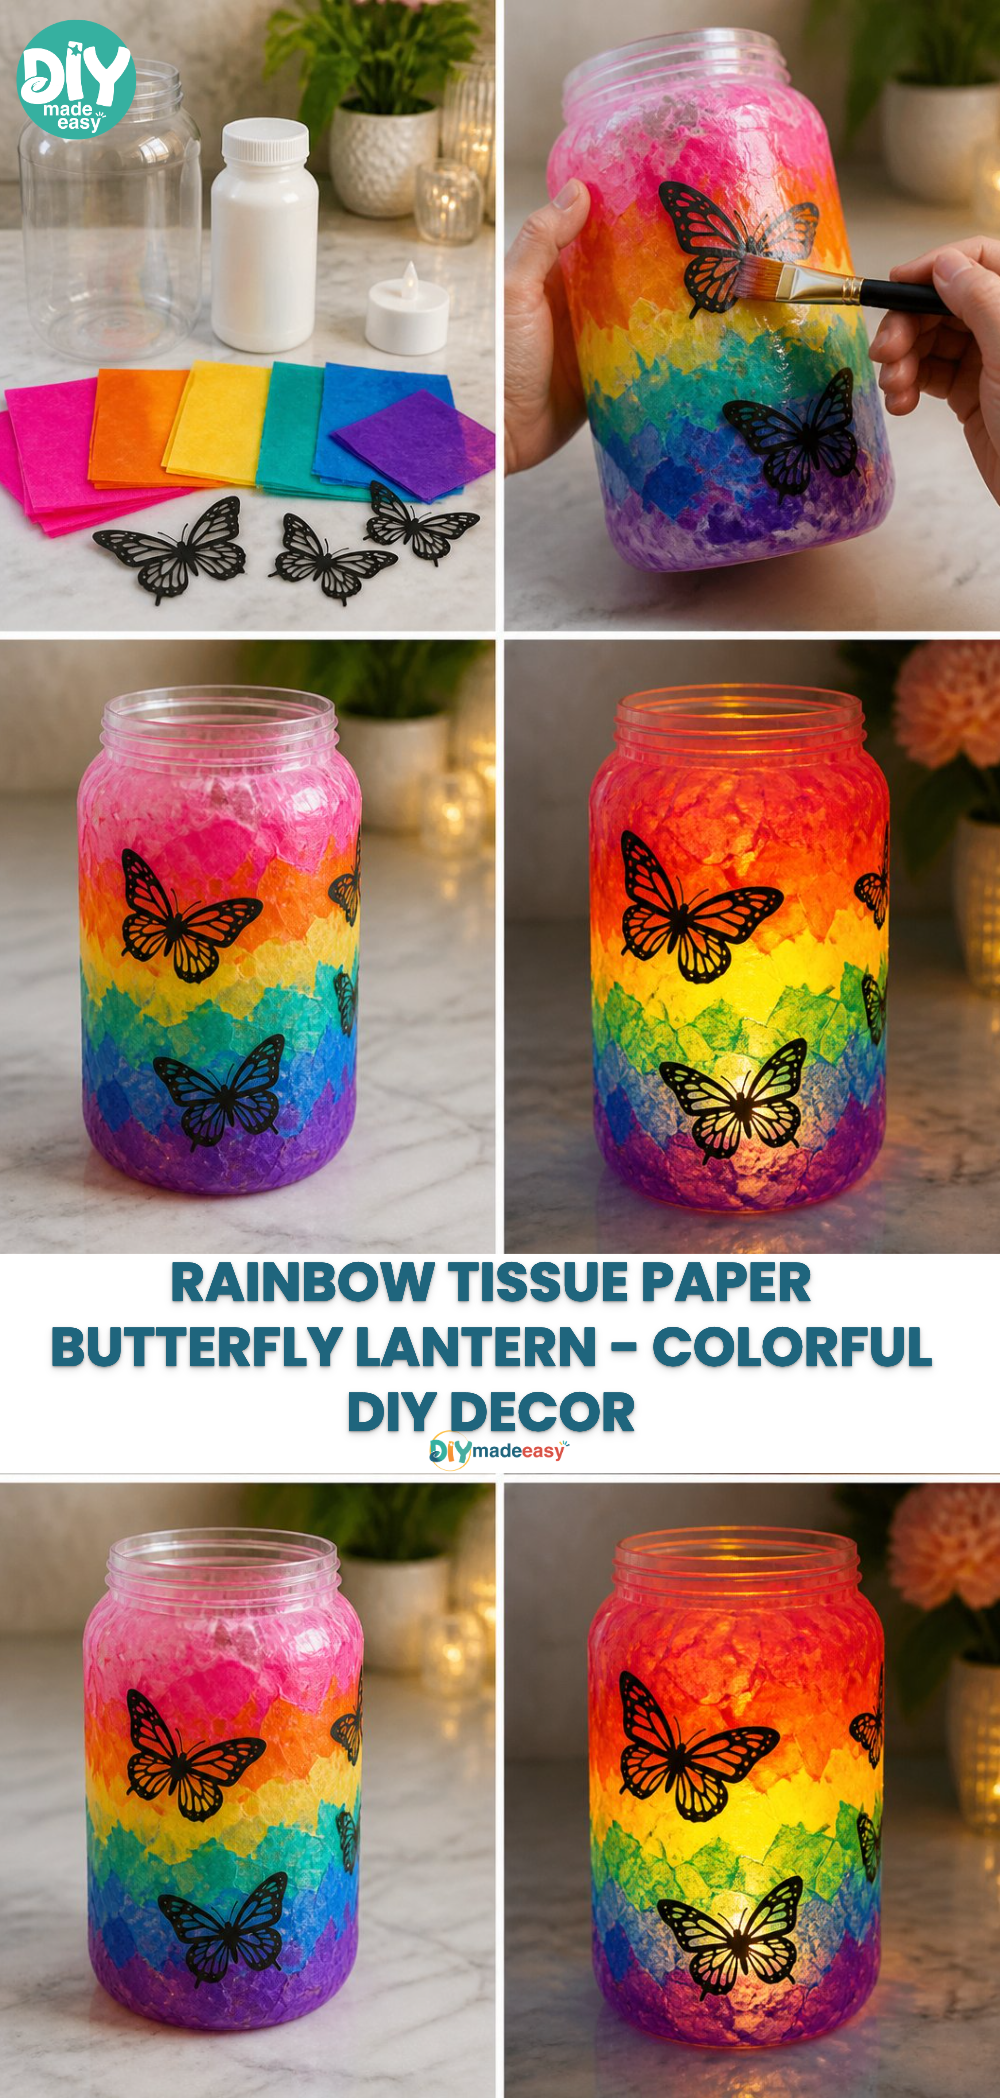
Creating the Colorful Rainbow Tissue Paper Butterfly Lantern isn’t just about crafting; it also supports multiple skills in children. Working with tissue paper helps improve fine motor skills and coordination as they learn to tear and arrange the pieces carefully. Kids also get a sense of cause and effect—seeing how the color changes with light inside the jar. Additionally, this activity fosters creativity by allowing kids to choose how they want their lantern to look and enables them to take pride in their finished product.
Troubleshooting Common Issues
If something doesn’t go as planned during the lantern-making process, there are simple fixes available. For instance, if the tissue paper tears too easily, you can offer your child larger pieces to work with, allowing them a stronger grip as they apply it to the jar. If the decoupage glue runs underneath and makes a mess, remind them to apply a thin layer at a time, giving it time to set before continuing. Overall, it’s essential to keep the atmosphere light and let kids know mistakes are part of the creative process.
Easy Variations to Try
The beauty of this activity lies in its flexibility. Here are a few ways to change it up:
- Use different shaped cutouts, like stars or flowers, to create a themed lantern.
- Incorporate glow-in-the-dark stickers on the jar for a nighttime surprise.
- Try seasonal colors, such as pastels for spring or deeper shades for autumn.
- Experiment with different textures by using various kinds of paper, like patterned scrapbooking paper.
Storing or Reusing This Project
After finishing the project, consider where the finished lantern will go. If you wish to store it, keep it in a safe place to avoid damage. The materials are recyclable, so encourage reusing the jar and any leftover tissue paper. This not only reduces waste but also teaches kids to think creatively about reusing materials.
FAQs About Colorful Rainbow Tissue Paper Butterfly Lantern
What if I don’t have decoupage glue?
It’s possible to use a mixture of white glue and water as a DIY alternative, which can achieve a similar effect for this project.
Is this project safe for younger children?
Yes, this project is quite safe; however, adult supervision is recommended, especially with small children handling sharp scissors for paper cutting.
How messy is this craft?
The mess is minimal if you prepare for it. Laying down a smock or an old newspaper can help clean up afterward, but most of the materials are easy to handle.
Can I use real candles instead of battery tea lights?
No, it is safest to avoid open flames, as decorated jars can catch fire, so always use battery-operated lights.
Conclusion
Creating a Colorful Rainbow Tissue Paper Butterfly Lantern is an enjoyable and fulfilling craft that families can do together. Not only will everyone have fun crafting, but the end product adds a touch of brightness to any space. For additional colorful ideas, you might want to explore some stunning pastel rainbow decorations or find great supplies at eFavormart. Enjoy your crafting day!
PrintColorful Rainbow Tissue Paper Butterfly Lantern
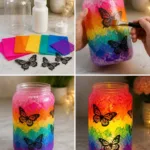
A fun and engaging craft project for kids that results in a beautiful butterfly lantern using vibrant tissue paper and decoupage glue.
- Prep Time: 10 minutes
- Cook Time: 30 minutes
- Total Time: 40 minutes
- Yield: 1 lantern 1x
- Category: Craft
- Method: Crafting
- Cuisine: N/A
- Diet: N/A
Ingredients
- 1 clear plastic jar
- Tissue paper in pink, orange, yellow, turquoise, blue, and purple
- Butterfly cutouts
- Decoupage glue
- Battery tea light
Instructions
- Tear the colored tissue paper into small pieces.
- Brush a thin layer of decoupage glue onto the clear plastic jar.
- Overlap the tissue pieces to form a rainbow mosaic.
- Place butterfly cutouts over the colorful background.
- Seal the design with another thin layer of decoupage glue.
- Let the jar dry completely.
- Place a battery tea light inside the finished lantern.
Notes
This is a budget-friendly and engaging craft that enhances creativity and fine motor skills in children.
Nutrition
- Serving Size: 1 lantern
- Calories: N/A
- Sugar: N/A
- Sodium: N/A
- Fat: N/A
- Saturated Fat: N/A
- Unsaturated Fat: N/A
- Trans Fat: N/A
- Carbohydrates: N/A
- Fiber: N/A
- Protein: N/A
- Cholesterol: N/A