

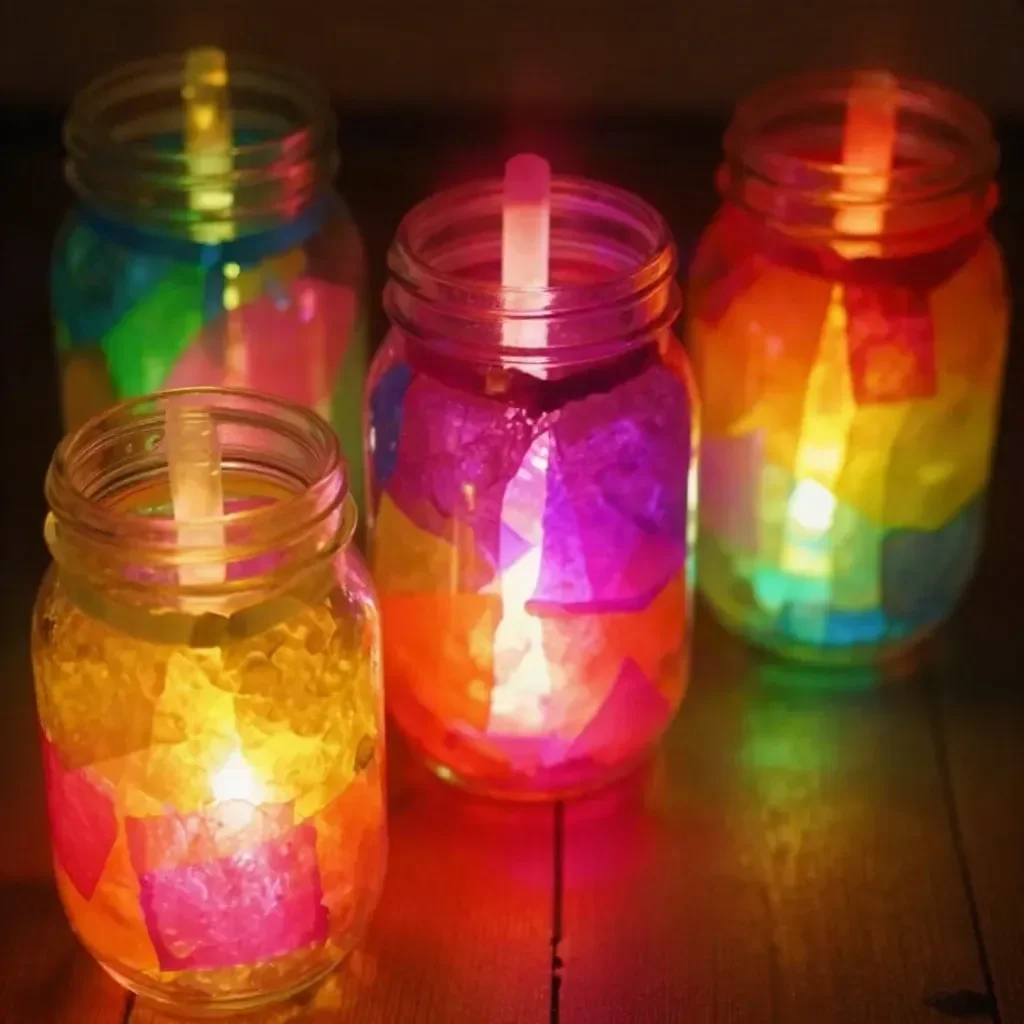
Creating a fun and interactive project can often feel daunting, especially when you’re juggling work, family, and everything in between. Imagine a busy afternoon where your kids are itching to make something exciting but time is short. You could easily turn that moment into magic with Glow Stick Mason Jar Lanterns. This engaging activity not only sparks creativity but also provides an enchanting glow for evening gatherings or celebrations. You may also find Colorful Haunted Mason Jar Lanterns Halloween Decor useful.
Why You’ll Love Making Glow Stick Mason Jar Lanterns
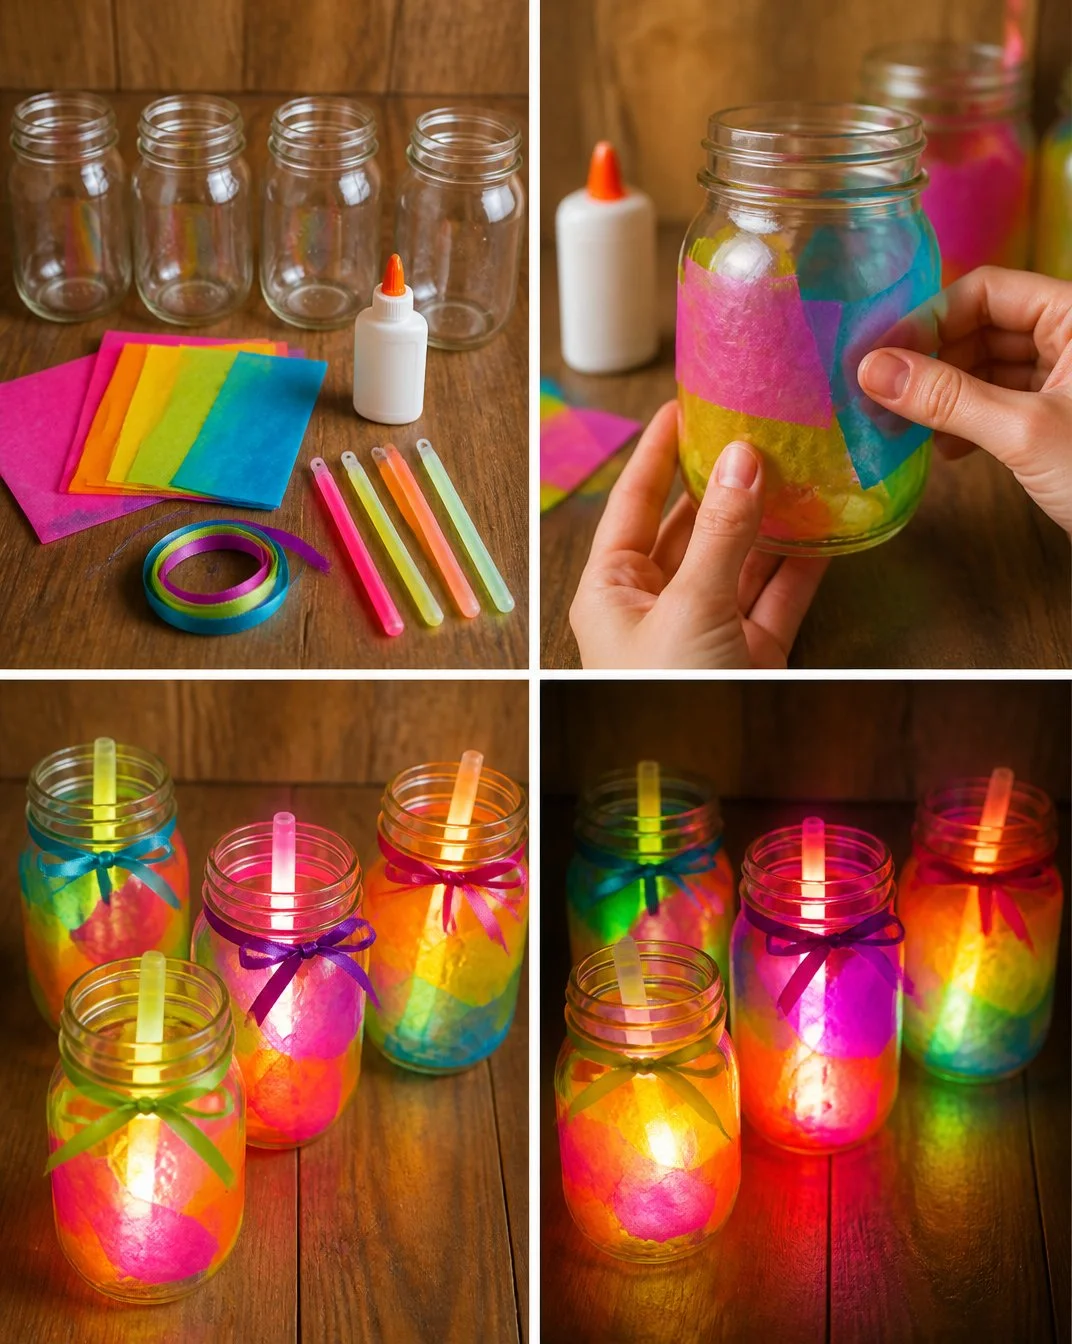
Glow Stick Mason Jar Lanterns are a fantastic project that combines simplicity, creativity, and fun. One of the best aspects of this project is the minimal preparation needed. You don’t have to carve pumpkins or gather elaborate materials; instead, you can use things you probably already have at home. Kids enjoy expressing themselves by choosing how to design their jars, making this not just an activity, but also a creative outlet. You may also find Diy Glowing Fish Lanterns Recycled Plastic Eggs useful.
The project is reliable and results in a tangible product that kids can display proudly. As the lanterns glow, they can be used for a variety of occasions – from Halloween decorations to nighttime parties. Kids thrive on seeing their work come to life. Plus, the process can be completed pretty quickly, fitting snugly into a busy schedule. You may also find Glow In The Dark Firework Jar useful.
A Quick Look Before You Begin
Making Glow Stick Mason Jar Lanterns involves a straightforward flow. First, set aside about 30 minutes to an hour. This allows enough time for everyone to partake in the creative process without rushing. You’ll want to gather your materials first, but don’t worry about achieving perfection. Kids can enjoy tearing tissue paper without the stress of precise designs. You may also find Glowing Glitter Jar useful.
This project usually results in a bit of mess, but it’s manageable. You might have bits of tissue paper scattered around, but the joy on your children’s faces will be worth it. Adult supervision is recommended for handling the glue and glow sticks, but you can encourage older kids to participate actively by guiding them through the creative steps.
Materials You’ll Need
For this delightful project, you will need to gather the following materials:
4 mason jars
Tissue paper
A common household item that comes in various colors.Clear glue
This will help secure the tissue paper and create a nice finish.4 glow sticks
These add the magical glow to your lanterns when placed inside.Ribbon
A charming touch that makes the lanterns even more appealing.
These materials are all easy to find, often in your home or local stores. Everything you need is budget-friendly and completely accessible, making this an ideal project for families.
Step-by-Step Directions
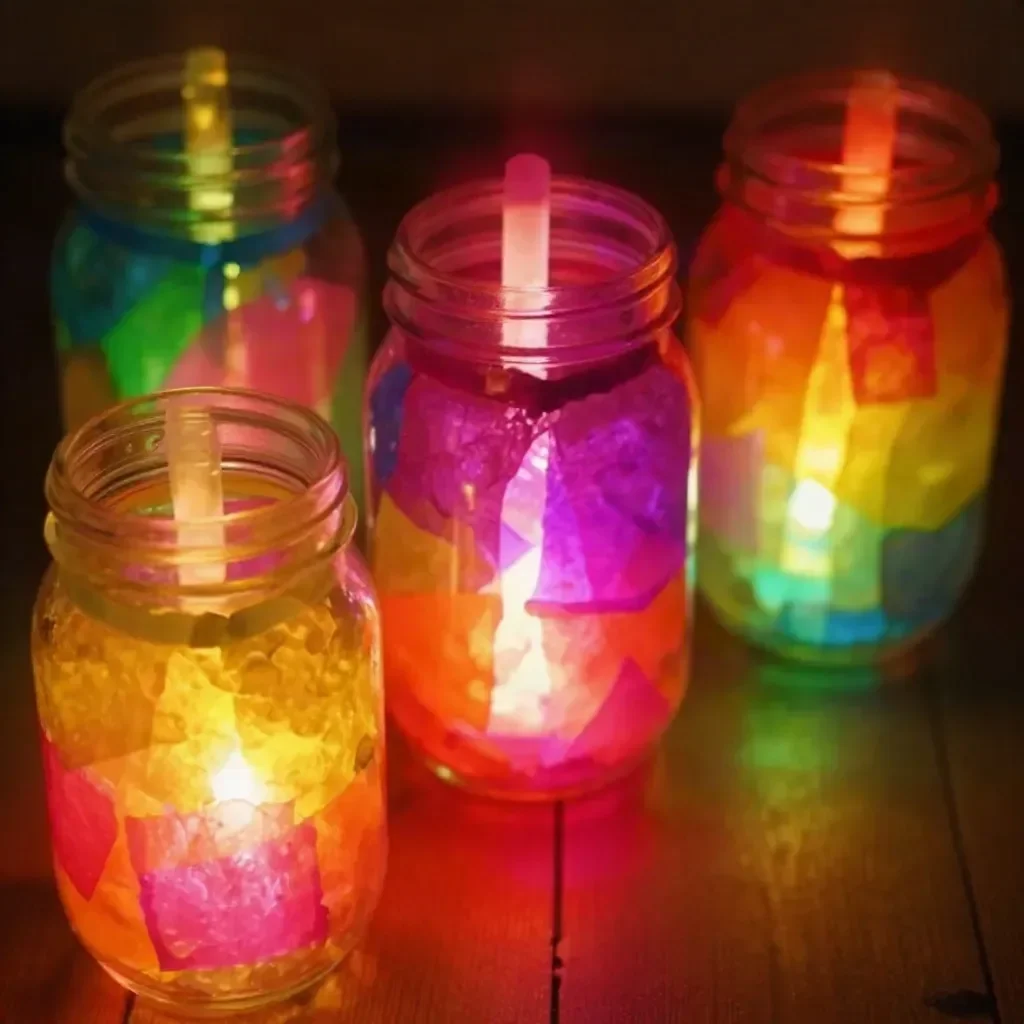
Tear the tissue paper into fun shapes.
Encourage everyone to get creative with the designs. Whether it’s stars, hearts, or abstract shapes, this is all about having fun. You can even mix colors for a beautiful collage effect.Use the clear glue to attach the shapes to the outside of the mason jars.
Apply a layer of glue on the jar, and then press the tissue paper shapes onto the surface. Don’t worry about being perfect—just have fun!Once the glue has dried, activate your glow sticks and place one inside each jar.
Follow the instructions on the glow sticks to make sure they glow brightly and evenly in the jars.Finish by tying a ribbon around the neck of each jar for a cute touch!
This final detail adds a lovely finish to your lanterns. Let kids pick their favorite colors.
What Kids Practice While Making This
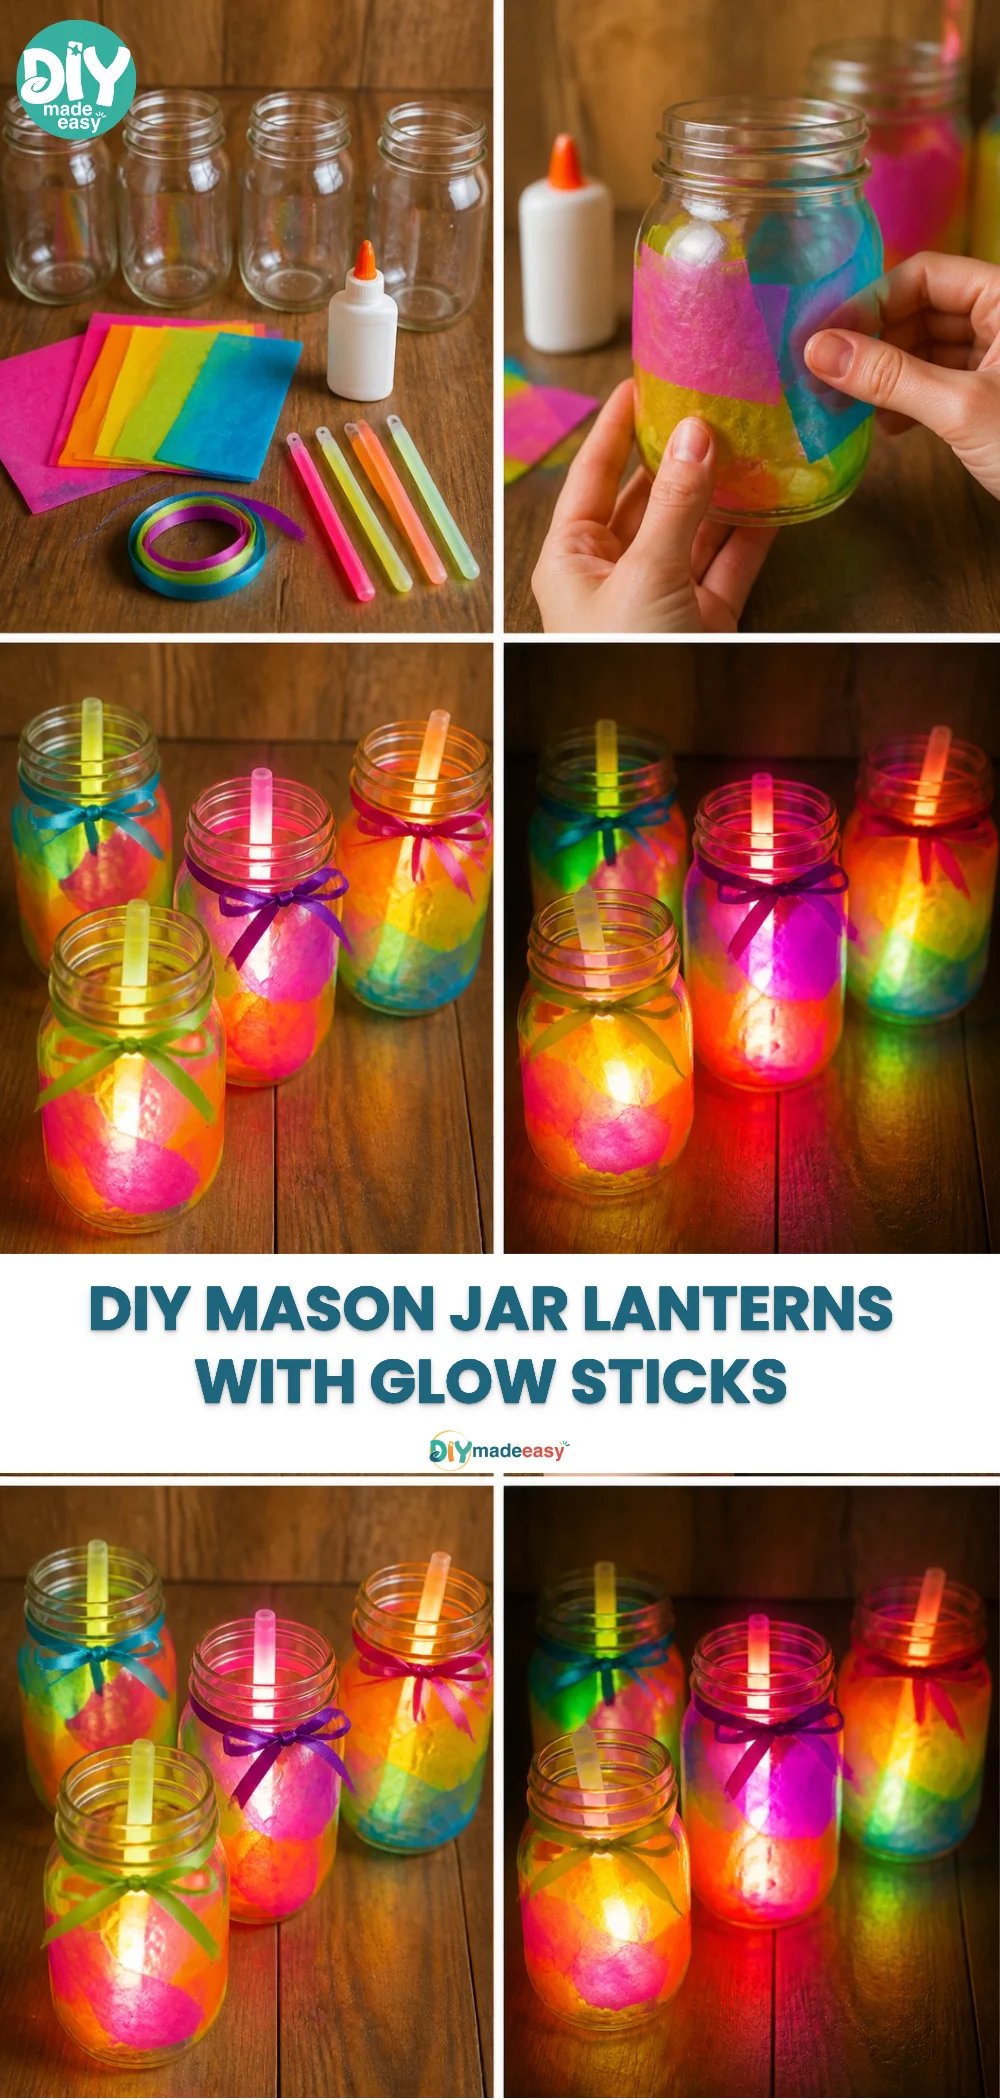
While creating these lanterns, children are naturally practicing a variety of skills. As they tear tissue paper and manipulate shapes, they’re working on their fine motor skills, which are essential for many everyday tasks. Additionally, they learn about color matching and mixing as they choose their designs.
Even more, this activity encourages imagination and problem-solving. When deciding how to arrange the tissue paper or how to position their glow sticks, kids are flexing their creative muscles. It’s a wonderful blend of art and science, as they see how the glow sticks illuminate the designs they’ve crafted.
Troubleshooting Common Issues
Kids might face a few challenges while crafting, and that’s perfectly okay. If the glue doesn’t stick properly, try using a bit more or letting the first layer dry before adding another. If the tissue paper rips too easily, remind them to go slow and enjoy the process.
Sometimes, glow sticks may not activate properly. If that happens, simply check to make sure they are snapped to activate and follow the instructions carefully. Encourage them to feel proud, even if the results aren’t as expected, because the process of creating is what truly matters.
Easy Variations to Try
If you want to introduce some variety to this project, here are a few ideas:
Seasonal Themes: Create lanterns for different seasons or holidays by using specific colors and shapes related to that time of year. For example, orange and black for Halloween or pastels for Easter.
Craft a Glow-in-the-Dark Surprise: Once you’ve made your lanterns, you can always enhance them by integrating glow-in-the-dark paint.
Incorporate Photos: Instead of tissue paper, consider using printed pictures or drawings by your kids to personalize each lantern even more.
Add Glitter: To make your lanterns shine even brighter, sprinkle glitter on the glue before it dries. This adds an extra sparkle to your designs.
Each variation can completely change the look and feel of the lanterns, keeping the project fresh and engaging!
Storing or Reusing This Project
Once the lanterns are complete, you may wonder what to do with them afterward. Ideally, they can be stored and reused, especially if you have seasonal themes.
If you choose to keep the lanterns, simply place them in a dry area. If glow sticks need to be disposed of properly, follow your local regulations for hazardous materials. Cleanup should be simple; just a damp cloth for the workspace and a method for storing the leftover supplies for future crafting adventures.
FAQs About Glow Stick Mason Jar Lanterns
What if my workspace becomes too messy during the project?
It’s common for projects like this to have a bit of cleanup involved. Use a drop cloth or a large sheet of paper to catch any tissue paper scraps, making cleanup much easier.
Are glow sticks safe for my kids to handle?
Yes, glow sticks are generally safe, but it’s a good idea to supervise kids while handling them. Make sure they know to avoid breaking the glow sticks, as the contents can be unsafe if spilled.
Can I use other types of jars?
Absolutely! While mason jars are popular for their sturdiness, you can use any clear jar you have at home. Just ensure that whatever jar you choose can safely hold the glow sticks.
Can I use other types of adhesive instead of clear glue?
You may use decoupage glue or craft adhesive, but clear glue works best for this project as it dries clear and won’t detract from the beauty of the designs.
How long will the glow sticks last once activated?
Glow sticks usually last several hours once activated. However, some may last longer than others, depending on the brand, so do check the packaging for specific details.
Conclusion
Making Glow Stick Mason Jar Lanterns is a delightful way to spend quality time with your kids while fostering their creativity. With simple materials and straightforward steps, this project is easy to start and produces gratifying results. For more ideas on DIY lanterns, check out How To Make Your Own Fabulous DIY Glow Stick Lanterns or explore Mason Jar Lanterns | Kid’s Activity and Craft – No Guilt Mom. Enjoy crafting together, and let your children’s imaginations shine brightly!
PrintGlow Stick Mason Jar Lanterns
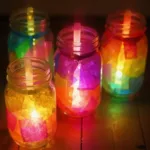
A fun and interactive project that lets kids create enchanting glow stick lanterns with household items.
- Prep Time: 10 minutes
- Cook Time: 30 minutes
- Total Time: 40 minutes
- Yield: 4 lanterns 1x
- Category: Craft
- Method: Crafting
- Cuisine: N/A
- Diet: N/A
Ingredients
- 4 mason jars
- Tissue paper (various colors)
- Clear glue
- 4 glow sticks
- Ribbon
Instructions
- Tear the tissue paper into fun shapes.
- Use the clear glue to attach the shapes to the outside of the mason jars.
- Once the glue has dried, activate your glow sticks and place one inside each jar.
- Finish by tying a ribbon around the neck of each jar for a cute touch!
Notes
This project involves adult supervision for handling glue and glow sticks. Enjoy the messy but fun creative process!
Nutrition
- Serving Size: 1 lantern
- Calories: 0
- Sugar: 0g
- Sodium: 0mg
- Fat: 0g
- Saturated Fat: 0g
- Unsaturated Fat: 0g
- Trans Fat: 0g
- Carbohydrates: 0g
- Fiber: 0g
- Protein: 0g
- Cholesterol: 0mg