

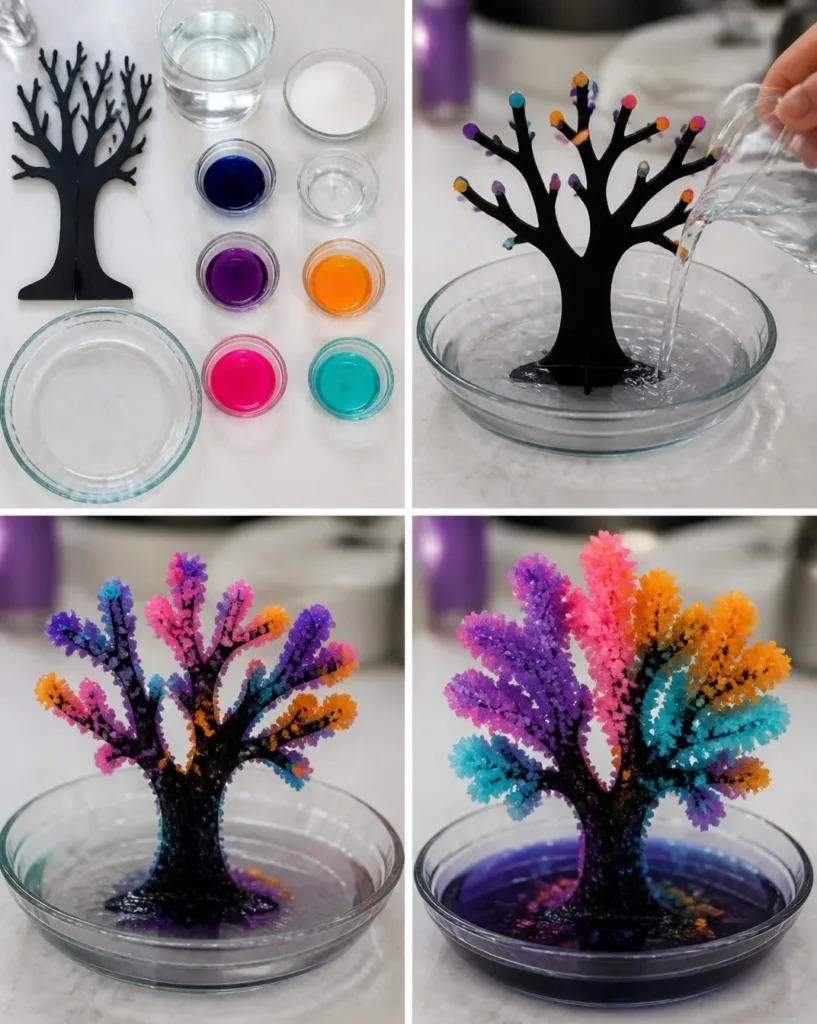
It’s a busy afternoon, and the kids are buzzing with energy. They’re looking for something fun and creative to do right now, something that does not take a ton of preparation. That’s where the Rainbow Crystal Haunted Tree comes in. With simple materials and a little patience, this DIY project can be a delightful afternoon adventure. The best part is seeing the beautiful crystals grow, bringing a sense of magic right into your home. You may also find Rainbow Crystal Love Tree useful.
Why This Rainbow Crystal Haunted Tree Works So Well
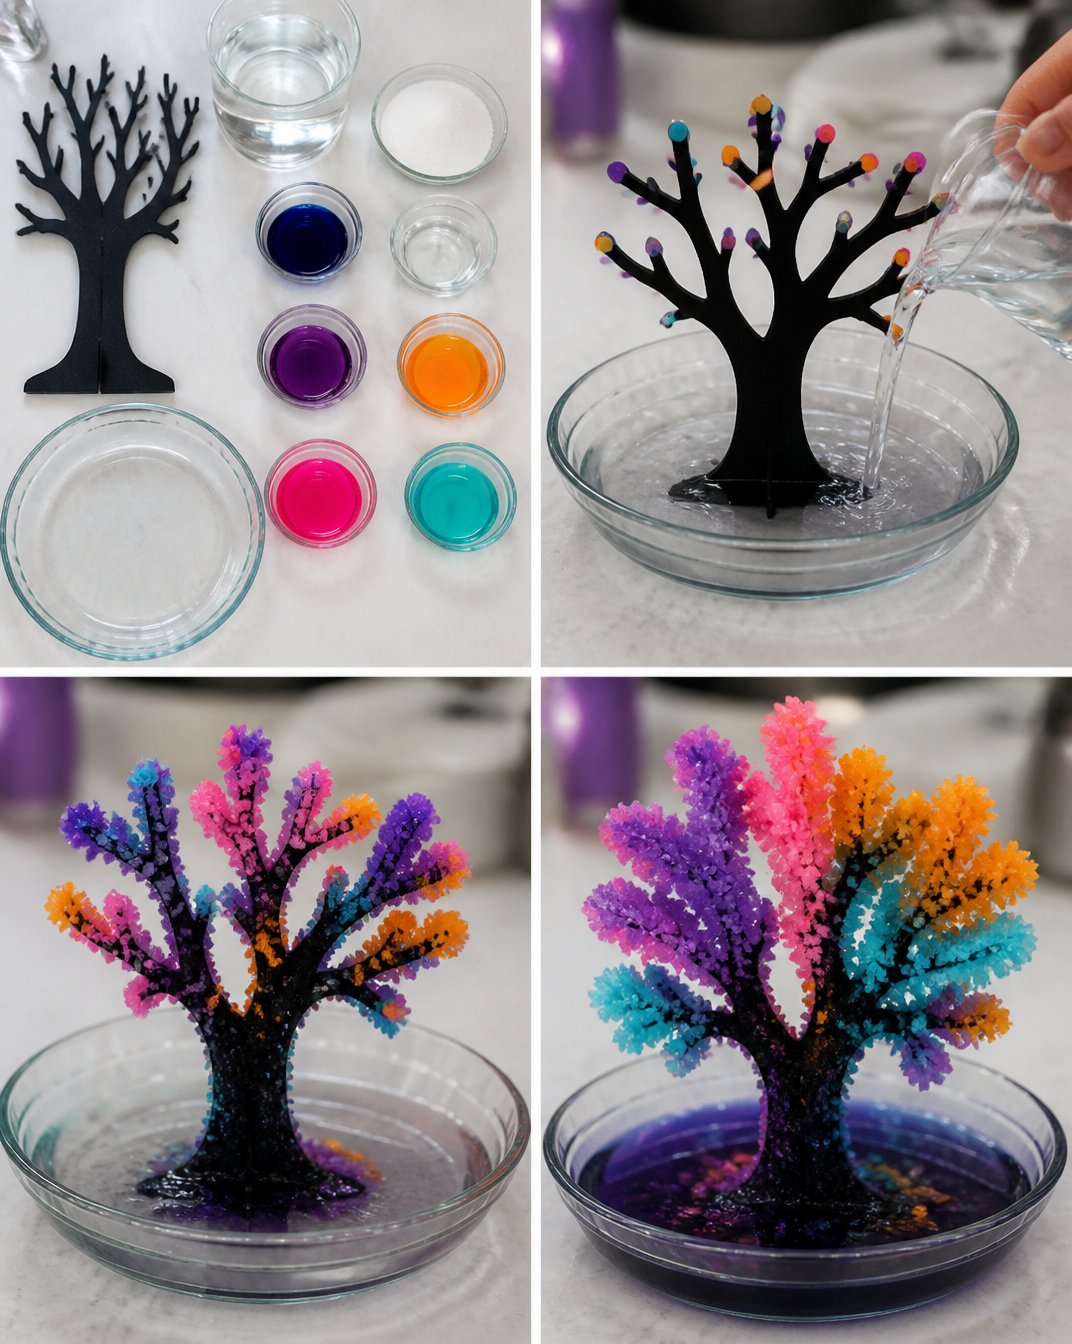
The Rainbow Crystal Haunted Tree is a wonderfully straightforward project. It has low preparation requirements, making it easy to set up. You don’t need a large array of complicated materials. Instead, you can often find everything at home, which makes it a practical choice for busy families. Even on a hectic day, crafting together becomes achievable and enjoyable. The reliable results keep everyone engaged, and the visual transformation of the pipe cleaner into a sparkling tree is incredibly satisfying to witness. You may also find Rainbow Crystal Trees useful.
A Quick Look Before You Begin
Creating this Rainbow Crystal Haunted Tree is a simple endeavor that’s great for all ages. The process typically takes a couple of hours of active involvement, with some waiting time for the crystals to form. As the project sets, you might want to find a quiet spot—it ensures the crystals grow beautifully without disturbances. Anticipate a little cleanup later, but the joy and wonder your kids will experience make it well worth it. You may also find Baking Soda Rainbow Crystal Forest useful.
Materials You’ll Need
To make your Rainbow Crystal Haunted Tree, gather the following materials: You may also find Colorful Rainbow Crystal Leaf Sun Catcher useful.
- Sugar or baking soda: a common household item
- Water: essential for dissolving the crystals
- Food coloring: for adding that colorful appeal
- Pipe cleaners: the base structure of your tree
- Small container or jar: to hold your solution
- String or ribbon (optional): for hanging your tree
- Decorative elements like glitter or small ornaments: to enhance the final look
These materials are easy to come by, and most families will have many of them already.
Step-by-Step Directions
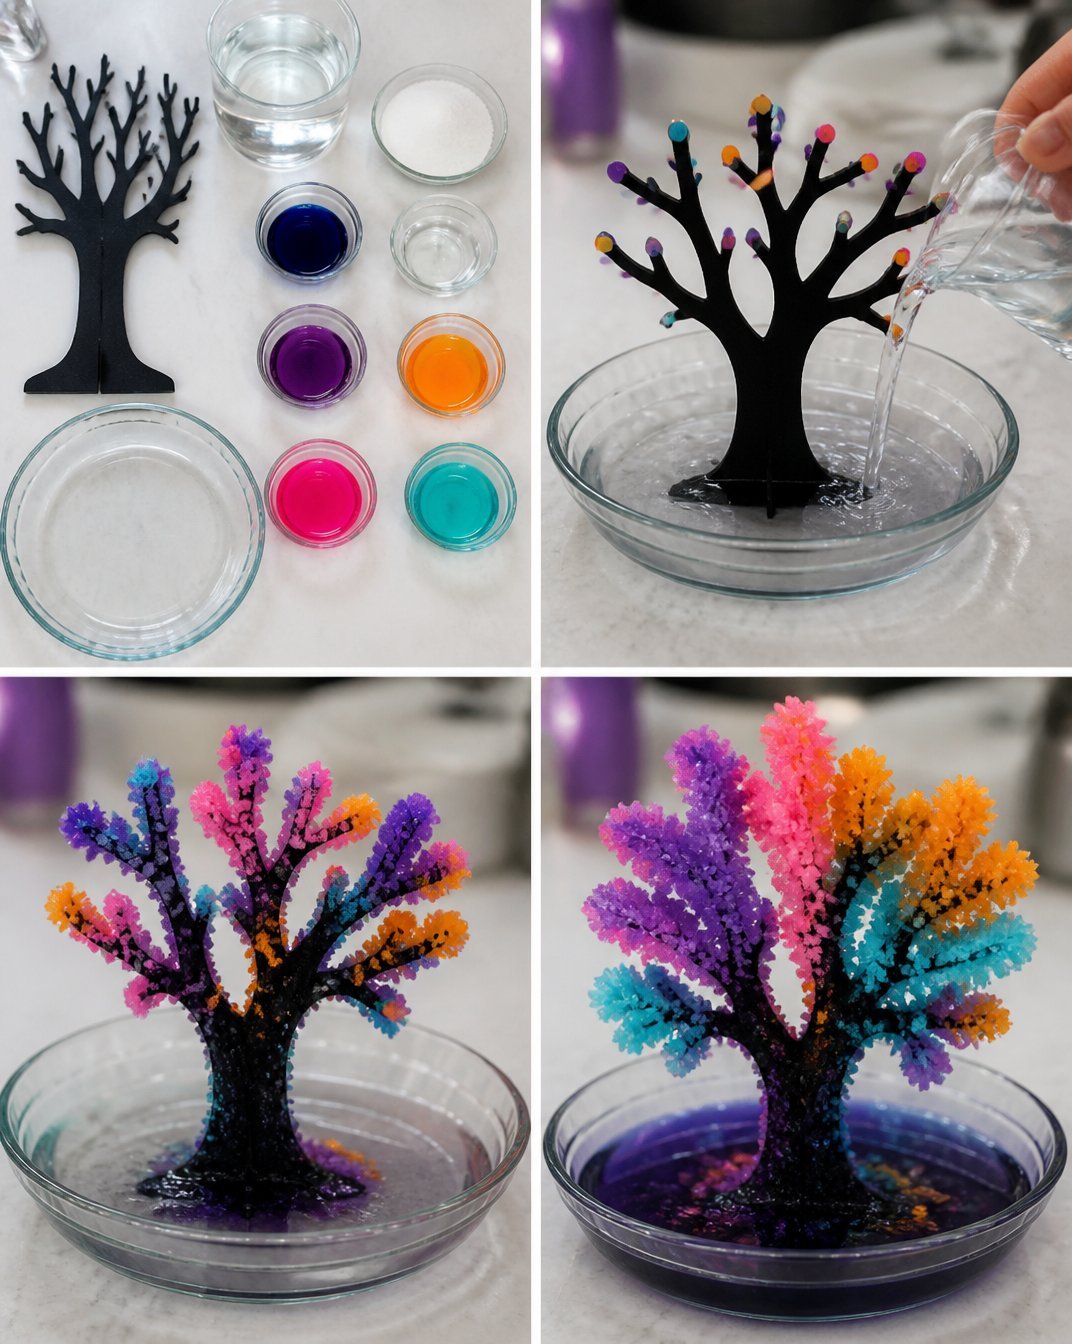
Shape pipe cleaners into the form of a tree. Begin by bending the pipe cleaners into branches and a trunk. This step encourages creativity, as kids can make their trees unique.
In a container, mix equal parts sugar or baking soda with water until dissolved. Make sure the mixture is well combined; this will be the solution from which your crystals will grow.
Add drops of food coloring and stir until mixed. This is where your tree can get its vibrant colors. Stir it well, watching the food coloring spread through the solution.
Dip the pipe cleaner tree into the solution. Make sure to immerse the entire tree so it gets thoroughly soaked in the crystal solution.
Place the container in a quiet spot for at least 24 hours for crystals to form. Ensure it’s undisturbed, which is key to the crystal growth process.
Once crystals have formed, remove and allow to dry. Carefully lift the tree from the solution and let any excess drip off. This will help maintain the shape and prevent clumping.
Decorate with ornaments or glitter if desired. Now that the tree is dry, you can add any final touches to make it sparkle even more.
As you follow these steps, encourage the kids to observe the changes and discuss what they see. It can be an excellent way for them to learn about patience and the wonders of crystallization.
The Learning Behind This DIY
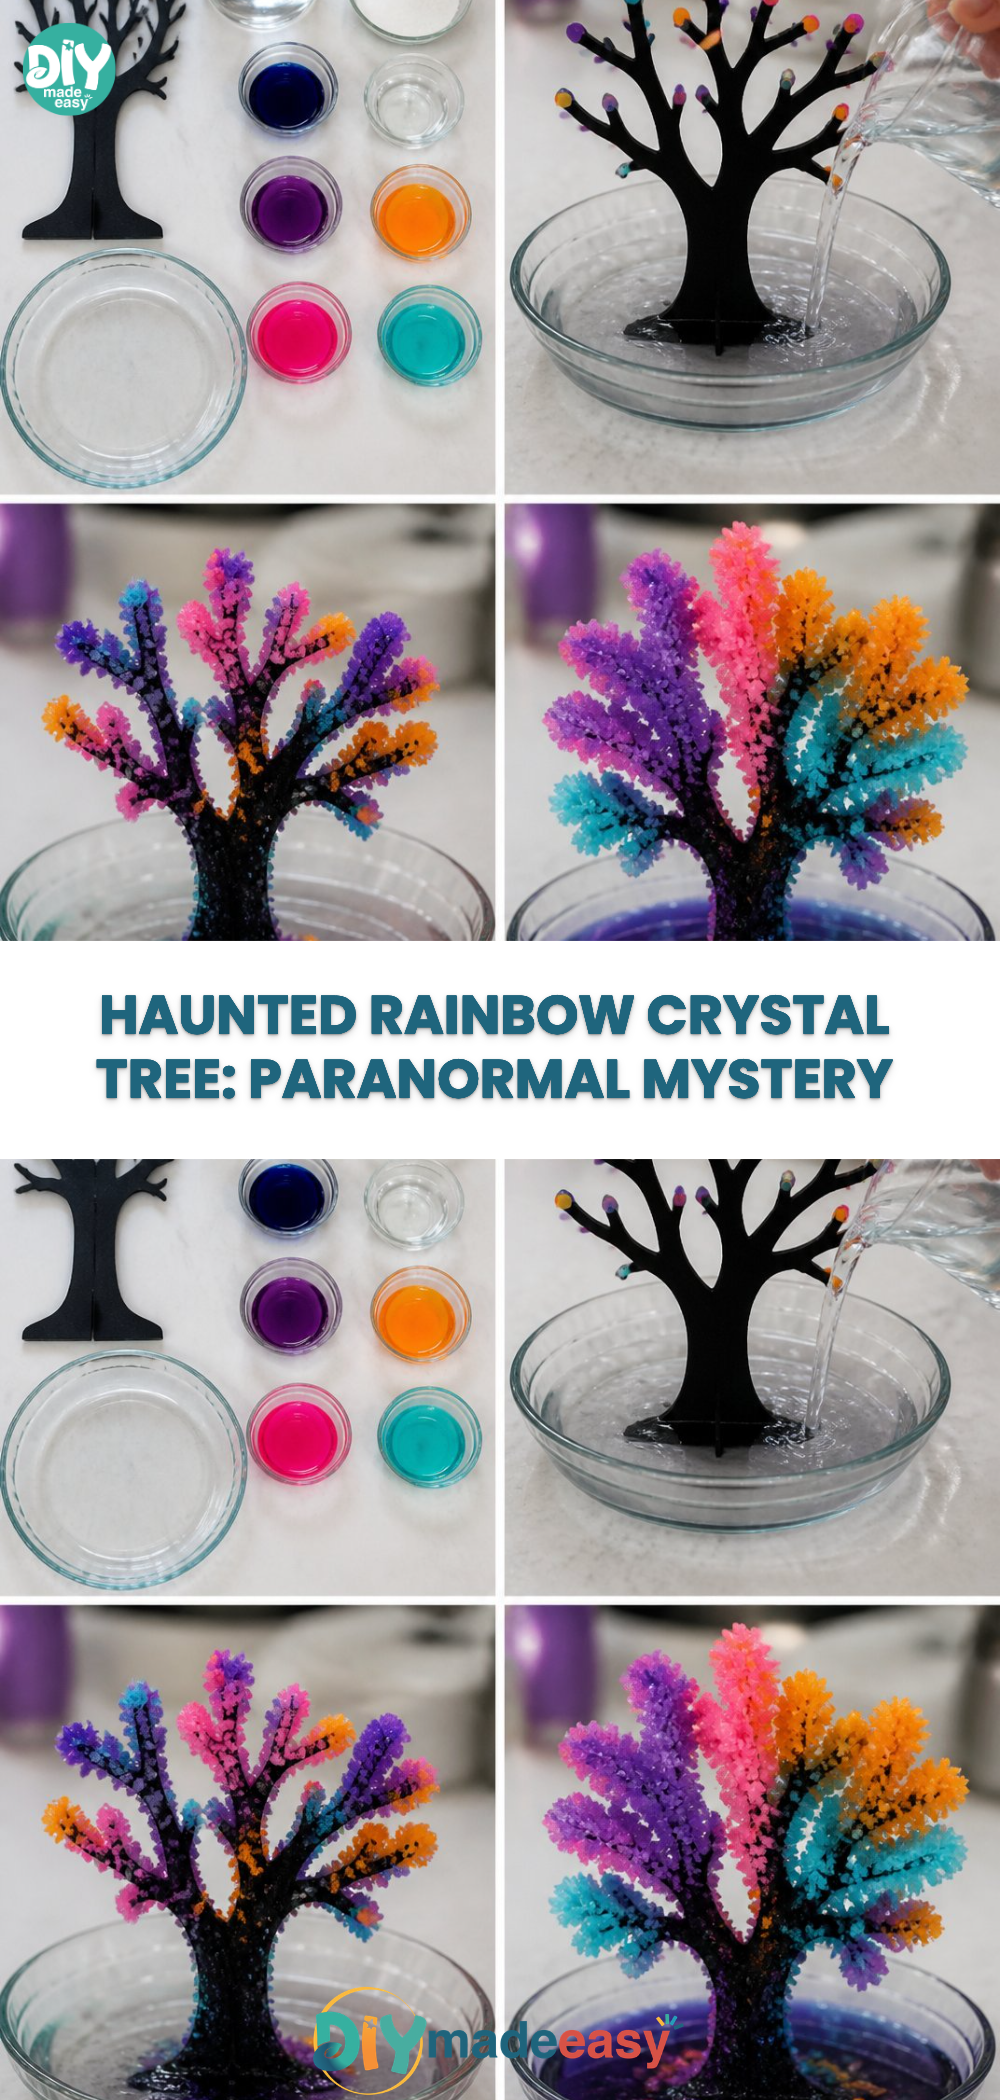
While making the Rainbow Crystal Haunted Tree, kids practice several skills. Firstly, they engage in hands-on science by watching the crystallization process. As they create different shapes with the pipe cleaners, they’re also honing their fine motor skills and coordination. Discussing the colors and the science behind why sugar or baking soda forms crystals can boost their understanding of cause and effect in a tangible way.
Troubleshooting Common Issues
Not everything will always go as planned. If the crystals don’t form, it might be due to the solution being too weak. Ensure that the sugar or baking soda is fully dissolved before dipping the tree. If the tree ends up looking too sticky or clumpy, it may need more time to dry completely.
Easy Variations to Try
Depending on the season or occasion, consider these variations for your Rainbow Crystal Haunted Tree:
- Halloween Theme: Use black and orange food coloring to create a spooky version of the tree.
- Winter Tree: Opt for white glitter and blue coloring for a frosty effect.
- Colorful Rainbow Versions: Use multiple colors in one setup to create a vibrant ombre look.
These twists can add even more fun to the project.
Storing or Reusing This Project
After enjoying your Rainbow Crystal Haunted Tree, think about how you can reuse or repurpose the materials. If you want to keep the tree, simply store it in a cool, dry place where it won’t get damaged. If you decide not to keep it, remind kids to recycle the pipe cleaners for their next project, promoting sustainability and reducing waste.
FAQs About Rainbow Crystal Haunted Tree
What should I do if my tree is too sticky?
If your tree is too sticky after drying, it means it might still have excess solution. Allow it to dry longer in a well-ventilated area.
Is this project safe for younger kids?
Yes, this activity is safe for children, but adult supervision is recommended when working with food coloring to avoid any stains.
Can I substitute ingredients in this project?
Certainly! If you don’t have sugar, baking soda works well. Just ensure that whatever substitute you use still forms crystals when dissolved in water.
How do I clean up the mess after this activity?
Most of the mess will be from the solution and coloring. Use warm soapy water to wipe down surfaces, and rinse any containers thoroughly.
Can we reuse the materials or the solution?
You can reuse the pipe cleaners, but the solution will not work well after the first use. It’s best to discard it after the crystals form.
Conclusion
Making a Rainbow Crystal Haunted Tree is not only a fun activity but also a valuable learning experience. Exploring the transformation of simple materials into beautiful crystals can be fulfilling for both kids and parents. For additional festive activities, explore this discussion on ghost trees or consider checking this handmade Halloween spider for more creative ideas. Enjoy your crafting!
PrintRainbow Crystal Haunted Tree
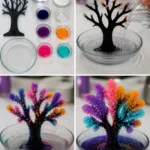
A fun DIY project for kids to create their own colorful crystal tree using simple household materials.
- Prep Time: 15 minutes
- Cook Time: 1440 minutes
- Total Time: 1455 minutes
- Yield: 1 crystal tree
- Category: Craft
- Method: DIY
- Cuisine: N/A
- Diet: N/A
Ingredients
- Sugar or baking soda
- Water
- Food coloring
- Pipe cleaners
- Small container or jar
- String or ribbon (optional)
- Decorative elements (glitter, small ornaments)
Instructions
- Shape pipe cleaners into the form of a tree.
- Mix equal parts sugar or baking soda with water until dissolved.
- Add drops of food coloring and stir until mixed.
- Dip the pipe cleaner tree into the solution.
- Place the container in a quiet spot for at least 24 hours for crystals to form.
- Once crystals have formed, remove and allow to dry.
- Decorate with ornaments or glitter if desired.
Notes
Encourage children to observe the crystallization process and discuss their observations.
Nutrition
- Serving Size: 1 finished project
- Calories: 0
- Sugar: 0g
- Sodium: 0mg
- Fat: 0g
- Saturated Fat: 0g
- Unsaturated Fat: 0g
- Trans Fat: 0g
- Carbohydrates: 0g
- Fiber: 0g
- Protein: 0g
- Cholesterol: 0mg