

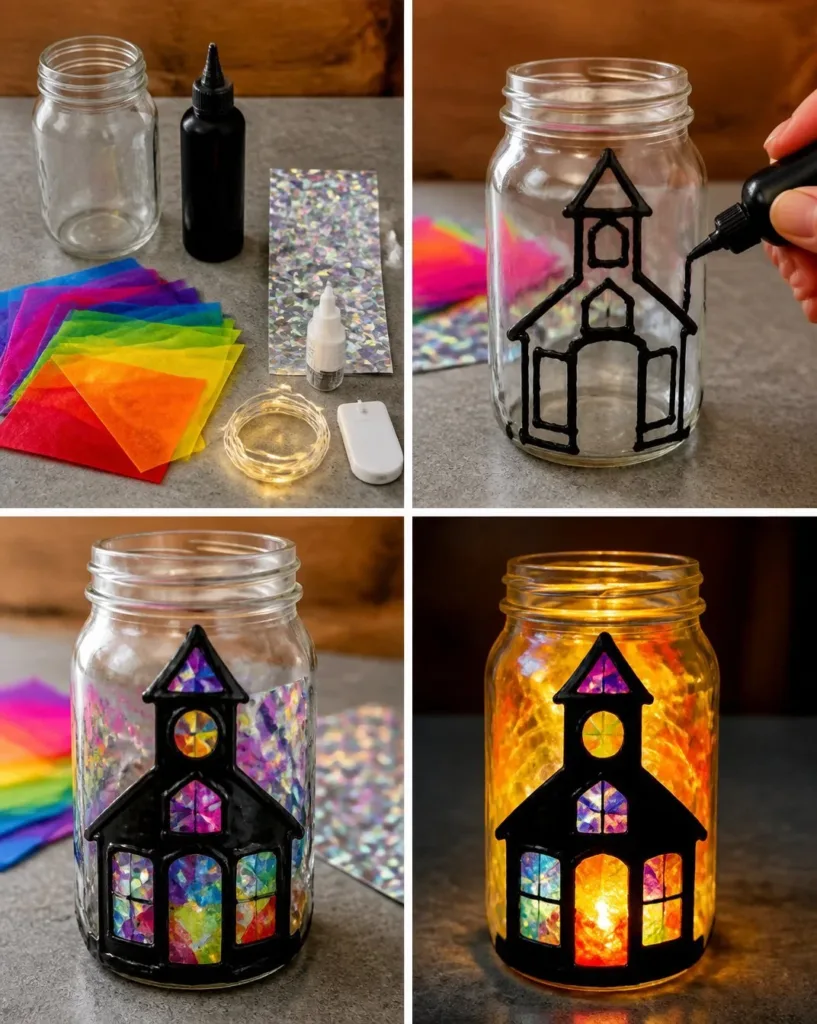
Creating a fun project on a busy afternoon can be a delightful way to spend time with your kids. If they’re eager to make something now, consider crafting a Glowing Holographic Schoolhouse Lantern. This exciting DIY project is not only engaging but also perfect for little hands trying their creativity. Using simple materials you probably have around the house, this lantern can light up any corner of your home with its beautiful glow and holographic charm. You may also find Crystal Fairy Lantern useful.
Why This Glowing Holographic Schoolhouse Lantern Works So Well
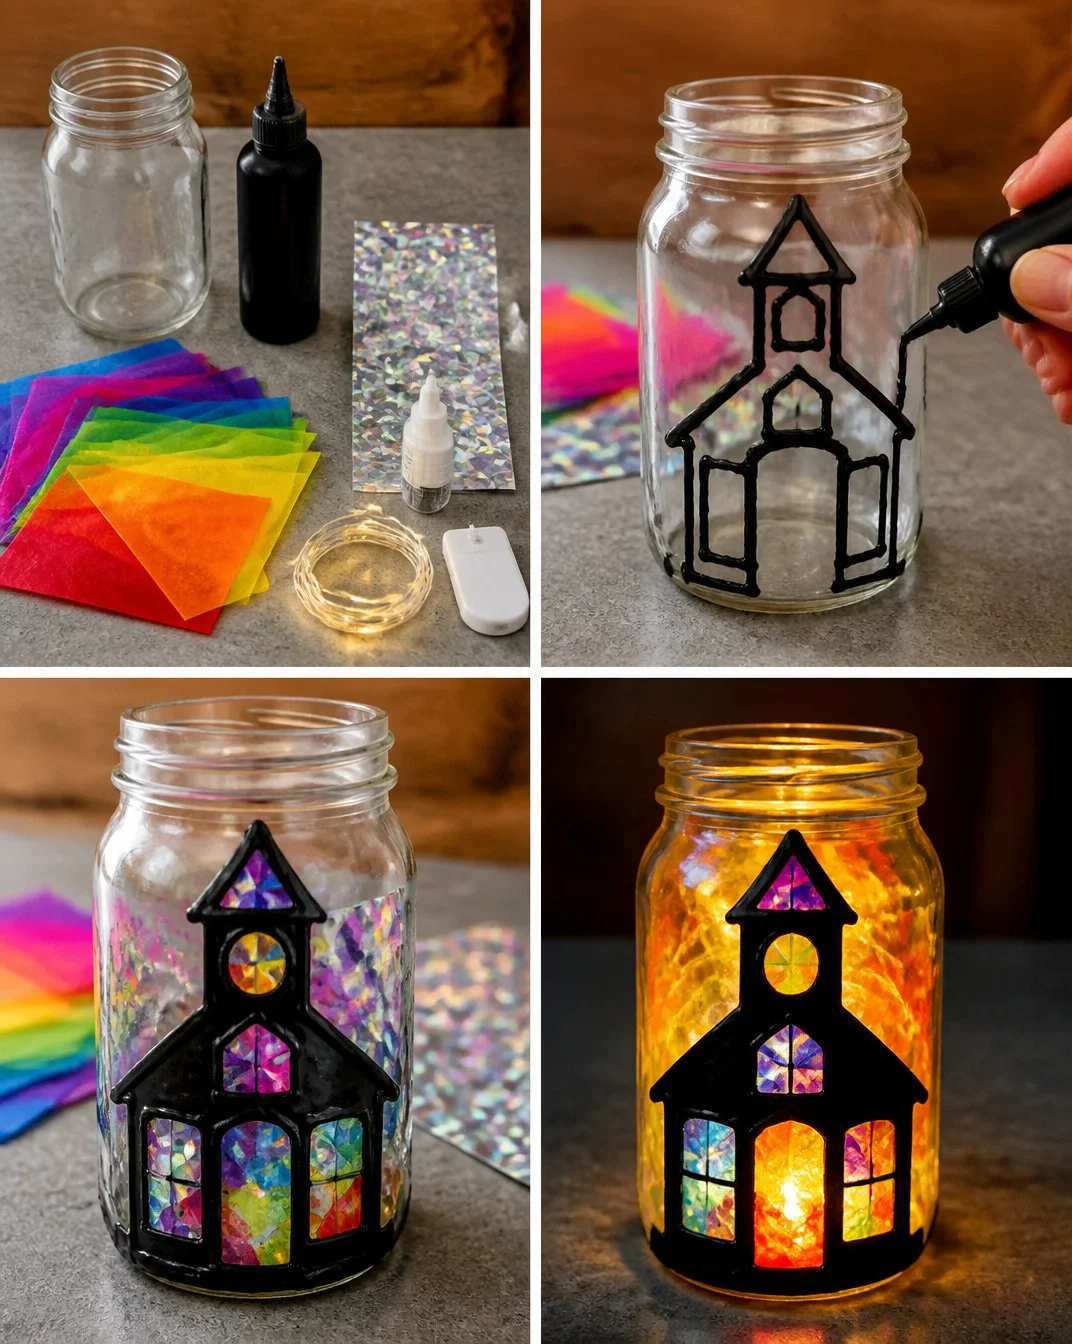
What makes this Glowing Holographic Schoolhouse Lantern an ideal activity? It’s a low-prep, straightforward project that fits seamlessly into a busy schedule. The simplicity of the design means that even if you’re short on time or materials, you can still create something magical. Moreover, the reliable steps ensure that anyone can achieve beautiful results without frustration, allowing for successful crafting moments with your children. If you’re looking for projects that also result in a striking decor piece, this project holds its own alongside others like the glowing fish lanterns and the butterfly glow lantern.
A Quick Look Before You Begin
Getting started on your lantern is an easy process. It generally takes about an hour, depending on how involved everyone wants to be. The cleanup is minimal, as the materials are easy to handle and often contained to a small workspace. Adult supervision might be helpful, mainly for using scissors and applying glue, but kids can take the lead in the creative parts. This project allows them to practice skills like measuring and following directions while having fun! You may also find Diy Halloween Glass Bottle Lanterns Halloween Lanterns useful.
Materials You’ll Need
To get started on the Glowing Holographic Schoolhouse Lantern, gather the following materials:
- Holographic paper (easy to find and adds that magical glow)
- Cardstock (for a sturdy base)
- Scissors (to cut the paper)
- Craft glue (to hold everything together)
- LED tea light (to illuminate the lantern safely)
- Ruler (for precise measurements)
- Pencil (to mark your cuts)
- Decorative ribbon or twine (optional, for extra flair)
These materials are mostly common household items, which makes this DIY project budget-friendly and accessible.
Step-By-Step Directions
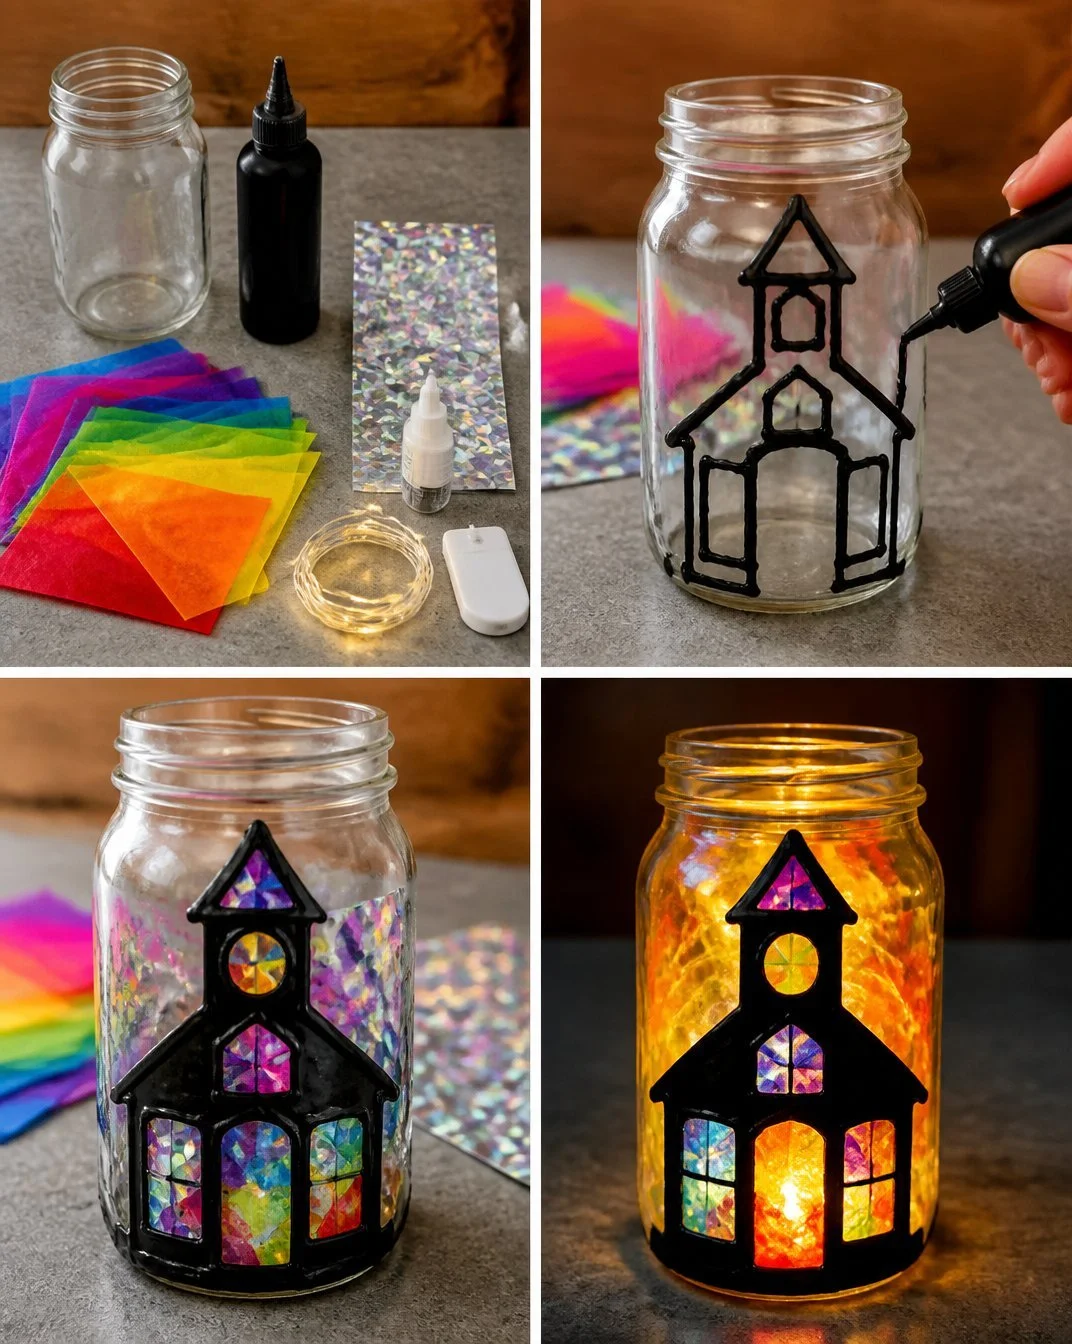
Ready to make your lantern? Just follow these steps for a bright and beautiful creation:
Start by measuring and cutting your holographic paper into the desired shape for your lantern. A simple square or rectangle works well for a basic design.
Next, create a sturdy base using cardstock, cut to fit the size of your lantern’s opening. This ensures your lantern stands upright and stable.
Apply craft glue to the edges of the holographic paper and wrap it around the cardstock, pressing down gently to secure everything in place.
Once the glue has set, you can enhance your lantern by gluing additional decorative elements. Adding some glitter or stickers can also personalize your creation!
Make a small opening at the base so the LED tea light fits comfortably. This step is crucial to ensure your lantern can glow brightly.
Finally, adorn the lantern with ribbon or twine for a finishing touch. This step can be a fun way to add character and style to your lantern.
What Kids Practice While Making This
While making the lantern, children practice several essential skills. They engage in measuring and cutting with the ruler and scissors, which helps develop fine motor skills and hand-eye coordination. Working with the craft glue is also a great opportunity to learn about patience as they wait for different parts to adhere. Most importantly, this project allows them to express their creativity, experimenting with colors and shapes while enjoying the satisfying process of crafting something tangible.
Troubleshooting Common Issues
If something doesn’t go as planned during your crafting session, don’t worry, it happens to everyone! If the glue isn’t holding, it may be due to a too-thin layer or not pressing firmly enough during assembly. Try adding a bit more glue and applying pressure while it dries. Additionally, if the lantern doesn’t stay upright, check if the cardstock base is cut correctly. A well-measured base ensures stability.
Easy Variations to Try
To keep things fresh, consider these simple ways to change up your lantern project:
- Use different shapes for the lantern, such as stars or hearts, for a unique twist.
- Try using translucent colored paper instead of holographic for a different light effect.
- Host a themed lantern-making session for various occasions, using seasonal decorations to enhance them.
Storing or Reusing This Project
Once finished, consider how you want to store your glowing lantern. It can be reused for different seasons or occasions by changing the decorative elements. If it’s well-made, it can last a long time. When storing, keep it in a place where it won’t get crushed or damaged, ensuring its holographic charm remains intact for your next use.
FAQs About Glowing Holographic Schoolhouse Lantern
What mess might we expect with this project?
Crafting can sometimes be messy, especially with glue and paper. Be ready with a cleaning cloth or some paper towels nearby to quickly pick up any spills.
Is this project safe for younger kids?
With adult supervision, this project is safe for younger children, especially when it comes to using scissors and glue.
Can we use substitutes for the materials?
Absolutely! If you don’t have holographic paper, regular colored paper can work as a substitute, and you can make it fun with added designs.
What if the lantern doesn’t turn out as expected?
Remember that crafting isn’t just about the end product, but also the process. Encourage your child to embrace their creative expression and learn from any mishaps.
How can we store the lantern afterward?
Consider keeping it in a clear container to protect it from dust, or you could leave it out as part of your home decor!
Conclusion
Conclusion
Creating a Glowing Holographic Schoolhouse Lantern can brighten any day! It’s a delightful way to spend quality time while also encouraging creativity. For those interested in similar projects, check out Trick ‘r Treat – Laserdome for some excitement or explore creative inspiration with Polish Pickup October 2020 | Animation. Enjoy crafting together and let the light of your lantern shine bright!
PrintGlowing Holographic Schoolhouse Lantern
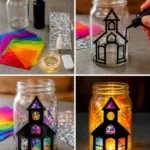
A fun DIY project for kids to create a glowing lantern using simple materials.
- Prep Time: 15 minutes
- Cook Time: 45 minutes
- Total Time: 60 minutes
- Yield: 1 lantern
- Category: DIY
- Method: Crafting
- Cuisine: Craft
- Diet: N/A
Ingredients
- Holographic paper
- Cardstock
- Scissors
- Craft glue
- LED tea light
- Ruler
- Pencil
- Decorative ribbon or twine (optional)
Instructions
- Start by measuring and cutting your holographic paper into the desired shape for your lantern.
- Next, create a sturdy base using cardstock, cut to fit the size of your lantern’s opening.
- Apply craft glue to the edges of the holographic paper and wrap it around the cardstock.
- Once the glue has set, enhance your lantern with additional decorative elements like glitter or stickers.
- Make a small opening at the base for the LED tea light.
- Finally, adorn the lantern with ribbon or twine for a finishing touch.
Notes
Supervision is recommended for using scissors and applying glue.
Nutrition
- Serving Size: 1 project
- Calories: 0
- Sugar: 0g
- Sodium: 0mg
- Fat: 0g
- Saturated Fat: 0g
- Unsaturated Fat: 0g
- Trans Fat: 0g
- Carbohydrates: 0g
- Fiber: 0g
- Protein: 0g
- Cholesterol: 0mg