

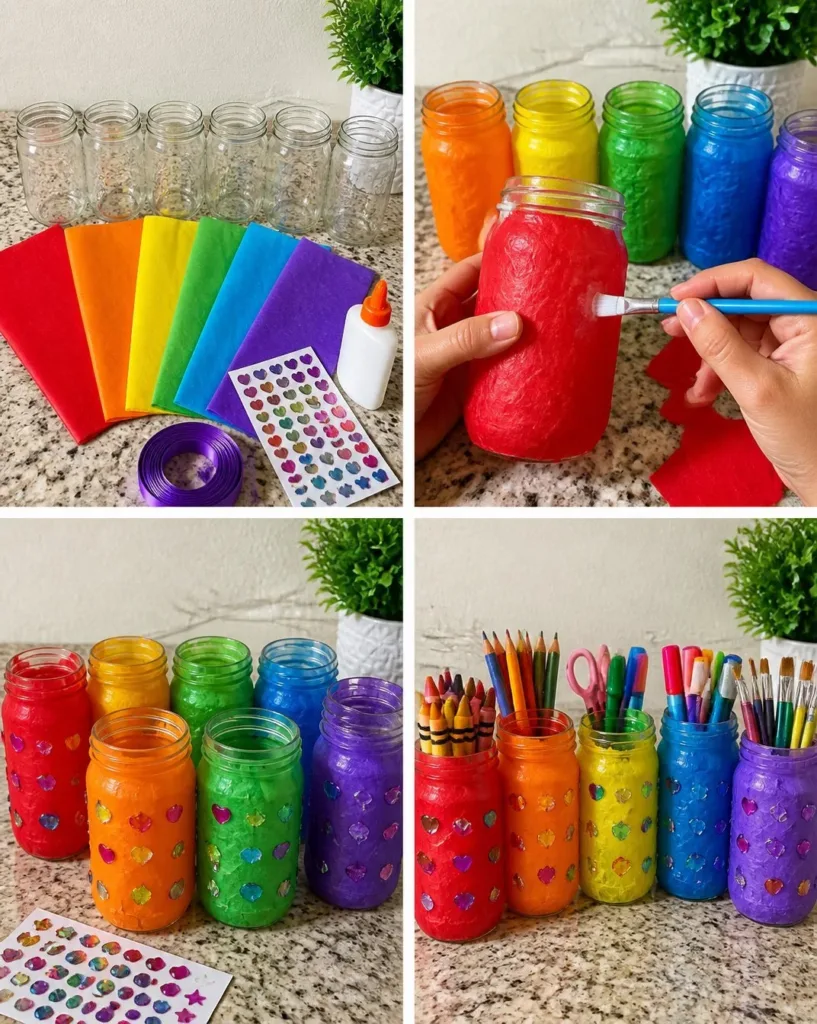
Rainbow Mason Jar Organizer for School Supplies can be a delightful solution during a busy afternoon when you’re scrambling to help the kids get organized for school. Imagine a last-minute craft to tackle the chaos of art supplies strewn across the table. The vibrant colors and creative expression of this project make it not just functional but also a joyful addition to your workspace. Not only does this activity encourage creativity, but it also teaches kids to take pride in their organization skills. You may also find Baking Soda Rainbow Crystal Forest useful.
Why This Rainbow Mason Jar Organizer for School Supplies Works So Well
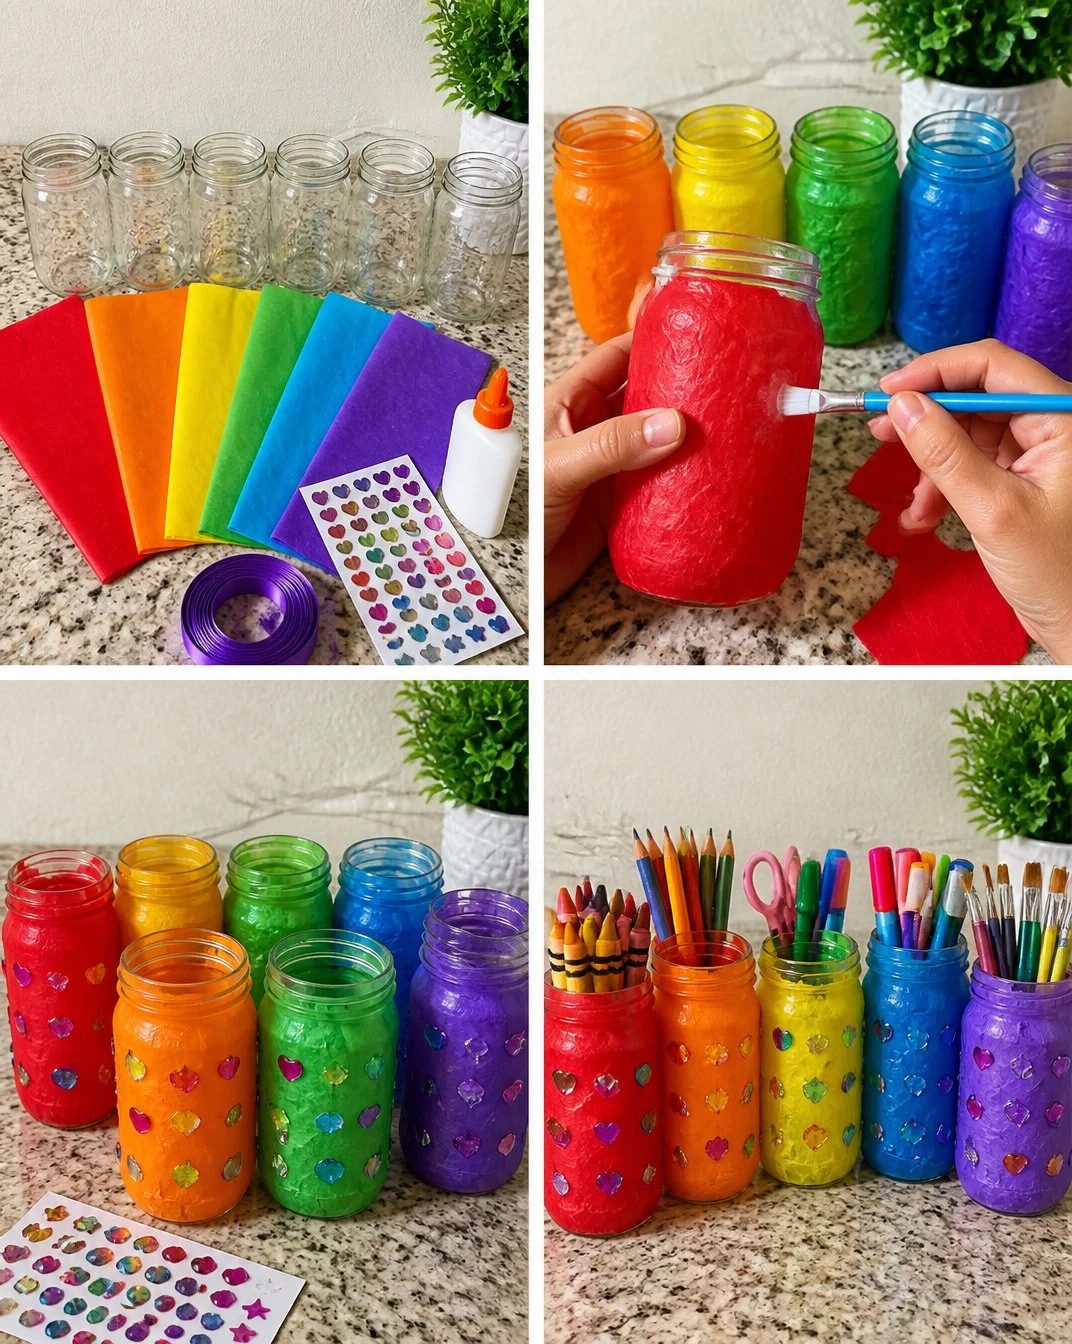
Creating a Rainbow Mason Jar Organizer is an excellent choice for a low-prep project that fits seamlessly into a busy day. This DIY is approachable and can be completed in a few hours, making it reliable for real-life schedules. With minimal materials required, you can avoid stress and focus on the fun of making something beautiful. This project not only serves the practical purpose of organizing school supplies but also adds a splash of color to your environment, brightening up any desk or workspace. You may also find Diy Pool Noodle Rainbow Stamp Painting Activity For Kids useful.
A Quick Look Before You Begin
Before jumping into the crafting, it’s helpful to know what to expect. Set aside about two to three hours for the entire project when you gather materials and allow for drying times. The mess level is relatively low if you prepare by laying down newspapers or working in an easily cleanable area. Adult involvement is recommended, especially when handling paints and clear sealants, but kids can take the lead on the painting and organizing parts. This project offers a calm and creative outlet for everyone involved. You may also find Hanging Mason Jar Lights useful.
Materials You’ll Need
- Mason jars (any size)
- Acrylic paint in various colors (rainbow shades)
- Paintbrushes (different sizes for detail work)
- Painter’s tape (for clean lines)
- Clear sealant (to protect the paint)
- Craft supplies to organize (pens, pencils, scissors, etc.)
- A soft cloth (for cleaning and polishing the jars)
Most of these materials are common household items or can be easily sourced. The acrylic paint gives you the flexibility to choose your favorite rainbow shades, and the mason jars can be reused from previous activities, making this project both budget-friendly and eco-conscious. You may also find How To Make A Rainbow Ocean Jar At Home useful.
Step-by-Step Directions
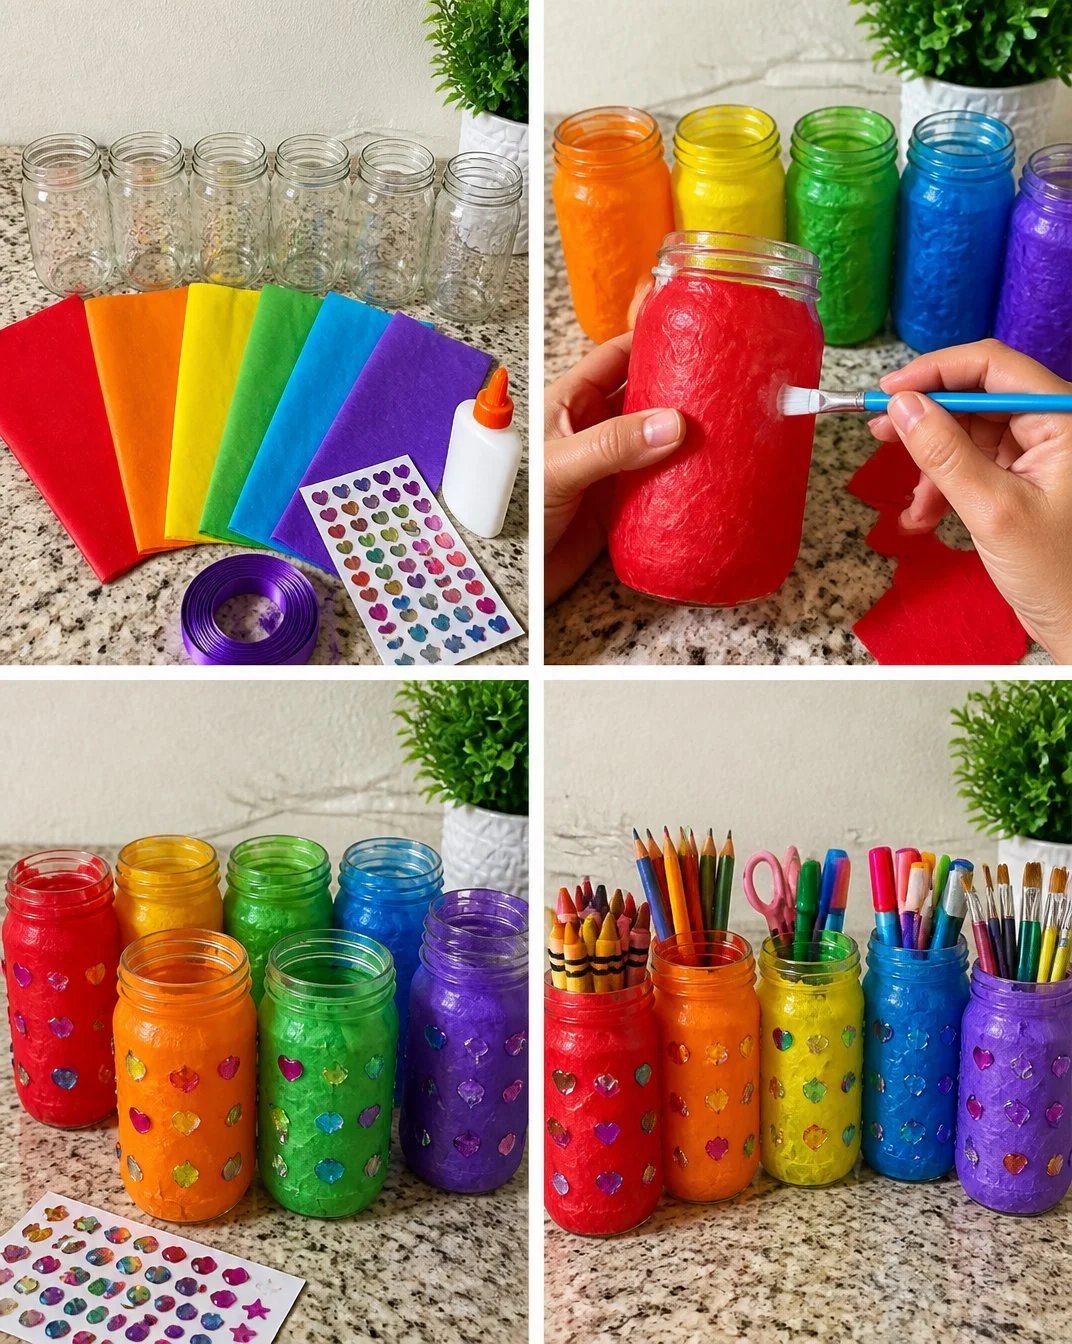
Clean the mason jars thoroughly to remove dust and grease. Ensure they’re dry before you start painting for the best adhesion.
Use painter’s tape to section off areas on the jars for applying paint colors. Create fun patterns or simple stripes to give your jars a vibrant look.
Paint the jars with your chosen colors, allowing each layer to dry before adding the next. This layering helps achieve a vivid rainbow effect and creates a sense of anticipation for the final product.
Once dry, remove the painter’s tape to reveal clean lines. This moment will bring joy and satisfaction as the colors come to life!
Apply a clear sealant over the painted areas for protection. This step ensures your hard work lasts through the bumps and scrapes of school use.
Fill the jars with colorful school supplies and arrange them in a pleasing manner. This final touch allows everyone to appreciate both the functional and decorative aspects of your new organizer.
The Learning Behind This DIY
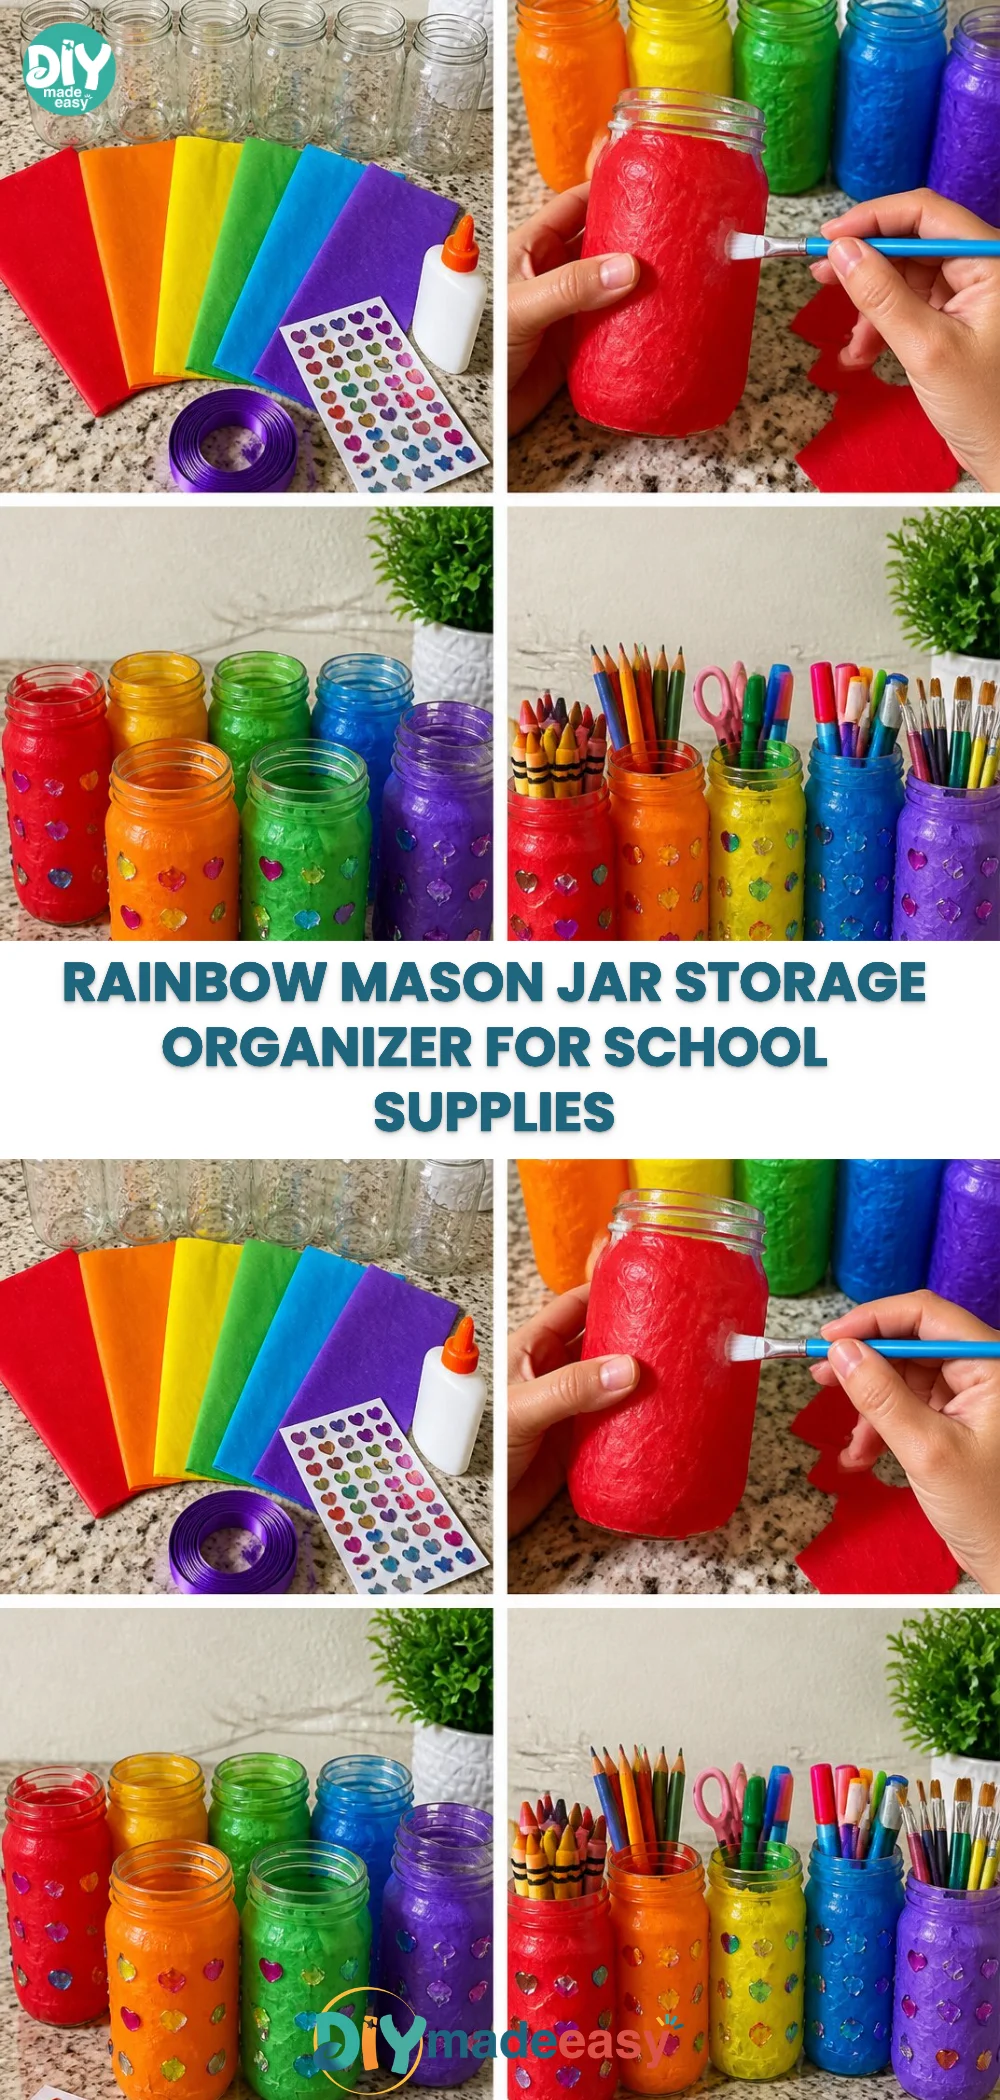
While making the Rainbow Mason Jar Organizer, kids practice several skills. They explore science concepts by understanding color mixing and observing how paint dries. Fine motor skills are strengthened as they manipulate the paintbrush and painter’s tape. The coordination required to apply the paint without smudging or spilling enhances their dexterity. Plus, they learn about cause and effect as they see how their efforts lead to a beautifully organized space.
Troubleshooting Common Issues
If something doesn’t go as planned during the project, it’s usually not a huge problem. Sometimes, paint may run under the painter’s tape; if this happens, allow it to dry and touch it up with a fine brush. In case the sealant bubbles or peels, you can gently sand it down after it dries and apply a fresh coat. Knowing that these issues can occur helps prevent frustration and allows for a relaxed crafting experience.
Easy Variations to Try
You might want to explore different designs with your Rainbow Mason Jar Organizer. Consider using glitter or layering different colors on top of each other for an ombre effect. Seasonal themes are also an option; you could paint jars in autumn colors for a fall display or use pastel hues for spring. Another fun idea is to add labels to the jars so kids can personalize them according to their favorite school subjects.
Storing or Reusing This Project
After finishing the craft, it’s important to think about storage and reuse. These mason jar organizers can easily transition to hold kitchen utensils, craft tools, or even bathroom supplies. They can be cleaned whenever needed and updated with new paint or designs over the years. Rethinking how you use items can greatly reduce waste while keeping your environment tidy and appealing.
FAQs About Rainbow Mason Jar Organizer for School Supplies
What should I do if my kids are messy while painting? It’s natural for spills to happen, especially with younger children. Having wipes and a designated clean-up area will help. Just remember to allow the paint to dry fully before moving the jars.
Is this activity safe for young children? Yes! The materials are typically safe, but you’ll want to supervise any painting to prevent ingestion of materials or accidents. Use non-toxic paints for added safety.
Can I use jars of different sizes? Absolutely! Using various jar sizes can create interesting visual dynamics and help organize supplies more effectively. It’s all about personal preference.
How can we store the jars once finished? Storing these jars is simple! They can stack easily on shelves, and being versatile, they can hold different items when not in use.
Can we reuse the jars for other crafts later? Yes! Mason jars are incredibly adaptable for various projects. They can be painted, labeled, or used as containers for numerous craft needs.
Conclusion
Creating a Rainbow Mason Jar Organizer for School Supplies is a rewarding project that combines creativity with practicality. It’s a wonderful way to involve kids in organizing their school materials while also fostering their artistic skills. If you’re looking for more inspiration, consider checking out other creative uses for mason jars, such as the Mason Jars Craft for School Supplies or explore the Easy Pen Stand With Plastic Bottle Rainbow Fruit Mason Jar Craft. Enjoy the craft and have fun organizing!
PrintRainbow Mason Jar Organizer for School Supplies
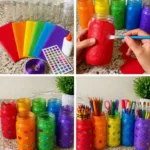
A fun and colorful DIY project to help kids organize their school supplies using painted mason jars.
- Prep Time: 15 minutes
- Cook Time: 120 minutes
- Total Time: 135 minutes
- Yield: 4 jars
- Category: Craft
- Method: DIY
- Cuisine: N/A
- Diet: N/A
Ingredients
- Mason jars (any size)
- Acrylic paint in various colors (rainbow shades)
- Paintbrushes (different sizes for detail work)
- Painter’s tape (for clean lines)
- Clear sealant (to protect the paint)
- Craft supplies to organize (pens, pencils, scissors, etc.)
- A soft cloth (for cleaning and polishing the jars)
Instructions
- Clean the mason jars thoroughly to remove dust and grease. Ensure they’re dry before you start painting for the best adhesion.
- Use painter’s tape to section off areas on the jars for applying paint colors. Create fun patterns or simple stripes to give your jars a vibrant look.
- Paint the jars with your chosen colors, allowing each layer to dry before adding the next.
- Once dry, remove the painter’s tape to reveal clean lines. This moment will bring joy and satisfaction as the colors come to life!
- Apply a clear sealant over the painted areas for protection.
- Fill the jars with colorful school supplies and arrange them in a pleasing manner.
Notes
Encourage kids to explore different designs, such as glitter or ombre effects. Ensure to supervise them during painting for safety.
Nutrition
- Serving Size: N/A
- Calories: N/A
- Sugar: N/A
- Sodium: N/A
- Fat: N/A
- Saturated Fat: N/A
- Unsaturated Fat: N/A
- Trans Fat: N/A
- Carbohydrates: N/A
- Fiber: N/A
- Protein: N/A
- Cholesterol: N/A