

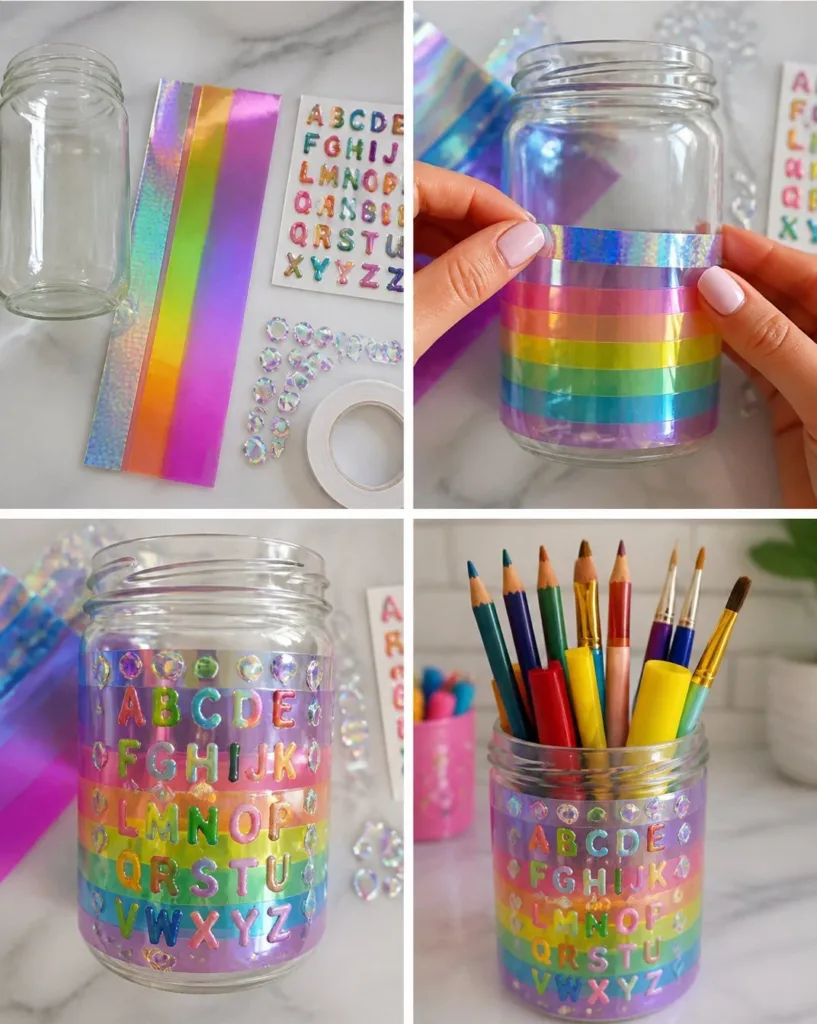
As the afternoon sun pours through the window, kids gather around, eager to create something vibrant and unique. Today, a last-minute craft beckons: a Holographic Pencil Jar. This project is perfect for fostering creativity while providing a practical solution for organizing writing tools. The sheer joy of turning a simple jar into something visually stunning can piqué anyone’s interest, and it serves as a delightful reminder that creativity can thrive even during the busiest moments. You may also find Diy Lightning Storm In A Jar useful.
Why This Holographic Pencil Jar Works So Well
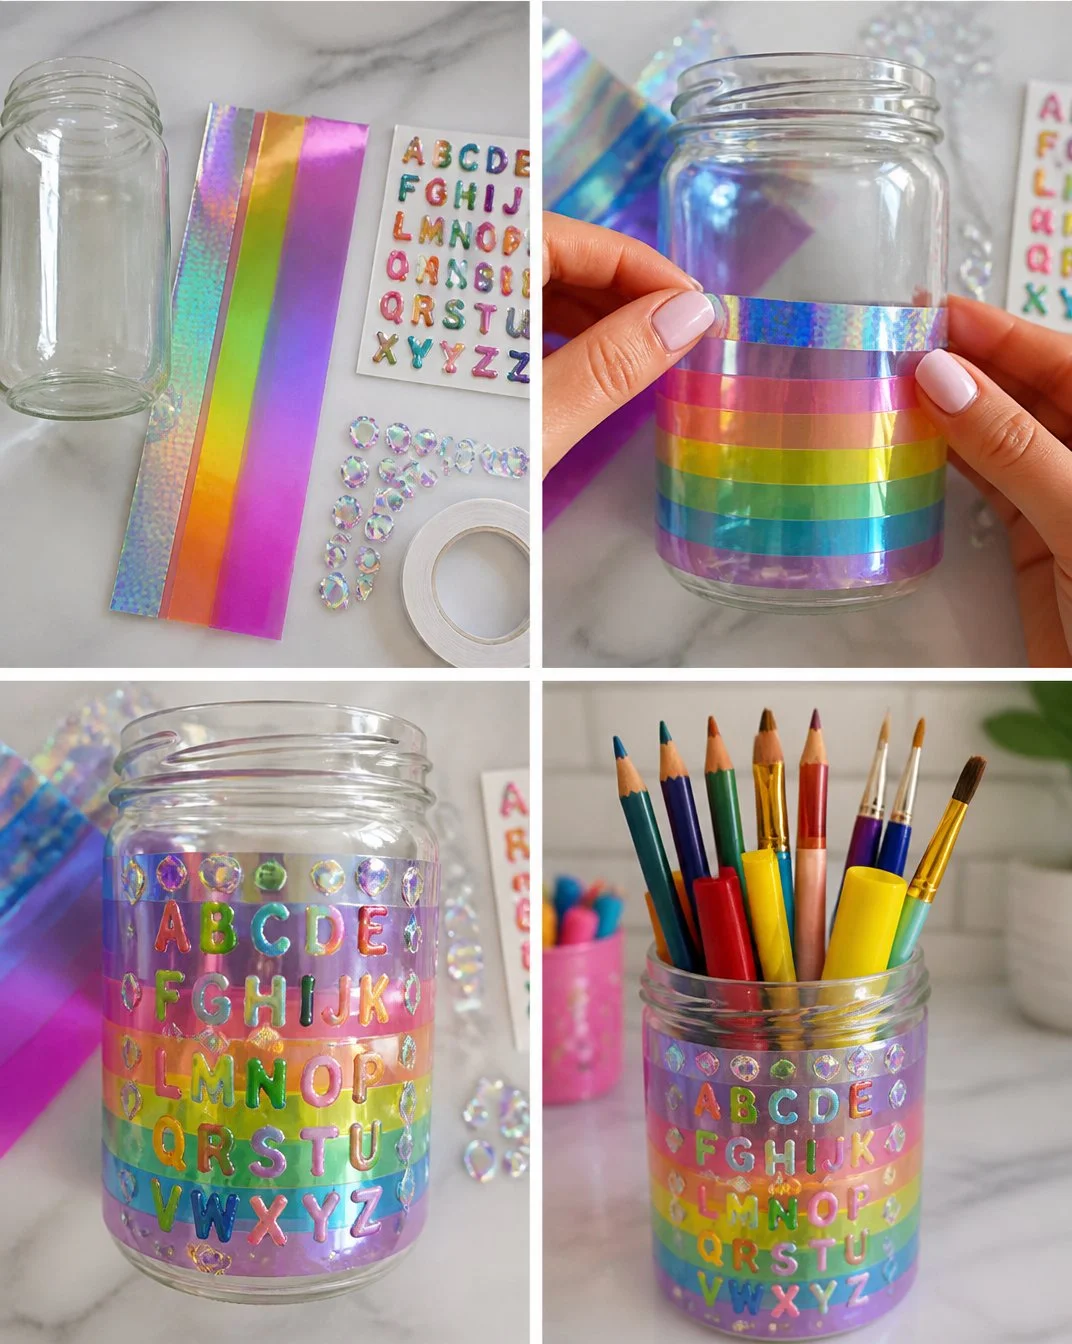
Crafting the Holographic Pencil Jar is remarkably approachable for families. Using easy-to-find materials, this project is low-prep and can fit seamlessly into even the tightest of schedules. The materials you need, such as a glass jar and holographic adhesive paper, are typically budget-friendly and might already be in your home. This DIY project provides a fun and creative break from routine and a chance to enjoy collective artistic expression. You may also find Diy Lightning Storm Jar Dream useful.
While there are numerous crafts out there requiring extensive planning and resources, creating a Holographic Pencil Jar allows for spontaneity. Whether you’re preparing for an after-school project or filling a lazy weekend afternoon, this activity is both satisfying and relaxing. It’s a great way to build memories together without added stress. You may also find Floral Fairy Jar Floral Fairy useful.
A Quick Look Before You Begin
One of the best parts about making a Holographic Pencil Jar is how simple the process is. From start to finish, you can expect to spend approximately 30 to 60 minutes on this DIY. Depending on your child’s age and skill level, some adult involvement may be helpful, especially when it comes to using scissors or applying Mod Podge. You may also find Glow In The Dark Firework Jar useful.
Setting up this activity is straightforward. Gather your supplies, choose a clean workspace, and watch as creativity flows. The potential mess level is low, with just a few adhesive scraps left behind. If you have younger kids, consider having a nearby cloth to catch any excess glue or stray holographic paper.
Materials You’ll Need
- Clear glass or plastic jar
- Holographic adhesive paper or film
- Scissors
- Stickers or decorative elements (optional)
- Mod Podge or another sealant
- Paintbrush or sponge applicator
These materials are mainly common household items. Some fun decorative elements, like stickers, can easily be added for a personalized touch. If you’re on a budget, consider using leftover materials from previous crafts, allowing you to make the most of what you already have.
Step-by-Step Directions
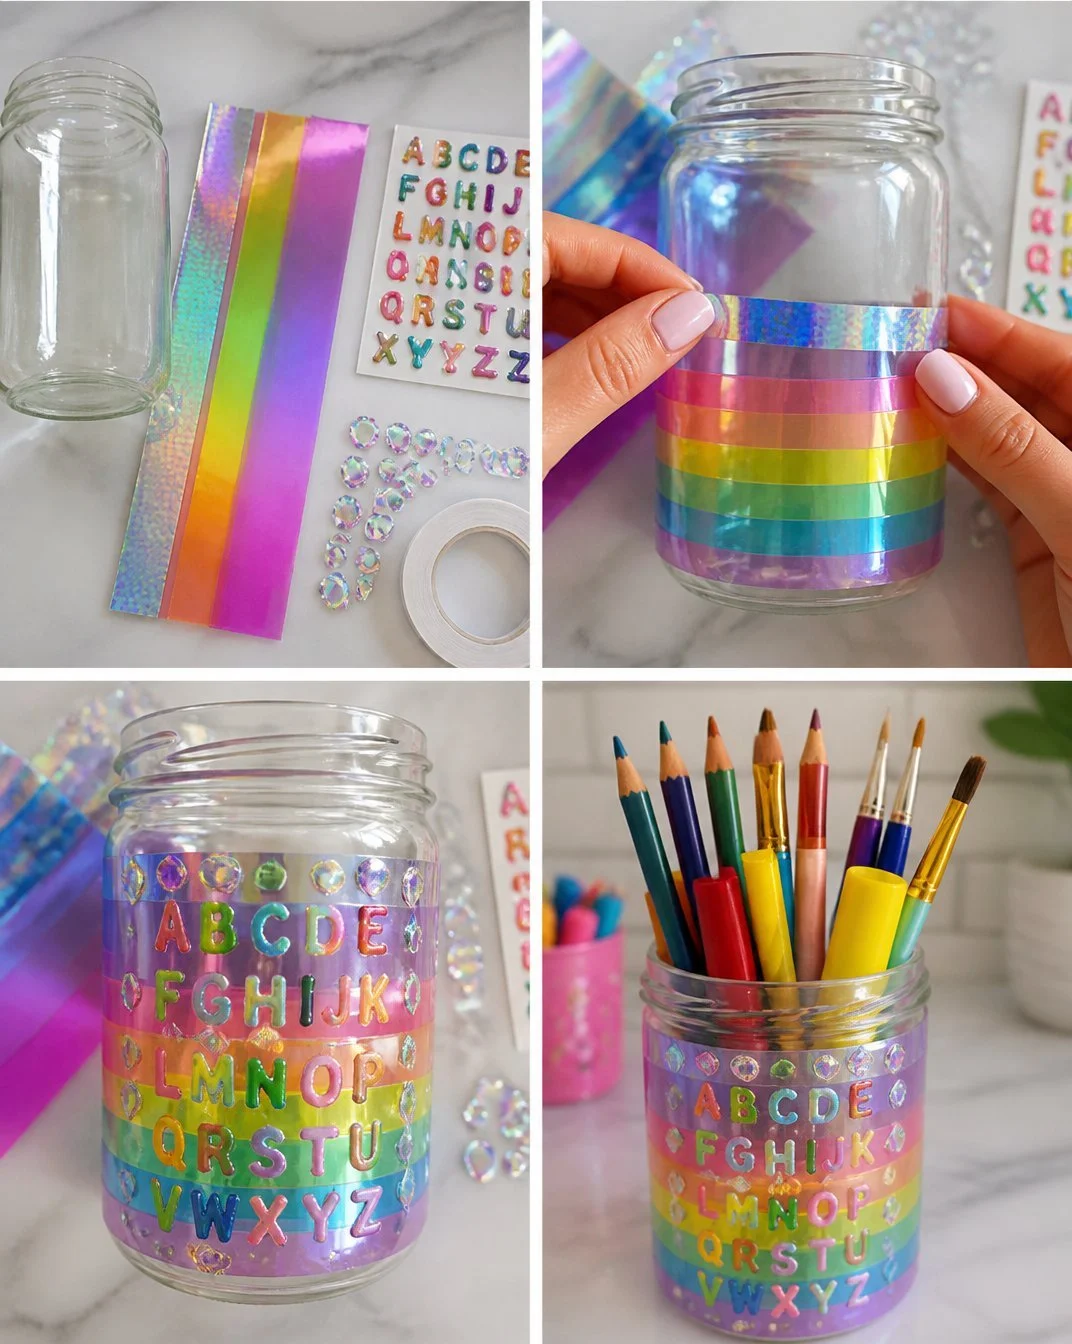
Start with your clean jar and a piece of holographic adhesive paper. Measure the height and circumference of your jar to cut the paper accordingly. This step ensures a perfect fit without unnecessary bubbles or misalignment during the adhering process.
Once cut, peel the backing from the holographic paper and slowly apply it to the jar. Begin at the bottom and smooth it upward to prevent bubbles. Keep your fingers at the edge of the paper, feeling the smooth texture as you work your way up.
Use your fingers to gently press the paper down, ensuring every part adheres well to the jar. A steady hand will help maintain an elegant appearance, so take your time.
Trim any excess paper from the top with scissors, ensuring that the edge is neatly tucked in or adhered. A single, clean edge will give a polished finish to your jar.
For added flair, apply Mod Podge over the surface of the holographic paper using a paintbrush. This creates a glossy finish and adds protection to your design, helping it last longer.
Allow it to dry completely. Be patient here! Rushing this step can lead to smudges or a dull appearance.
If desired, attach stickers or additional decorations once the sealant is dry. This is a great time to personalize your pencil jar even further.
Once finished, fill the jar with your favorite writing tools and admire your handiwork. You’ll find that it’s not just functional but also a delightful piece of décor.
The Learning Behind This DIY
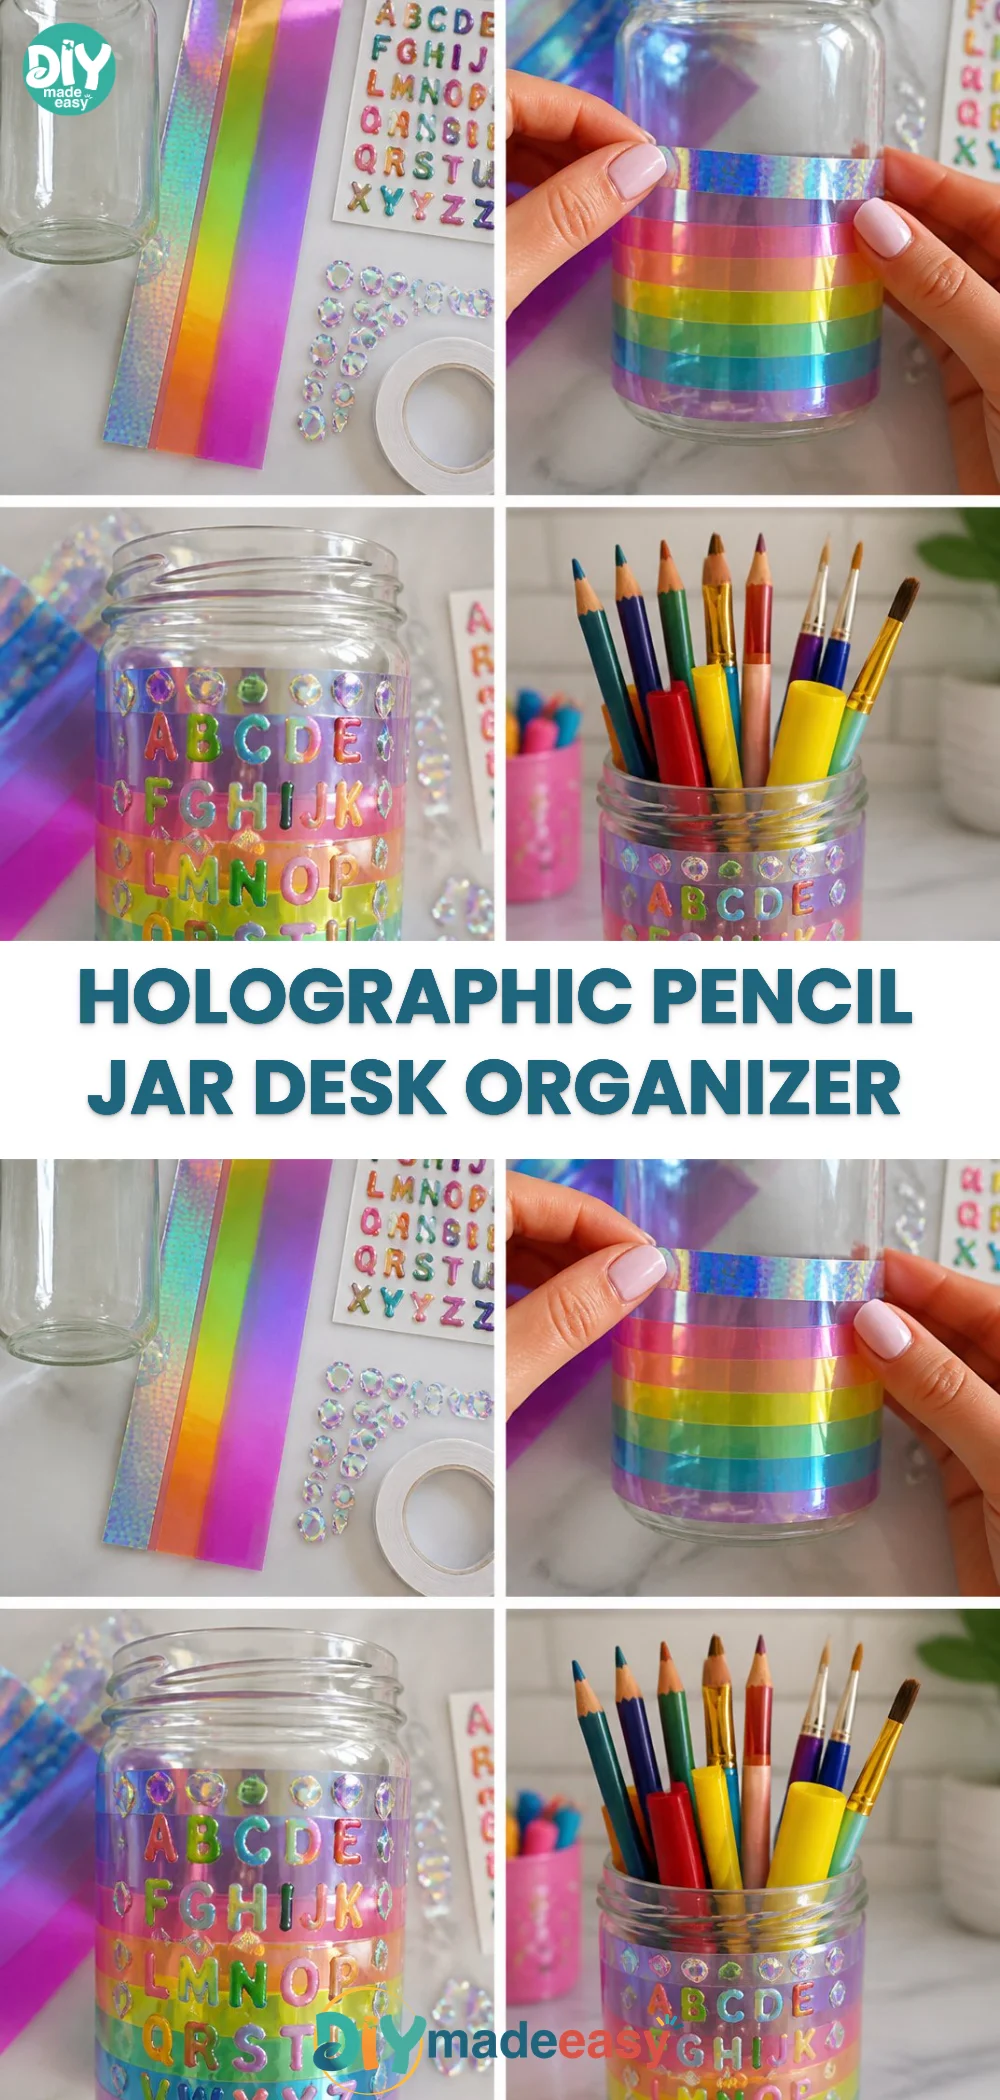
Creating the Holographic Pencil Jar encompasses several skills that benefit kids as they craft. The inclusion of fine motor skills comes into play with the precision needed to cut and apply the adhesive paper. Additionally, kids practice hand-eye coordination as they position the paper right and ensure it adheres correctly.
Understanding cause and effect is another important concept highlighted in this activity. Kids will learn how applying Mod Podge affects the final look of their project and the practicality of sealing their creation.
Troubleshooting Common Issues
If something doesn’t go as planned during your crafting session, don’t fret! It’s common for bubbles to form when applying the holographic paper. If this happens, gently lift the section and re-apply, using your fingers to smooth out the bubbles. It’s also helpful to ensure the jar’s surface is clean before starting.
Another common issue is having uneven edges after cutting the holographic paper. Keep scissors handy for quick adjustments, and remember that crafting is about enjoying the process rather than achieving perfection.
Easy Variations to Try
To make the Holographic Pencil Jar even more fun, consider trying out a few variations. One option is to create themed jars for different purposes: a jar for school supplies, one for art materials, or even a jar for kitchen utensils. You could also experiment with layering different colors of holographic paper, creating a rainbow effect.
For seasonal crafts, consider adding festive stickers or décor. As the seasons change, so can the designs!
Storing or Reusing This Project
What happens after you’ve crafted your Holographic Pencil Jar? Consider keeping it for future use by updating the content inside. You can change what’s held based on your current needs, whether you need it for writing tools or as a decorative piece on a shelf.
You also have the option to clean it and reuse the supplies for another craft down the line. Reducing waste while promoting creativity can be a fulfilling part of your crafting journey.
FAQs About Holographic Pencil Jar
Q: How messy will this project be?
A: The Holographic Pencil Jar project has a low mess level. While Mod Podge can be sticky, it’s easy to clean up with soapy water. If you cover your work surface, clean-up will be even simpler.
Q: Is this project safe for kids of all ages?
A: Yes, this project is generally safe for kids. Just be mindful of adult supervision when using scissors or when handling glue. Older kids may even manage these tasks independently with supervision.
Q: What if I don’t have holographic paper?
A: You can use regular colorful paper or even wrapping paper for this project. Just remember, the finished look will differ from the iridescent effect of holographic paper.
Q: Do I need to let the Mod Podge dry completely?
A: Yes, allowing the Mod Podge to dry will ensure that your design remains intact and looks polished. Rushing this step might lead to a less desirable finish.
Q: What should I do with the leftovers of my supplies?
A: Store any leftover materials in a zip bag or container for future craft activities. This practice can help keep your workspace organized and reduce waste.
Conclusion
Conclusion
The Holographic Pencil Jar is not just a fun activity; it’s a fantastic way to engage creativity while decluttering your space. As you gather your supplies, consider looking for additional items to enhance your projects, such as the Iridescent Pencil Holder, Assorted Shapes at Dollar Tree that can complement the jar.
There are endless ways to spark joy in your crafting. For larger inspiration or projects, check out options like a Holographic iPadYour creative endeavors are sure to shine bright!
PrintHolographic Pencil Jar
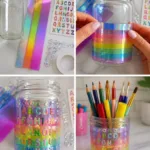
A fun and simple DIY project to create a vibrant Holographic Pencil Jar that organizes writing tools while fostering creativity.
- Prep Time: 10 minutes
- Cook Time: 20 minutes
- Total Time: 30 minutes
- Yield: 1 jar
- Category: Craft
- Method: DIY
- Diet: N/A
Ingredients
- Clear glass or plastic jar
- Holographic adhesive paper or film
- Scissors
- Stickers or decorative elements (optional)
- Mod Podge or another sealant
- Paintbrush or sponge applicator
Instructions
- Start with your clean jar and a piece of holographic adhesive paper. Measure the height and circumference of your jar to cut the paper accordingly.
- Once cut, peel the backing from the holographic paper and slowly apply it to the jar.
- Use your fingers to gently press the paper down, ensuring every part adheres well to the jar.
- Trim any excess paper from the top with scissors for a neat finish.
- For added flair, apply Mod Podge over the surface of the holographic paper using a paintbrush.
- Allow it to dry completely before applying any stickers or additional decorations.
- Once finished, fill the jar with your favorite writing tools and admire your handiwork.
Notes
Adult supervision may be required for younger children, especially when using scissors or applying Mod Podge.
Nutrition
- Serving Size: 1 jar
- Calories: N/A
- Sugar: N/A
- Sodium: N/A
- Fat: N/A
- Saturated Fat: N/A
- Unsaturated Fat: N/A
- Trans Fat: N/A
- Carbohydrates: N/A
- Fiber: N/A
- Protein: N/A
- Cholesterol: N/A