

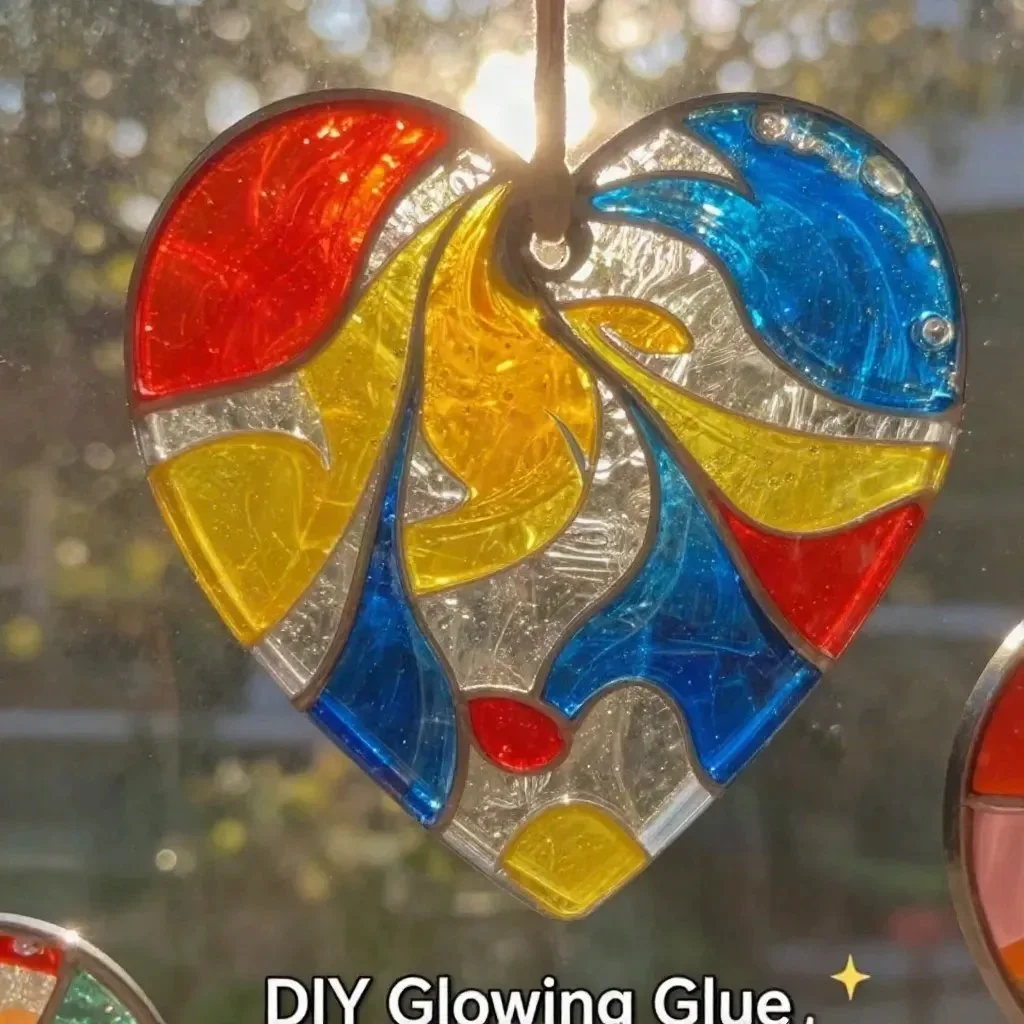
Creating something special with your kids on a busy afternoon can sometimes feel like a challenge. Maybe they are bursting with excitement and asking to make something creative right now! This is where DIY Glue Suncatchers come in handy. This easy and colorful project can bring joy and brighten up any space in your home while allowing your little ones to explore their creativity. Plus, it only requires a few simple materials you likely have on hand. You may also find Diy Glue Suncatchers useful.
Why This DIY Glue Suncatchers Works So Well
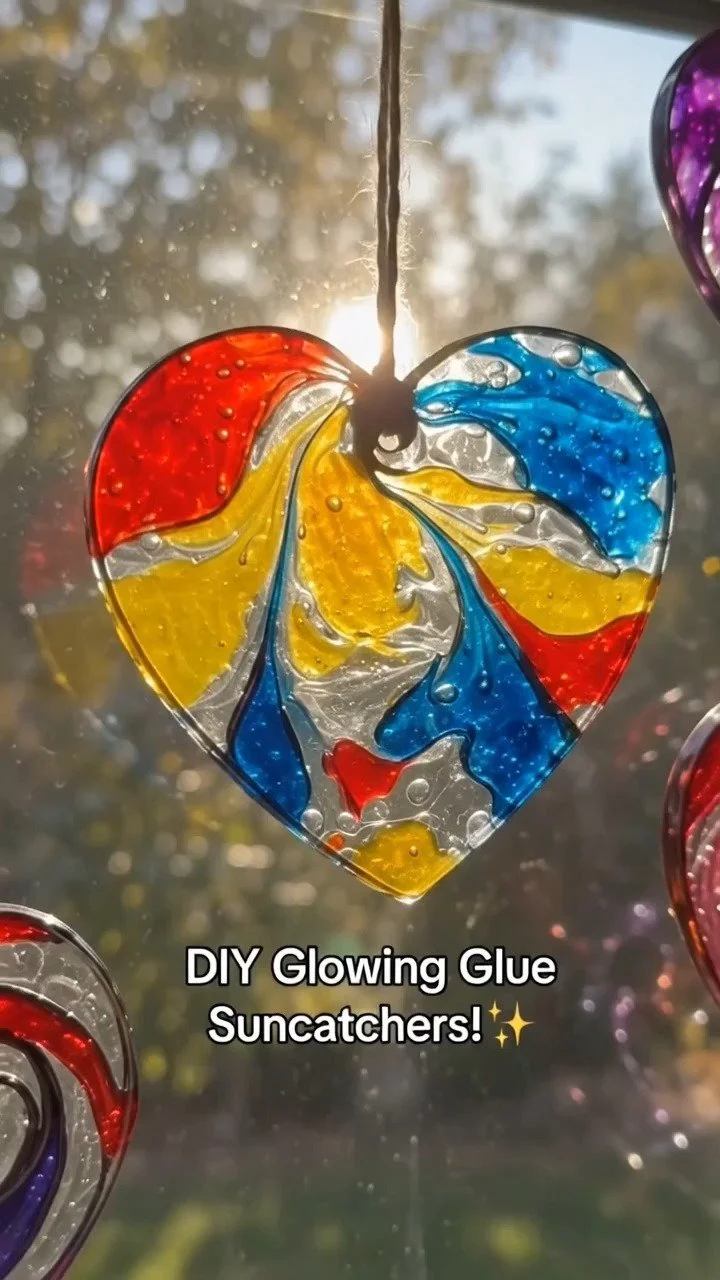
Making DIY Glue Suncatchers is a breeze. This project has a low-prep nature that accommodates even the busiest of schedules. You can set it up quickly and easily, creating bright and beautiful art without the fuss. It doesn’t require meticulous measuring or complicated techniques, making it suitable for kids of varying ages. The fun part is that while you both work together, you’re also nurturing their creative spirits. You may also find Colorful Diy Bioplastic Suncatchers useful.
Moreover, the end result is reliable. Once your suncatchers dry, they turn out beautifully colorful and sparkly—just what you want! Even if you face a hiccup during the crafting process, it’s easy to adjust and fix things as you go. This project truly shines in its accessibility and the enjoyable experience it offers to families looking to spend time together. You may also find Diy Bioplastic Suncatchers Colorful Swirls useful.
A Quick Look Before You Begin
Making DIY Glue Suncatchers can be a soothing yet engaging process. Gathering your materials typically takes only a few minutes, and setting everything up is straightforward. A little adult supervision ensures safety, especially when scissors are involved, but most of the activity is hands-on and kid-friendly. Expect some glue smudges; kids often love to get their hands a little messy! You may also find Diy Bioplastic Suncatchers Crayon Method useful.
This project generally takes about 30 minutes to set up, and then you let the suncatchers dry for a couple of days. You don’t have to worry about immediate cleanup since it sets up with minimal mess. Just let your kids express themselves with colors and sparkles. It’s an enjoyable way to pass the time, and adults can participate easily too, making it a collaborative effort.
Materials You’ll Need
Here’s a simple list of what you’ll need to create these delightful suncatchers:
- 1 cup clear liquid school glue
- 4 to 6 drops liquid food coloring in various colors
- 2 tablespoons fine craft glitter
- 4 flexible plastic lids or clear plastic plates
- 1 yard of thin ribbon or twine
- 1 pair of scissors (adult supervision required)
These materials are common household items and are budget-friendly. The clear glue is particularly versatile and can be used for various projects later on too. So if you enjoy this, you can explore more creative avenues with the same supplies.
Step-by-Step Directions
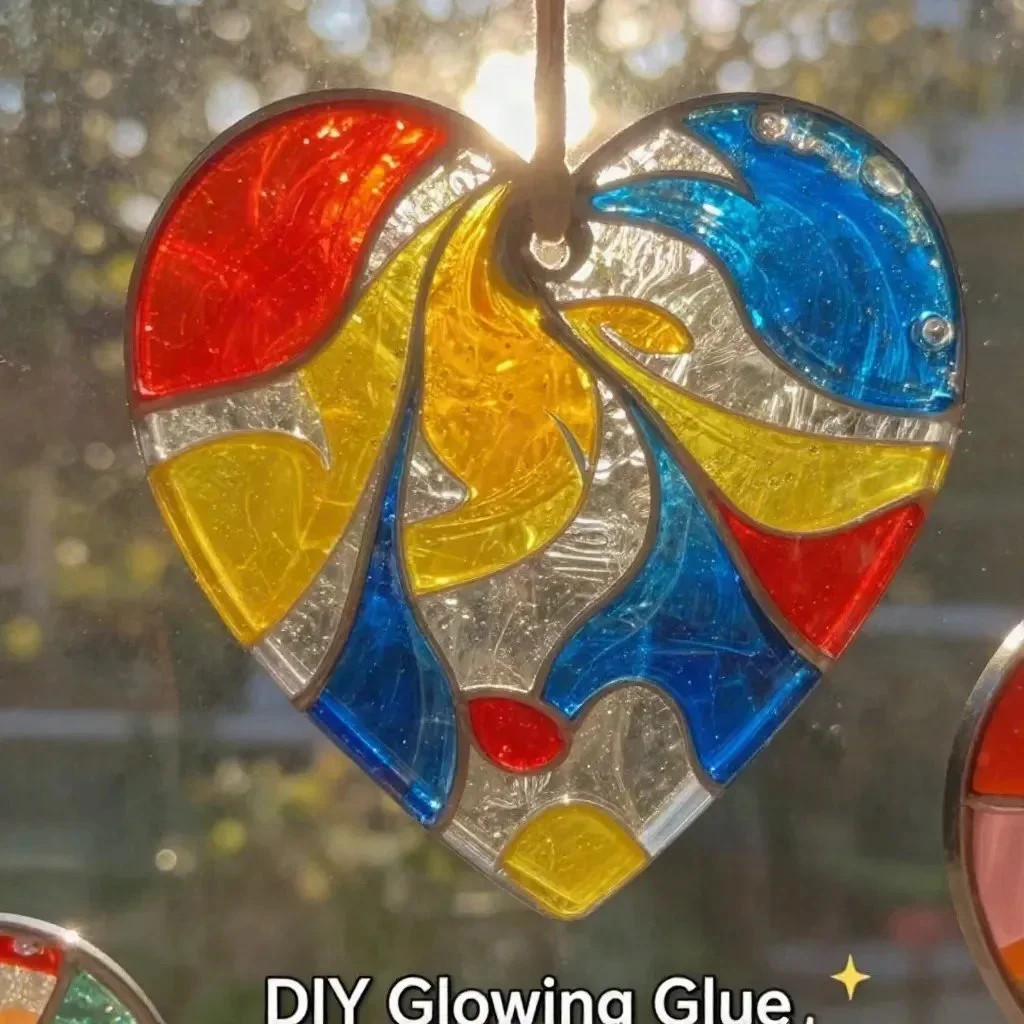
Follow these straightforward steps to create your DIY Glue Suncatchers:
Pour a thick, even layer of glue into a plastic lid to cover the bottom. Make sure it’s about a quarter inch thick. This thick layer helps the suncatcher maintain its shape.
Add drops of food coloring and gently swirl with a toothpick for a lovely pattern. This is where your kids can have fun creating beautiful designs, so let them experiment with colors!
Sprinkle glitter over the wet glue and let it dry undisturbed for 2 to 3 days until hard. The glitter adds a dazzling effect, and you can control how much sparkle you want.
Carefully peel the suncatcher from the lid and punch a small hole at the top. This step may require a bit of patience, especially if the glue is still delicate.
Use scissors with supervision to thread the ribbon through for hanging. This final touch allows you to display their art proudly around the house.
With each step, remind your kids to enjoy the process—a joyful creation comes from the experience!
The Learning Behind This DIY

Making DIY Glue Suncatchers isn’t just about crafting; it incorporates some essential skills your kids will benefit from. As they mix colors and sprinkle glitter, they practice motor skills and coordination. The swirling of paint and the effort it takes to peel the finished project teaches them about cause and effect—what happens when colors blend and how textures change.
You’re also introducing basic science concepts, as kids observe how different colors mix and how the glue dries over time. It becomes a hands-on lesson in art and science without the formal structure of a classroom, making learning feel fun and engaging.
Troubleshooting Common Issues
Sometimes, things don’t go as planned. One common issue is the glue not drying fully, affecting the suncatcher’s durability. If this happens, ensure the layer of glue isn’t too thick or overly wet. Thin layers dry better and faster. If you notice patches in your suncatcher, it could be an area that didn’t get enough glue—don’t fret! You can always add a little more glue to those areas and let it dry again.
Another concern could be too much food coloring, which may impact the clarity of your suncatcher. If it looks overwhelmingly dark before drying, encourage kids to think about lighter color combinations next time. Remember, crafting is a process filled with adjustments and learning experiences!
Easy Variations to Try
If you want to keep the creativity flowing, here are some easy variations to try with your suncatchers:
Layering Colors: Encourage kids to create layered suncatchers. They can pour different colors at various levels, creating a beautiful striped effect.
Theme-based Colors: Use seasonal colors, like autumn oranges and browns or winter blues and whites, to create suncatchers that reflect the time of year.
Shape Templates: To shake things up, use cookie cutters as molds. Pour glue inside the shapes to create fun outlines that kids will love.
Mix Textures: Incorporate small items like feathers or small leaves into the glue before drying to add texture and extra interest.
Gift Ideas: Suncatchers can also be wonderful gifts. Have the kids make one for family members or friends for special occasions.
Storing or Reusing This Project
Once your DIY Glue Suncatchers are finished, think about how to display them. Look for windowsill spaces that receive sunlight—the more light, the prettier they look when hung up. If the ribbons are getting worn or if the suncatchers become damaged with time, simply peel off the ribbon and revamp them by rethreading with new twine or using them as colorful decorations around play areas.
For storage, keep them safe in a box lined with soft tissue to prevent scratches or breakage. This way, they can be reused and cherished for years. You never know, this could become a fun tradition every few months, exploring new colors and methods.
FAQs About DIY Glue Suncatchers
What if the project gets messy?
It’s completely normal for kids to make a mess while crafting. Prepare for spills by covering surfaces with newspaper or plastic sheets to keep cleaning minimal.
Are these suncatchers safe for younger kids?
Yes! Just supervise usage when scissors or small items are involved. All materials are non-toxic and safe for children.
Can I use different types of glue?
While clear liquid school glue is the best option for this project, other types of craft glue can work. Just ensure they dry clear for the best results.
What can I do if I don’t have food coloring?
You can experiment with different liquids like water-based paints or even fruit juices, though the colors may differ from traditional food coloring.
Can these suncatchers be reused?
Once you complete a suncatcher, they are quite durable. If you want to replace them, just peel them off, and you can start the process from scratch again.
Conclusion
Conclusion
Making DIY Glue Suncatchers can be a fun-filled experience for both kids and adults. As you navigate through the steps of this project, consider looking at other creative ideas for suncatchers, such as exploring a Colorful DIY Glue Suncatcher Craft. You can also reference detailed instructions for various suncatcher methods at DIY Suncatcher – A girl and a glue gun. These resources can help inspire even more crafting fun while reinforcing the joy of creativity!
PrintDIY Glue Suncatchers
Engage your kids in a colorful and creative DIY project by making glue suncatchers that brighten any space.
- Prep Time: 10 minutes
- Cook Time: 2880 minutes
- Total Time: 2890 minutes
- Yield: 4 suncatchers 1x
- Category: Craft
- Method: Crafting
- Cuisine: N/A
- Diet: N/A
Ingredients
- 1 cup clear liquid school glue
- 4 to 6 drops liquid food coloring in various colors
- 2 tablespoons fine craft glitter
- 4 flexible plastic lids or clear plastic plates
- 1 yard of thin ribbon or twine
- 1 pair of scissors (adult supervision required)
Instructions
- Pour a thick, even layer of glue into a plastic lid to cover the bottom.
- Add drops of food coloring and gently swirl with a toothpick for a lovely pattern.
- Sprinkle glitter over the wet glue and let it dry undisturbed for 2 to 3 days until hard.
- Carefully peel the suncatcher from the lid and punch a small hole at the top.
- Use scissors with supervision to thread the ribbon through for hanging.
Notes
Encourage kids to enjoy the process of creating and making adjustments as needed.
Nutrition
- Serving Size: 1 suncatcher
- Calories: 50
- Sugar: 0g
- Sodium: 0mg
- Fat: 0g
- Saturated Fat: 0g
- Unsaturated Fat: 0g
- Trans Fat: 0g
- Carbohydrates: 12g
- Fiber: 0g
- Protein: 0g
- Cholesterol: 0mg