

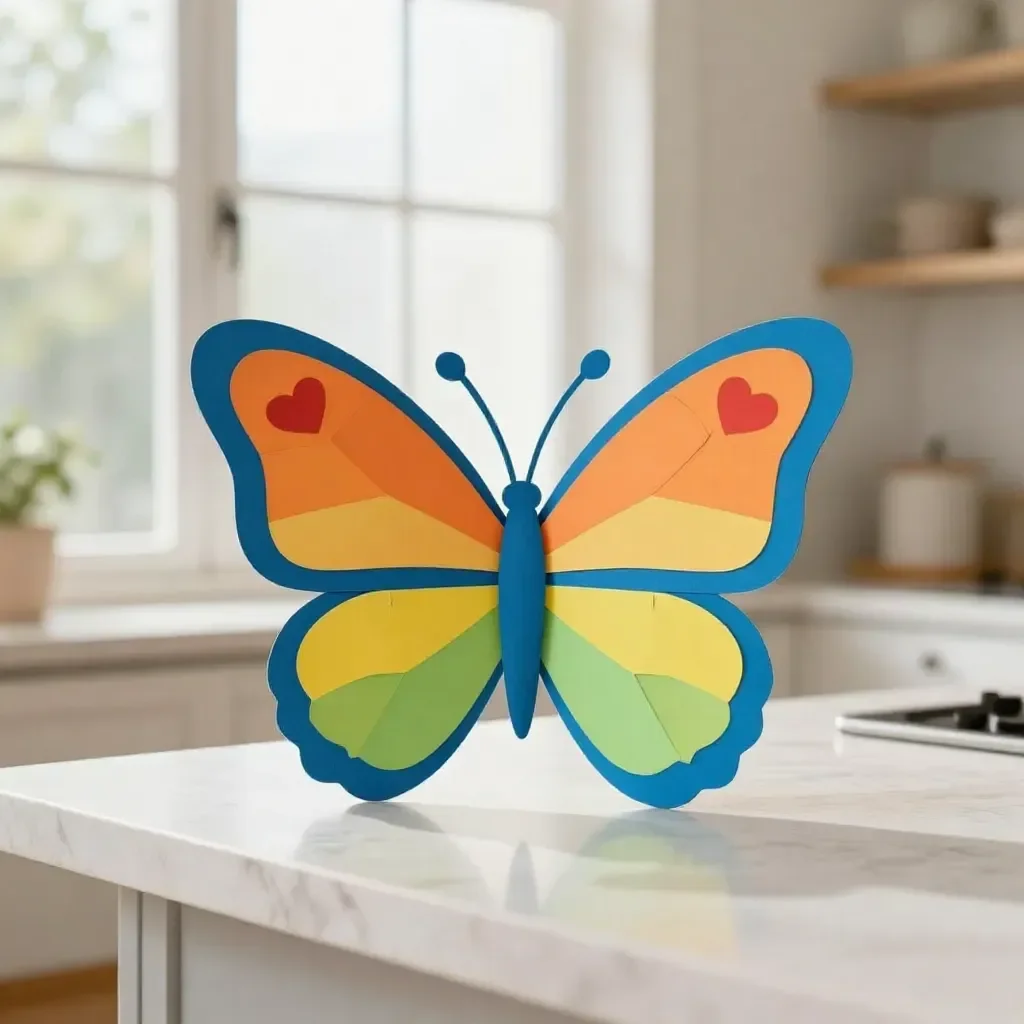
Making a Paper Plate Butterfly can be the perfect solution on a busy afternoon when the kids are eager to create something colorful and fun. With minimal setup and simple materials, this craft allows children to express their creativity without much hassle. Maybe you’ve had a moment where they come racing to you, asking to make something special right now. This project fits the bill nicely. It connects crafty hands with easy-to-follow steps, letting imaginations soar in the process. You may also find Butterfly Suncatchers useful.
Why You’ll Love Making Paper Plate Butterfly
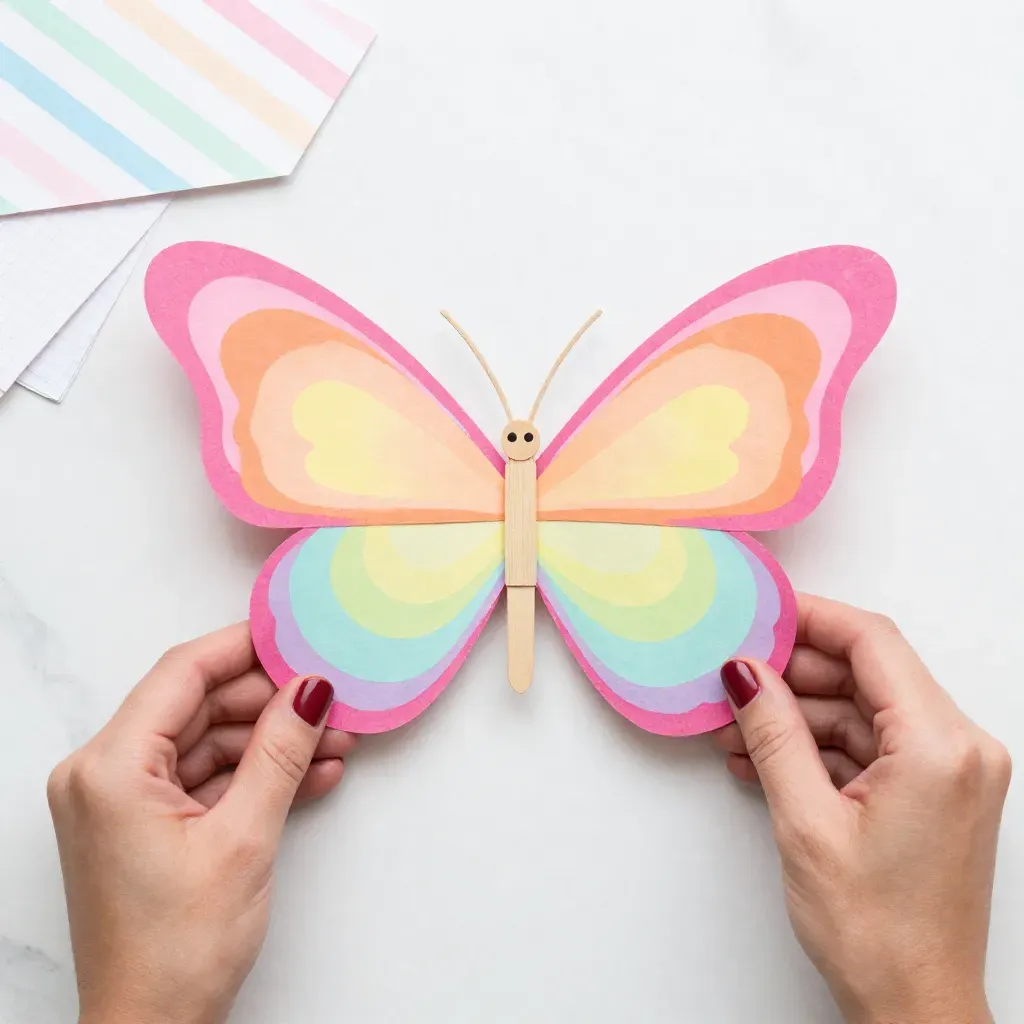
The appeal of making a Paper Plate Butterfly lies in its simplicity. You can dive right into the fun without getting bogged down by complicated instructions. Kids can personalize their butterflies however they like, which keeps them engaged. Plus, the materials required are usually things you already have at home, making it an affordable project. This craft is designed to fit neatly into the rhythm of a family schedule, whether it’s a last-minute idea or part of a planned activity time. You may also find Make Pretty Wax Paper Sun Catchers useful.
A Quick Look Before You Begin
It helps to have a clear picture of what this project involves before you get started. You’ll want to set aside roughly 30 to 45 minutes for the entire activity, making it a manageable option for even the busiest days. The mess level is low, as you’re mainly working with paper and perhaps some glue. Engage as a supportive adult, helping when needed but allowing them the freedom to explore their creativity. This is about enjoying the process as much as the final product.
Materials You’ll Need
Before diving in, gather these essential supplies:
- Two paper plates
- Non-toxic paint or markers
- Scissors
- Pipe cleaners
- Googly eyes (optional)
- Glue or tape
- A paintbrush (for paint)
Everything in this list is a common household item, making it easy for you to pull together without heading out to the store. You can easily substitute items, like using colored pencils instead of paint if that’s what you have on hand.
Step-By-Step Directions
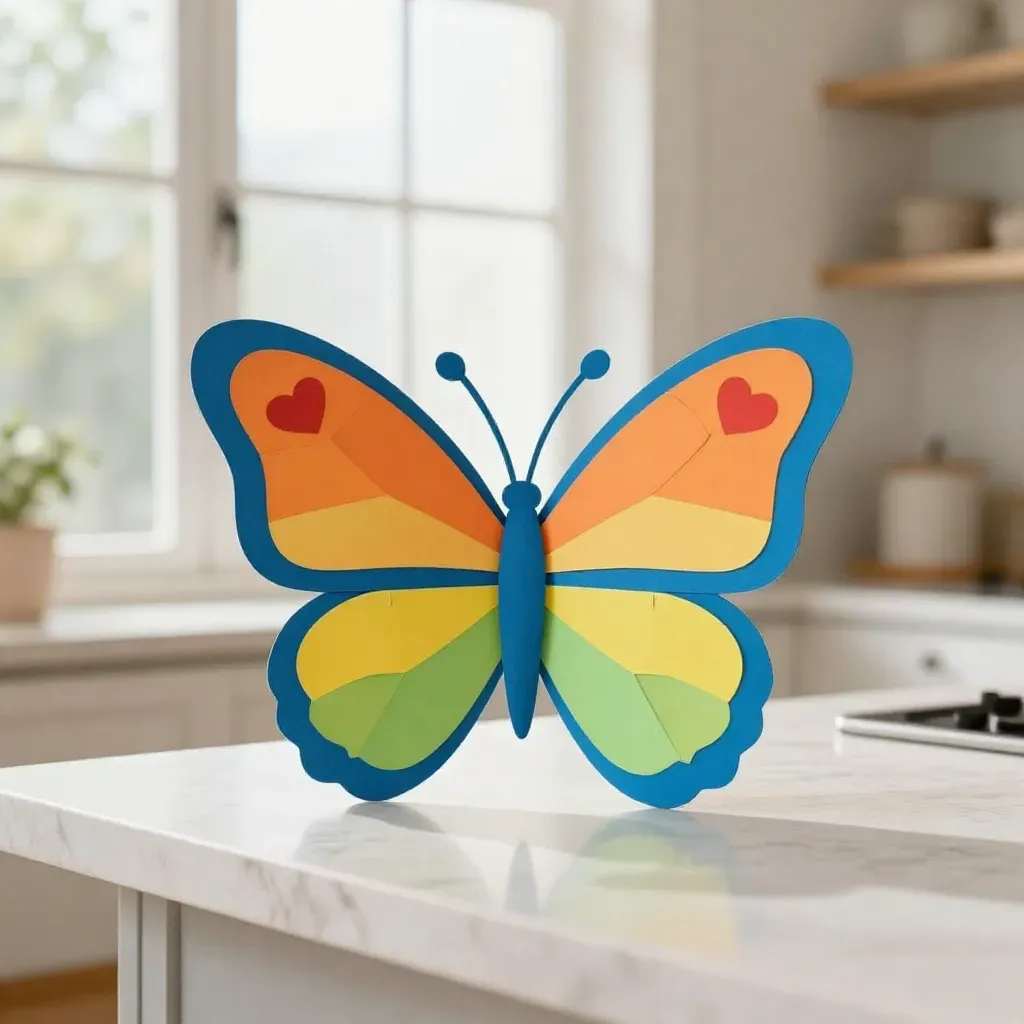
- Start with two paper plates. Take one plate and cut it in half to create the wings.
- Position the two halves onto the other plate, with the curved edges facing outwards. Secure them using glue or tape.
- Now it’s time to decorate! Use non-toxic paint or markers to color the wings. Encourage patterns and vibrant colors—anything goes!
- Once the paint is dry, you can attach googly eyes to the center of the paper plate. This gives your butterfly a fun personality.
- Cut a pipe cleaner to your desired length and twist it into shape for the antennae. Attach this to the top of the butterfly with glue or tape.
- For an extra touch, you can create additional decorations, like drawing or painting flowers around your butterfly.
- Finally, let everything dry completely before displaying your butterfly.
What Kids Practice While Making This

Making this Paper Plate Butterfly isn’t just about creating a cute craft; it’s also an engaging learning opportunity. Children get to practice their fine motor skills as they manipulate scissors, paint, and other materials. This craft supports hand-eye coordination when painting in intricate designs or placing the googly eyes just right. Understanding colors and patterns can also come into play, encouraging creativity and personal expression. Kids explore the concepts of transformation, as they take simple materials and craft something beautiful from them.
Troubleshooting Common Issues
If something doesn’t go as planned, don’t worry! Sometimes, the paint might smudge or the wings may not stick properly. If the paint is still wet and ends up blending too much, you can remind kids to be patient and let it dry fully before adding more layers. Should the wings fall off, a little extra glue or tape can fix that quickly. The essence is not in achieving perfection but in enjoying the process together.
Easy Variations to Try
To keep things fresh, consider these simple ways to change up the Paper Plate Butterfly:
- Use different colors for seasonal themes, such as pastels for spring or darker shades for fall.
- Encourage older kids to try using the same technique on different materials, like fabric or cardboard.
- Try adding glitter for a sparkle effect, or different embellishments like sequins or stickers to personalize designs further.
Storing or Reusing This Project
After the crafting is done, think about how to store or reuse your butterfly. If you have space, hang it up to decorate a child’s room or play area. It’s a lovely piece of art! Alternatively, once it’s time for a change, consider recycling the materials instead of throwing them away. This helps teach kids about reducing waste and being environmentally conscious.
FAQs About Paper Plate Butterfly
One question that often comes up is, "How messy will this be?" The paint and markers can get a bit messy, so it’s a good idea to set up a covered surface for easy cleanup. Another common concern is age range; this activity works well for kids aged three and up, with some adult supervision required for using scissors. Parents also ask if there are safe substitutions for the materials—absolutely! Any type of paints and glues that are labeled non-toxic will work fine. Lastly, you might wonder what to do with the butterflies after they’re made. They can be displayed or simply stored until they’re ready for a second look, which is completely fine too.
A Final Helpful Note
Creating a Paper Plate Butterfly together is all about having fun and letting yourself be present in the moment. Don’t worry about achieving a perfect butterfly; the journey is what counts. It’s a fantastic way to build memories, stimulate creativity, and fill an afternoon with laughter and fun.
Conclusion
If you enjoyed this paper craft, you might want to explore more creative activities like those suggested in the Butterfly Craft for Kids – Eighteen25. Additionally, check out the guide on How to Make a Paper Plate Butterfly Craft – The Artful Parent for more ideas to keep those creative juices flowing.
PrintPaper Plate Butterfly
A fun and simple craft for kids to create colorful paper plate butterflies using materials commonly found at home.
- Prep Time: 5 minutes
- Cook Time: 30 minutes
- Total Time: 35 minutes
- Yield: 1 butterfly
- Category: Craft
- Method: Crafting
- Cuisine: N/A
- Diet: N/A
Ingredients
- Two paper plates
- Non-toxic paint or markers
- Scissors
- Pipe cleaners
- Googly eyes (optional)
- Glue or tape
- A paintbrush (for paint)
Instructions
- Start with two paper plates. Take one plate and cut it in half to create the wings.
- Position the two halves onto the other plate, with the curved edges facing outwards. Secure them using glue or tape.
- Decorate! Use non-toxic paint or markers to color the wings. Encourage patterns and vibrant colors—anything goes!
- Attach googly eyes to the center of the paper plate once the paint is dry.
- Cut a pipe cleaner to your desired length and twist it into shape for the antennae. Attach this to the top of the butterfly with glue or tape.
- Create additional decorations, like drawing or painting flowers around your butterfly.
- Let everything dry completely before displaying your butterfly.
Notes
This project promotes creativity while practicing fine motor skills. Supervision is required for using scissors.
Nutrition
- Serving Size: 1 craft
- Calories: 0
- Sugar: 0g
- Sodium: 0mg
- Fat: 0g
- Saturated Fat: 0g
- Unsaturated Fat: 0g
- Trans Fat: 0g
- Carbohydrates: 0g
- Fiber: 0g
- Protein: 0g
- Cholesterol: 0mg