

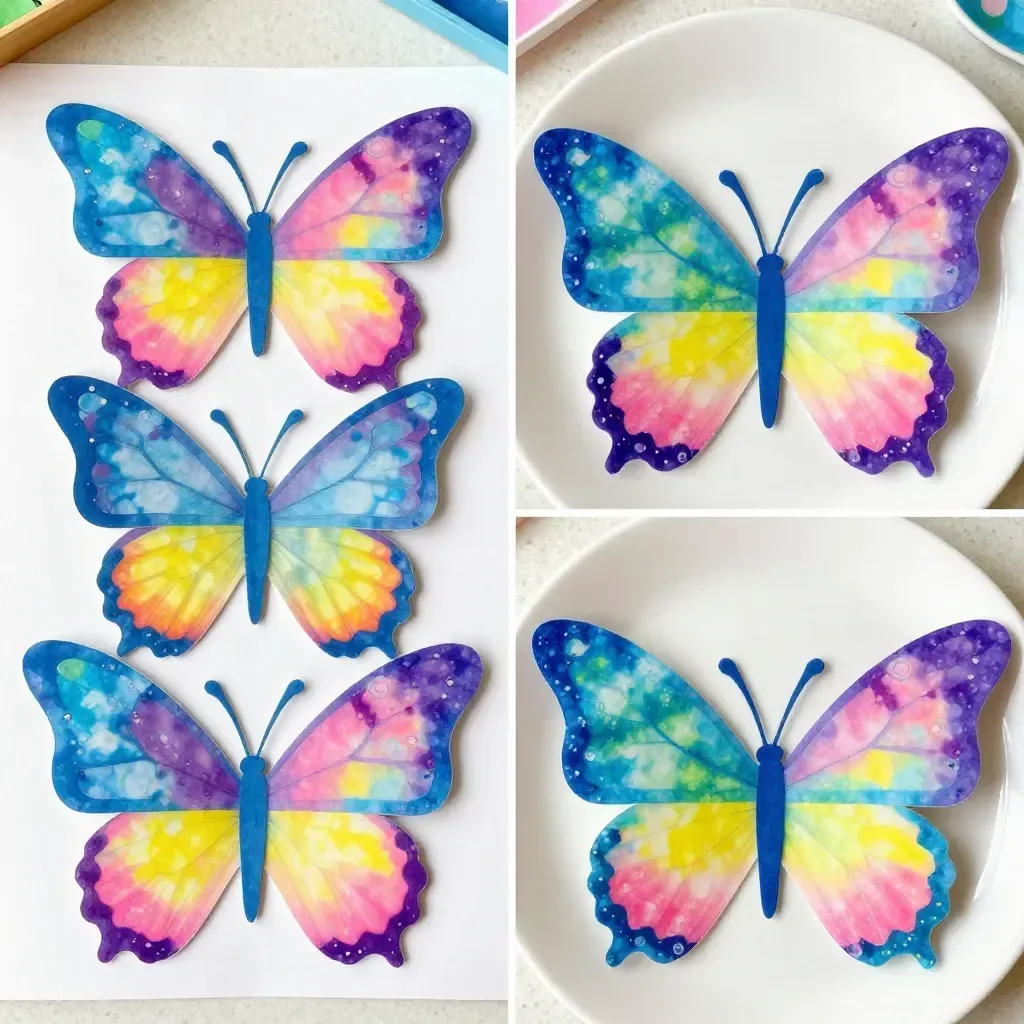
As the day winds down and kids are filled with boundless energy, you might find yourself scrambling for a last-minute activity that’s both fun and creative. This is where the Bubble Print Butterfly project steps in perfectly. It’s a whimsical art activity that invites playful exploration while also creating beautiful butterfly prints. You’ll love how easy it is to set up with just a few ingredients, and, best of all, the kids will have a blast watching the bubbles transform into colorful works of art. You may also find Bubble Wand Fireworks useful.
Why This Bubble Print Butterfly Works So Well
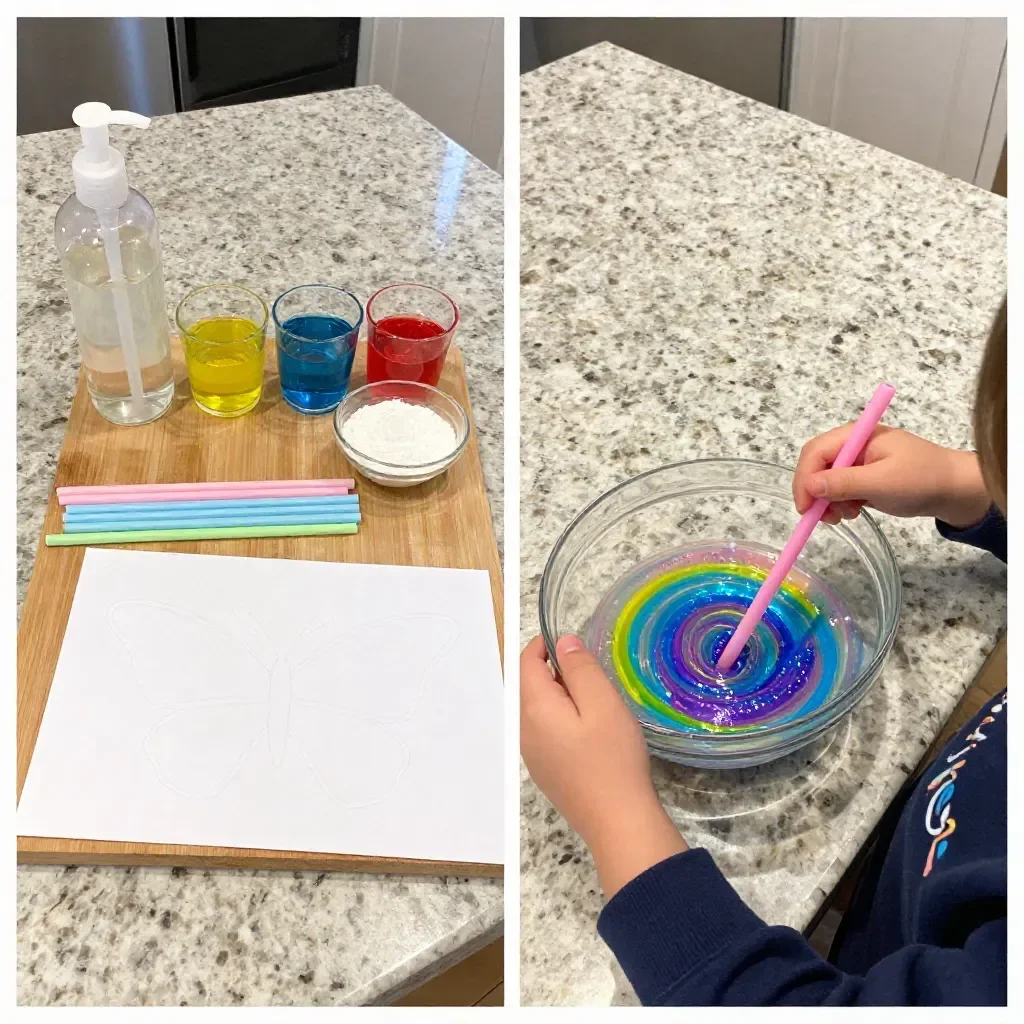
This Bubble Print Butterfly project is remarkable for its simplicity and adaptability. It’s a low-prep activity that gives children a hands-on experience without overwhelming any adult in the household. All you need are a few common materials that you likely have at home. The beauty of it lies in its flexibility; you can play around with colors and sizes, making each butterfly print unique. It fits seamlessly into busy schedules, allowing you to engage your little ones without requiring extensive preparation or cleanup. This approach not only fosters creativity but also reinforces the idea that art doesn’t have to be perfect, just enjoyable. You may also find Butterfly Suncatchers useful.
A Quick Look Before You Begin
Creating your Bubble Print Butterfly is a straightforward process that won’t take too much time. You can gather everything in about ten minutes, with the actual bubble painting taking roughly 15 minutes. Depending on your style, you might spend additional time cutting and displaying the butterflies. The mess? Minimal! With a simple setup, you’ll spread out some paper, and since you’ll be using bubbles, any splatter is part of the fun. It’s an activity best done as a collaborative effort, so involving the kids will make it even more special. You may also find Cornstarch Dish Soap Bubble Dough useful.
Materials You’ll Need
Here’s what you’ll need for your Bubble Print Butterfly project: You may also find Homemade Sugar Bubble Gum useful.
- Bubble solution: You can easily make your own or use a store-bought version.
- Food coloring: Add a few drops to brighten your prints.
- Straw: A simple tool to blow the bubbles.
- Paper: Any kind will do, but thicker paper enhances the print quality.
- Butterfly template: Download or draw your butterfly shape for cutting out later.
All these items are common household materials, making it even easier to dive into this creative endeavor together.
STEP-BY-STEP DIRECTIONS
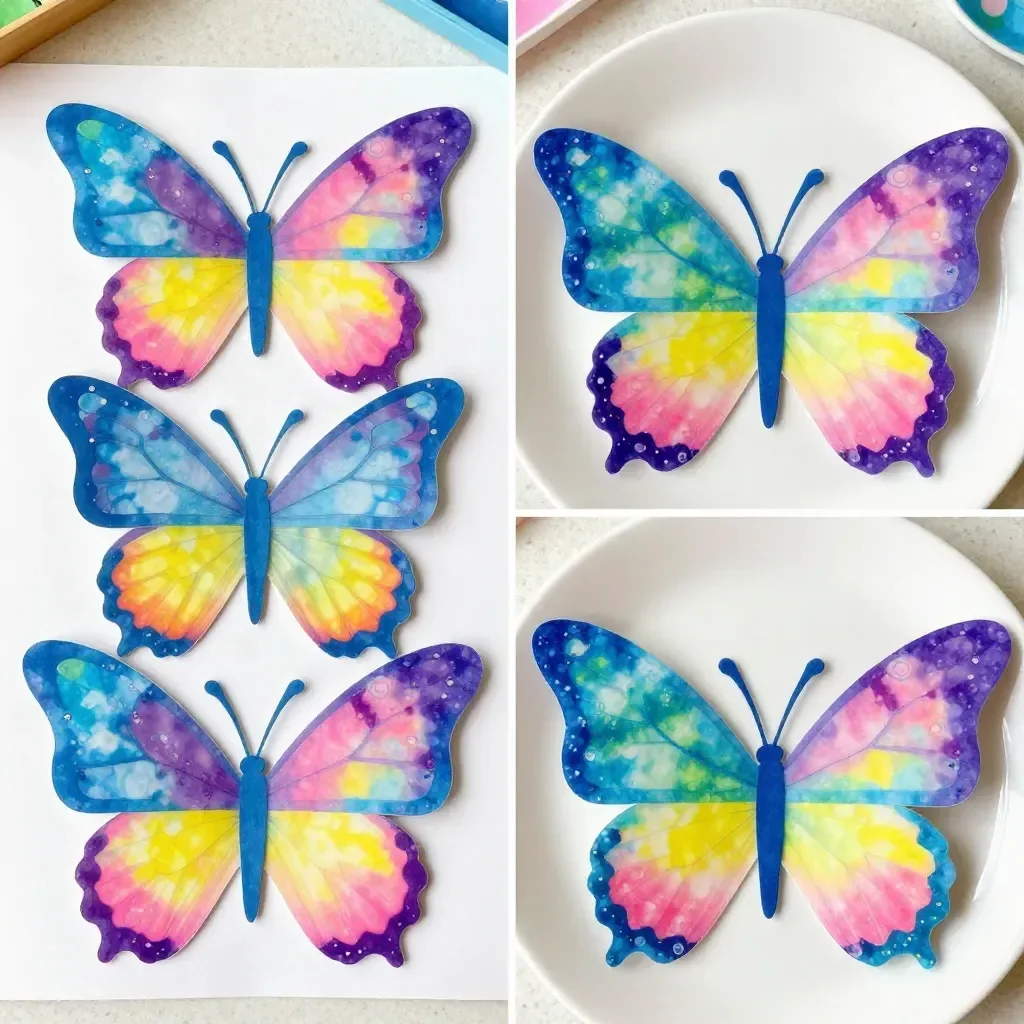
Begin by mixing a few drops of food coloring into your bubble solution. This will create vibrant prints! You can choose any colors that inspire you. Encourage children to experiment with mixing different colors for a rainbow effect.
Using a straw, gently blow bubbles onto the paper. Don’t worry if some pop; that’s part of the fun! Keep an eye on the bubbles as they drift and land—a small victory each time one sits on the paper without bursting.
Once the bubbles have dried, cut them into butterfly shapes using your template. Fold the wings for a lovely display. This is a lovely moment to observe the unique prints you’ve created together.
The Learning Behind This DIY
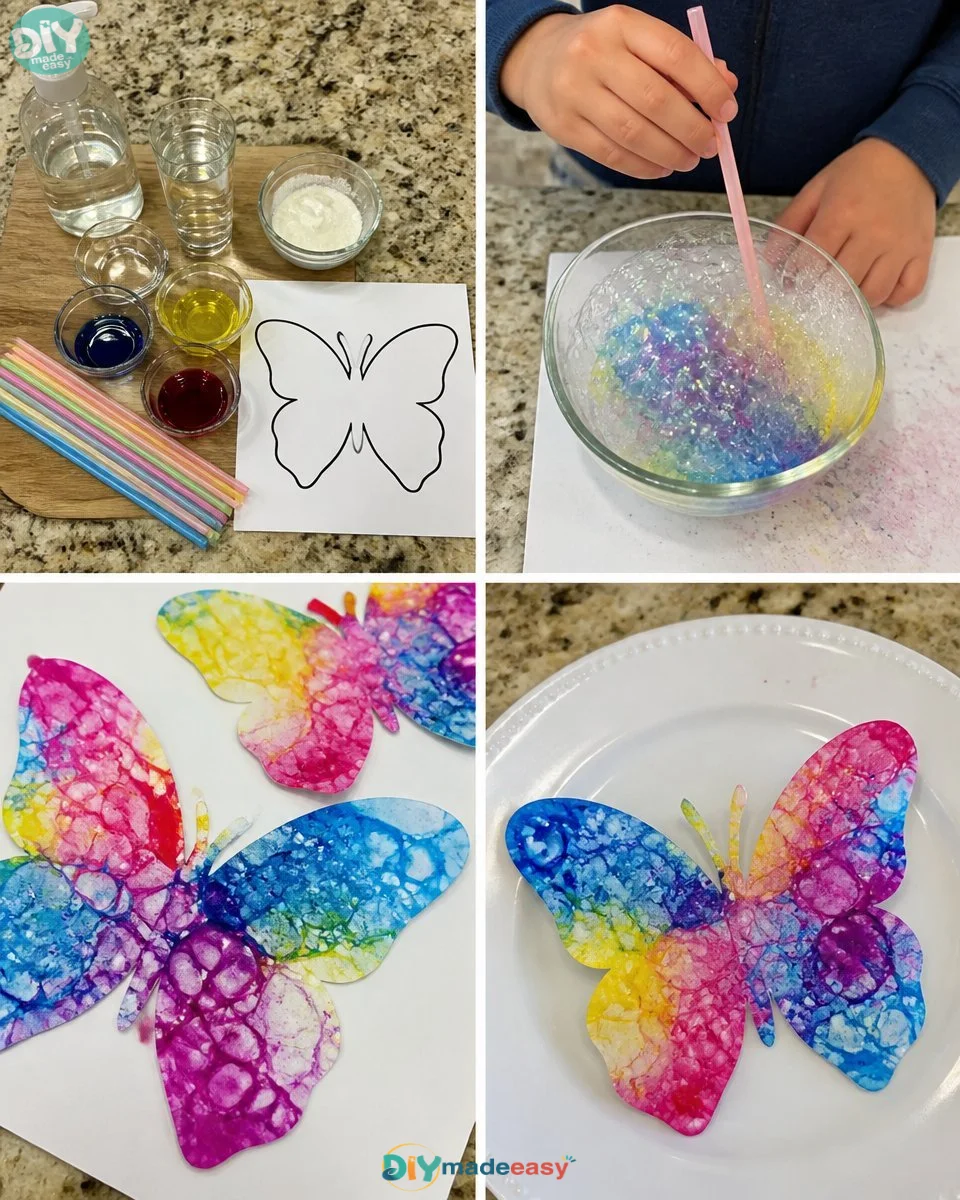
While your kids are having fun making their Bubble Print Butterflies, they are also engaging in several valuable learning experiences. First, the activity teaches them about cause and effect: they see how blowing bubbles creates prints. The art of bubble printing helps enhance their fine motor skills, as coordinating the blowing of bubbles with the movement of the straw requires practice. Furthermore, using colors aids in understanding color theory, while cutting out butterfly shapes can boost their scissors skills.
Troubleshooting Common Issues
Creating Bubble Print Butterflies is generally straightforward, but sometimes things may not go as planned. If your prints are too faint, it might be that the bubble solution is too diluted. In this case, try adding some more food coloring to intensify the colors for better prints. If the bubbles keep popping before they land, you might want to try blowing smaller bubbles, or alternatively, letting the kids take turns blowing to avoid a rush.
Easy Variations to Try
To keep things exciting, consider these fun variations on your Bubble Print Butterfly project:
- Use different types of paper, such as cardstock or construction paper, for varying effects.
- Experiment with glitter or metallic paint to add sparkle to your butterflies.
- Use the same technique on canvas or t-shirts to create wearable art.
- Create themed butterflies for different holidays or seasons, encouraging festive fun.
Storing or Reusing This Project
Once your Bubble Print Butterflies are complete, you can choose to display them or store them away for future fun. It’s a breeze to keep them safe; simply tuck them between sheets of cardboard or place them in a folder. Moreover, if you have leftover bubble solution, consider saving it in a sealed container for another day. Just be mindful that it might need a color refresh depending on how long it’s stored.
FAQs About Bubble Print Butterfly
What happens if it makes a mess?
It’s all part of the creativity! Just lay down some newspaper or an old sheet to catch the spills, which makes cleanup easy. Plus, a little mess can lead to a lot of fun!
Is this safe for toddlers?
Absolutely! Just supervise closely while they use the straw, and advise them to refrain from sucking in. As an alternative, holding the straw with just enough distance will allow them to enjoy blowing without accidents.
Can I use other types of food coloring?
Yes! If you have liquid watercolors or other non-toxic food dyes, those can work just as well. Just remember to test on a small piece of paper first to see how vibrant the colors turn out.
How long will our Bubble Print Butterflies last?
If you display them away from direct sunlight in a cool, dry place, they should last quite a while. However, remember that the colors might fade over time.
Conclusion
Making Bubble Print Butterflies can be a delightful way to engage children in a creative project without the hassle of extensive setup. As you bask in the joy of creating, consider checking out great supplies like Bobo Balloons Butterfly Printed, Helium Style Transparent Bubble for an added touch to your decorations or explore inspiring ideas in this Bubble Print Butterfly Craft. Enjoy your time crafting together!
PrintBubble Print Butterfly
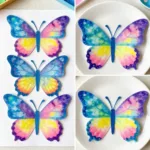
A fun and creative project for kids to make beautiful butterfly prints using bubbles and food coloring.
- Prep Time: 10 minutes
- Cook Time: 15 minutes
- Total Time: 25 minutes
- Yield: Varies based on butterfly prints created
- Category: Arts & Crafts
- Method: Crafting
- Cuisine: N/A
- Diet: N/A
Ingredients
- Bubble solution
- Food coloring
- Straw
- Paper (thicker paper preferred)
- Butterfly template
Instructions
- Begin by mixing a few drops of food coloring into your bubble solution.
- Using a straw, gently blow bubbles onto the paper.
- Once the bubbles have dried, cut them into butterfly shapes using your template.
Notes
Encourage kids to experiment with colors and sizes for unique prints. Supervise toddlers closely while using the straw to ensure safety.
Nutrition
- Serving Size: 1 project
- Calories: 0
- Sugar: 0g
- Sodium: 0mg
- Fat: 0g
- Saturated Fat: 0g
- Unsaturated Fat: 0g
- Trans Fat: 0g
- Carbohydrates: 0g
- Fiber: 0g
- Protein: 0g
- Cholesterol: 0mg