

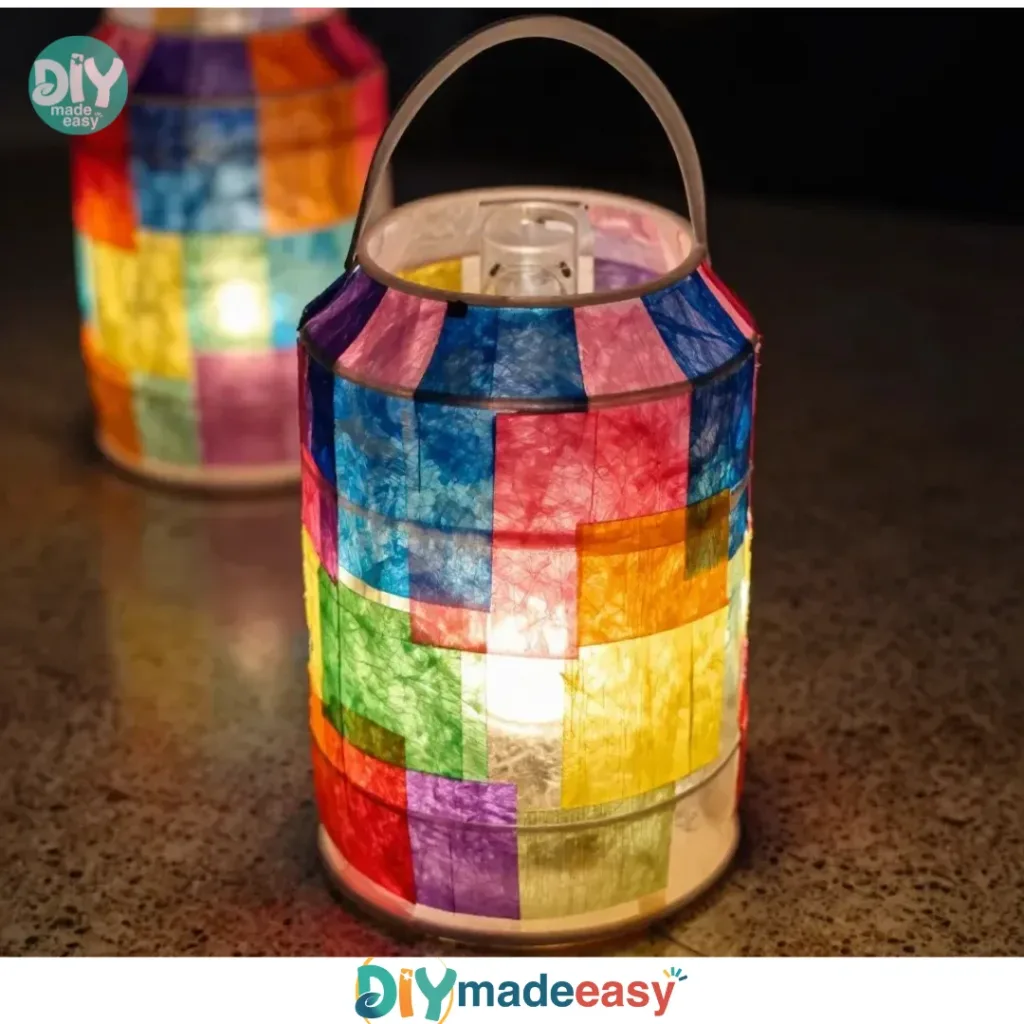
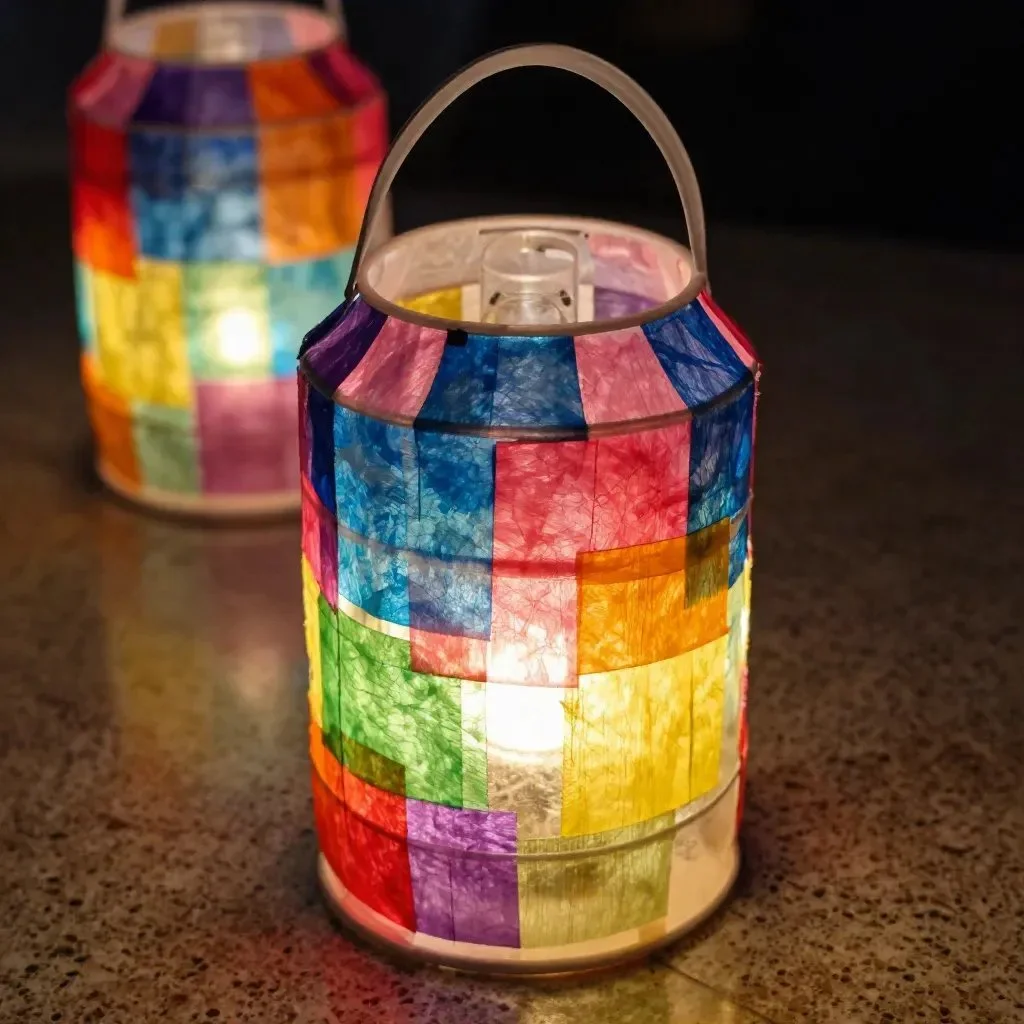
Creating beautiful and engaging activities for your children can sometimes feel like a tall order, especially on a busy afternoon when they’re filled with energy and creativity. If you’ve found yourself in need of a quick and satisfying project, Fake Stained-Glass Lanterns can be the perfect solution. Not only is this DIY project simple, but it also allows for artistic expression using everyday materials. Plus, it’s great for tapping into your children’s imaginations as they pick colors and shapes to design their unique lanterns. You may also find Brighten Your Home Stained Glass Lantern useful.
Why This Fake Stained-Glass Lanterns Works So Well

This project shines in its low-prep nature. You won’t need to spend hours gathering complicated materials. Most items can be found in your home or easily acquired from local craft stores. Additionally, the process is approachable; it doesn’t require special skills or advanced techniques. Kids can jump right in, exploring colors and light as they go. The reliable and straightforward steps mean that, even if things don’t go exactly as planned, the end result will still be enjoyable and impressive.
A Quick Look Before You Begin
Before diving into making fake stained-glass lanterns, it’s helpful to understand the overall flow of the project. Generally, you can expect this activity to take about an hour or so from start to finish, which includes setup, crafting, and drying time. The cleanup is minimal, mainly involving gathering up some scraps of paper and glue. It’s a great opportunity for adult involvement, but kids can handle most steps independently with guidance. This project is perfect when you want something engaging yet not overly messy.
Materials You’ll Need
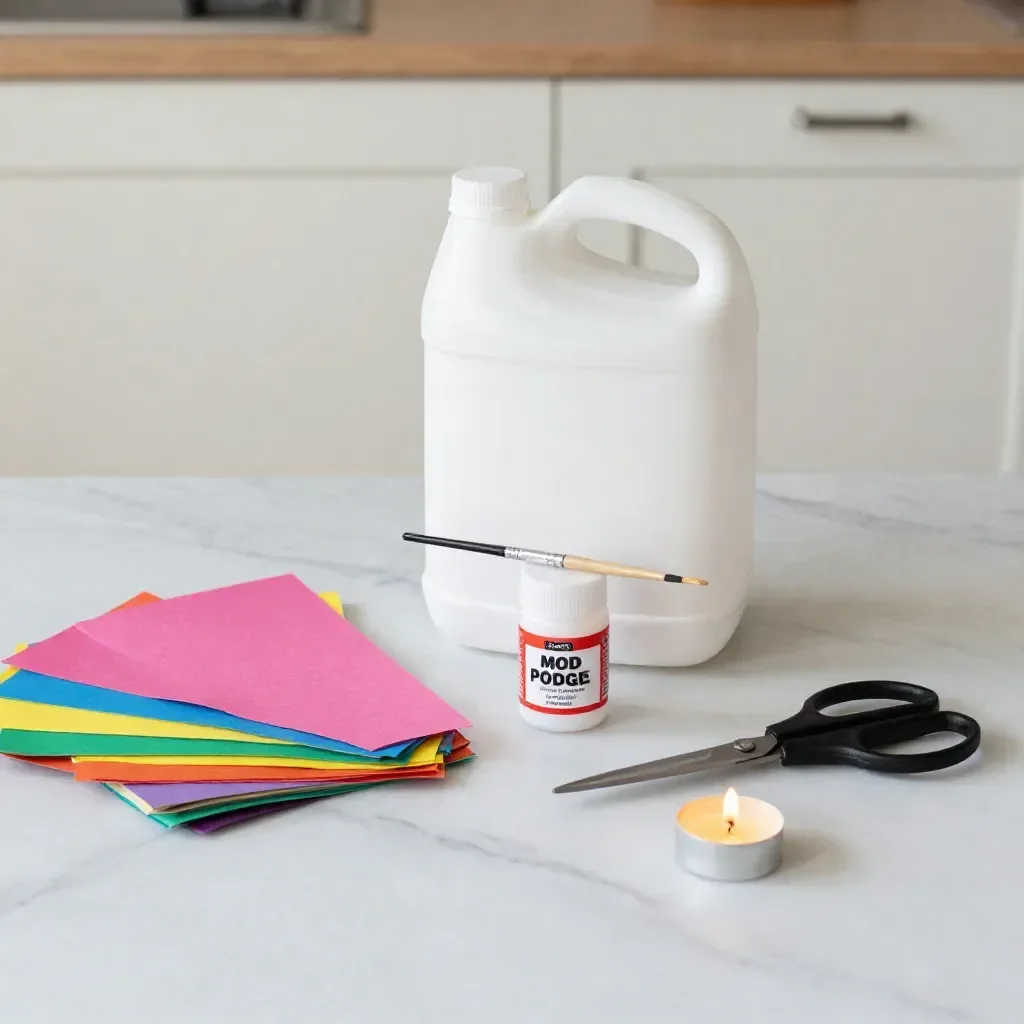
For this craft, gather the following materials:
- Clear plastic sheets or transparency film
- Scissors
- Craft glue or stained-glass glue
- Colored tissue paper or colored transparent film
- A cardboard base
- Optional: LED tea lights
These materials are straightforward—most are common household items, while others can be obtained at a low cost. If you’d like to add a little sparkle, LED tea lights are an inexpensive and safe option for illuminating your finished lantern.
Step-by-Step Directions
Prepare Your Workspace: Start by clearing a flat surface where your kids can work. Lay down newspaper or a protective sheet to catch any spills or glue messes.
Cut Your Shapes: Let the kids cut a variety of shapes from the colored film or tissue paper. Encourage them to be creative—stars, hearts, or simple geometric shapes all work well.
Create the Lantern Frame: Have the kids cut a sturdy rectangle from the cardboard to create the lantern base. This structure will support everything, so make sure it’s strong enough to hold the design.
Apply Glue: Spread a thin layer of stained-glass glue onto the cardboard base. Help the kids arrange their colorful shapes on top of the glue, leaving a little space between each.
Layer It Up: Continue adding shapes, applying glue as needed. It’s fun to see how different colors come together and complement each other. Plus, layering creates a beautiful effect.
Secure the Lantern: Allow the glue to dry completely. This might take some time, so it’s a great moment for a snack break or another quick activity.
Add Lighting: Once everything is dry, place an LED tea light inside the lantern. It adds a cozy glow that truly brings the project to life.
Display Your Creation: Finally, find a cozy spot for your lantern, maybe on a windowsill or a bedside table, and enjoy the ambiance it creates.
This process not only provides a fun hands-on experience but also results in a charming decorative piece for your home. If you’re looking for more ways to use colored transparency in creative projects, check out this DIY stained glass art tutorial.
The Learning Behind This DIY

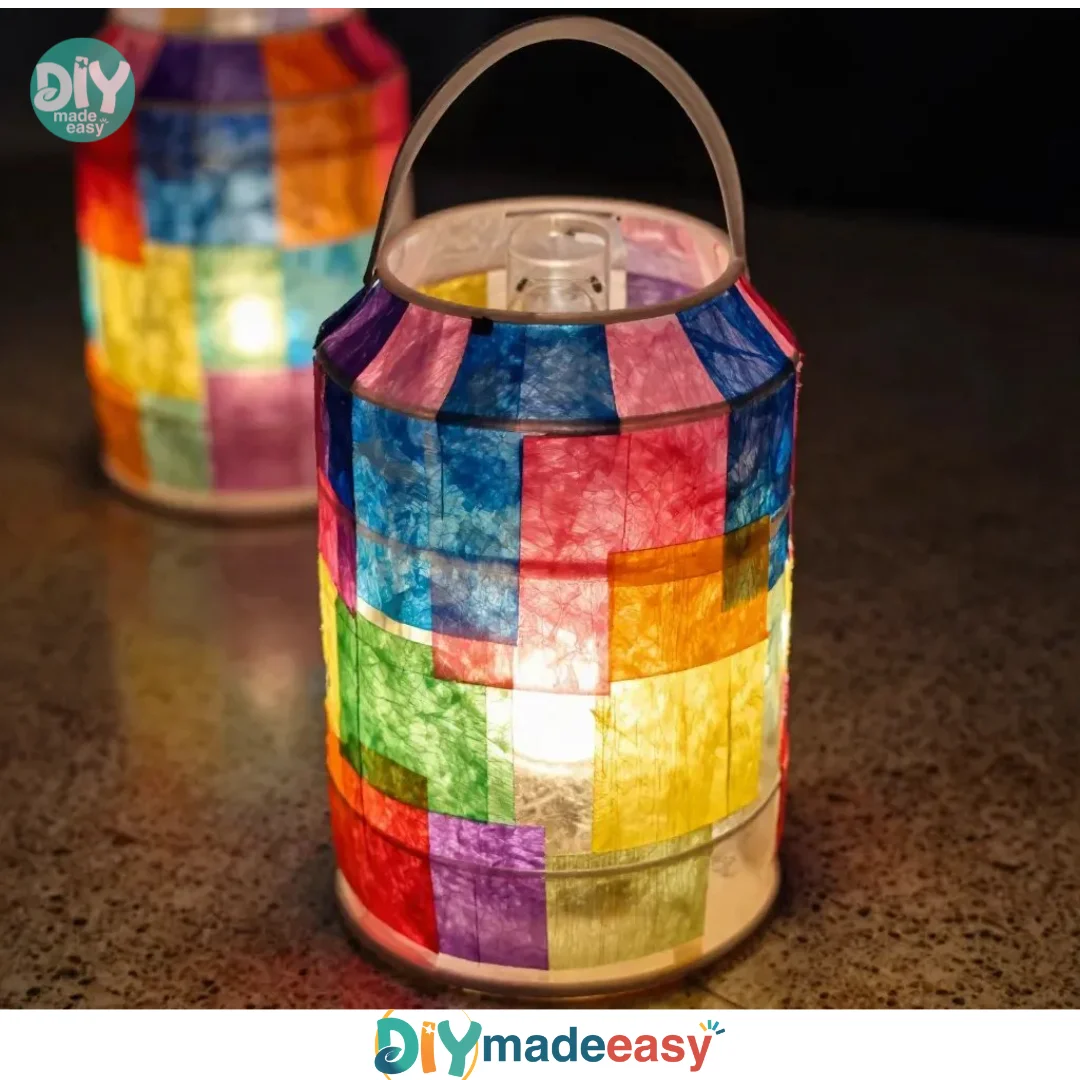
Making fake stained-glass lanterns introduces children to various concepts that help develop their skills. One main idea at work here is color mixing. As children choose and layer different tissue paper colors, they learn how colors can interact and change perception based on their placement.
Fine motor skills come into play as they cut the shapes and apply the glue. These tasks require both precision and coordination, essential skills for young learners. When they see their creations come to life, they also grasp the cause-and-effect principle—gluing pieces allows them to create something functional and beautiful.
Troubleshooting Common Issues
If something doesn’t go as planned, first stay calm. Perhaps the glue is too thick, or the shapes aren’t sticking. These things happen, and they are easily fixable. If the glue doesn’t seem effective, ensure that a thin layer is being used and allow extra drying time. If shapes are falling off, kids might just need a bit more glue to hold them in place.
Another common issue is cutting—if shapes turn out uneven or rough around the edges, reassure kids that it’s perfectly fine. Sometimes the irregular shapes can add character to the lantern. Mistakes often lead to the most creative outcomes.
Easy Variations to Try
To make this project feel fresh and adaptable for different occasions, consider trying these variations:
Seasonal Themes: Use fall colors for Halloween lanterns or reds and greens for Christmas. You could even craft pastel colors for Easter.
Mixed Media: Combine other materials like beads or glitter with the tissue paper for added texture and dimension.
Personalized Messages: Have kids write their names or a short message with markers on the cardboard base before adding the colored shapes.
Different Shapes and Sizes: Experiment with making mini lanterns for a fairy garden or oversized ones for outdoor decorations.
Outdoor Display: Instead of using LED lights, try these with regular candles (keeping safety in mind) when outdoors for special events.
Storing or Reusing This Project
After displaying your lanterns, they can be stored safely for future use or reuse in a different crafting project. When cleaning up, ensure that the plastic sheets and tissue paper scraps are disposed of properly, as they can be recycled if your local facility accepts them. Encouraging waste reduction and storage methods helps instill responsible habits in children while being conscious of the environment.
FAQs About Fake Stained-Glass Lanterns
How messy are these lanterns to create?
While there is a bit of glue involved, you can easily manage messes with a protective sheet. Most cleanup involves picking up small paper scraps and any glue spills that can be wiped away quickly.
What age can my child start this project?
This DIY is suitable for a variety of ages. Younger kids may need more assistance with cutting and glueing, while older kids can tackle most steps independently. Always supervise for safety.
Can we change materials if we don’t have tissue paper?
Absolutely! You could use colored plastic wrap or even old magazines to create interesting designs. Be creative with what you have at home.
What if my lantern doesn’t look perfect?
Remember, perfection isn’t the goal here. Each lantern will be unique, and that’s part of the fun. Embrace the quirks as part of its charm!
How can I recycle or store these lanterns after?
If you want to store them, make sure they are dry, then keep them in a box or container to avoid squishing. You can also recycle the materials if you choose to break them down.
Conclusion
Creating fake stained-glass lanterns can be a wonderful parenting moment that combines creativity, learning, and fun while adding a touch of charm to your space. The joy of making something beautiful together is worth every minute spent. For more insights, check out this detailed DIY guide by Mark Montano or visit BLICK Art Materials for exciting lesson plans.
PrintFake Stained-Glass Lanterns
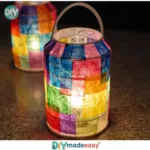
A creative and engaging DIY project for children to make beautiful fake stained-glass lanterns using simple materials.
- Prep Time: 10 minutes
- Cook Time: 50 minutes
- Total Time: 60 minutes
- Yield: 1 lantern
- Category: Craft
- Method: DIY
- Cuisine: N/A
- Diet: N/A
Ingredients
- Clear plastic sheets or transparency film
- Scissors
- Craft glue or stained-glass glue
- Colored tissue paper or colored transparent film
- A cardboard base
- Optional: LED tea lights
Instructions
- Prepare your Workspace: Start by clearing a flat surface where your kids can work. Lay down newspaper or a protective sheet to catch any spills or glue messes.
- Cut Your Shapes: Let the kids cut a variety of shapes from the colored film or tissue paper.
- Create the Lantern Frame: Have the kids cut a sturdy rectangle from the cardboard to create the lantern base.
- Apply Glue: Spread a thin layer of stained-glass glue onto the cardboard base. Help the kids arrange their colorful shapes on top of the glue.
- Layer It Up: Continue adding shapes, applying glue as needed.
- Secure the Lantern: Allow the glue to dry completely.
- Add Lighting: Once everything is dry, place an LED tea light inside the lantern.
- Display Your Creation: Find a cozy spot for your lantern and enjoy the ambiance.
Notes
This project encourages creativity and fine motor skills while resulting in a charming decorative piece.
Nutrition
- Serving Size: 1 lantern
- Calories: N/A
- Sugar: N/A
- Sodium: N/A
- Fat: N/A
- Saturated Fat: N/A
- Unsaturated Fat: N/A
- Trans Fat: N/A
- Carbohydrates: N/A
- Fiber: N/A
- Protein: N/A
- Cholesterol: N/A