

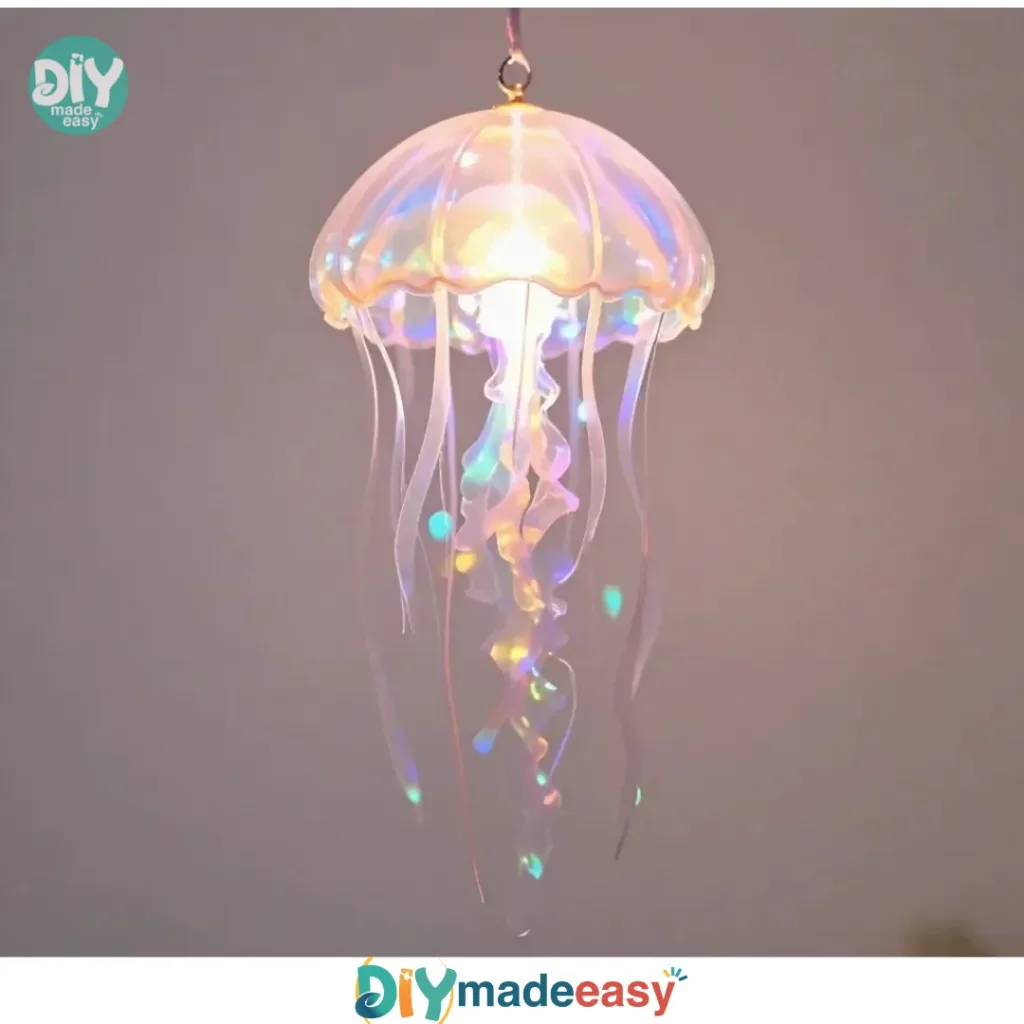
Making DIY Glowing Jellyfish Lanterns can be a great way to spend a busy afternoon. Whether it’s a last-minute activity need or your kids are clamoring to create something magical, these delightful lanterns bring a touch of wonder to any space. As you gather your supplies, you’re not just crafting; you’re creating memories filled with glowing laughter and delight. The beauty of this project lies in its simplicity and approachability, allowing families to connect and enjoy the process together. Plus, the end result—a softly glowing jellyfish lantern—becomes a charming decoration that can light up a corner of your home. You may also find Glowing Flowers Diy useful.
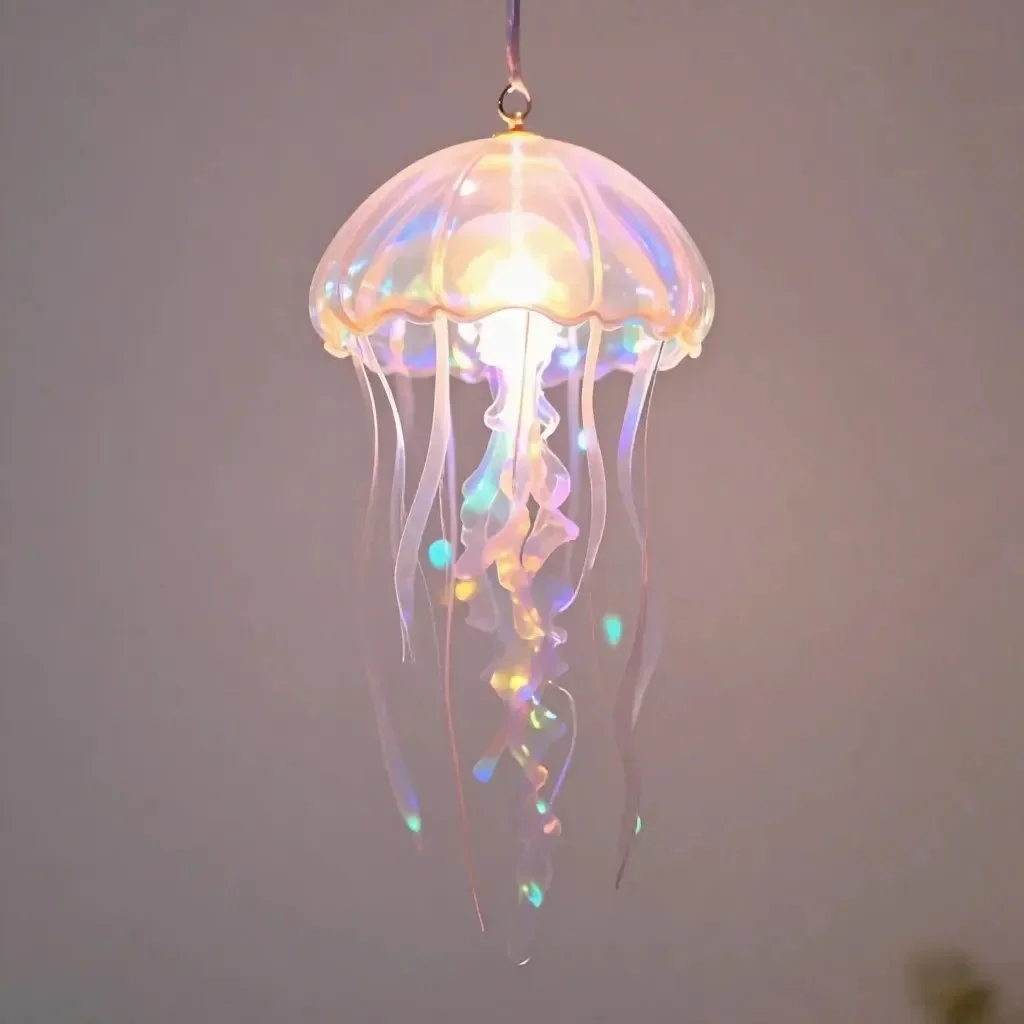
Why This DIY Glowing Jellyfish Lanterns Works So Well
You may also find Broken Crayons Glowing Rainbow Flowers 2 useful.
This project stands out for several reasons that make it an ideal choice for families. First, it’s low-prep, which means you won’t need to spend hours gathering complex materials. Most of what you need can be found around the house or at a local craft store. Additionally, the lanterns are approachable for various age groups. Younger children can take part in simpler tasks, while those who are older can handle cutting and gluing. It’s a reliable option that fits seamlessly into busy schedules, making crafting a delightful experience instead of a chore. Plus, having a glowing lantern as a result is rewarding enough to keep the kids engaged and motivated throughout the activity. You may also find Broken Crayons Glowing Rainbow Flowers useful.
How This DIY Comes Together
Before you dive in, it’s good to have a framework of what to expect. Creating your glowing jellyfish lanterns takes about an hour or so, depending on how detailed your designs get. The setup is fairly simple—clear off a table and lay out your materials. Since this project involves glue, some spills are a possibility, so placing down a protective layer, like newspaper or an old tablecloth, can help manage the mess. Adult supervision is beneficial, particularly for young children when using scissors or handling glue. You may also find Colorful Diy Bioplastic Suncatchers useful.
Materials You’ll Need
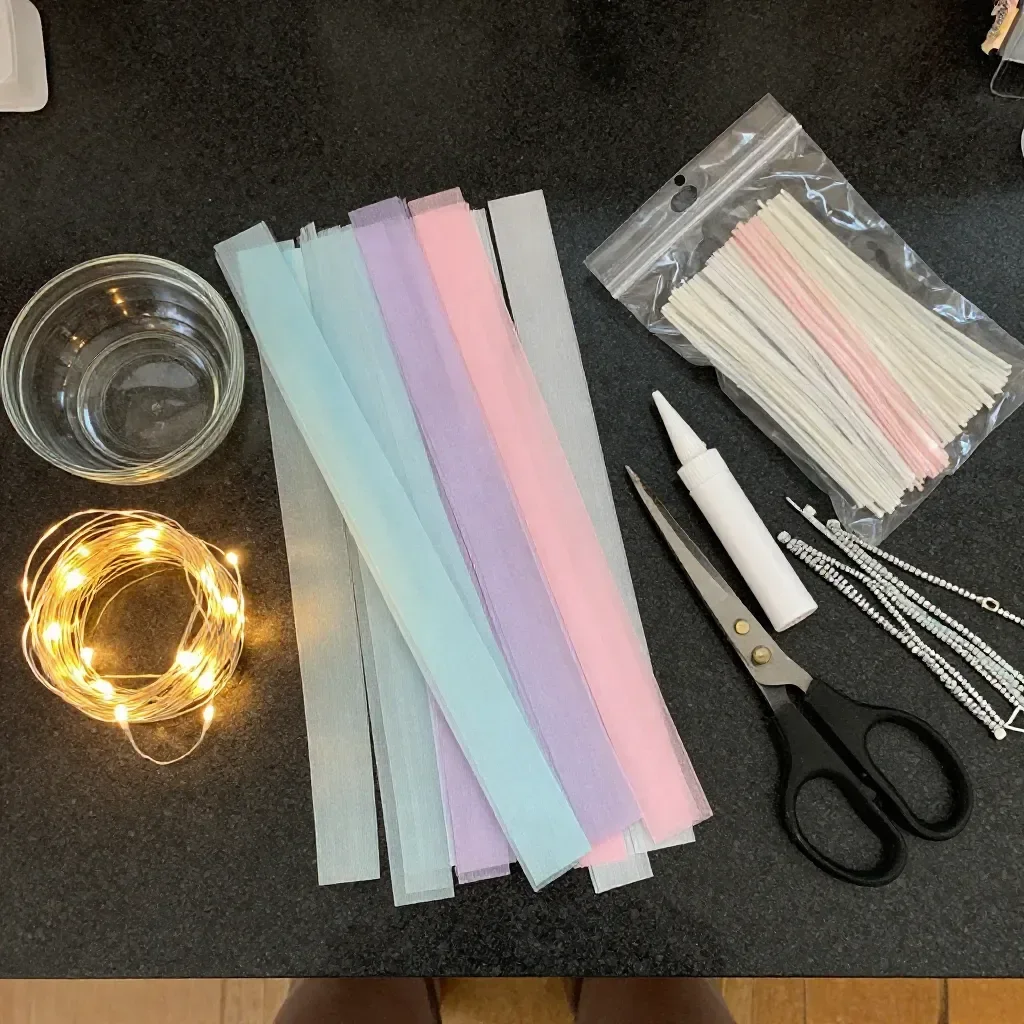
To make DIY Glowing Jellyfish Lanterns, gather the following materials:
- Round paper lanterns
- LED tealight candles
- Colorful tissue paper
- Glue stick or craft glue
- String
- Scissors
- Optional: glitter or stickers
Each item on this list is either a common household item or easily accessible. The colorful tissue paper can add vibrant, playful colors to your lanterns that are not only eye-catching but help in keeping the crafting process fun and enjoyable.
Step-by-Step Directions
Follow these simple steps to create your glowing jellyfish lanterns:
Gently unfold the round paper lantern. Start by carefully opening your lantern to get it into shape. It’s okay to adjust the bends gently. The goal is to have a smooth surface for decorating.
Cut small squares or shapes from the colorful tissue paper. Use scissors to create various-sized squares or themed shapes from the tissue paper. Let your creativity flow in this step; there’s no right or wrong here!
Attach the tissue paper to the outside of the lantern using glue. Take your glue stick or craft glue and carefully attach the cut-out shapes to the outer surface of your lantern. You can create patterns or designs or simply cover it for a mosaic effect.
Insert the LED tealight candle inside the lantern. Carefully place the tealight candle inside your lantern. Make sure it’s secure and won’t fall over.
Secure the top opening of the lantern. Close up the lantern and ensure it stays in shape. If your lantern has a top flap, secure this down to protect the light source.
Use string to hang your lantern in a desired spot. Finally, attach a piece of string or twine to the top of your lantern. Select a nice spot to hang your newly crafted glowing jellyfish lantern and enjoy the warm glow it provides.
The Simple Science or Skills at Work
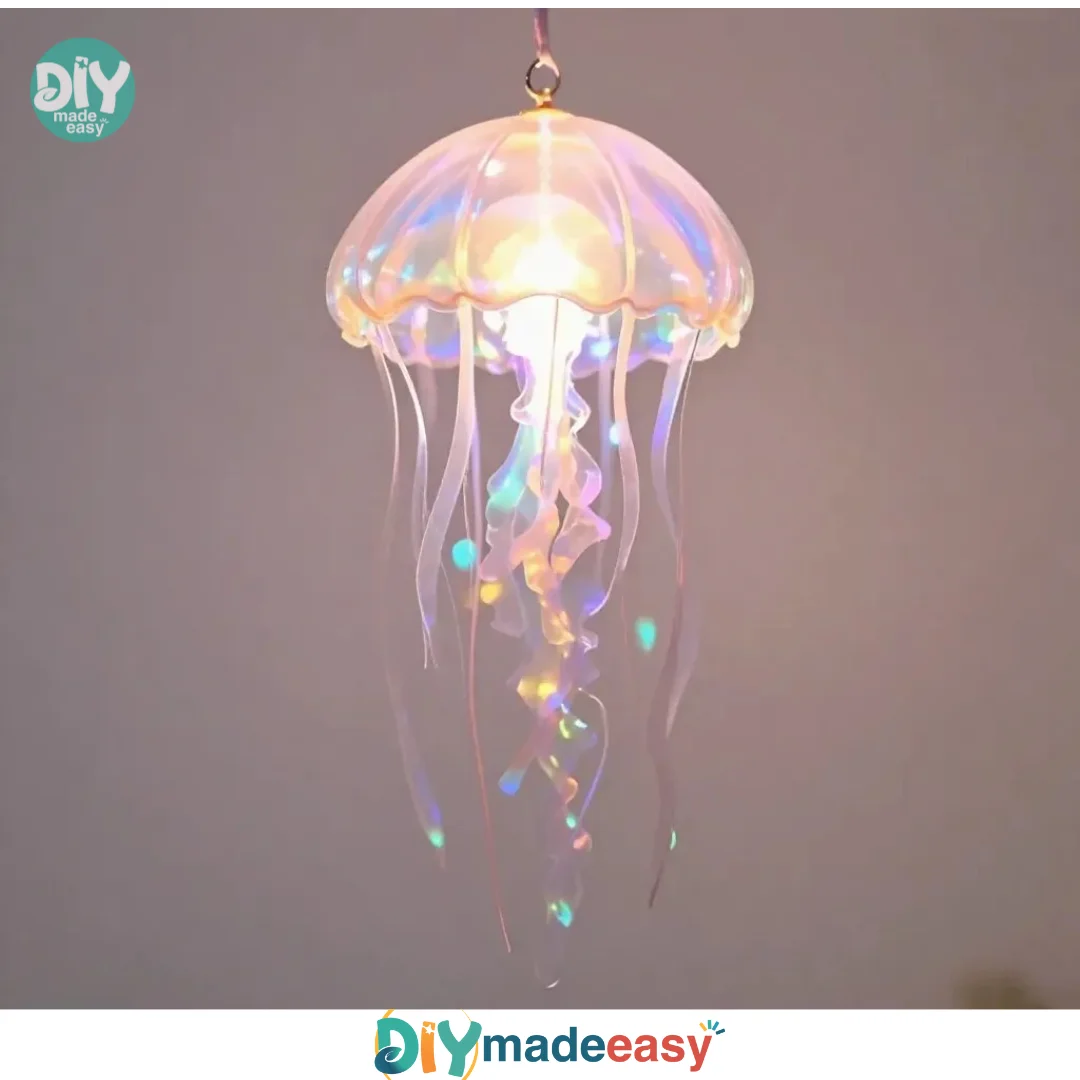
While making these lanterns, your children engage in various skills that promote learning in fun ways. The act of gluing and cutting helps develop fine motor skills, providing practice in hand-eye coordination. As they arrange and attach the shapes, they learn about spatial awareness and color combinations. Plus, the simple science of light diffusion comes into play when the LED tealight illuminates the colorful tissue paper, creating a glowing effect. This project encourages creativity while seamlessly integrating subtle educational elements.
Troubleshooting Common Issues
Crafting is a hands-on experience that sometimes doesn’t go as planned. If your lantern isn’t holding shape or the tissue paper isn’t sticking, first ensure you’ve used enough glue. Sometimes the paper can slip; a bit of patience will help it settle. If the lantern tears, don’t worry too much—reinforce it using spare tissue paper or some simple tape on the inside. These minor hiccups are part of the crafting journey, and embracing them can lead to creative problem-solving.
Easy Variations to Try
Want to switch things up? Here are some simple variations to try with your jellyfish lanterns:
- Theme it up: Create seasonal decorations by using themed colors (like red and green for Christmas or pastels for Easter).
- Size matters: Consider using smaller or larger paper lanterns to create different atmospheres or displays.
- Add glow: For an extra magical effect, sprinkle some glitter on your tissue paper before gluing it down, enhancing the glowing effect when the lantern is lit.
- Light it up: Instead of using several smaller lanterns, try one large lantern as a centerpiece for a party or gathering.
Storing or Reusing This Project
After your fun crafting session, you may wonder what to do with the lanterns. These glowing jellyfish lanterns can be stored carefully in a box, especially if you plan to reuse them for future events or celebrations. Ensure they are kept in a dry place, away from dampness, which can damage the paper. If you’re finished using them, consider disassembling (carefully) and recycling the materials to minimize waste and promote sustainability.
FAQs About DIY Glowing Jellyfish Lanterns
What if it gets too messy? It’s perfectly normal for projects to create a bit of mess. Preparing a clean workspace helps manage spills, and cleaning them up immediately will keep the area tidy.
Are these safe for kids to use? Using LED tealight candles makes this project very safe for children. Parents should supervise any use of scissors and glue to ensure safety.
Can I substitute materials? Yes! If you don’t have tissue paper, you can use colored paper or even old magazines. Just ensure whatever paper you use is lightweight enough to cling to the lantern.
How long will these last? If properly stored, these lanterns can last for many uses. However, keep in mind that the paper might eventually wear down.
Do I need adult supervision for all ages? For younger children, adult supervision is recommended, especially when using scissors or glue to avoid accidents.
Conclusion
Conclusion
Creating DIY Glowing Jellyfish Lanterns can be a delightful project for families looking to engage in a fun and creative activity together. This project encourages imagination and allows children and adults alike to express themselves through simple crafting techniques. For more ideas, check out this Jellyfish Lantern DIY that expands on the lantern concept, or explore how to make a DIY Plastic Jellyfish Lamp for even more glowing fun!
PrintDIY Glowing Jellyfish Lanterns
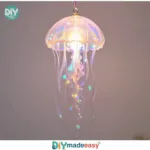
Create magical glowing jellyfish lanterns with your family using simple materials for a delightful crafting experience.
- Prep Time: 15 minutes
- Cook Time: 45 minutes
- Total Time: 60 minutes
- Yield: 4 lanterns
- Category: Crafts
- Method: Crafting
- Cuisine: N/A
- Diet: N/A
Ingredients
- Round paper lanterns
- LED tealight candles
- Colorful tissue paper
- Glue stick or craft glue
- String
- Scissors
- Optional: glitter or stickers
Instructions
- Gently unfold the round paper lantern.
- Cut small squares or shapes from the colorful tissue paper.
- Attach the tissue paper to the outside of the lantern using glue.
- Insert the LED tealight candle inside the lantern.
- Secure the top opening of the lantern.
- Use string to hang your lantern in a desired spot.
Notes
Prepare a clean workspace to manage spills while crafting. Adult supervision is recommended for younger children.
Nutrition
- Serving Size: 1 lantern
- Calories: 0
- Sugar: 0g
- Sodium: 0mg
- Fat: 0g
- Saturated Fat: 0g
- Unsaturated Fat: 0g
- Trans Fat: 0g
- Carbohydrates: 0g
- Fiber: 0g
- Protein: 0g
- Cholesterol: 0mg