

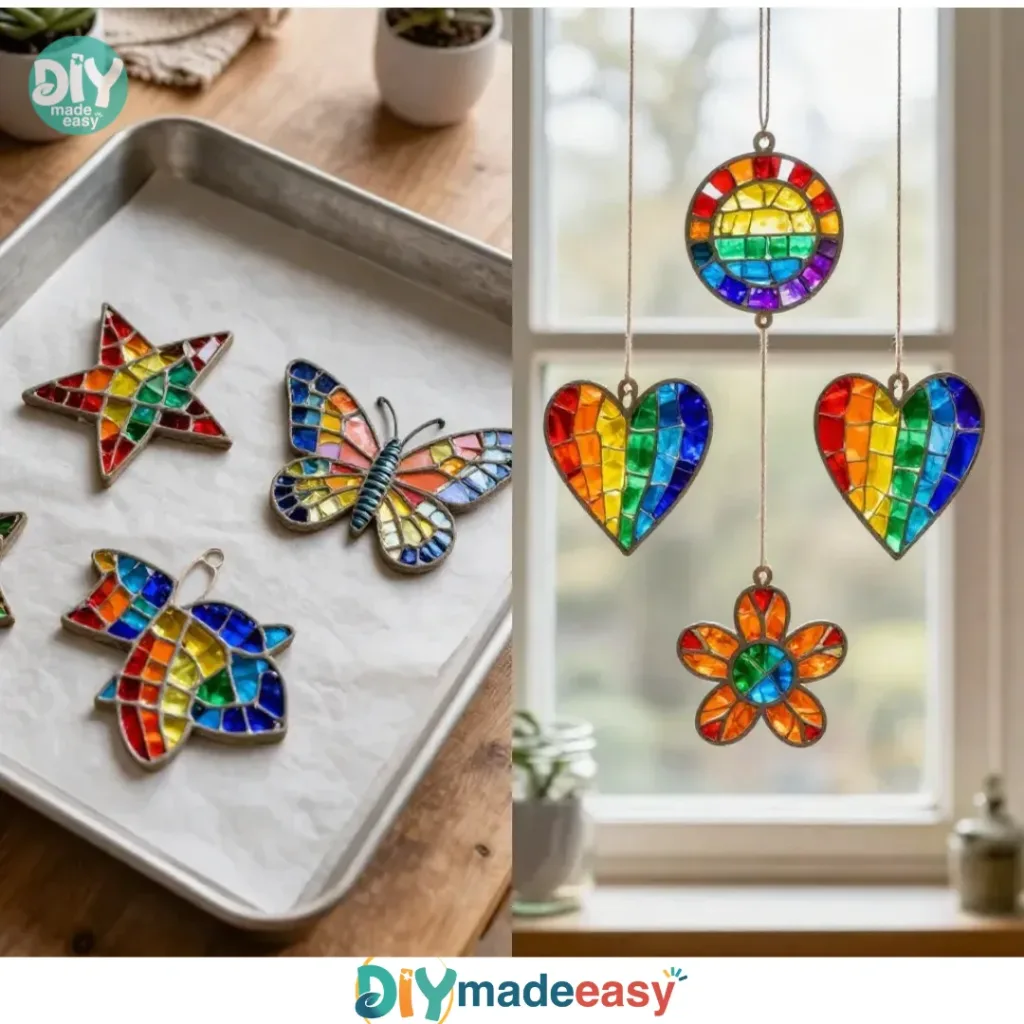
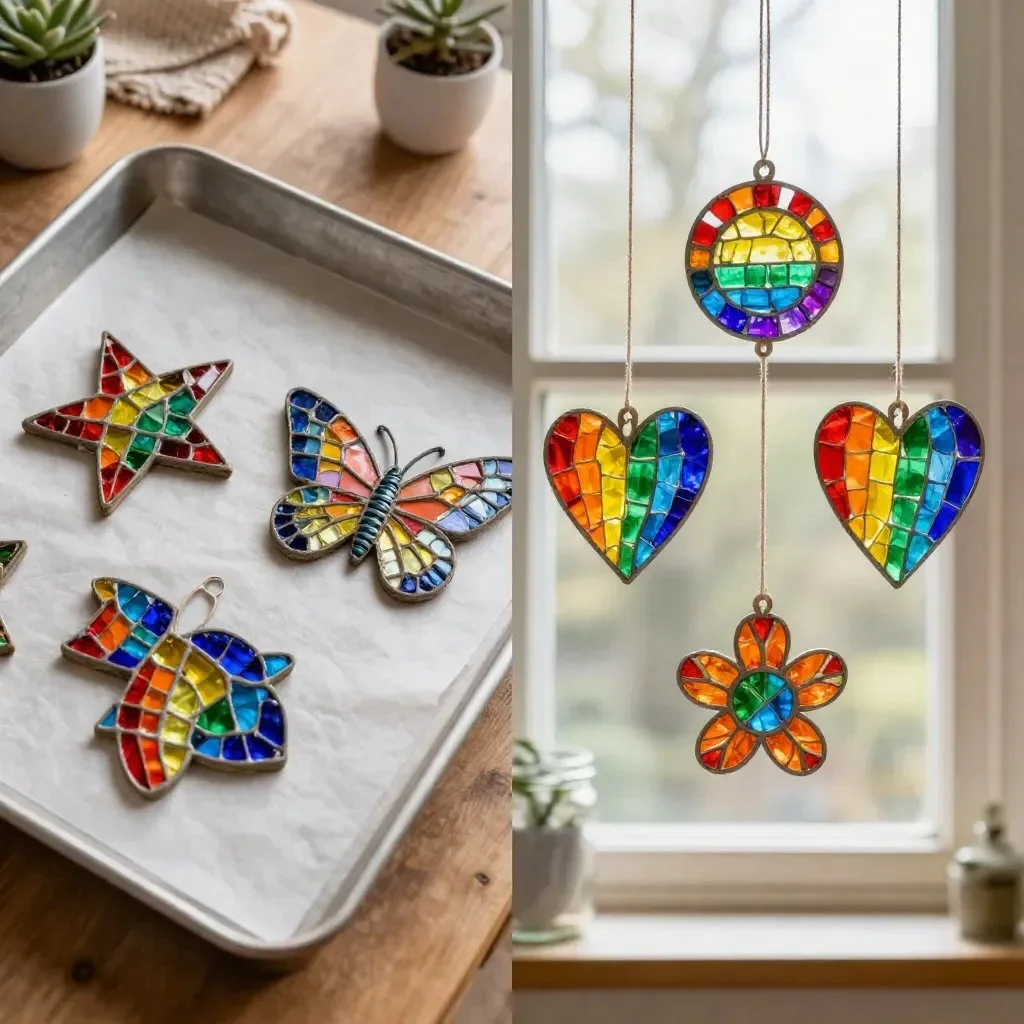
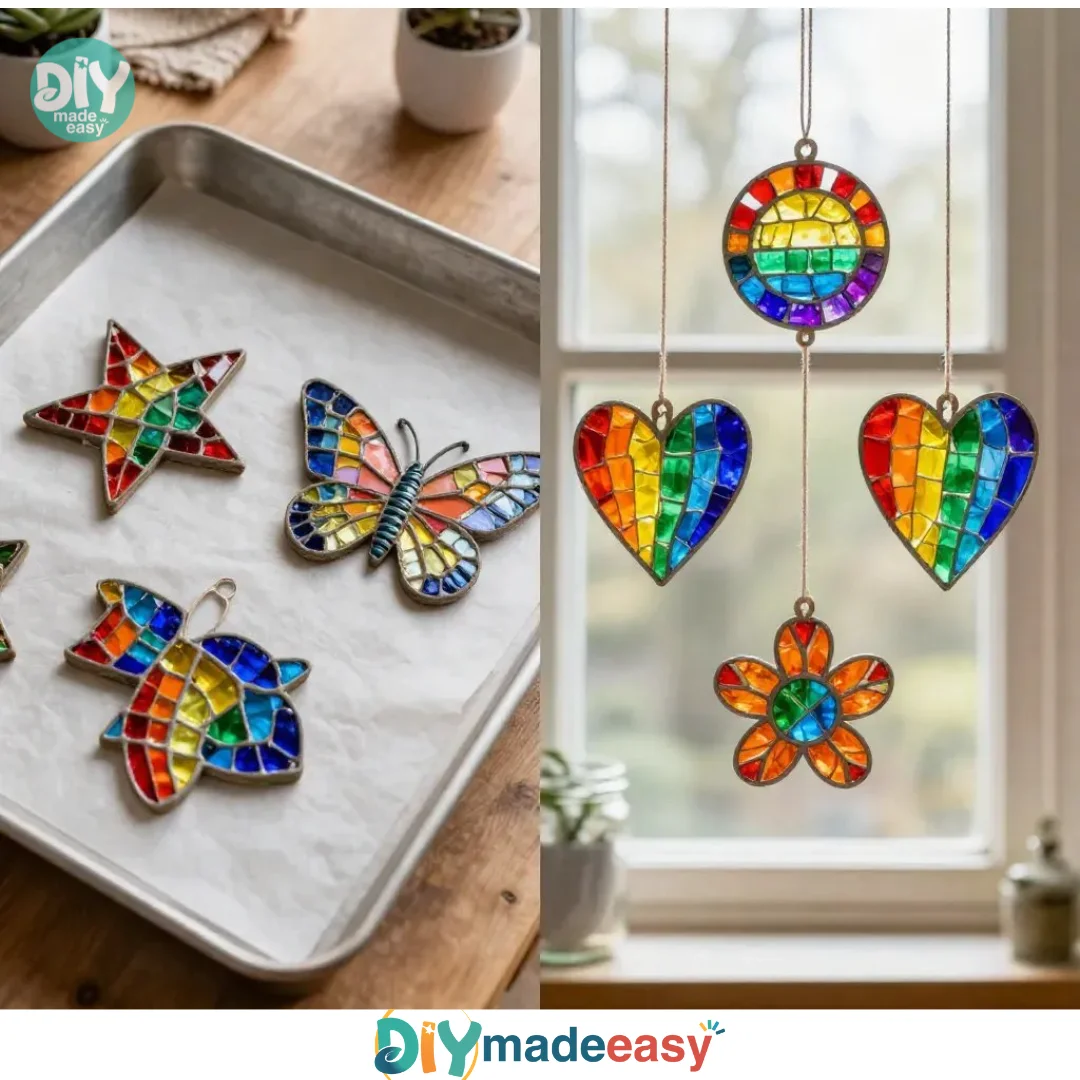
The afternoon sun streamed through the window, drawing attention to our bare, plain glass. With kids restless and begging for an activity, the idea of making a Rainbow Suncatcher sprang to mind. It’s a delightful and colorful project perfect for using some simple, everyday materials. Watching the sunlight illuminate the vibrant colors can bring smiles, spark creativity, and brighten up any ordinary day. It’s an engaging activity that allows children to express their artistic flair while learning some basic skills along the way. You may also find Baking Soda Rainbow Crystal Forest useful.
Why This Rainbow Suncatcher Works So Well
You may also find Beautiful Bioplastic Suncatchers Flowers useful.
Creating a Rainbow Suncatcher is a remarkably low-prep project. It invites creativity while ensuring you don’t need to dive into overly complicated instructions or expensive materials. The best part? Almost everything you need can be found around the house. This makes it particularly appealing for busy families or last-minute creative sessions. Once you have everything gathered, the steps are simple enough that children can largely manage them independently, providing an ideal opportunity for hands-on learning.
The reliability of this project also stands out. Kids can see immediate results, especially when they place their creations in the sun. It’s a gratifying process, and the end product serves as a delightful reminder of their hard work. If you’re looking for a fun and colorful activity, making a suncatcher is one of those projects that fits perfectly into real-life schedules, allowing you to enjoy the simpler moments of creativity together as a family.
A Quick Look Before You Begin
Making a Rainbow Suncatcher typically takes about 30-45 minutes, but this can vary depending on how much detail your kids want to add to their creations. Setup is straightforward—you simply have to clear a space for crafting and gather your materials.
Cleanup can be minimal, especially as the process doesn’t involve messy paints or wet glues. The most significant involvement is ensuring scissors are used safely. Be prepared to assist younger children as they cut the colored sheets and punch holes for hanging. Don’t worry too much about perfection; this project is as much about the process as it is about the end product.
Materials You’ll Need
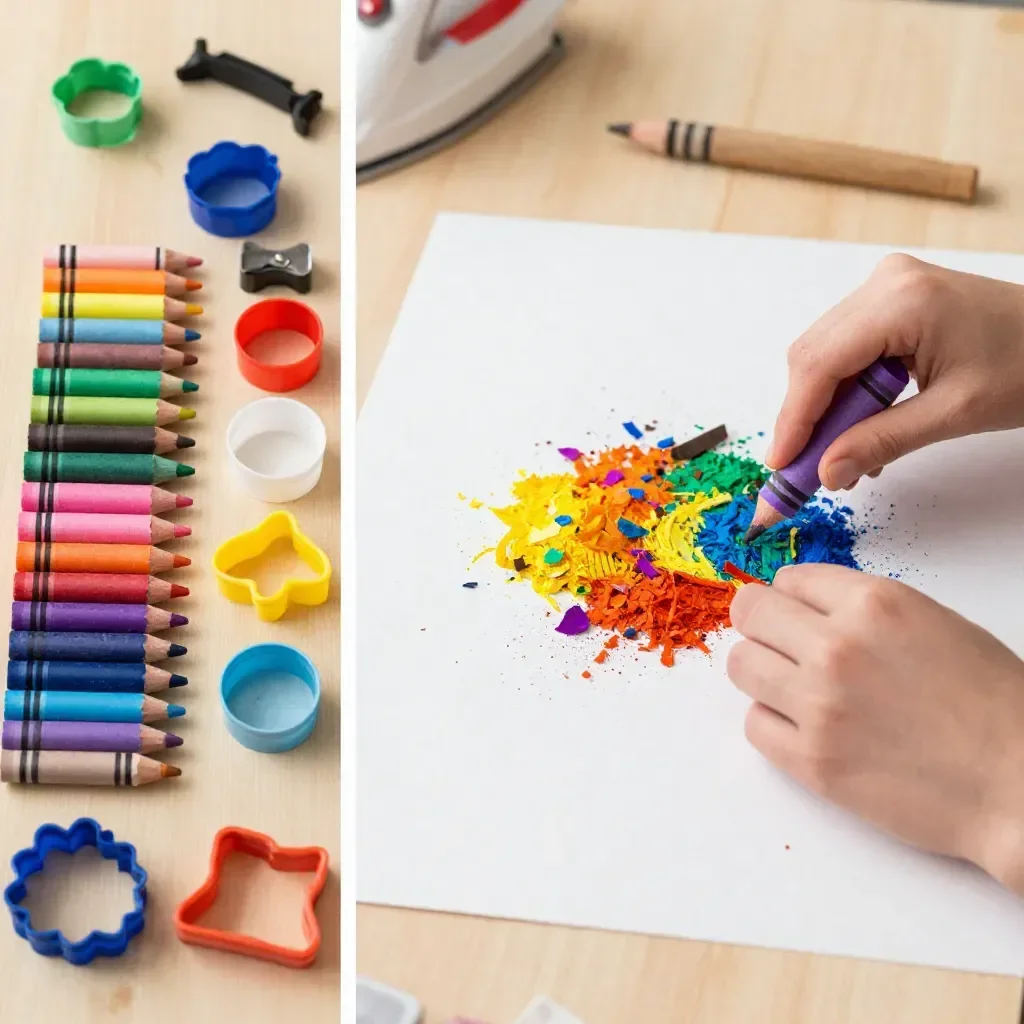
- Colored transparent sheets (thermoplastics are ideal)
- Scissors
- Clear adhesive tape or glue dots
- A sunny window or light source for display
- Optional: string or fishing line to hang your suncatcher
These materials are all relatively simple to find. You might already have them at home, making this a quick go-to project when creativity strikes.
Step-by-Step Directions
Prepare your workspace by clearing a comfortable surface and ensuring your materials are within reach. This step will set the tone for a successful crafting session. Lay down some newspaper or an old tablecloth to catch any stray bits of plastic if needed.
Cut the colored sheets into various shapes, such as circles or triangles. Let your kids get creative! Experimenting with sizes and shapes can be a fun part of the process.
Layer the cut shapes on a piece of clear tape or a sheet of plastic, experimenting with different arrangements. Encourage your children to arrange them in fun patterns or overlapping layers to see what looks best.
Secure the shapes with more tape or glue dots. This step ensures that everything sticks together, so kids can choose which method they prefer for securing their colorful pieces.
Trim any excess tape or plastic for a clean edge. This adds a polished look to the final product.
Punch a hole at the top for hanging if desired. A simple hole allows for easy suspension later on.
Position your suncatcher near a sunny window to enjoy the light effects. Remind children to observe how the light creates rainbows as it filters through the colors.
Maintain your creation by cleaning it gently with a soft, damp cloth. This will keep it looking fresh for a long time.
The Learning Behind This DIY
While making the Rainbow Suncatcher, kids practice several important skills. First, they enhance their fine motor skills by cutting and arranging the shapes. Each snip with the scissors and meticulous placement requires coordination and control.
Additionally, this activity provides a basic understanding of color mixing and light. As they see how the sunlight interacts with the transparent sheets, they learn first-hand about cause and effect. It’s science made easy and fun, wrapped up in a colorful experience. These moments of learning are what make this project so rewarding beyond just the aesthetic.
Troubleshooting Common Issues
If something doesn’t go as planned, it’s helpful to remember that creativity can sometimes lead to unexpected results. For instance, if pieces aren’t sticking together well, using extra tape or glue dots can fix that right up.
If the suncatcher appears dull, try repositioning it in a spot where it gets direct sunlight. Encourage kids that experimenting is part of the process, and sometimes their best ideas come from what doesn’t work perfectly.
Easy Variations to Try
Here are a few suggestions to change things up:
- Use different shapes like stars or hearts for themed events.
- Try layering sheets in different colors to create depth.
- Utilize seasonal colors for holidays, such as orange and black for Halloween or red and green for Christmas.
- Encourage kids to decorate additional elements like cardboard frames or embellishments around their suncatchers.
- Experiment with different hanging methods, like using string, fishing line, or even attaching them to branches for an outdoor display.
Storing or Reusing This Project
Once crafted, these suncatchers can also be stored safely for future use. Consider putting them in a protective box or wrapping them in tissue paper. If you wish, they can be reused each season, creating new displays or even gifts for family and friends.
Not only does this help to reduce waste, but it reinforces the importance of reusing materials rather than throwing them away. That’s a lesson worth imparting.
FAQs About Rainbow Suncatcher
What should I do if my workspace gets messy?
Crafting can be a little chaotic, but you can manage it with a good setup. Lay down old newspapers or a tablecloth to make cleanup easier. It’s okay if things get a bit messy—just keep some cleaning wipes nearby for quick fixes.
How safe is this activity for younger children?
While younger kids can enjoy this project, adult supervision with scissors is essential. All other materials are typically safe, but encourage kids to handle the tape and glue dots responsibly.
Can I substitute the materials?
Absolutely! If you don’t have transparent sheets, try using colored cellophane or even clear plastic bags. As long as you have something that filters light, you can create beautiful effects.
How do I clean my suncatcher?
Use a soft, damp cloth to gently clean your creation. Avoid harsh cleaners, and don’t scrub too hard to preserve the colors and integrity of the project.
Can we reuse the materials later?
Yes! Be creative and keep any leftover scraps for future projects. It’s a sustainable way to enjoy crafting without generating too much waste.
Conclusion
Making a Rainbow Suncatcher is not only a fun activity but also an engaging way to learn about colors and light. Your finished piece can add a splash of color to any room and serve as a cherished reminder of this creative time spent together. For more inspiration, check out ideas for additional suncatcher projects like cornstarch rainbow suncatchers and DIY rainbow glue suncatchers. If you’re interested in purchasing some quality suncatchers, you may find wonderful options at Rainbow Suncatchers for Windows or on Amazon. Enjoy your crafting!
PrintRainbow Suncatcher

A fun and colorful project perfect for kids, using simple materials to create beautiful suncatchers that brighten any space.
- Prep Time: 15 minutes
- Cook Time: 30 minutes
- Total Time: 45 minutes
- Yield: 1 suncatcher
- Category: Craft
- Method: Crafting
- Cuisine: N/A
- Diet: N/A
Ingredients
- Colored transparent sheets (thermoplastics are ideal)
- Scissors
- Clear adhesive tape or glue dots
- A sunny window or light source for display
- Optional: string or fishing line to hang the suncatcher
Instructions
- Prepare your workspace by clearing a comfortable surface and ensuring your materials are within reach.
- Cut the colored sheets into various shapes, such as circles or triangles.
- Layer the cut shapes on a piece of clear tape or a sheet of plastic.
- Secure the shapes with more tape or glue dots.
- Trim any excess tape or plastic for a clean edge.
- Punch a hole at the top for hanging if desired.
- Position your suncatcher near a sunny window to enjoy the light effects.
- Maintain your creation by cleaning it gently with a soft, damp cloth.
Notes
Encourage kids to be creative and experiment with different shapes and colors for unique designs.
Nutrition
- Serving Size: 1 suncatcher
- Calories: 0
- Sugar: 0g
- Sodium: 0mg
- Fat: 0g
- Saturated Fat: 0g
- Unsaturated Fat: 0g
- Trans Fat: 0g
- Carbohydrates: 0g
- Fiber: 0g
- Protein: 0g
- Cholesterol: 0mg