

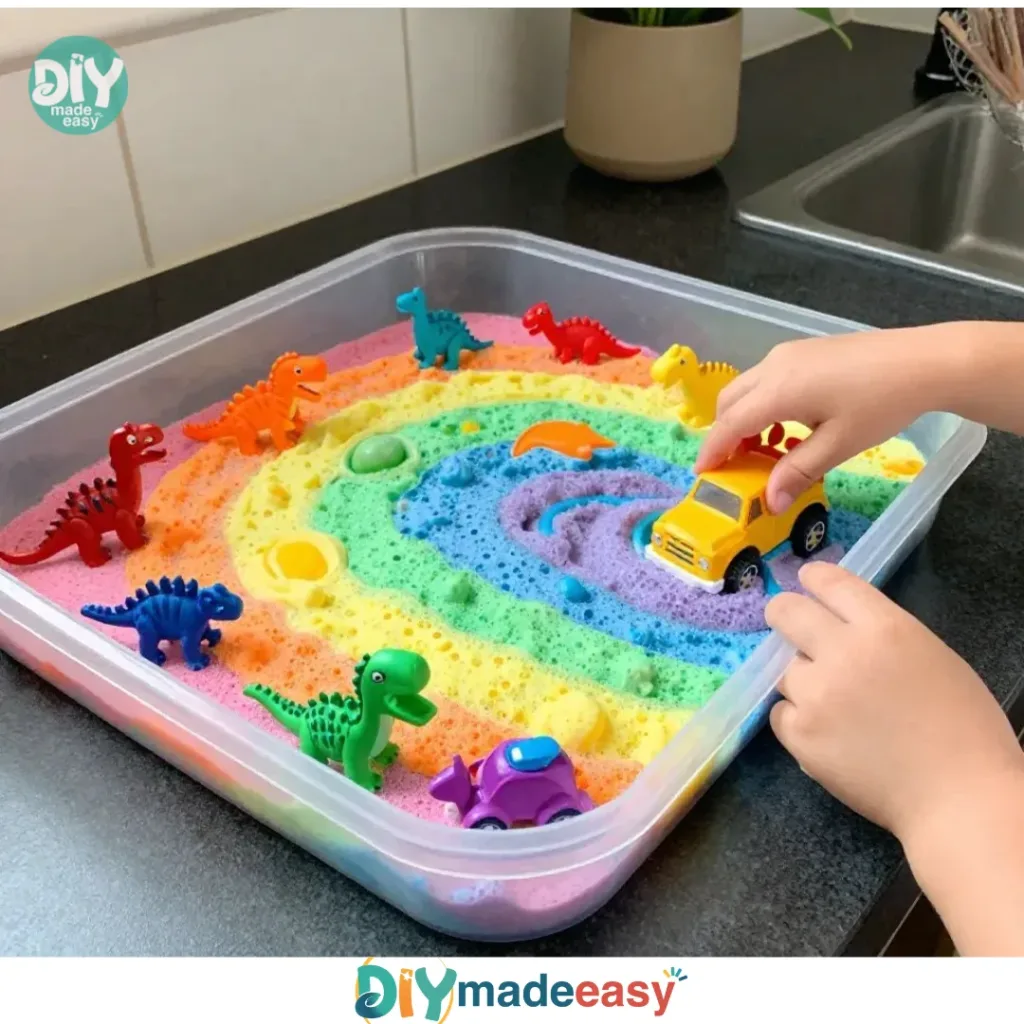
Rainbow Foam Mountain is a wonderful project that’s perfect for busy afternoons when kids are asking for something fun to do. Maybe you just finished lunch, and the little ones need an engaging activity, or perhaps you’re looking for a last-minute artistic outlet that requires minimal preparation. Whatever the situation, creating a vibrant Rainbow Foam Mountain is a delightful way to engage their creativity. With colorful foam sheets and a few simple supplies, you can set up this hands-on project that not only entertains but also allows for imaginative expression. You may also find Baking Soda Rainbow Crystal Forest useful.
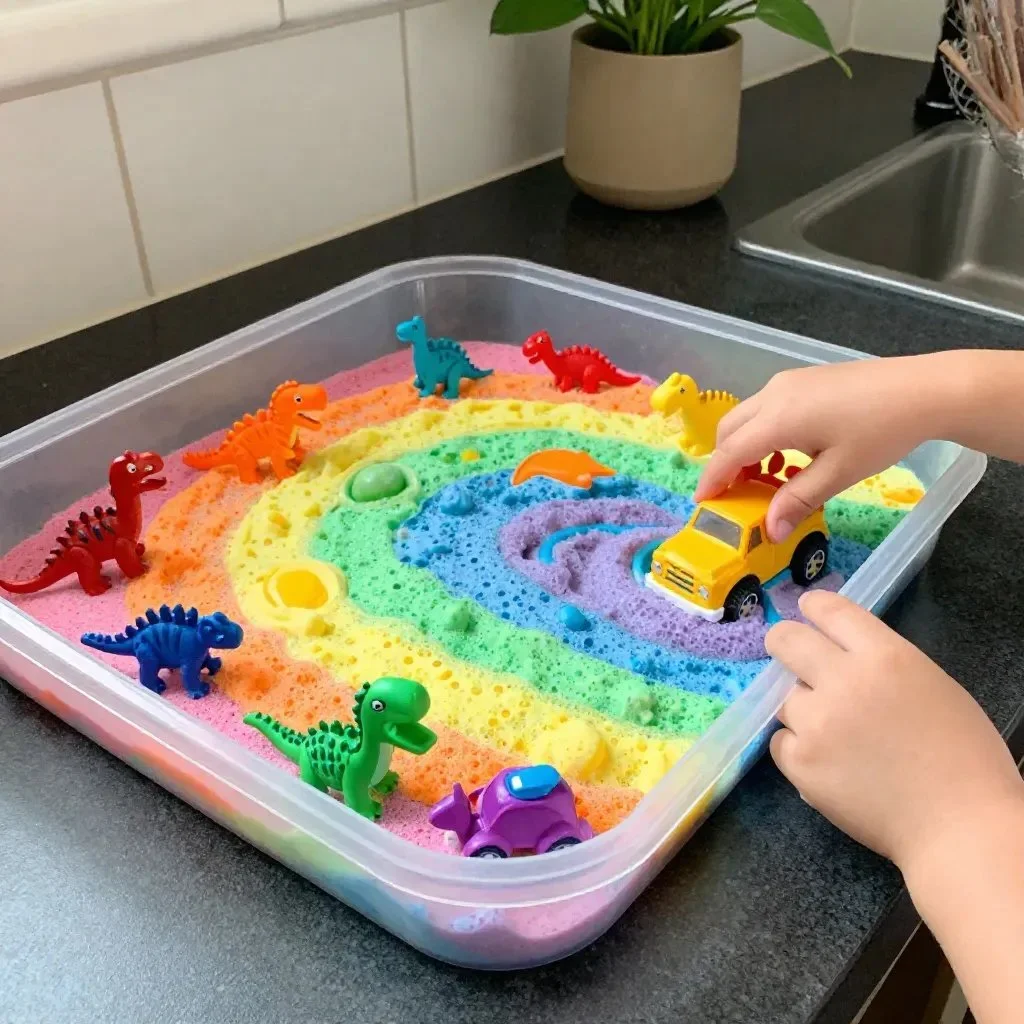
Why This Rainbow Foam Mountain Works So Well
Making a Rainbow Foam Mountain is an ideal choice for various reasons. First, it’s an easily approachable project that requires only a handful of common materials. This means you likely already have everything you need, making it low-prep and accessible. The project is also quite reliable: as long as you follow the straightforward steps, your kids will end up with something beautiful. You can even involve older siblings in the process, allowing them to help younger children, which promotes bonding and teamwork. Most importantly, the vibrant colors and creative shapes will keep their interest piqued from start to finish, making this a worthwhile afternoon activity. You may also find Broken Crayons Glowing Rainbow Flowers 2 useful.
A Quick Look Before You Begin
This project typically takes about 30 to 60 minutes, depending on your kids’ attention spans and how involved they want to be in the process. Set up your crafting space with clear work areas to minimize mess, and perhaps lay down some newspaper or a plastic sheet to catch any overspill from the glue. While kids can work independently, having an adult nearby can allow for guidance with tricky cutting or arranging of the foam pieces. It’s less daunting when you can just step in to help if they struggle with particular shapes or the adhesive. You may also find Broken Crayons Glowing Rainbow Flowers useful.
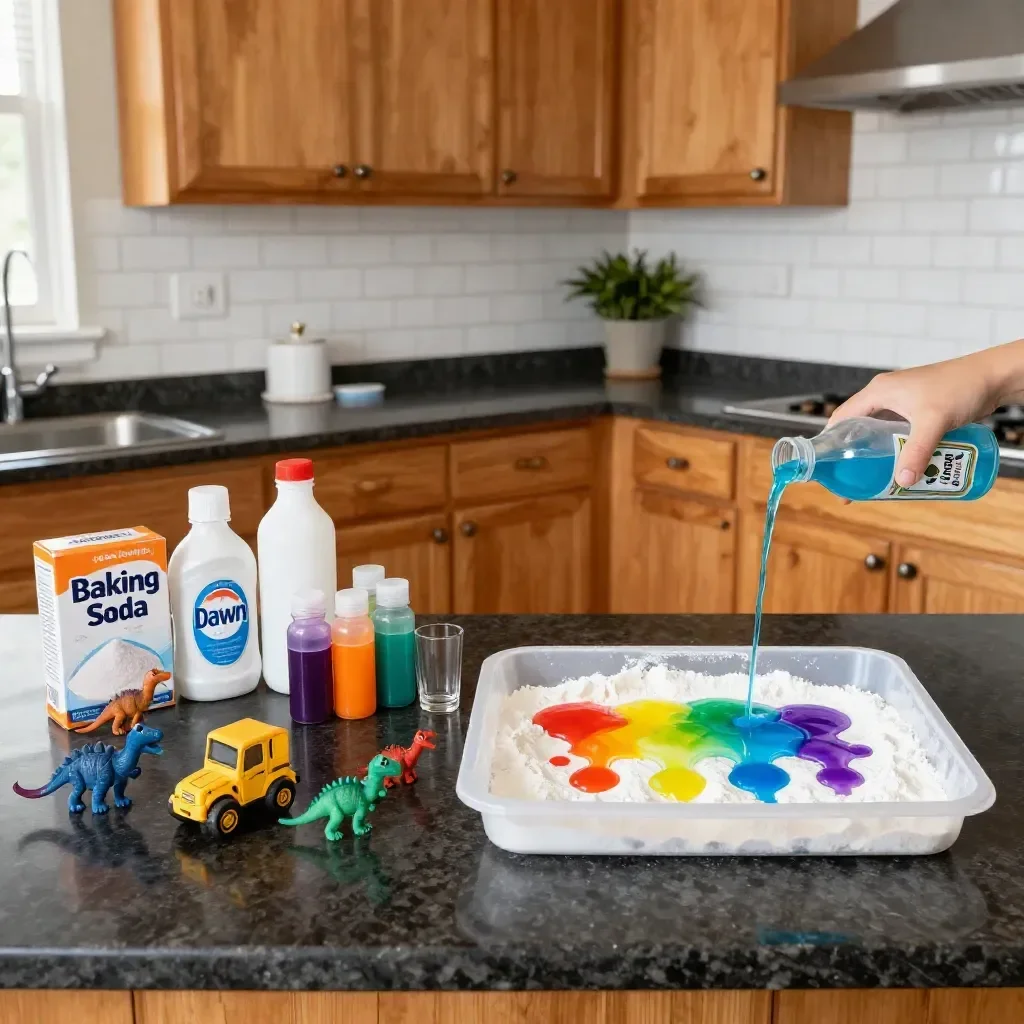
Materials You’ll Need
- Colorful foam sheets (common household item)
- Scissors
- Adhesive (like glue or mod podge)
- A large base piece (optional)
- Decorative items (optional, like glitter or sequins)
These materials are easy to find and budget-friendly, making this project not only engaging but also affordable. You may also find Color Burst Foam Eruption Experiment useful.
Step-by-Step Directions
Cut colorful foam sheets into various shapes (waves, peaks, valleys). Start by using scissors to create different forms. Think of vibrant hills, swooping waves, or majestic peaks that can represent a miniature mountain range.
Arrange cut pieces on the base piece until pleasing. Take your time to lay the cut foam pieces out in a way that looks good to you. Feel free to adjust and change the arrangement until it matches your vision.
Glue foam pieces down layer by layer. Once satisfied with the layout, carefully apply glue to each foam piece and press it down firmly on your base piece. The glue sets the stage for your masterpiece.
Add optional decorative items like sequins or glitter. If you want to take it up a notch, sprinkle some glitter or place sequins on the foam. This offers an additional level of creativity and sparkle to your Rainbow Foam Mountain.
Allow the creation to set completely before displaying. Be patient for the adhesive to dry; this may take a while depending on how much you’ve used. Once it’s set, you can proudly display your Rainbow Foam Mountain!
The Learning Behind This DIY
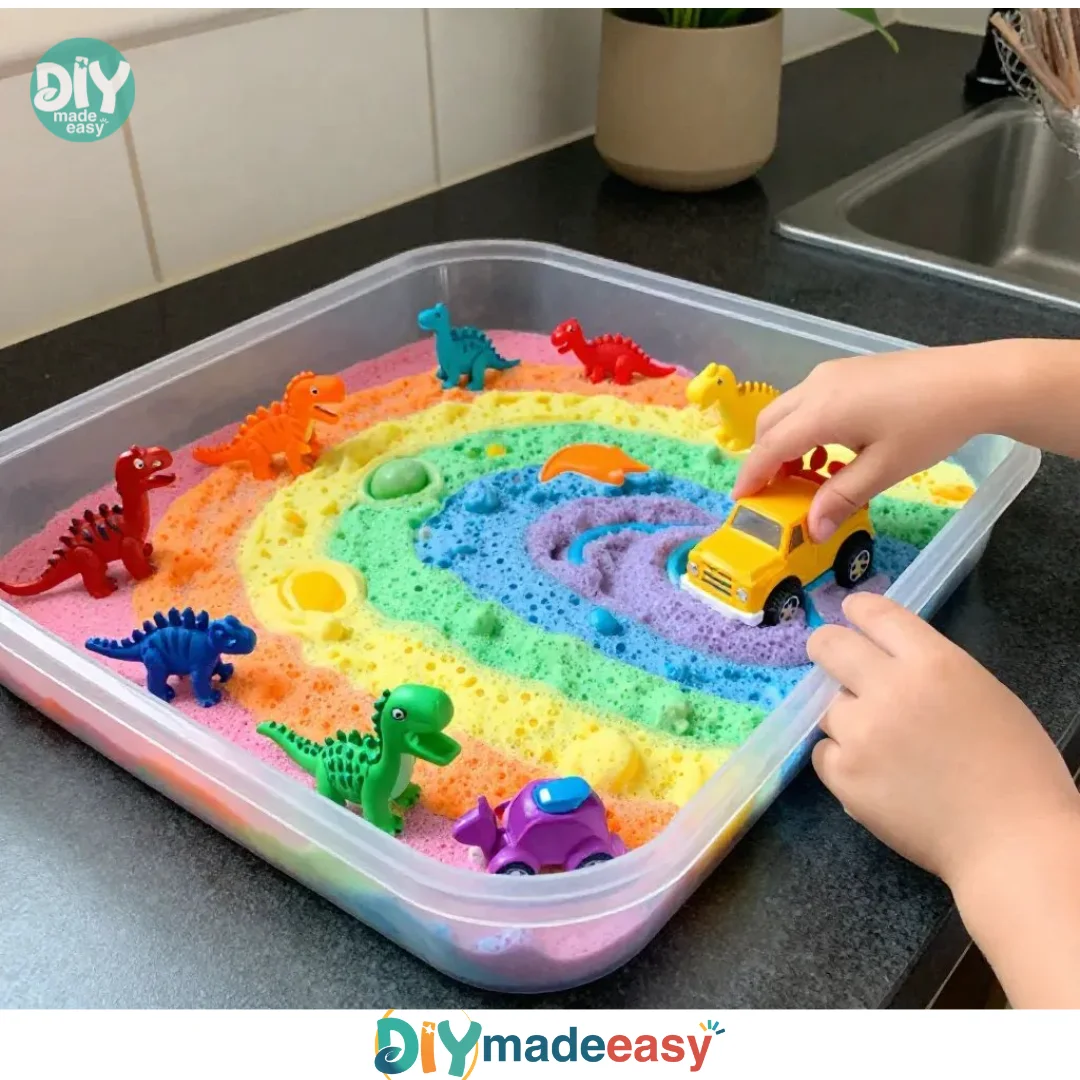
Creating a Rainbow Foam Mountain is not just an arts and crafts project; it’s an opportunity to practice several skills. While cutting foam sheets, kids engage their fine motor skills, improving hand-eye coordination. The arranging and gluing process teaches them about spatial awareness, as they need to understand how to position pieces to achieve the desired look. Additionally, they practice cause and effect; when they glue pieces down, they see immediate results and learn about the importance of patience as they wait for the glue to set.
Troubleshooting Common Issues
Sometimes things may not go as planned during your creative endeavor. If glue seeps out from under the foam pieces, reassure the kids that this is normal. You can clean it up with a damp cloth while it’s still wet. If the foam pieces don’t stick well, check if you’ve applied enough glue or if the surface was too slick. It may require an extra squirt for secure adhesion. Should the colors seem muted, consider layering more vibrant foam or adding glitter as a quick remedy.
Easy Variations to Try
If you want to mix things up for your next Rainbow Foam Mountain, consider these variations:
- Use different color schemes to correspond with different themes, like seasons or holiday colors.
- Turn the foam shapes into an animal theme, shaping your mountain with animals that represent different parts of the world.
- Have older kids work with a full diorama, adding small toys, figures, or nature elements to their foam creation.
Storing or Reusing This Project
Once the fun is done, consider where to place the Rainbow Foam Mountain. If it’s sturdy enough, it can serve as a bright decoration in the kids’ room. To reuse the materials after the project, gently peel apart any pieces you might want to save. Store excess foam sheets in a plastic bag or container to keep them clean for future crafts.
FAQs About Rainbow Foam Mountain
How messy is this project?
While it might get a bit sticky with glue, it’s relatively easy to manage. Just cover the workspace with old newspaper.What ages is this project suitable for?
This activity works well for kids aged 4 and up, though younger children will need more supervision with scissors and glue.Can I use different types of adhesive?
Absolutely! Hot glue or spray adhesive can also work, but ensure it’s safe for children to use.What if my foam isn’t sticking?
Double-check your glue application; sometimes, using too little adhesive can affect how well the pieces stick.Can the Rainbow Foam Mountain be reused?
Yes! You can disassemble the pieces carefully and store them for future projects or create an entirely new design using the same materials.
Conclusion
Creating a Rainbow Foam Mountain offers both a fun craft experience and a chance to learn through play. It’s an engaging activity suited for families looking for simple, enjoyable ways to spend time together. If you’re looking to enhance your play area with colorful options, consider the Mikayla Mini Mountain Rainbow Foam Ball Pit or check out this HABA Pro 14-Piece Rainbow Island Foam Platform Set for some additional fun inspiration!
PrintRainbow Foam Mountain
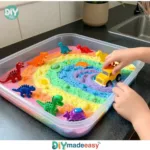
A fun and colorful craft project for kids that enhances creativity and fine motor skills.
- Prep Time: 15 minutes
- Cook Time: 45 minutes
- Total Time: 60 minutes
- Yield: 1 colorful foam craft
- Category: Arts & Crafts
- Method: Crafting
Ingredients
- Colorful foam sheets
- Scissors
- Adhesive (like glue or mod podge)
- A large base piece (optional)
- Decorative items (optional, like glitter or sequins)
Instructions
- Cut colorful foam sheets into various shapes (waves, peaks, valleys).
- Arrange cut pieces on the base piece until pleasing.
- Glue foam pieces down layer by layer.
- Add optional decorative items like sequins or glitter.
- Allow the creation to set completely before displaying.
Notes
This project is ideal for kids aged 4 and up, with adult supervision recommended for younger children.
Nutrition
- Serving Size: 1 craft
- Calories: N/A
- Sugar: N/A
- Sodium: N/A
- Fat: N/A
- Saturated Fat: N/A
- Unsaturated Fat: N/A
- Trans Fat: N/A
- Carbohydrates: N/A
- Fiber: N/A
- Protein: N/A
- Cholesterol: N/A