

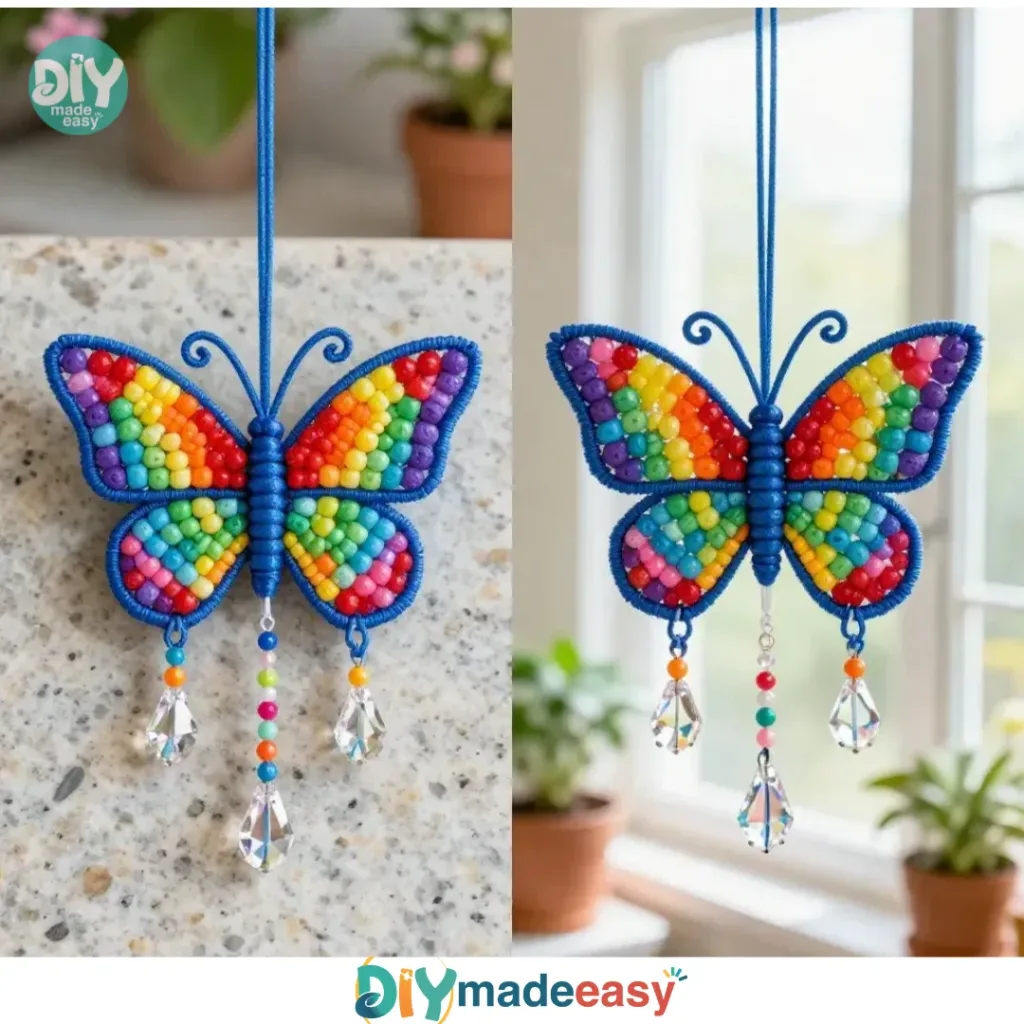
Creating a fun and engaging Butterfly Craft can be a delightful way to spend a busy afternoon with your kids. Whether you find yourself with children eager to create something special or simply need a last-minute project, this DIY craft is both easy and enjoyable. With just a few basic materials you likely already have at home, you can help your children unleash their creativity while they develop new skills. It’s a perfect blend of art and play, making it an ideal activity for a spontaneous crafting session. To kick things off smoothly, you may also want to explore other exciting DIY projects like crafts for kids, which can provide even more inspiration.
Why This Butterfly Craft Works So Well
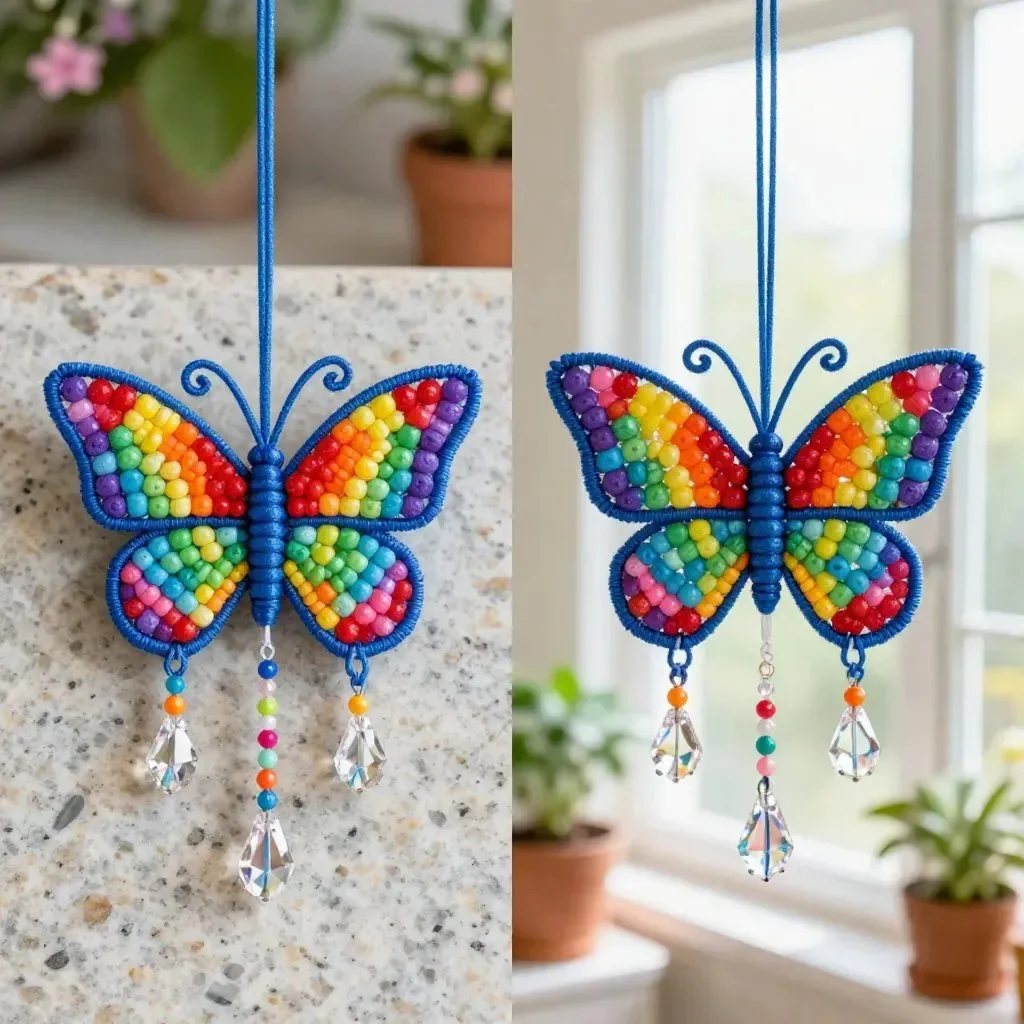
You may also find Butterfly Suncatchers useful.
This Butterfly Craft is great for various reasons. It’s low-prep, which means fewer materials are needed, making setup a breeze. You can gather together colorful paper and other usual items without a hassle. Plus, it taps into children’s natural curiosity and creativity. The butterfly motif is familiar yet flexible, allowing kids to personalize their creations. As an added bonus, this activity works well for different age groups, as younger kids can focus on simple shapes, while older ones can delve into more intricate designs. You may also find Creative Science Craft Kids Rainbow Light Show useful.
The process also is relaxed and fun, so you can keep the mood light. If something doesn’t look perfect, that’s okay – it’s all part of the artistic journey. Kids learn to express themselves and have fun in the process. This craft can even be paired with some learning about butterflies and their role in ecosystems or nature, making it an educational experience too. You may also find Crystal Heart Craft useful.
A Quick Look Before You Begin
Before diving into this crafting adventure, getting a feel for what to expect can be incredibly helpful. All you need is about 30 minutes to an hour for this project, depending on how many butterflies your children want to create.
Set up your workspace at a table where everyone can feel comfortable and free to express themselves. To keep things organized, have a designated spot for your supplies. This way, kids can easily find what they need without becoming overwhelmed. As for mess levels, this activity is relatively low-mess, though it’s wise to have a roll of paper towels handy to clean up any spills or glue mishaps.
You, as the adult, might want to assist in folding and cutting initially—especially for younger children—but after that, let them explore and create on their own. This hands-on experience can be very rewarding!
Materials You’ll Need
- Colorful paper (construction, craft, or patterned)
- Scissors
- Glue stick or liquid glue
- Googly eyes (optional)
- Markers or crayons
- Pipe cleaners (for antennae, if desired)
These materials are common household items. You can always substitute or skip some items, such as using markers instead of googly eyes, depending on what you have on hand.
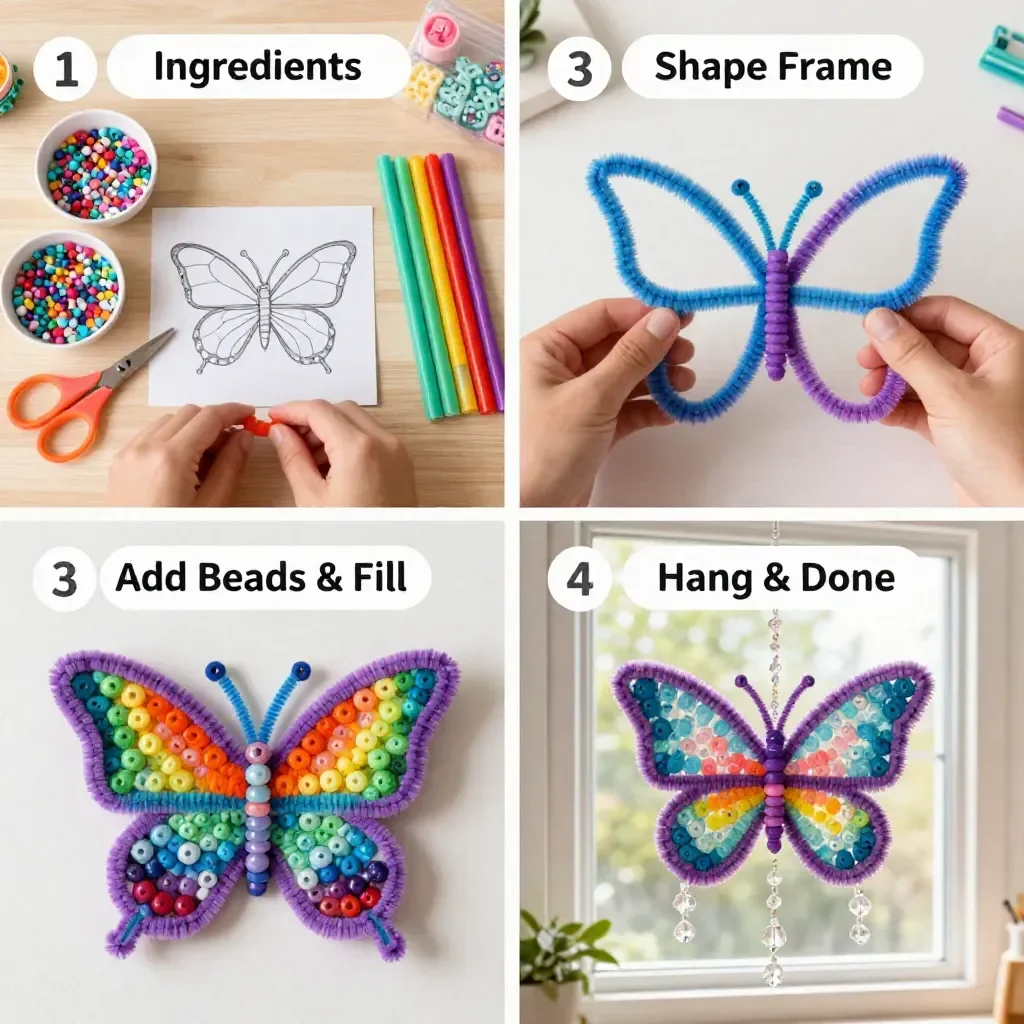
Step-by-Step Directions
Choose Your Paper: Start by selecting a few sheets of colorful paper that appeal to you. Consider mixing different patterns and colors for a fun effect.
Cut the Wings: Fold one piece of paper in half. Carefully cut into a butterfly wing shape, ensuring both sides are symmetrical. When you unfold it, you’ll have a lovely set of wings.
Create the Body: Use a smaller piece of paper or a pipe cleaner to make the butterfly’s body. If choosing paper, roll it into a cylinder or fold it into a manageable shape.
Assemble Your Butterfly: Open the folded wings and press them against the body using glue. Ensure that they are securely attached so your butterfly holds together.
Add Personal Touches: Let your creativity flow! Use markers, crayons, or even googly eyes to decorate your butterfly as you wish. This is where each child’s unique style will shine.
Let It Dry: Allow the glue to set completely. Once dry, proudly display your creations around the house or gift them to friends!
The Learning Behind This DIY
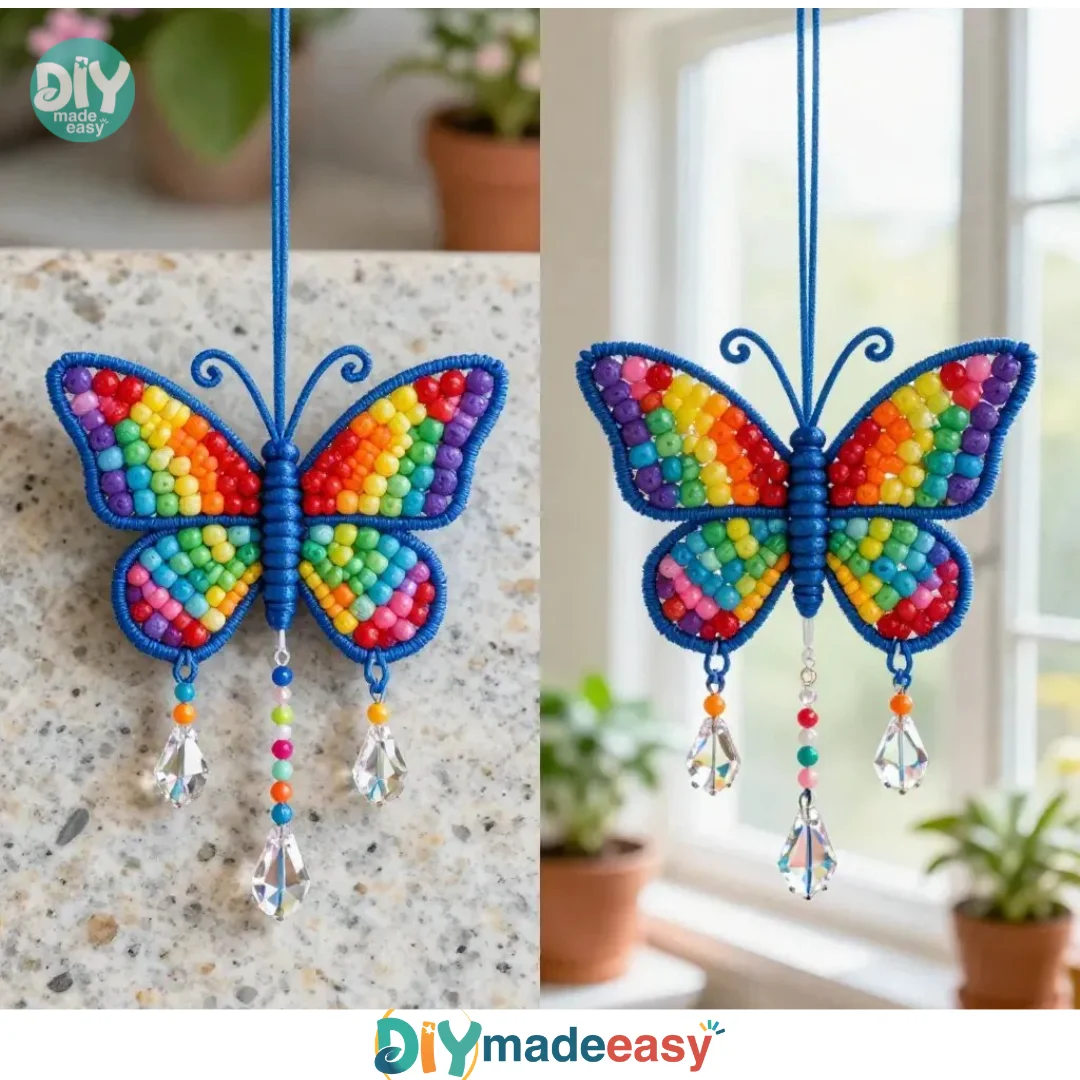
Making this Butterfly Craft supports several learning opportunities for children. As they cut and glue, they practice fine motor skills, which are essential for their development. The act of folding and cutting paper encourages hand-eye coordination and concentration. Additionally, discussing the colors and patterns can help enhance their understanding of color theory and even basic math concepts as they compare sizes and shapes.
The craft can also act as a springboard for conversations about nature. You can teach kids about real butterflies, their life cycles, and other important facts, making this a multi-dimensional learning experience.
Troubleshooting Common Issues
Sometimes, crafting doesn’t always go as planned. If children struggle with laying out the pattern for the wings, reassure them that it’s okay. They can simply refine their design until it feels right for them.
If the glue doesn’t hold, try applying a bit more and giving it extra time to dry. And if decorations come off, it’s a great opportunity to encourage them to adapt or modify their creation. It’s all part of the learning process!
Easy Variations to Try
To keep the excitement going, consider these simple variations:
- Use fabrics or patterned tape instead of paper for different textures.
- Introduce seasonal themes, such as using fall colors to create butterflies for autumn.
- Create larger or smaller butterflies to explore size differences.
- Involve nature by adding pressed flowers or leaves for a mixed-medium approach.
Storing or Reusing This Project
After your crafting session, think about how to store or reuse the materials. You can keep unused paper scraps for future projects or use your children’s creations as decor to brighten up your home.
If you’re looking to reuse the materials, you could take the time to redesign their butterflies as the seasons change—giving them a chance to keep creating and having fun throughout the year.
FAQs About Butterfly Craft
Is this project too messy for my kitchen table?
It’s relatively low-mess, but it’s always a good idea to have paper towels handy just in case any spills happen. A quick cleanup afterward is all that’s needed.
What is the best age for this activity?
The Butterfly Craft works well for kids of various ages. Younger children may need a bit of assistance, while older kids can easily handle the cutting and decorating.
Can we use other materials instead of colorful paper?
Absolutely! You can use old magazines, fabric scraps, or anything colorful you have on hand. Just be mindful of cutting safety with any sharp materials.
How long will this craft take?
Depending on how many butterflies are made and the detail involved, this can take anywhere from 30 minutes to an hour.
What should we do with the crafts after completing them?
You can display your butterflies around the house or gift them to family and friends. Consider taking photos to remember this fun activity!
Conclusion
Conclusion
Engaging in a Butterfly Craft not only fosters creativity but also gives children valuable hands-on experiences. It’s fun, approachable, and allows for flexibility as everyone’s creation becomes unique. If you want to explore more creative ideas for little ones, consider trying this easy butterfly craft for toddlers. Or, if you’re interested in using another medium, check out this guide on making a classic coffee filter butterfly craft, which offers a different yet delightful experience.
PrintButterfly Craft
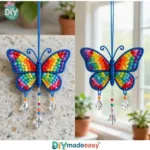
Engage children with this fun and easy Butterfly Craft, perfect for fostering creativity and fine motor skills.
- Prep Time: 10 minutes
- Cook Time: 30 minutes
- Total Time: 40 minutes
- Yield: Multiple butterflies
- Category: Craft
- Method: Crafting
- Cuisine: N/A
- Diet: N/A
Ingredients
- Colorful paper (construction, craft, or patterned)
- Scissors
- Glue stick or liquid glue
- Googly eyes (optional)
- Markers or crayons
- Pipe cleaners (for antennae, if desired)
Instructions
- Choose Your Paper: Start by selecting a few sheets of colorful paper that appeal to you.
- Cut the Wings: Fold one piece of paper in half and cut into a butterfly wing shape.
- Create the Body: Use a smaller piece of paper or a pipe cleaner for the butterfly’s body.
- Assemble Your Butterfly: Open the wings and press them against the body using glue.
- Add Personal Touches: Decorate your butterfly with markers, crayons, or googly eyes.
- Let It Dry: Allow the glue to set completely before displaying your creations.
Notes
This craft supports fine motor skills and can lead to conversations about real butterflies and nature.
Nutrition
- Serving Size: 1 craft
- Calories: 0
- Sugar: 0g
- Sodium: 0mg
- Fat: 0g
- Saturated Fat: 0g
- Unsaturated Fat: 0g
- Trans Fat: 0g
- Carbohydrates: 0g
- Fiber: 0g
- Protein: 0g
- Cholesterol: 0mg