

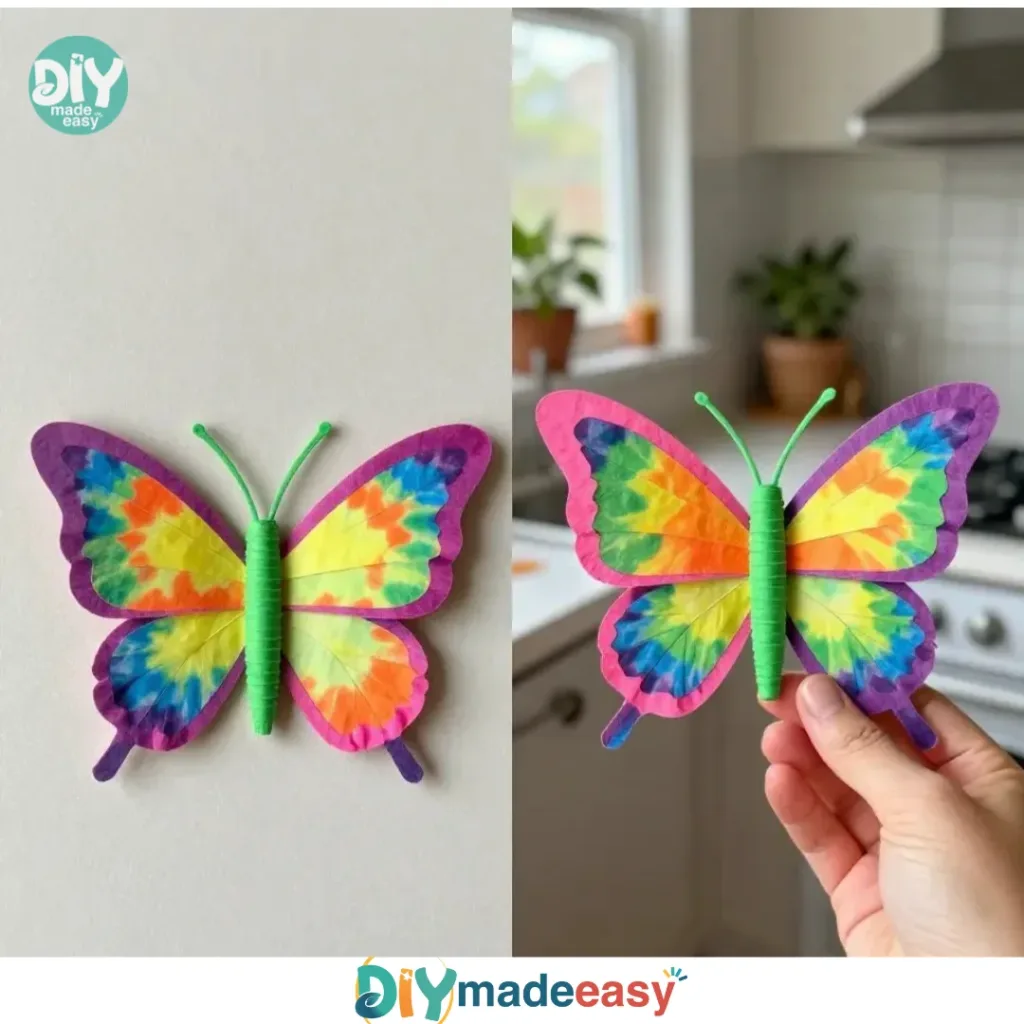
Making something creative can be such a fulfilling experience, especially during a busy afternoon when kids are eager to craft. If you’re looking for an engaging project that doesn’t require too much time or elaborate materials, a Coffee Filter Butterfly is perfect. This DIY project is not only simple to set up but also brings a splash of color and joy into your environment. Children love watching their one-of-a-kind butterflies come to life with just a few easy steps. You may also find Butterfly Suncatchers useful.
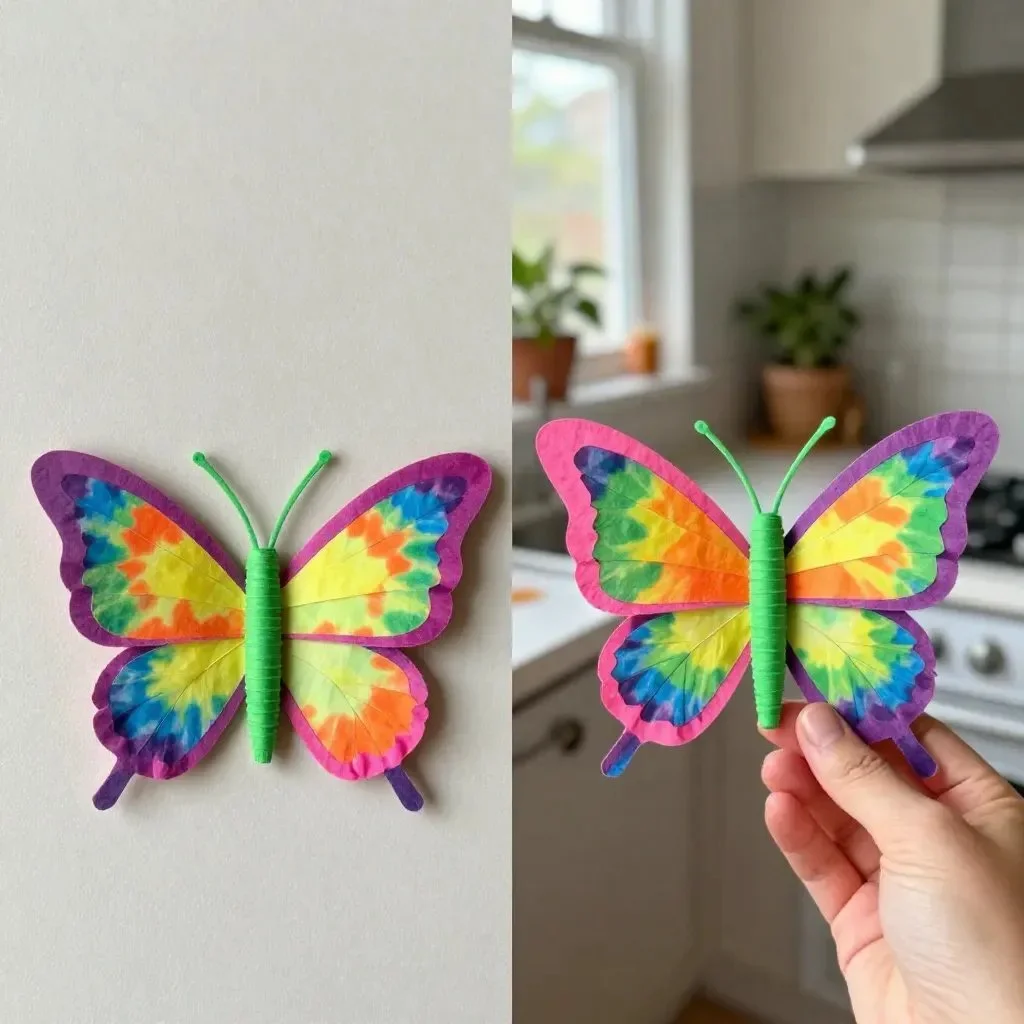
Why This Coffee Filter Butterfly Works So Well
You may also find Colorful Chromatography Coffee Butterflies useful.
This project excels in simplicity, making it accessible for young children and busy parents alike. With just coffee filters, some washable markers, and a few other common household items, you can have an enjoyable crafting session. The nature of the materials ensures that cleanup is minimal. Plus, this butterfly craft provides instant gratification; the vibrant colors and shapes will brighten up any space quickly. It’s an activity that fosters creativity without asking for rigorous planning or components.
A Quick Look Before You Begin
For a successful crafting experience, a bit of organization will help. The entire process usually takes about 30 minutes, including drying time. Setting up can be as easy as laying out your materials on a kitchen table or in the backyard. Since the craft mainly involves drawing and folding, it’s a low-mess project. Parents might want to supervise during steps that involve scissors, but otherwise, kids can comfortably work at their own pace. The materials fit well into a kitchen drawer and can be pulled out at a moment’s notice for a creative burst of fun.
Materials You’ll Need
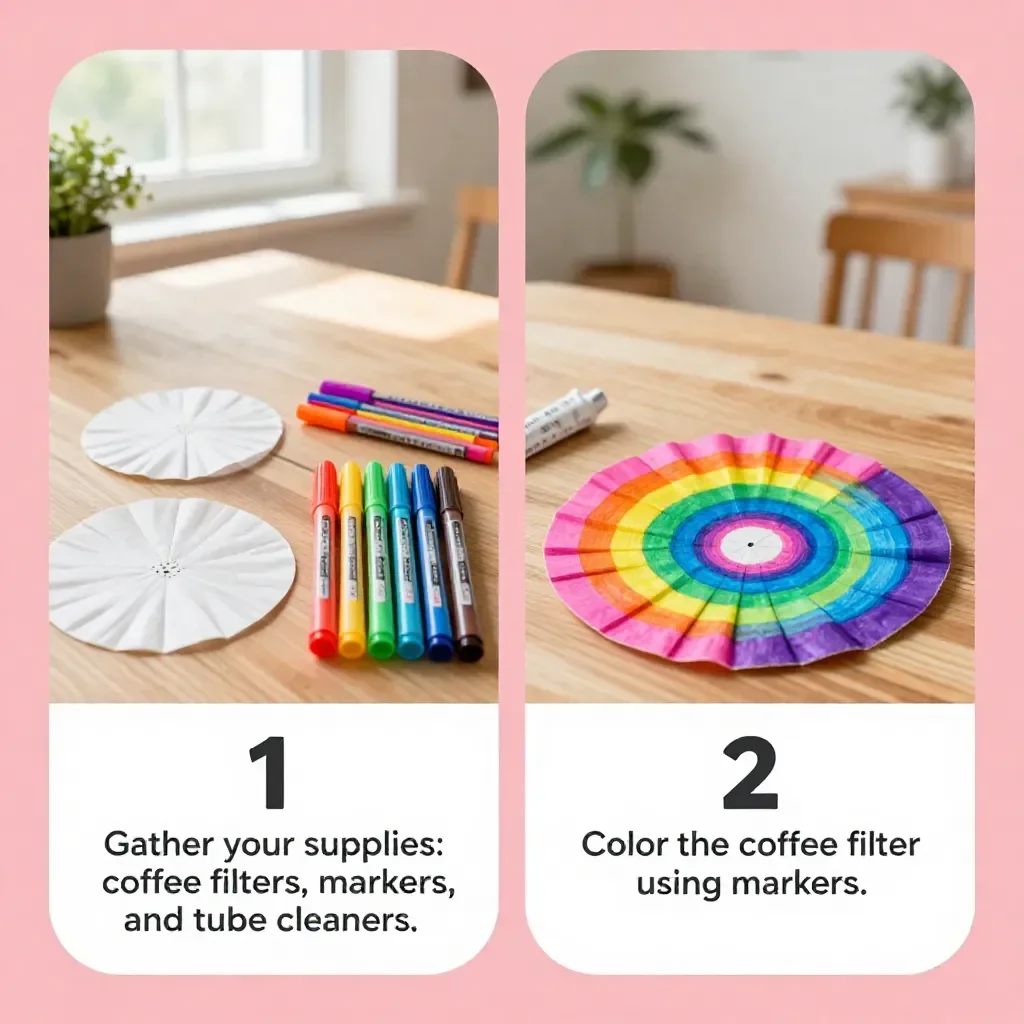
- Coffee filters
- Washable markers or watercolor paints
- Small spray bottle with water (optional)
- Clothespins or pipe cleaners (for wing attachment)
- Scissors (adult supervision may be necessary)
The materials are mostly common household items, making this craft easy and budget-friendly. The washable markers will allow kids to explore their creative side, while the use of clothespins offers a simple way to attach the wings.
Step-by-Step Directions
Color the coffee filters: Lay a coffee filter flat and use washable markers to create vibrant designs. Allow yourself to experiment with different colors and patterns. You can combine swirls, dots, or even flowers; the options are endless!
Add water (optional): Lightly mist the colored filter with water from a spray bottle to blend the colors beautifully. This step can showcase amazing results, with colors running and creating beautiful, abstract patterns.
Dry the filter: Set the filter aside to dry completely before proceeding. A quick drying time ensures that the filter retains its design without smudging. You can gently place them on a paper towel.
Fold the filter: Once dry, pinch the center of the filter upwards to form the body of the butterfly. This step is often a favorite among kids as they can already envision their butterfly taking shape.
Secure the wings: Use a clothespin or wrap a pipe cleaner around the center to hold the wings in place. Bend the top of the pipe cleaner to create antennae. Kids can choose their favorite color for the antennae to personalize their butterfly further.
Display your butterfly: Find a spot to showcase your creation or gift it to someone. From pinning them around the home to stringing them up like a garland, the possibilities are endless!
The Learning Behind This DIY
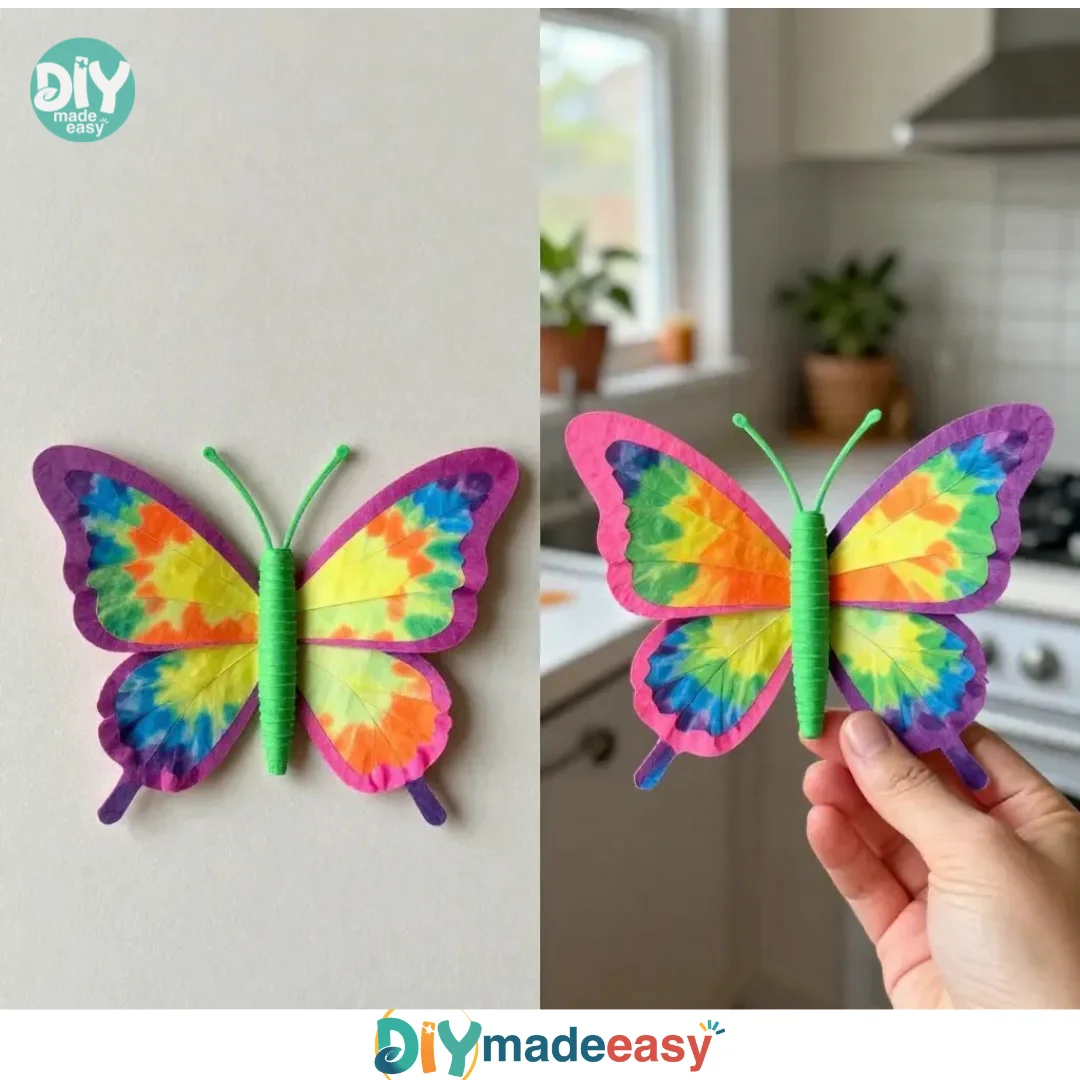
This simple craft goes beyond mere aesthetics; it supports the development of fine motor skills and hand-eye coordination through coloring and folding. As kids mix colors or witness the transformations as they add water, they are also exploring basic science concepts like color mixing and cause and effect. By engaging with everyday materials, children learn to think creatively while gaining hands-on experience.
Troubleshooting Common Issues
Even straightforward crafts can sometimes hit snags. If a butterfly doesn’t turn out as expected, it might be due to how heavy the colors were applied. If your colors are too bold, the paper may tear when bent. Encourage children to experiment with lighter strokes when coloring to avoid this issue. Additionally, if misting the filter produces too much running, try using less water or lightly dabbing with a paper towel to control the spread.
Easy Variations to Try
This project easily lends itself to variations that can suit different themes, seasons, or skill levels:
- Seasonal Designs: Encourage kids to create butterflies that represent the seasons, like pastel colors for spring or warm colors for autumn.
- Butterfly Garlands: String several butterflies together to create a cheerful garland suitable for any room.
- Themed Colors: Make butterflies in colors that match holidays or events, such as red, white, and blue for Independence Day.
- Mixed Materials: Instead of markers, try using watercolor paints for a different texture and effect.
- Larger Variations: Use larger coffee filters for bigger butterflies, which can be a fun challenge to fold and display!
Storing or Reusing This Project
Once the butterflies are made, you might wonder what to do with them. Consider displaying them in a window where they can catch the light or pinning them on a bulletin board for artwork. If the butterflies are stored, place them gently between sheets of wax paper to prevent crushing their beautiful wings. This approach makes it easy to pull them out later for more creative play or as delightful gifts.
FAQs About Coffee Filter Butterfly
What if my children can be messy while coloring? This project can be relatively mess-free, especially if you lay down some paper to catch any unintended color splatters. If you think coloring might be chaotic, wearing old t-shirts or smocks can make cleanup easier.
What age range is this project suitable for? This butterfly craft is perfect for children as young as four years old, depending on their comfort level with using scissors. Just ensure that an adult is supervising when snipping.
Can we use different types of coloring tools? Absolutely! While washable markers work great, watercolor paints also provide stunning results. Just keep in mind that they would require a bit more setup and cleanup.
How can I store the materials after a crafting session? Storing supplies in a bin or basket can keep everything organized. Involving kids in this process can teach them about cleaning up after an activity.
Can we create coffee filter butterflies for special occasions? Yes! They can be personalized for birthdays, holidays, or other celebrations by using specific colors or designs.
Conclusion
Crafting a Coffee Filter Butterfly project is a wonderful way to engage creativity and learn without heavy preparation. To explore additional butterfly crafts, you might find inspiration from Coffee Filter Butterflies | The Classic Craft Using Washable Markers or check out ideas for a Coffee Filter Butterfly – Crafts by Amanda – Animal Crafts for Kids. Enjoy the artistic moments together and watch as the vibrant creations bring smiles all around!
PrintCoffee Filter Butterfly Craft
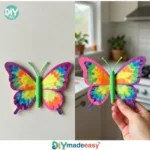
Engage your children in a fun and simple DIY Coffee Filter Butterfly project that fosters creativity and fine motor skills.
- Prep Time: 5 minutes
- Cook Time: 0 minutes
- Total Time: 30 minutes
- Yield: Varies by the number of filters used
- Category: Craft
- Method: Crafting
- Cuisine: N/A
- Diet: N/A
Ingredients
- Coffee filters
- Washable markers or watercolor paints
- Small spray bottle with water (optional)
- Clothespins or pipe cleaners (for wing attachment)
- Scissors (adult supervision may be necessary)
Instructions
- Color the coffee filters: Lay a coffee filter flat and use washable markers to create vibrant designs.
- Add water (optional): Lightly mist the colored filter with water to blend the colors beautifully.
- Dry the filter: Set the filter aside to dry completely.
- Fold the filter: Pinch the center of the filter upwards to form the body of the butterfly.
- Secure the wings: Use a clothespin or wrap a pipe cleaner around the center to hold the wings in place.
- Display your butterfly: Find a spot to showcase your creation.
Notes
Children may benefit from adult supervision when using scissors. Experiment with lighter strokes when coloring to avoid tearing the filter.
Nutrition
- Serving Size: 1 craft
- Calories: N/A
- Sugar: N/A
- Sodium: N/A
- Fat: N/A
- Saturated Fat: N/A
- Unsaturated Fat: N/A
- Trans Fat: N/A
- Carbohydrates: N/A
- Fiber: N/A
- Protein: N/A
- Cholesterol: N/A