

No Oven Needed Terracotta-Style Pots: A Simple DIY Project for All Ages You may also find No Oven Needed Terracotta Pots useful.

The kids are bouncing around the house, asking for something fun to create on a busy afternoon. Instead of reaching for the usual crayons or toys, you can introduce them to a delightful project that involves making No Oven Needed Terracotta-Style Pots. This hands-on activity is perfect for any family gathering and can be done with just a few simple materials right at home. You may also find Baking Soda Volcano useful.
Why This No Oven Needed Terracotta-Style Pots Works So Well

You may also find Diy Dinosaur Eggs useful.
This project stands out because it requires little preparation and utilizes common household items. With air-dry clay, you can create beautiful pots without the need for a kiln or baking. Not only is this method low-prep, but it is also approachable for kids. The materials are easy to find, making it convenient for families with busy schedules. Plus, the reliability of air-dry clay means you can create stunning pieces without the stress often associated with more complex pottery projects. You may also find Diy Salt Volcano Science Experiment Fun useful.
The Flow of Making No Oven Needed Terracotta-Style Pots
Creating these pots is a straightforward process that provides a rewarding experience. You’ll find the setup is simple, the mess level is manageable, and adults can easily assist when necessary. On average, this project takes about 30 minutes of active crafting time, but don’t forget to set aside at least 24 hours for the pots to dry completely.
Materials You’ll Need
Gathering your materials will be a breeze. Here’s what you’ll need to create your No Oven Needed Terracotta-Style Pots:
- Air-dry clay: Easily available at craft stores or online.
- Paint brushes: A great tool for painting details.
- Paint (acrylic or tempera): You can choose any colors you like.
- Clear varnish (optional): This can give your pot a glossy finish.
- Small bowl of water: Used for smoothing and joining the clay.
These items are common household items, making this project budget-friendly and easy to set up.
Step-by-Step Directions
-
Prepare your workspace by laying out your materials on a clean, flat surface. This creates a tidy area to work in, helping to minimize mess.
-
Knead the air-dry clay until it becomes soft and pliable. This step is crucial as it breaks down any hard bits and makes it easier to shape.
-
Roll the clay into a thick slab (about 1/4 inch) and shape it into a circle for the base of your pot. Aim for an even thickness to provide stability.
-
Roll another piece of clay into a cylinder for the sides and attach it to the base by smoothing the edges with water. The water helps the pieces stick together seamlessly.
-
Pinch and mold the sides to give it a smooth, rounded shape. This is your chance to get creative with the pot’s design.
-
Let the pot dry for at least 24 hours in a safe area. It’s essential to provide ample drying time so your creation can hold its shape.
-
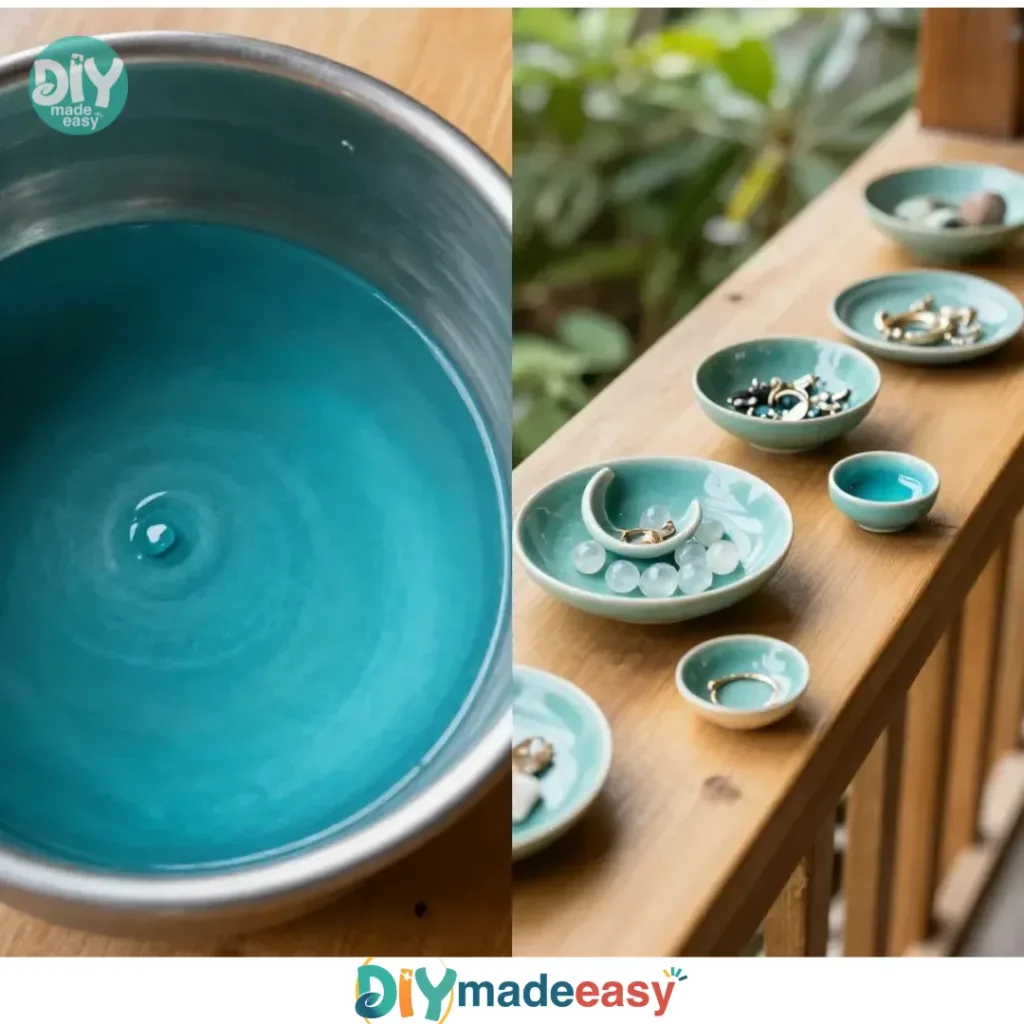
Once dried, paint the pot with your chosen colors. This is where your imagination can take over. Use bright colors for a cheerful look or earth tones for a classic feel.
-
Optionally, apply clear varnish for a glossy finish. This step isn’t necessary, but it can enhance the durability of your pot.
-
Find a special spot to display your finished pot or gift it to someone. It’s always rewarding to see your hard work proudly on display.
The Learning Behind This DIY

While creating your No Oven Needed Terracotta-Style Pots, kids practice valuable skills. They develop fine motor skills while kneading and shaping the clay, enhance their hand-eye coordination during the painting process, and experience the cause and effect of their actions—like seeing how the paint changes the look of their pot.
Troubleshooting Common Issues
Every DIY project has its hiccups. If you notice cracks forming on your pot as it dries, it often means the clay was too thin in spots. To avoid this, consistently roll the clay to an even thickness from the start. In case the pot begins to fall apart, you can use more water to gently reattach pieces. Remember, it’s part of the learning process, so how you handle challenges is what matters most.
Easy Variations to Try
For those looking to add a twist to this project, here are some fun variations:
- Transform your pot into a planter. Add drainage holes at the bottom and use it for growing small plants.
- Decorate with natural elements. Incorporate twigs, leaves, or stones into your designs for a unique touch.
- Create themed pots. Make holiday-themed pots for gifts; think pumpkins in the fall or ornaments in winter.
These variations allow for creativity, keeping the project fresh and exciting for repeat crafting sessions.
Storing or Reusing This Project
To ensure your supplies last, store any leftover clay in an airtight container to prevent it from drying out. If you decide not to keep your finished pots, consider recycling them by breaking them down into smaller pieces to reuse the clay. This approach reduces waste and encourages creativity in future projects.
FAQs About No Oven Needed Terracotta-Style Pots
What do I do if my kids make a mess?
The beauty of crafting is that it can be a bit messy! Gather any loose clay as soon as you can, and use a damp cloth to wipe surfaces.
Can younger children participate?
Yes! This activity is suitable for various ages, but younger children may need more supervision to help with shaping and painting.
Can we use other types of paint?
Acrylic and tempera work best, but you can experiment with other non-toxic paints as long as they’re safe for kids.
Is it safe to leave out the varnish?
Absolutely, varnish is optional and mainly adds a glossy finish. Feel free to skip it if you’re concerned about extra materials.
What if the finished pot looks different than expected?
Each piece is unique! Embrace the imperfections; it adds character to your creation. Plus, children can take pride in their custom designs.
A Final Helpful Note
Embrace the joy of crafting with your children! The No Oven Needed Terracotta-Style Pots project is all about exploring creativity and having fun together. Remember, it’s not about perfection but the enjoyment and memories made along the way.
Conclusion
Creating pottery doesn’t always require a kiln, which is evident with this project. For advice on whether you can make pottery without a kiln, visit this helpful resource. If you’re interested in trying different flavors and recipes in your kitchen, check out Tim’s special recipes for lentil dip that might inspire some tasty side activities after your crafting session!
PrintNo Oven Needed Terracotta-Style Pots

A fun and creative DIY project for all ages, making terracotta-style pots using air-dry clay without the need for an oven.
- Prep Time: 30 minutes
- Cook Time: 0 minutes
- Total Time: 1440 minutes
- Yield: 1 pot
- Category: Craft
- Method: Crafting
- Cuisine: N/A
- Diet: N/A
Ingredients
- Air-dry clay
- Paint brushes
- Acrylic or tempera paint
- Clear varnish (optional)
- Small bowl of water
Instructions
- Prepare your workspace by laying out your materials on a clean, flat surface.
- Knead the air-dry clay until it becomes soft and pliable.
- Roll the clay into a thick slab (about 1/4 inch) and shape it into a circle for the base of your pot.
- Roll another piece of clay into a cylinder for the sides and attach it to the base by smoothing the edges with water.
- Pinch and mold the sides to give it a smooth, rounded shape.
- Let the pot dry for at least 24 hours in a safe area.
- Once dried, paint the pot with your chosen colors.
- Optionally, apply clear varnish for a glossy finish.
- Find a special spot to display your finished pot or gift it to someone.
Notes
Suitable for various ages, but younger children may need more supervision. Varnish is optional and adds a glossy finish.
Nutrition
- Serving Size: 1 pot
- Calories: 0
- Sugar: 0g
- Sodium: 0mg
- Fat: 0g
- Saturated Fat: 0g
- Unsaturated Fat: 0g
- Trans Fat: 0g
- Carbohydrates: 0g
- Fiber: 0g
- Protein: 0g
- Cholesterol: 0mg