

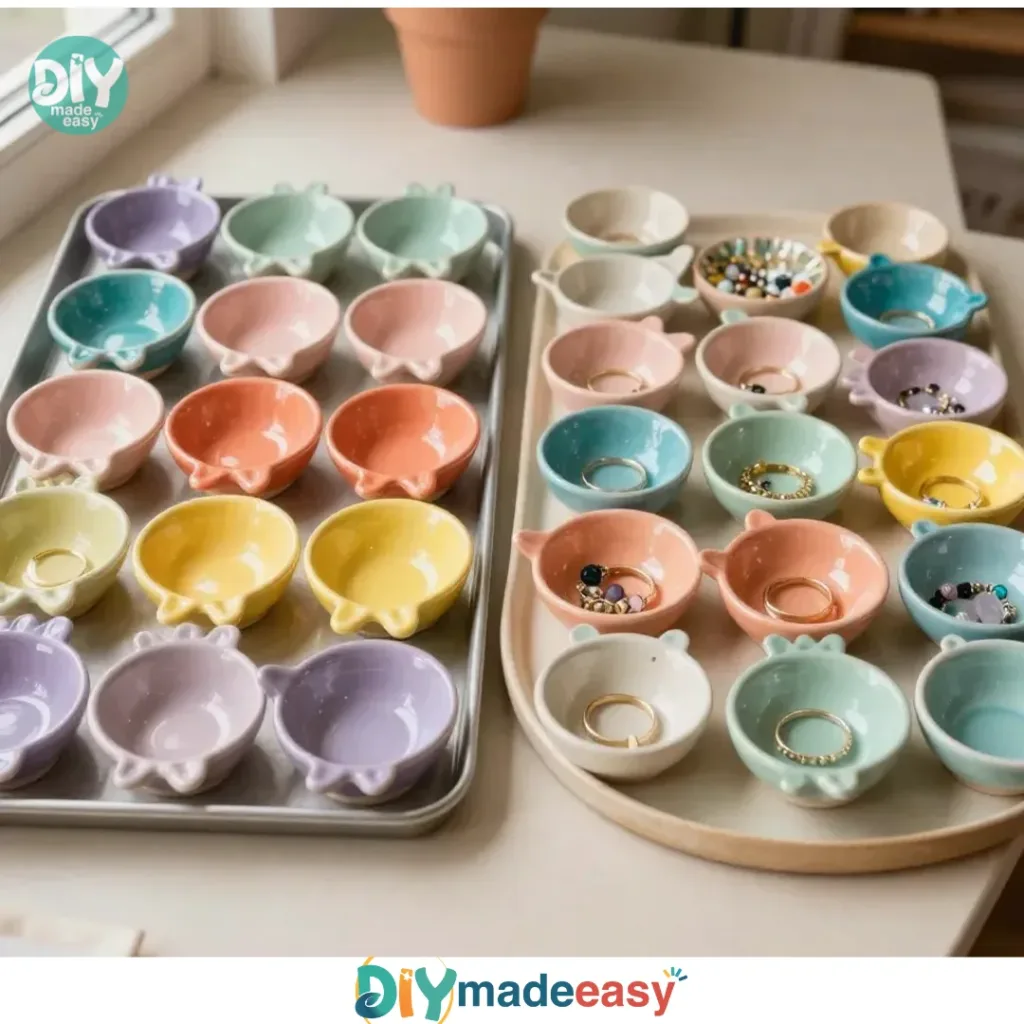
Making DIY Clay Bowls can be a delightful activity, especially on a busy afternoon when you’re looking for something creative to engage the kids. Picture this: your little ones are eager to make something unique, and you want to channel that energy into a hands-on project. DIY Clay Bowls are a perfect solution. With simple materials and an easy process, you can create beautiful, functional pieces that inspire creativity, all while spending precious time together. You may also find Diy Bioplastic From Cornstarch useful.

Why This DIY Clay Bowls Works So Well

You may also find Diy Bioplastic Suncatchers Colorful Swirls useful.
What makes DIY Clay Bowls such an approachable project? For starters, it’s incredibly low-prep. Most of the materials needed are likely already in your home. This means you can gather everything quickly and jump right into the fun. You may also find Diy Bioplastic Suncatchers Crayon Method useful.
The project is also reliable. The steps are straightforward, allowing children to feel empowered as they see tangible results. As a family, you’ll love the opportunity to play with textures and shapes, which can be a wonderful source of inspiration. Plus, even if things don’t turn out perfectly, there’s joy in the process itself. If you’re looking for more creative projects, check out how to make colorful DIY bioplastic suncatchers for an exciting twist.
A Quick Look Before You Begin
Before diving in, let’s discuss what to expect. You’ll be spending about an hour on this activity, which includes setup and drying time. The setup is effortless, with minimal cleanup, making it perfect for a busy household.
You’ll want to have your materials organized and ready. It’s best to do this in a space that’s easy to clean up or less valuable because, while the mess isn’t extreme, there may be a few scraps of clay here and there. Depending on your children’s age, adult involvement might be necessary for certain steps, especially when it comes to shaping the clay or using tools like a rolling pin.
Materials You’ll Need
- Air-dry clay
- Rolling pin or smooth bottle
- Bowl or mold
- Water
- Acrylic or natural paint (optional)
- Paintbrush (if using paint)
These materials are typically found at home; the air-dry clay is what you’ll primarily need to purchase. If you’re looking to enhance your bowls with some color, the paint adds a fun element, but it’s not a necessity.
Step-by-Step Directions
-
Knead the air-dry clay until its consistency changes and it warms up. This is an important step; kneading helps to remove any air bubbles and makes the clay more pliable.
-
Roll out the clay to about 1/4 inch thick using a rolling pin or smooth bottle. Aim for even thickness to ensure your bowl dries properly and has a consistent shape.
-
Choose a bowl or mold and drape the rolled-out clay over it, allowing it to take shape. Make sure the clay fits into the mold snugly.
-
Smooth the edges of the clay with fingers dipped in water. This will give your bowl a clean edge and an appealing finish.
-
Allow the bowl to dry completely as per package instructions, usually several hours. Ensure it’s in a well-ventilated area to prevent any moisture issues.
The Learning Behind This DIY

Crafting DIY Clay Bowls supports various skills and learning concepts. Kids engage in fine motor skills as they knead and shape the clay, fostering their hand-eye coordination and dexterity. They also explore creativity and self-expression through color choice and design.
Furthermore, this activity encourages critical thinking when deciding on shapes and how to manipulate the clay. It’s a gentle introduction to concepts like cause and effect, as they’ll learn how their actions affect the final outcome of their bowls.
Troubleshooting Common Issues
If something doesn’t go as planned, don’t worry! Here are a few common problems and easy fixes. One frequent issue is cracks in the clay after drying. If you notice this, it may be due to rolling the clay too thin or allowing it to dry too quickly. Keeping the drying bowl in a more humid environment can help mitigate this. Also, if the clay does not stick well to your bowl or mold, remember to wet your hands slightly while pressing it in for a better grip.
Easy Variations to Try
There are many ways to change up your DIY Clay Bowls. Here are a few ideas:
- Use cookie cutters to create themed shapes for special occasions.
- Experiment with marbling techniques by kneading two different colors of clay together.
- Create smaller versions to use as trinket dishes.
- Customize them for holidays by painting or adding embellishments after drying.
Storing or Reusing This Project
After your project is complete, you might wonder what to do with your bowls. These charming pieces can be used for various purposes, from holding small items to serving snacks. If you have leftover air-dry clay, make sure to store it in an airtight container to keep it moist for future projects. Avoid waste by reusing clay scraps in future crafting sessions.
FAQs About DIY Clay Bowls
What if the clay is too dry? If you find the clay to be crumbly or hard, you can revive it by adding a little water gradually until it becomes pliable again. Just be cautious not to overdo it.
Are these bowls safe for children? Yes, air-dry clay is non-toxic and safe for kids. Just ensure they wash their hands after crafting and avoid putting the finished products in the dishwasher.
What happens if my child doesn’t like the end result? Crafting is about the process, not just the result. Encourage them to embrace their creativity and remember that every piece can be a learning experience.
A Final Helpful Note
As you embark on this easy DIY project, keep it simple and fun. Allow room for creativity and flexibility. Remind your children that the goal is to enjoy the making; perfection isn’t the aim here.
Conclusion
Creating DIY Clay Bowls can open a world of creativity for you and your kids. If you’re inspired to try more similar projects, consider looking into how to make air dry clay bowls or explore DIY clay leaf bowls for a different twist. Enjoy your crafting adventure!
PrintDIY Clay Bowls

Create beautiful and functional DIY clay bowls with your kids using air-dry clay and simple tools.
- Prep Time: 10 minutes
- Cook Time: 60 minutes
- Total Time: 70 minutes
- Yield: 4 bowls
- Category: Craft
- Method: Handcrafting
- Cuisine: N/A
- Diet: N/A
Ingredients
- Air-dry clay
- Rolling pin or smooth bottle
- Bowl or mold
- Water
- Acrylic or natural paint (optional)
- Paintbrush (if using paint)
Instructions
- Knead the air-dry clay until its consistency changes and it warms up.
- Roll out the clay to about 1/4 inch thick.
- Choose a bowl or mold and drape the rolled-out clay over it.
- Smooth the edges of the clay with fingers dipped in water.
- Allow the bowl to dry completely as per package instructions.
Notes
Encourage creativity and self-expression through color choice and design.
Nutrition
- Serving Size: 1 bowl
- Calories: N/A
- Sugar: N/A
- Sodium: N/A
- Fat: N/A
- Saturated Fat: N/A
- Unsaturated Fat: N/A
- Trans Fat: N/A
- Carbohydrates: N/A
- Fiber: N/A
- Protein: N/A
- Cholesterol: N/A