

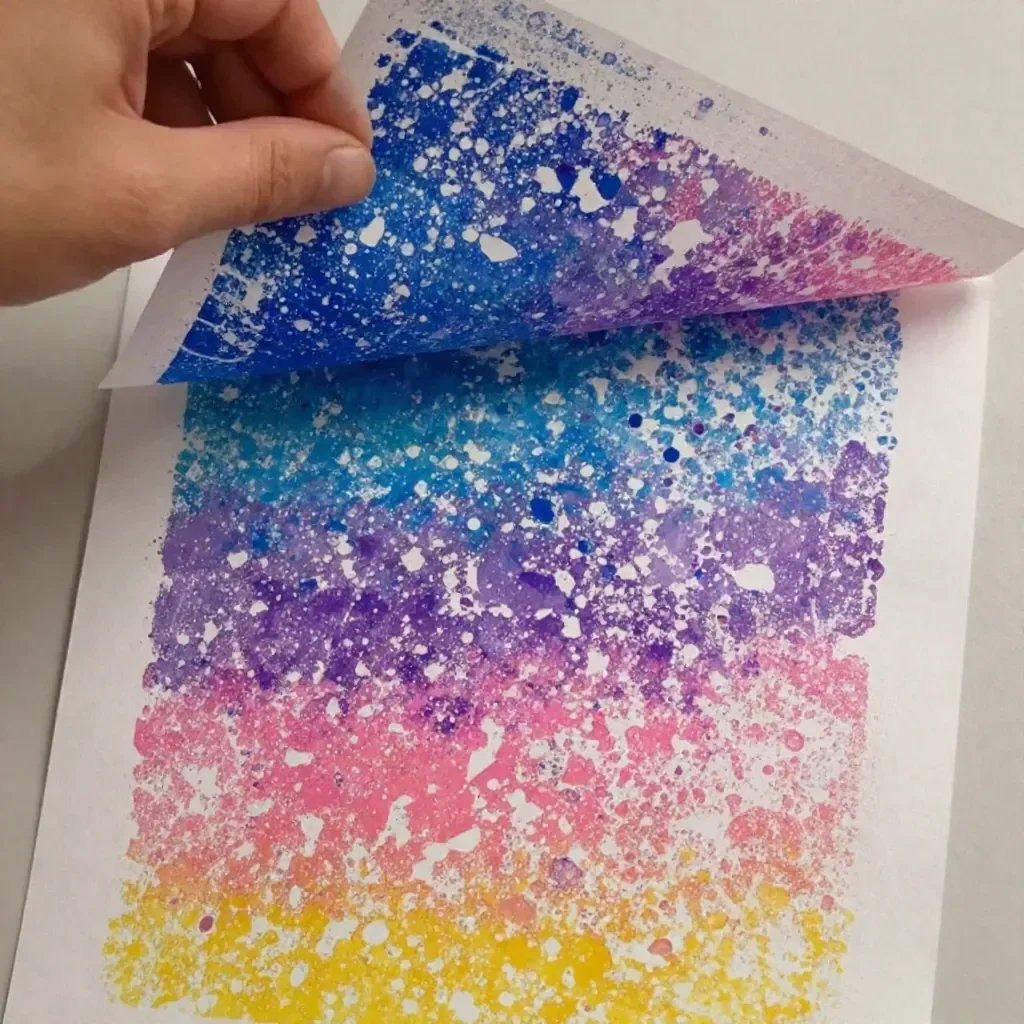
If you’re looking for a quick and fun activity to keep the kids engaged on a busy afternoon, the Bubble Wrap Rainbow Ocean Painting is a perfect fit. With just a few simple materials, this project brings a vibrant splash of creativity into your home, turning a mundane day into a spectacular colorful adventure. Kids love getting their hands messy, and it’s a breeze for you—making it ideal when you need to whip up something exciting at the last minute! You may also find Water Gun Painting For Kids Creative Outdoor Art Idea useful.
Why This Bubble Wrap Rainbow Ocean Painting for Kids Works So Well
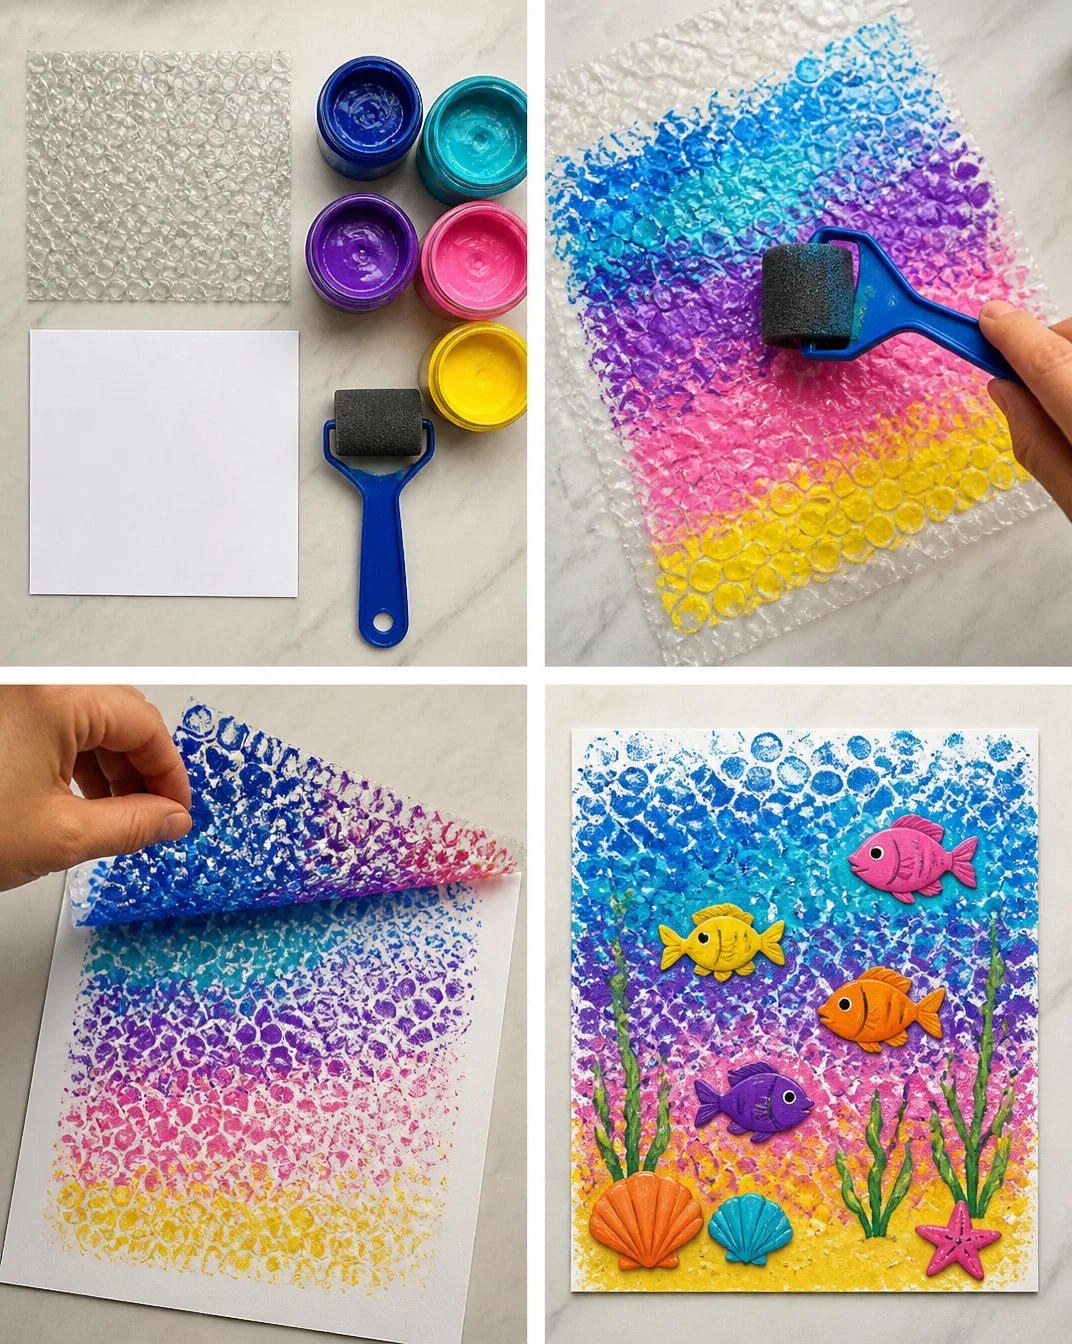
This project is a low-prep solution that offers big artistic results without overwhelming you or the kids. The beauty of the Bubble Wrap Rainbow Ocean Painting lies in its simplicity. It uses everyday materials you likely have at home, making it accessible and budget-friendly. Plus, the nature of the activity is inherently fun; children get excited about the sensory experience of painting with bubble wrap and seeing how their artwork evolves. You may also find Whimsical Bubble Painting Art Kids Diy Fun useful.
The process is reliable and engaging, encouraging kids to immerse themselves in creativity. With each colorful layer that they add, they gain confidence in their artistic abilities. This project is a wonderful way to harness creativity without the pressure of perfection. From timing to cleanup, everything about this project fits seamlessly into the ebb and flow of a busy family life. You may also find Baking Soda Rainbow Crystal Forest useful.
A Quick Look Before You Begin
To create your Bubble Wrap Rainbow Ocean Painting, consider how little setup is required. You can gather your materials in under five minutes, and the actual painting can be completed in about half an hour, leaving plenty of time for cleanup and display afterward.
The cleanup effort is manageable, especially since working with bubble wrap minimizes spills. Adult involvement mainly consists of guidance, but older children can certainly tackle much of this project independently. This makes it a fantastic choice for mixed-age groups, where younger kids can follow the lead of older siblings.
Materials You’ll Need
Here’s a simple list of what you’ll need for this colorful DIY project:
- Bubble wrap (12 × 12 in)
- Acrylic paint (blue, turquoise, purple, pink, yellow)
- White cardstock (8½ × 11 in)
- Paint roller
These materials are commonly found around the house—most likely, you won’t need to run out to the store. The bubble wrap, specifically, is easy to save from delivered packages, and the paint can usually be found in craft supplies at home.
Step-by-Step Directions
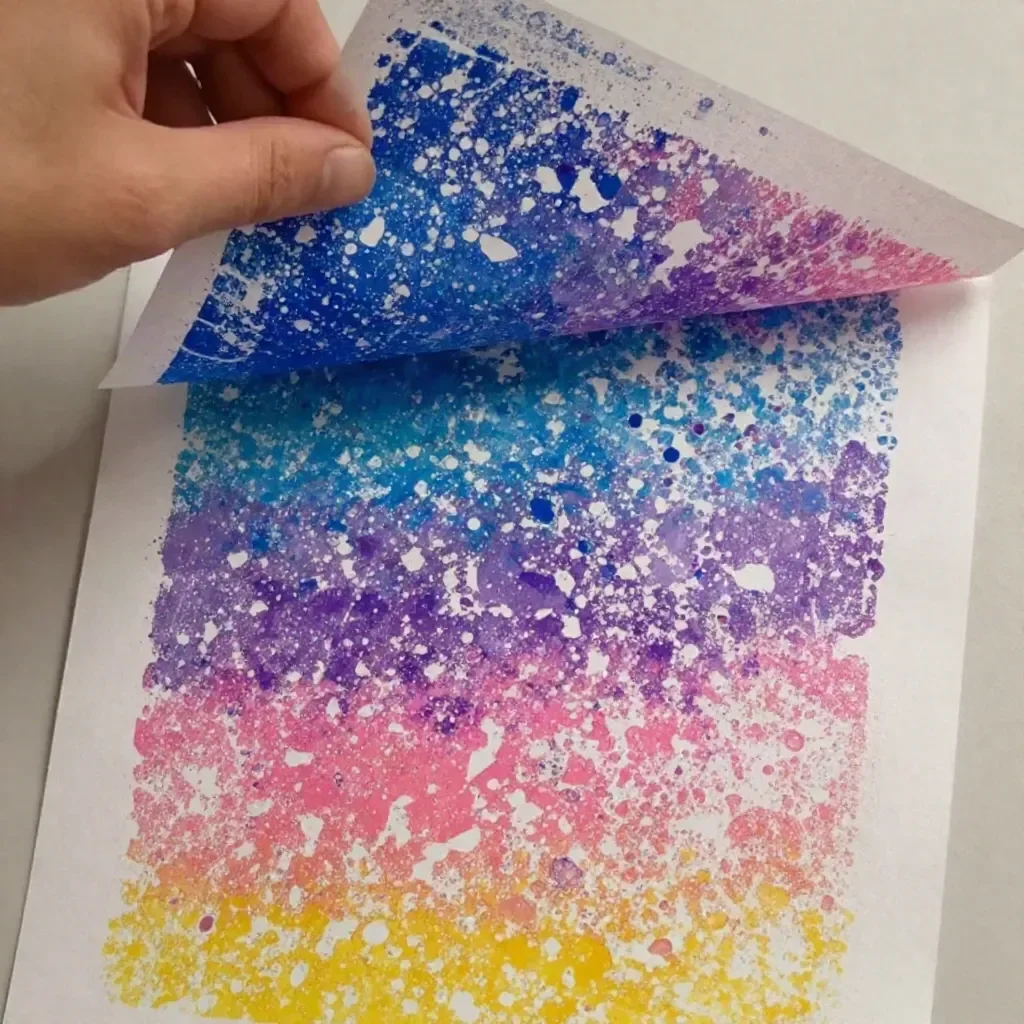
Now that you’re ready and gathered, let’s dive into the steps to create your masterpiece.
Roll colorful paint onto the bubble wrap. Start by squeezing some acrylic paint onto a plate, and use the paint roller to coat the bubble wrap evenly. You can use multiple colors for a vibrant effect.
Press the painted bubble wrap onto the cardstock to create an ocean texture. Make sure to press down firmly so the paint transfers well, and have fun experimenting with overlapping colors to create depth.
Once the background is dry, add fish, shells, and seaweed using a paintbrush. You can sketch out your sea creatures lightly with a pencil or go right in with the paintbrush. This is where their imagination can really shine!
Display your finished artwork and enjoy your vibrant summer scene! Find a special spot to hang up their art to celebrate their creativity.
What Kids Practice While Making This

While making the Bubble Wrap Rainbow Ocean Painting, kids practice several vital skills. First, they enhance their fine motor skills as they manipulate paintbrushes and rollers, improving coordination with each stroke. This project also introduces concepts of color mixing and texture, sparking their curiosity about art fundamentals. The hands-on experience allows them to see the immediate effects of their actions, teaching them cause and effect in a fun and engaging way.
Troubleshooting Common Issues
If something doesn’t go as planned, don’t worry! Here are a few common issues you might encounter along with some quick fixes:
- If the paint doesn’t transfer well: Ensure you’re pressing down evenly on the bubble wrap. You might want to try rolling more paint on.
- Getting too much paint: Use a paper towel to dab off excess paint from the bubble wrap before pressing it onto the cardstock.
- Dust and particles on the finished artwork: To avoid this, try to work in a clean area. However, small dust particles can be easily removed with a gentle brush.
Easy Variations to Try
To change things up, consider these seasonal or creative twists:
- Incorporate glitter into the last layer of paint for a sparkling underwater effect.
- Instead of ocean themes, shift to forest or land themes using different colors and shapes for a fun twist.
- Turn it into a group activity where everyone collaborates on a large mural for shared space.
Storing or Reusing This Project
After the fun is over, you may want to think about how to store or reuse the materials. To reduce waste, consider saving the bubble wrap for future projects like the crafts for kids ideas. Be sure to store any leftover paint in tightly sealed containers for later use, allowing for creative reuse without the added expense.
FAQs About Bubble Wrap Rainbow Ocean Painting for Kids
What do I do if my child gets paint on their clothes?
Accidents happen! Make sure to wear old clothes or aprons. If paint does spill on clothing, act quickly; rinse with cold water and plenty of soap.Is this project safe for younger children?
Yes! Just supervise them while they’re using paints and ensure they don’t put materials in their mouths, as safety is always a priority.Can I use different types of paint?
Yes, you could use tempera or watercolor, but acrylic provides the best results for vibrant colors. Just remember that cleanup varies with different paint types.How can I contain the mess during the activity?
Set up your workspace with newspapers or a large plastic sheet to protect surfaces. This helps ease the anxiety surrounding the mess.What’s the best way to store the finished artwork?
Store dry paintings flat to prevent any curling or smudging. Place them in a folder or portfolio dedicated to their art pieces.
Conclusion
This Bubble Wrap Rainbow Ocean Painting project is not just a delightful craft; it’s a vibrant way to engage young minds in creativity while incorporating fun learning elements. For even more creative ideas involving ocean themes, check out Roll a Bubble Wrap Rainbow. If you’re looking to explore more activities for toddlers, take a peek at Ocean Activities for Toddlers and Preschoolers. Enjoy creating and don’t forget to celebrate the artistic endeavors you and your children embark upon!
PrintBubble Wrap Rainbow Ocean Painting
A fun and engaging painting activity using bubble wrap, ideal for kids to explore their creativity while enhancing fine motor skills.
- Prep Time: 5 minutes
- Cook Time: 30 minutes
- Total Time: 35 minutes
- Yield: 1 artistic piece
- Category: Craft
- Method: Painting
- Cuisine: N/A
- Diet: N/A
Ingredients
- Bubble wrap (12 × 12 in)
- Acrylic paint (blue, turquoise, purple, pink, yellow)
- White cardstock (8½ × 11 in)
- Paint roller
Instructions
- Roll colorful paint onto the bubble wrap using a paint roller.
- Press the painted bubble wrap onto the cardstock to create an ocean texture.
- Add fish, shells, and seaweed using a paintbrush.
- Display your finished artwork and enjoy your vibrant summer scene!
Notes
Use old clothes or aprons to protect from paint spills. Supervise younger kids during the activity to ensure safety.
Nutrition
- Serving Size: 1 session
- Calories: N/A
- Sugar: N/A
- Sodium: N/A
- Fat: N/A
- Saturated Fat: N/A
- Unsaturated Fat: N/A
- Trans Fat: N/A
- Carbohydrates: N/A
- Fiber: N/A
- Protein: N/A
- Cholesterol: N/A