

A rainy afternoon, kids bouncing off the walls, and you need a quick, low-prep moment of magic. That exact scene happens at my house more than I planned for. I pull out a few kitchen items, set a plate on the table, and we do the Magic Milk Experiment. It takes only minutes to set up, and the swirling colors buy us a calm half hour of eyes-on wonder. If you like easy science that turns an ordinary kitchen moment into something special, this is for you. For another quick kitchen lesson that works well as a follow-up activity, try the Balloon Baking Soda Experiment later in the day.
Why This Magic Milk Experiment Works So Well

This activity hits the sweet spot when you want fast setup and a real reaction kids can see. It uses things you already have in the kitchen, so you do not need a special trip to the store. You lay down milk, add food coloring, and watch the colors move. That simplicity makes it easy to grab on a busy day.
Parents like it because it needs little adult prep. You pour, add color, and touch soap to the surface. The experiment gives clear results almost every time, so kids feel proud without frustration. It also fits short attention spans. You can set it up in under five minutes and keep the action going by trying new soap spots or adding more drops.
The materials cost nearly nothing. You do not worry about complicated cleanup or fragile supplies. The whole thing feels safe and calm, which keeps the mood relaxed. That reliability helps when you only have a small window of time but want real engagement.
A Quick Look Before You Begin
This project takes about 5 to 20 minutes, depending on how long you and the kids want to play. Setup takes two to three minutes. The visual show lasts a few breaths, and then you can repeat the step of touching soap to make fresh waves of color.
You will want a flat, stable surface and a shallow dish that will not tip. The mess level stays low if you use a plate and keep the milk layer thin. Clothes can get a little splattered if little hands get excited, so a smock or an old shirt helps.
Most kids can watch the swirl and feel the cause and effect. For preschoolers you will want to be nearby to help dip the cotton swab and steady the plate. Older children can try their own patterns and experiment with timing.
The whole project works well as a quick science break, a calm activity on a rainy day, or a hands-on moment between packed activities. If you want a more explosive but still easy follow-up later, consider our DIY salt volcano project for older kids and more dramatic reactions.
Materials You’ll Need
Whole milk
- Common household item. Use whole milk for best results.
Food coloring
- Basic grocery-store drops. Bright colors work best.
Dish soap
- Any regular dish soap works. A small squeeze bottle makes dipping easy.
Plate or shallow dish
- Wide, shallow plate is ideal. Cheap and reusable.
Optional: cotton swabs or toothpicks
- Optional. Cotton swabs give a gentle, easy way to apply soap.
STEP-BY-STEP DIRECTIONS

- Pour a thin layer of milk into a plate or shallow dish, just enough to cover the bottom.
Set the plate on a flat surface. The milk layer should be about a few millimeters thick so the colors float easily. - Add drops of food coloring in various spots around the plate.
Use two to four colors and drop them near the center and near the edges. The drops sit like little islands on the milk. - Dip a cotton swab in dish soap and touch it to the milk’s surface at one spot.
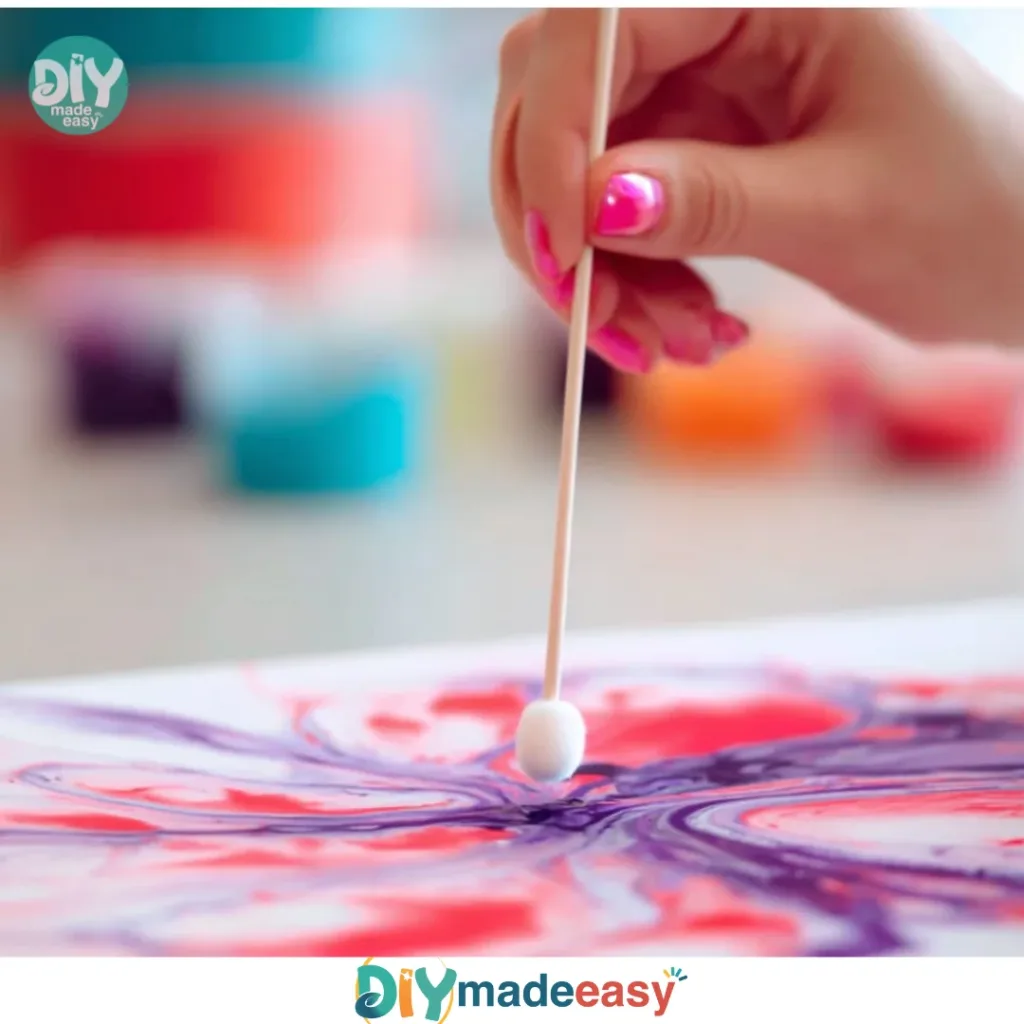
Hold the swab gently and touch down just long enough to see the reaction start. You may see tiny bubbles form around the contact point. - Watch as the colors swirl and create beautiful patterns!
The colors streak away in smooth waves. You will notice the milk surface move and the drops push into one another. - Experiment by trying the soap in new spots to see fresh waves of color.
Move the swab to other places and touch again. Each new spot creates different flows and patterns.
The Simple Science or Skills at Work

This project mixes a simple science idea with fine motor practice. At its core, the colors move because the soap changes how the milk molecules behave. Whole milk has fat. Soap breaks surface tension and grabs onto fat molecules, which sets the liquid flowing. The movement pushes food coloring, and that creates the swirls you see.
Kids practice careful dipping and gentle placement. They learn cause and effect by trying the soap in different spots and watching what changes. Hand-eye coordination improves when children position drops and touch the surface with a swab. For young children, this is also a sensory moment watching colors change while noticing the smell of soap and the smooth feel of milk in a plate.
The activity also builds observation skills. You can ask simple questions: Which color moves first? What happens if you touch the edge? This keeps the experience playful while opening tiny windows into scientific thinking.
Troubleshooting Common Issues
If colors barely move, try using whole milk.
Fat content matters. Skim or low-fat milks often make a weaker reaction.
If the milk splashes when you touch it, press more gently.
A sharp poke makes the liquid jump. Steady your hand and touch lightly.
If the colors fade quickly, use fresh drops and avoid stirring.
Fresh drops give brighter contrast. Stirring settles the food coloring into the milk.
If soap makes too many bubbles, blot the swab a little before touching.
Some dish soaps foam a lot. Dip and then press the swab lightly on a paper towel to remove extra soap.
If the colors mix into a muddy brown, slow down on adding soap or use fewer drops.
Too much mixing will blend all the colors together. Pause between touches to enjoy each pattern.
If kids get restless, turn this into a quick challenge.
Ask them to make a pattern that looks like a flower or a sun. Small goals keep attention and reduce accidental spills.
Easy Variations to Try
Try a single color and watch how patterns change with time.
This makes small, subtle waves and helps kids focus on motion.
Use a toothpick instead of a cotton swab for finer lines.
The toothpick gives smaller contact points and more delicate swirls.
Add different drop sizes for layered effects.
Make big and tiny drops of color to see how they interact when soap touches near both.
Try making a ring of colors near the plate edge and touch the center.
This classic setup gives a burst that radiates outward and feels dramatic.
Work on timing: place drops and wait a minute before touching with soap.
A short pause changes how the colors push each other and shows different flows.
Storing or Reusing This Project
This project uses perishable milk, so do not store the finished plate.
Once you finish playing, pour the milk down the sink and rinse the plate promptly.
Save the cotton swabs if they stayed dry, or use fresh ones next time.
Soap-covered swabs go in the trash. Toothpicks and clean plates rinse and dry for reuse.
Cut down on waste by using the smallest milk amount that still covers the plate bottom.
A little milk goes a long way, and using less reduces disposal.
If you want to repeat the activity quickly, keep the plate rinsed and set aside new drops.
You can rinse and redo several times in a single session without drying the plate.
For a tidy cleanup, have a small trash bowl, paper towels, and a damp cloth ready.
Wipe the table right away to avoid sticky spots and food coloring stains.
FAQs About Magic Milk Experiment
Will this stain clothes or the table?
Food coloring can leave a faint mark if it sits on fabric or porous surfaces. I always put down a towel or use an old shirt as a smock. If a drop falls, blot at once with a damp cloth and mild soap. For most tables a quick wipe with soapy water removes color. Be honest: accidents happen, but quick action usually cleans them up.
Is this safe for toddlers?
The ingredients are common kitchen items, but toddlers still put things in their mouths. Stay within arm’s reach and do the dipping yourself if needed. I let confident preschoolers touch the dish with a swab while I supervise. If you need a simpler setup, hold the swab yourself and let them watch the reaction.
Can I substitute milk with something else?
Whole milk works best because of its fat content. Low-fat or almond milk sometimes shows less movement. If you are curious you can try other milks, but expect smaller reactions. I keep whole milk on hand because it gives the most reliable, colorful patterns.
How long does the show last, and can we repeat it?
The initial swirl happens right away and looks most dramatic in the first minute. You can repeat the soap touch in new spots to refresh the action. I often do three or four rounds for a full activity. Each round gives a slightly different pattern, which keeps kids interested.
What if the colors just mix into a muddy blob?
This usually happens when you touch too many spots too quickly. Slow down and enjoy one spot at a time. Use fewer drops and let the colors stretch before touching again. In my experience, a patient moment between touches gives the brightest, cleanest patterns.
A Final Helpful Note
This experiment rarely goes wrong, and when it does, it still makes a good story. If the first plate looks underwhelming, rinse and try again. Small changes like using a fresher milk carton, a cleaner plate, or a softer touch with the swab will often fix it. Remember that simple curiosity matters more than a perfect swirl. Enjoy the colors, talk about what you see, and let the kids lead small follow-ups. If you want a different kind of messy and fun science project later, check the salt volcano activity for a louder reaction.
Conclusion
For a detailed look at how the trick works and more ways to set it up at home, see this helpful guide from Little Bins for Little Hands: Magic Milk Science Experiment | Little Bins for Little Hands. If you want extra ideas and troubleshooting tips written for parents, this page has simple explanations and photos to follow: Magic Milk Science Experiment for Kids.
PrintMagic Milk Experiment

A fun and engaging science experiment that showcases colorful swirls using simple kitchen items.
- Prep Time: 2 minutes
- Cook Time: 20 minutes
- Total Time: 22 minutes
- Yield: 1 experiment
- Category: Science Activity
- Method: Experiment
- Cuisine: American
- Diet: Vegetarian
Ingredients
- Whole milk
- Food coloring
- Dish soap
- Plate or shallow dish
- Optional: cotton swabs or toothpicks
Instructions
- Pour a thin layer of milk into a plate or shallow dish, just enough to cover the bottom.
- Add drops of food coloring in various spots around the plate.
- Dip a cotton swab in dish soap and touch it to the milk’s surface at one spot.
- Watch as the colors swirl and create beautiful patterns!
- Experiment by trying the soap in new spots to see fresh waves of color.
Notes
Keep a towel or smock handy as colors can splatter. Supervise younger children during the activity.
Nutrition
- Serving Size: 1 serving
- Calories: 50
- Sugar: 5g
- Sodium: 40mg
- Fat: 3g
- Saturated Fat: 2g
- Unsaturated Fat: 1g
- Trans Fat: 0g
- Carbohydrates: 4g
- Fiber: 0g
- Protein: 2g
- Cholesterol: 10mg